Bulletin #: V113018-04
Issue Date: November 30, 2018
Orion Packaging Systems * A division of Pro Mach
4750 County Road 13 NE Alexandria, MN 56308
(800) 333-6556
http://www.orionpackaging.com/parts-and-service/manuals/
Page 7of 12
Sentry HP/LP
Quick Start Guide
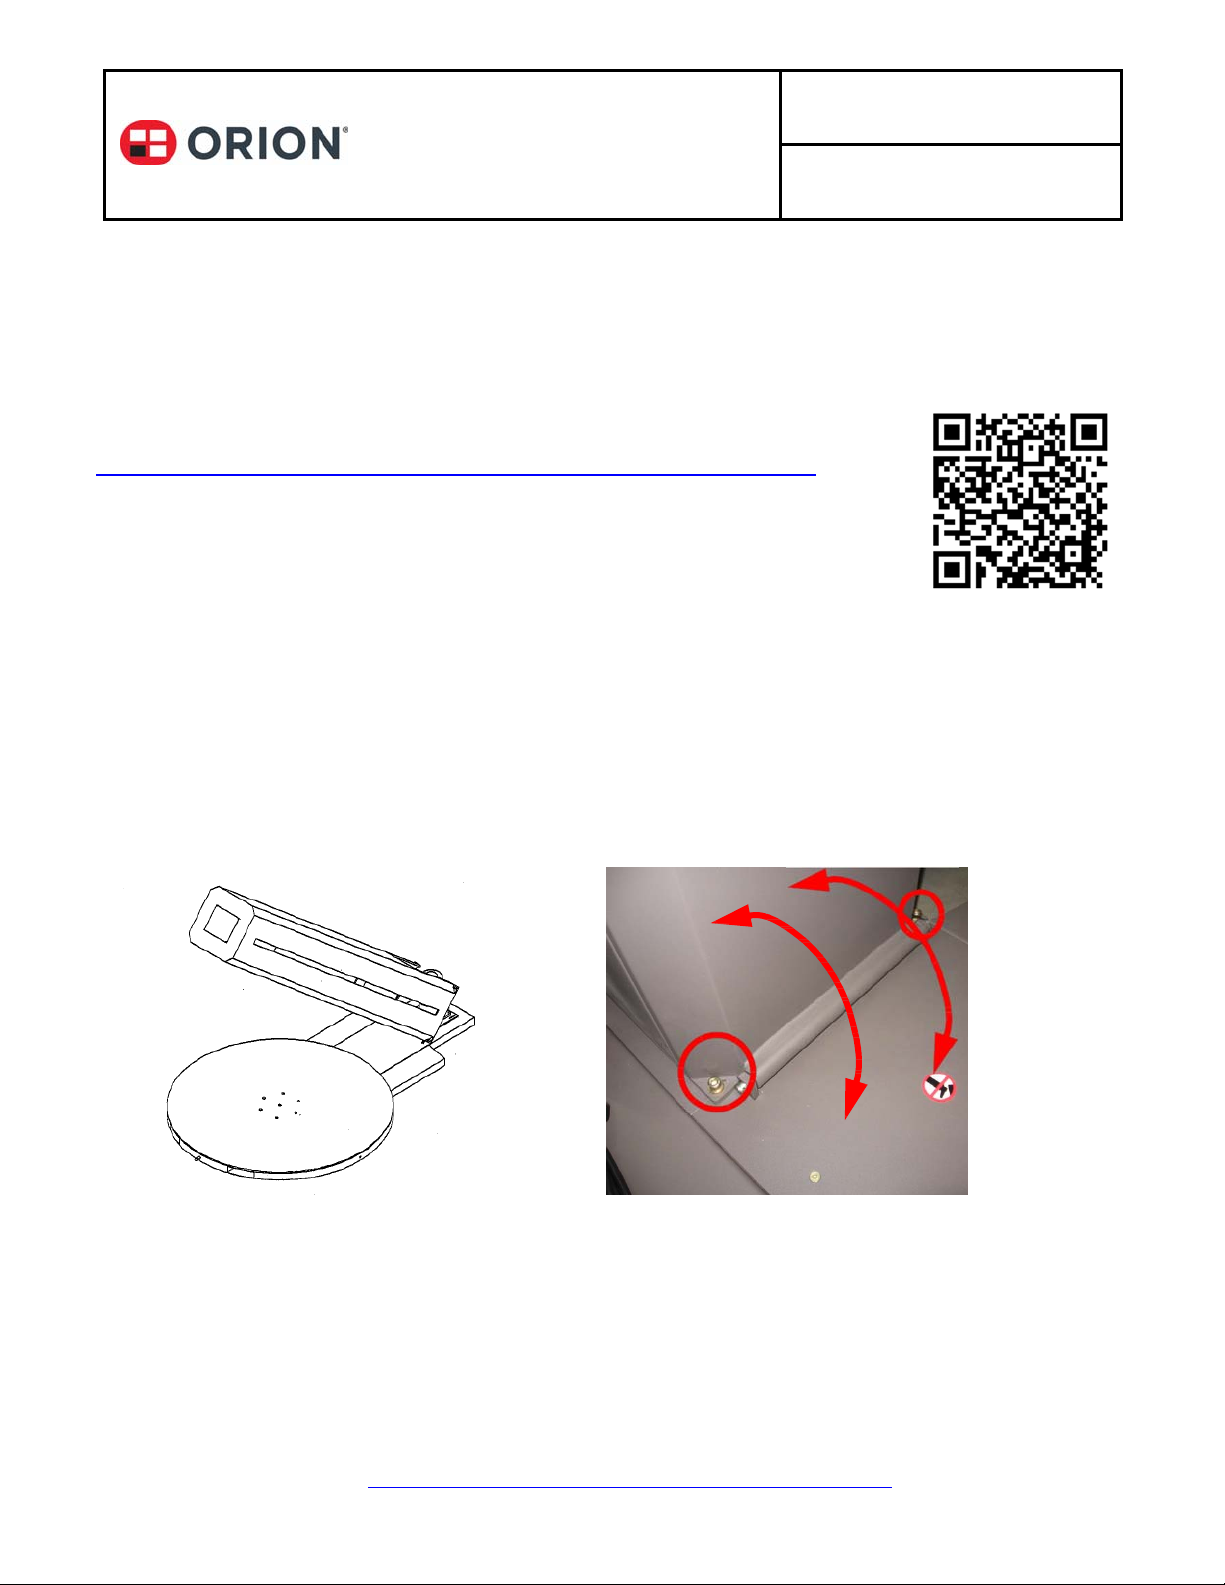
Set Up Load
Carefully place the load to be wrapped on the turntable. Be sure the load is centered and stable.
Load the Film
The film roll can be loaded on the carriage mandrel from either end of the roll. When using tacky film,
please verify that the tacky surface of the film is inward on the load.
Press in the E-stop.
Loosen the knob on the top mandrel spool and remove the mandrel.
Put the roll of film on the bottom mandrel.
Install the top mandrel on top of the roll to prevent upward movement.
Tighten the hand knob.
Press the latch down and pull out on the carriage door to open the carriage. The film carriage is
equipped with a switch that detects when the carriage threading door is open. When opened, it will set
off an alarm on the HMI and prevent the carriage from moving.
Illustration 7 – Threading the Film
Pass the roped tail of the film through opening.
Pass the film rope around the outside of the first
aluminum roller and through the inside of the
second roller.
Attach the film to the load.
To close the carriage door, hold the latch handle
down and press the door closed. Ensure the latch
clicks shut properly. The pins on the carriage door
will latch into the top of the carriage.
When the film feeding is completed, release the E-
stop.
Press the Start button once to reset control power.
The system is now ready to begin the first
wrapping cycle.