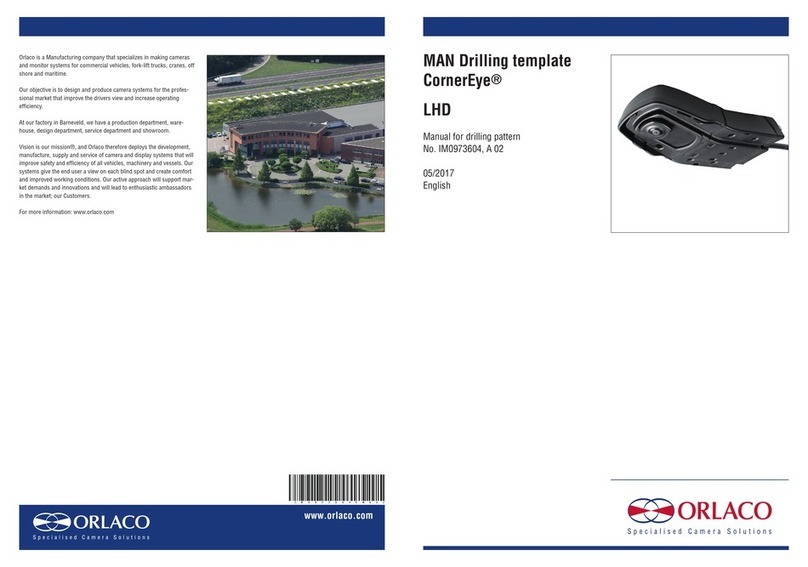
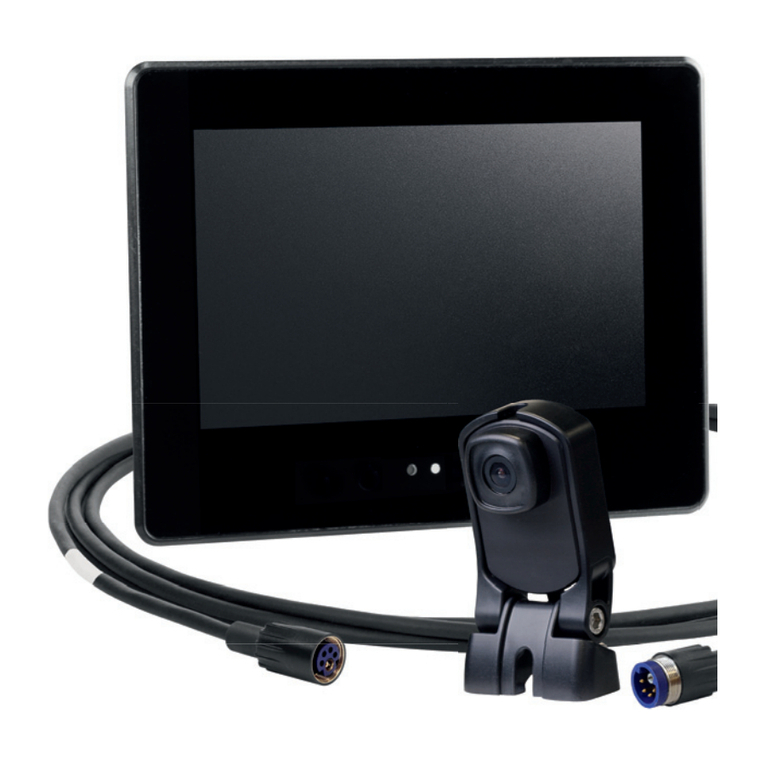
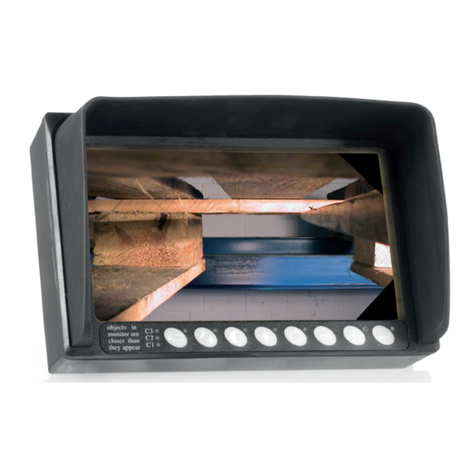
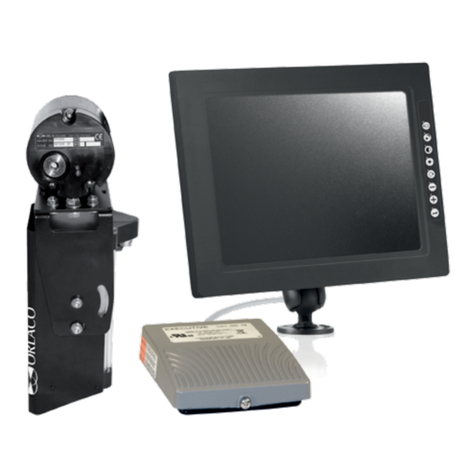
Orlaco Wiegel BT Reflex RRE Series User guide

BT Reex RRE-Series
Reachtruck
System Manual
Manual no. 0993630 A 02
Art. No. Set 0401442
English

2 IM0993630 A 02
Installation
4p female
1 coax
2 coax shield
3 red
4 black
4p female
4p male
4p male
0304341
Mastcable Reachtrucks 5m
0305970
Mast cable forklift 15m BT RRE
Springplates (0403390)
included
0198710
Forkcamera
Springplates forklift
0301960
Uni cable 1m
Included with
0198710 camera
4P male
Tyco connector female
Tyco connector male
Art. no 0208902
Monitor 7” RLED
48V/DC
red
white
Installation of an
Orlaco camera-monitor system
on a BT Reex RRE-series reachtruck
The BT Reflex RRE-Series reachtruck has a 12-wire mastcable as stan-
dard for control of the functions in the forkcarriage such as the solenoid
valve. Especially for this model reachtruck Orlaco developed a mastcable.
Fig. 1: Lay-out of 0401442 camera system set
Articles included:
0198710 Camera AMOS CFMC 51 PAL
0305970 Mast cable 15m BT RRE
0304341 Mast cable 5m
0208902 Monitor 7” RLED RC 4 CS
Also available article:
0309100 Mast cable 17m BT RRE
Available Data sheets
DS0961474-0198710 Camera AMOS CFMC 51 PAL
DS0962117-0208902 Monitor 7” RLED RC 4 CS
DS0960041-0309100 Mast cable _m BT RRE
Important
Roll out the mastcable entirely to remove kinks before
installing it in the mast of the truck.

IM0993630 A 02 3
Installation
4p female
1 coax
2 coax shield
3 red
4 black
4p female
4p male
4p male
0304341
Mastcable Reachtrucks 5m
0305970
Mast cable forklift 15m BT RRE
Springplates (0403390)
included
0198710
Forkcamera
Springplates forklift
0301960
Uni cable 1m
Included with
0198710 camera
4P male
Tyco connector female
Tyco connector male
Art. no 0208902
Monitor 7” RLED
48V/DC
red
white

4 IM0993630 A 02
Installation
Figure 3. Tyco connector re-inserted
Figure 4. Fixed mastcable
Figure 5. Pulley at freelift cylinder
The installation is as follows:
The camera is installed on the inside of the right fork.
First the protection box is angled so that the camera is parallel to the fork,
then it is fixed to the fork with bolts as shown in
figure 2.
Then the camera is inserted into the box section and both its mounting
holes are marked. After these holes have been drilled and tapped, the
cable is guided into the forkcarriage.
The female connection is fixed onto the camera, and the camera is re-
inserted into the tube and screwed to the fork.
The standard BT mastcable is removed from the mast.
To mount the Orlaco mastcable it is recommended to start at the side
of the forkcarriage. The female connectors must be at the side of the
forkcarriage.
The Tyco connector is re-inserted into the connector of the
machine (figure 3) and the connection with the camera is made.
A loop of cable allows for the movement of the sideshift function.
When the connection between mastcable and the reachtruck is lost, lifting
is only possible within the free lift of the mast. If it is needed to lift the
mast more than the free lift the connection in the reachcarrier must be
made (temporarily).
The mastcable is ty-wrapped to the hydraulics lines as shown in figure 4.
The cable is then guided over the original pulleys of the machine.
To place the mastcable over the pulley at the free lift cylinder, you will
have to loosen the bolds a little to create some extra space. See figure 5.
Figure 2. Camera installed on fork
Important
Roll out the mastcable entirely to remove kinks
before installing it in the mast of the truck.

IM0993630 A 02 5
Installation
The original BT springs are connected to the spring plates that are
included in the mastcable. see figure 6.
In some circumstances it occurs that the mastcable is moving along
hydraulic connection at the free lift cylinder.
To prevent this to cause any problem with the mast cable, a simple
adjustment can be made. See fig. 7.
A ty-wrap is mounted around the cylinder and the connection, which
function is a guidance for the mastcable.
The cable is guided further by ty-wrapping it along the hydraulic hoses
down the mast, into the reachcarrier.
The Tyco connector is re-inserted into the connector of the machine
(figure 8).
The “extra” length of the mast cable can by ty-wrapped together in the
reachcarrier.
The 5-meter cable 0304341 is connected to the other end
of the mastcable and guided under the battery compartment into the
cabin.
Figure 7. Ty-wrap as guidance
Figure 8. Cable in reachcarrier
Figure 6. Springsets connected

6 IM0993630 A 02
Installation
The monitor can be mounted at the cabin roof, as shown in figure 9.
The camera cable from the monitor is guided to the cabin via the roof
support. The camera cable is connected to the 5-meter cable 0304341.
The monitor’s power wires are connected to the 48V/DC main power sup-
ply. When the machine is equipped with working lights on the cabin roof,
there is a fused 48V connection present in the “ceiling” of the cabin. This
is connector named F75. (figure 10).
If there is no power on the connector, please put in a 10A fuse in the
fusebox (under the footstep) in the upper row, position 4 counting from
the left.
Figure 9. Mounting base for the monitor
Figure 10. Connection 48V power supply

IM0993630 A 02 7
Safety
In order to guarantee safe operation, these safety instruc-
tions must be read before you start using this equipment.
• Do not open the enclosure. This can cause damage, short-circuiting or
electrical shocks.
• Do not expose the equipment to extreme temperatures. This can cause
deformation of the enclosure or damage to internal components.
• Repairs or adjustments to the equipment may only be undertaken by
Orlaco.
• The equipment must be assembled as shown in this manual.
• If there have been alterations or changes to this equipment that have
not been specifically approved by Orlaco, use of this equipment is not
permitted.
This installation manual describes the functions of the equipment, out-
lines the connection options and explains how to put the equipment into
operation. We recommend that you keep this manual in a safe place for
reference purposes.
If you have any questions or issues concerning the operation of this
equipment, consult the relevant section in the manual or contact the
Orlaco Products BV Service department.
The camera and monitor systems from Orlaco comply with the latest CE,
ADR, EMC and mirror-directive regulations. All products are manufac-
tured in accordance with the ISO 9001 quality management, IATF 16949
quality automotive and ISO 14001 environmental management.
Disposal
Disassembly, removal and disposal. Local regulations for dealing with
waste must be followed when disposing of disassembled components or
entire units.
General terms and conditions
Orlaco Products BV is not liable for damage resulting from inadequate
servicing, incorrect usage or alterations made to the equipment without
informing the manufacturer in writing.
This installation manual has been made available by Orlaco Products
BV. All rights reserved. No part of this manual may be reproduced and/
or made public in printed form, in photocopy form or on microfilm, or in
any other way, without the prior written permission of Orlaco. This also
applies to the associated drawings and figures.
Orlaco reserves the right to make changes to components at any time
without informing customers beforehand or directly. All dimensions given
are for commercial purposes.
For information regarding repairs that is not covered in this manual,
please contact the Orlaco Products BV service department.
This manual has been prepared with all due care and attention. However,
Orlaco Products BV cannot be held responsible for any errors in this
manual or any consequences thereof.
Release Notes
R1-0 New edition, July 2009.
R1-1 Text added, December 2019.
R1-2 Article number changed, June 2011.
R1-3 Barcode added, April 2015.
A 01 Cable length 17m added, January 2017.
A 02 Article numbers updated, February 2019.

ORLACO
Orlaco is a Manufacturing company that specializes in making cameras
and monitor systems for commercial vehicles, fork-lift trucks, cranes, off
shore and maritime.
Our objective is to design and produce camera systems for the profes-
sional market that improve the drivers view and increase operating
efficiency.
At our factory in Barneveld, we have a production department, ware-
house, design department, service department and showroom.
Vision is our mission®, and Orlaco therefore deploys the development,
manufacture, supply and service of camera and display systems that will
improve safety and efficiency of all vehicles, machinery and vessels. Our
systems give the end user a view on each blind spot and create comfort
and improved working conditions. Our active approach will support mar-
ket demands and innovations and will lead to enthusiastic ambassadors
in the market; our Customers.
This manual suits for next models
1
Table of contents
Other Orlaco Automobile Accessories manuals
Popular Automobile Accessories manuals by other brands

Carrier TRANSICOLD
Carrier TRANSICOLD Vector 8500 Operation & service manual

Safe Fleet
Safe Fleet inView 360 Fusion Calibration guide

Cequent Performance Products
Cequent Performance Products CQT76046 installation instructions

Yakima
Yakima JustClick 2 manual

Havis-Shields
Havis-Shields KK-K9-D22-K installation instructions

iDataLink
iDataLink maestro Rr install guide