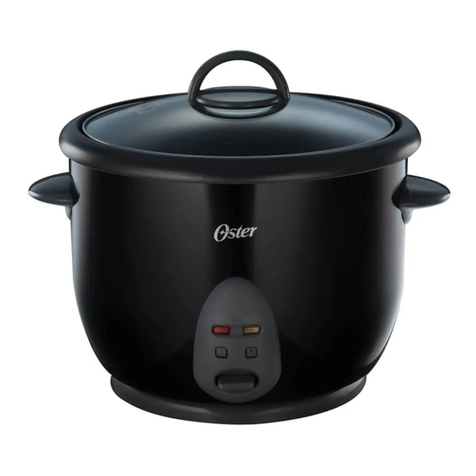
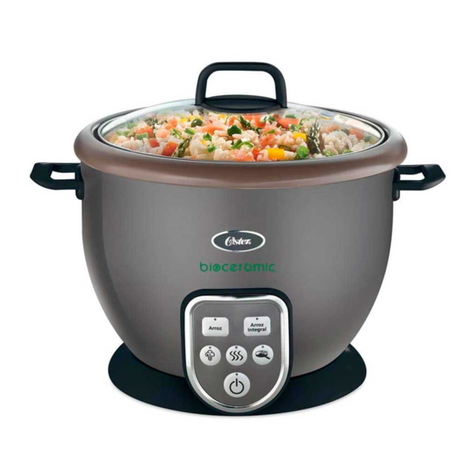
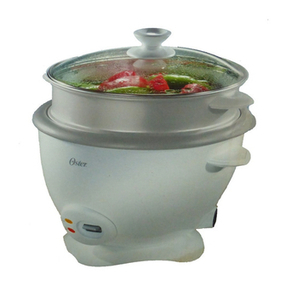
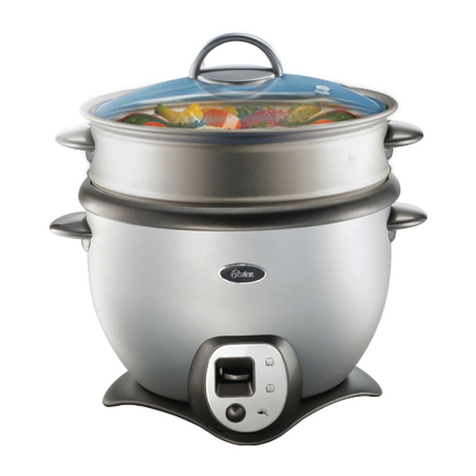
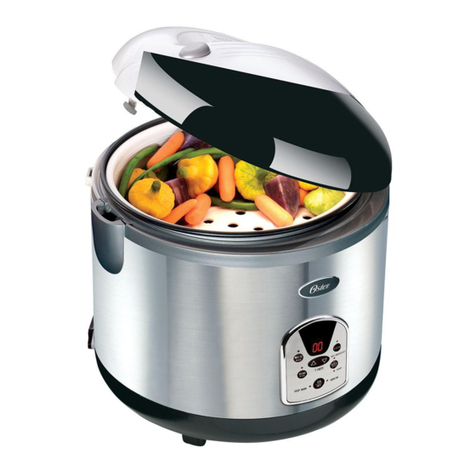
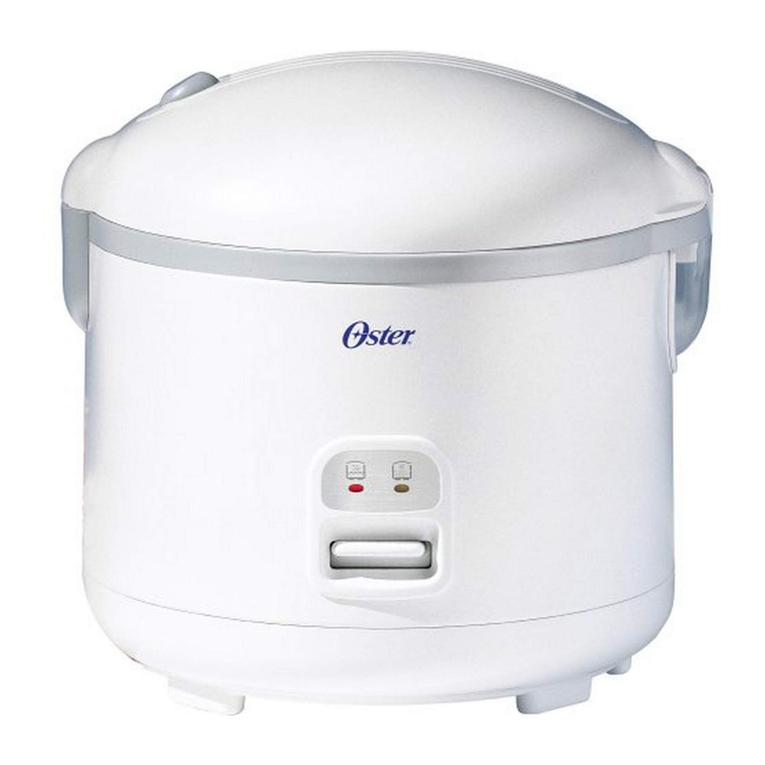
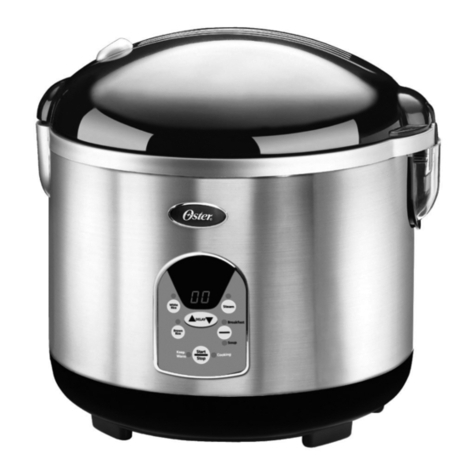
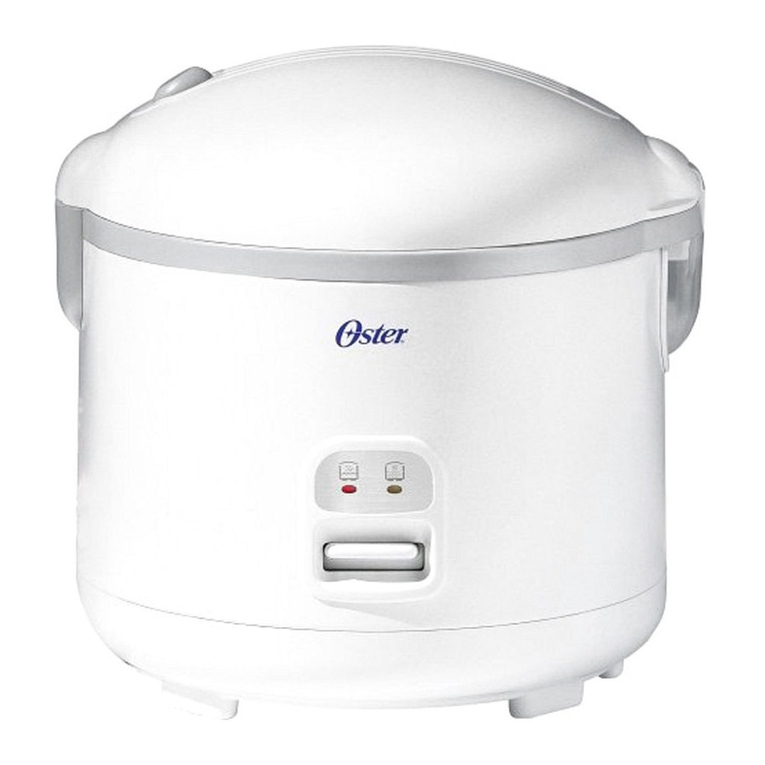
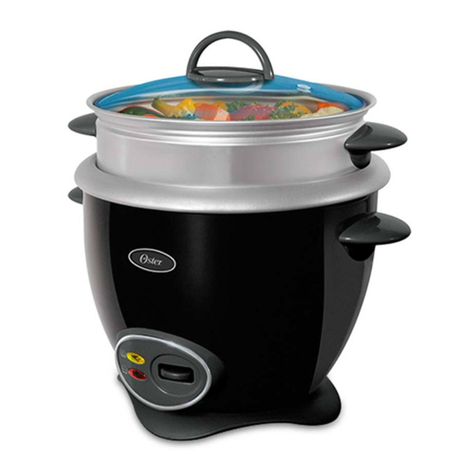
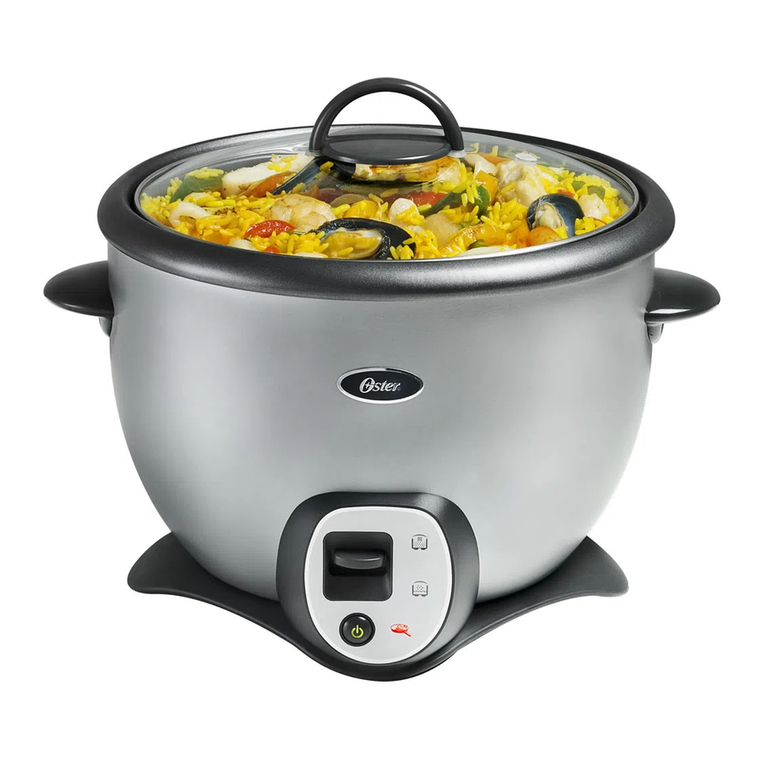
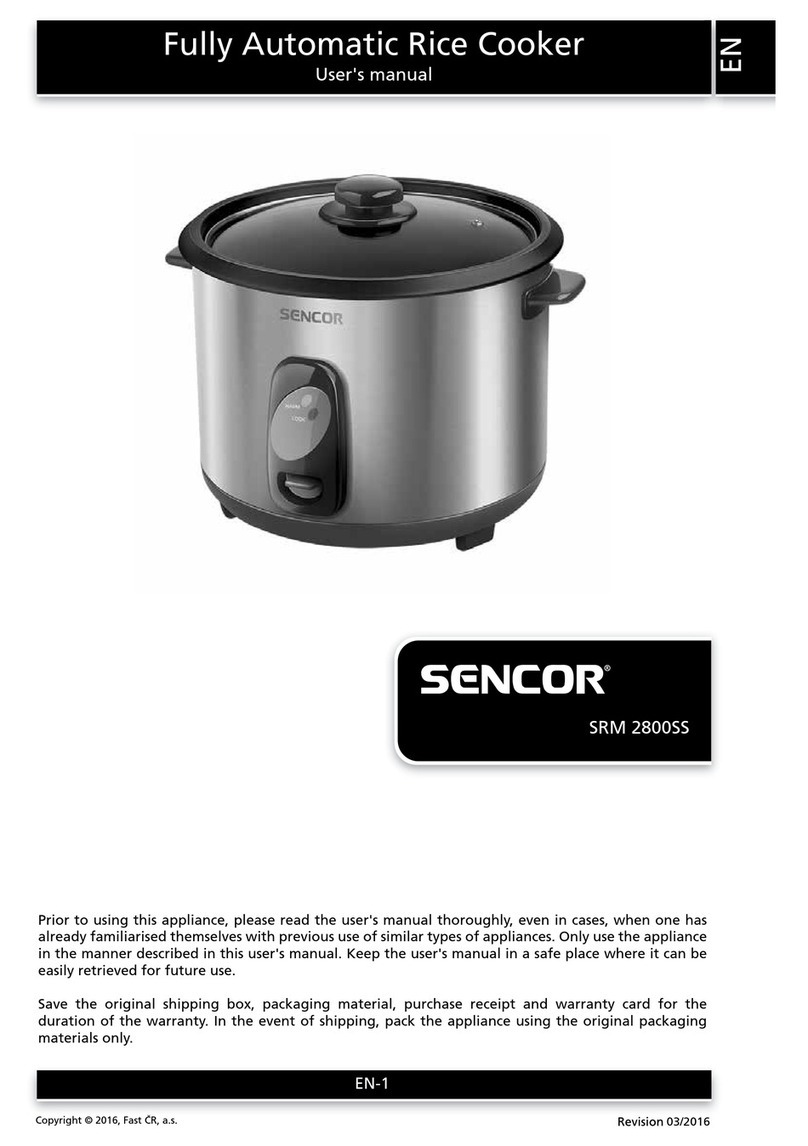
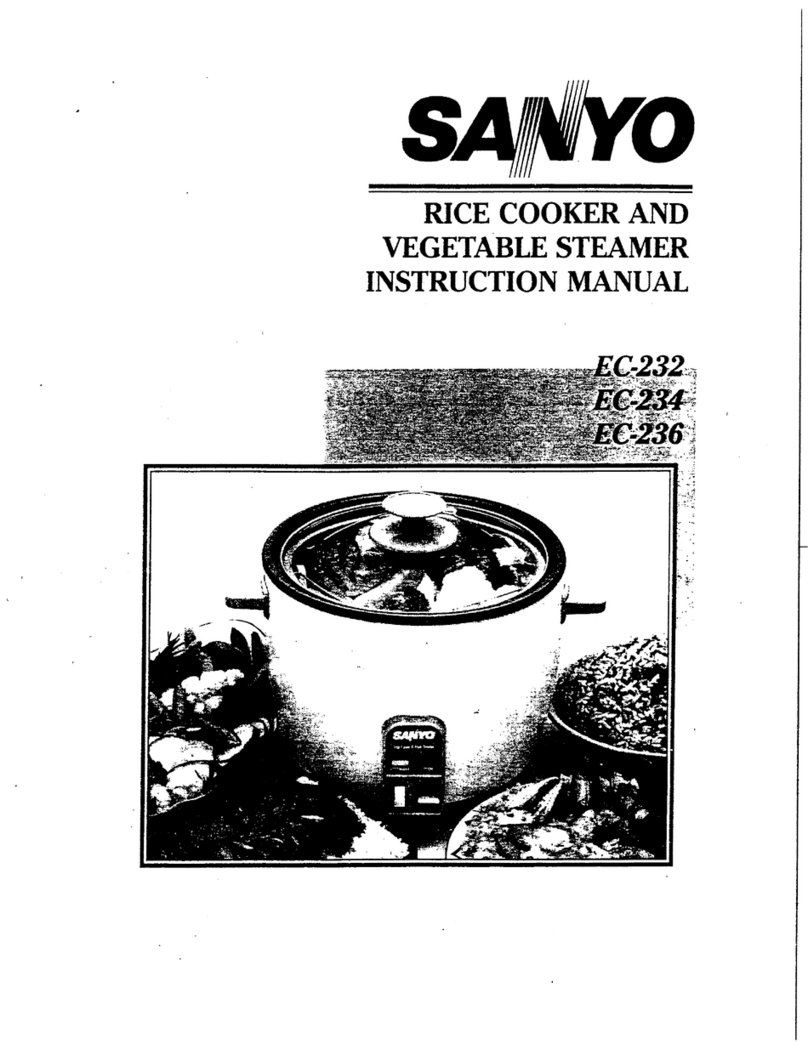
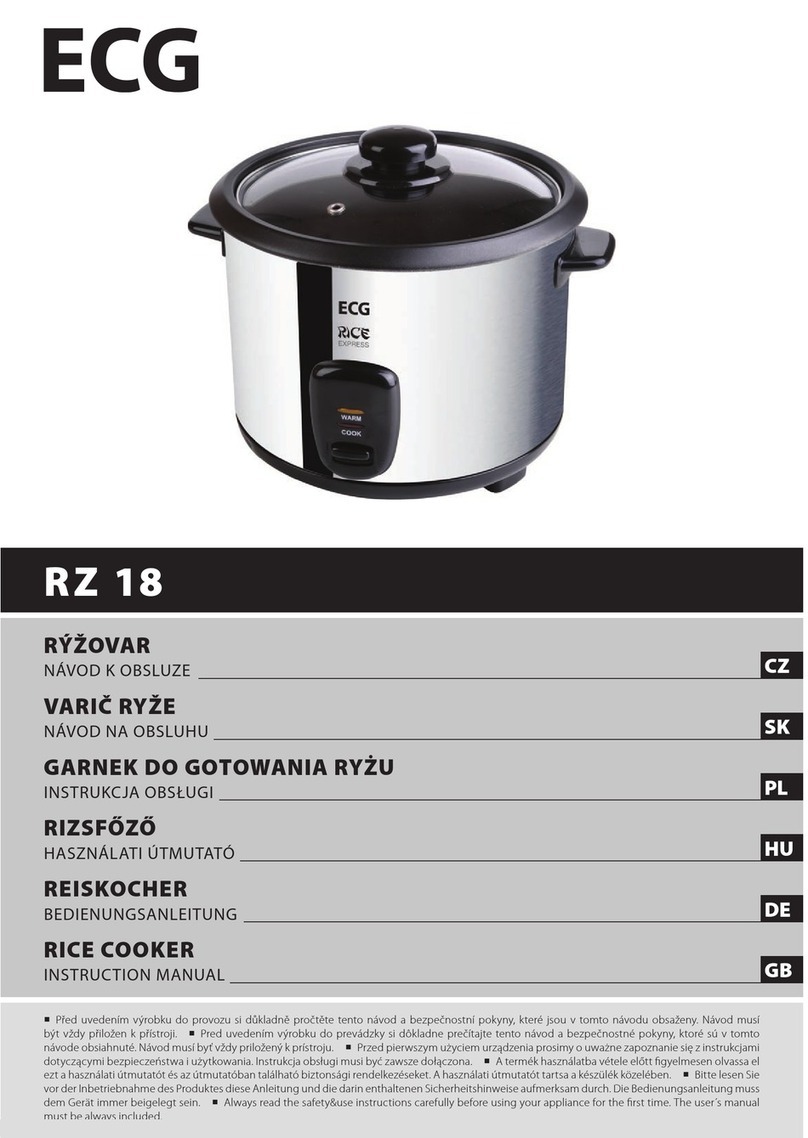
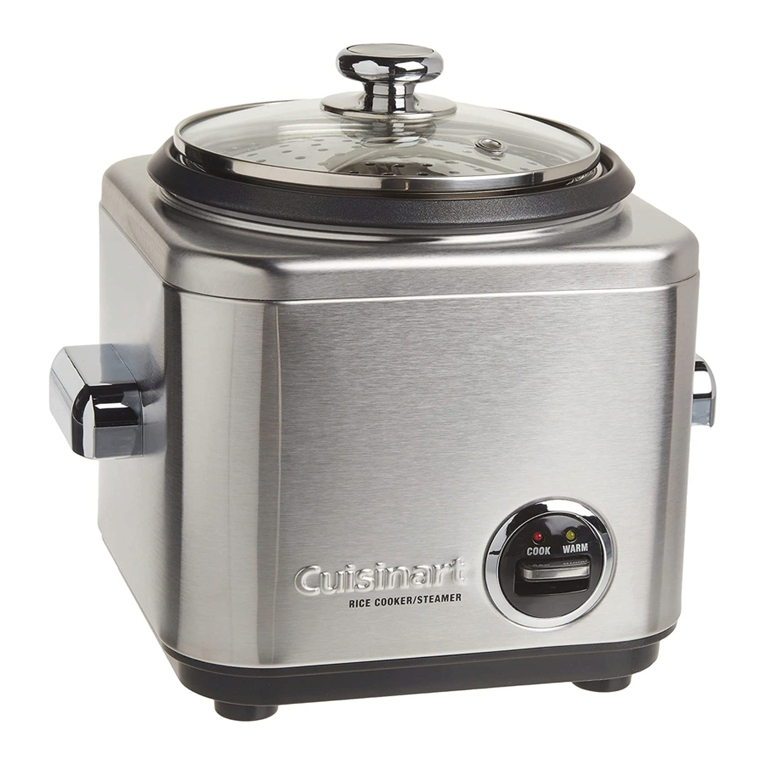
Oster 4728 User manual

Manual de Instrucciones
OLLA ARROCERA MULTIUSO
LEA TODAS LAS INSTRUCCIONES ANTES DE USAR ESTE APARATO
Instruction Manual
MULTI-USE RICE COOKER
PLEASE READ ALL INSTRUCTIONS BEFORE USING THIS APPLIANCE
Manual de Instruções
PANELA ELÉTRICA DE ARROZ
LEIA TODAS AS INSTRUÇÕES ANTES DE USAR ESTE APARELHO
MODELOS
MODELS
4728, 4728R, 4729, 4730, 4731,
4731K, 4731M, 4731R, 4731T
4732 & CKSTRC4733

Español-1
PRECAUCIONES IMPORTANTES
Cuando utilice su aparato, siempre debe seguir precauciones básicas de seguridad,
incluyendo las siguientes:
1. LEA TODAS LAS INSTRUCCIONES, LAS ETIQUETAS DEL PRODUCTO Y LAS
ADVERTENCIAS, ANTES DE UTILIZAR SU APARATO.
2. NO toque superficies calientes.Use guantes resistentes al calor para quitar la
Tapa o al manejar recipientes calientes para evitar quemaduras producidas por
el vapor.
3. Para protegerse contra una descarga eléctrica no sumerja el Cable, enchufe o el
Cuerpo Calefactor en agua u otros líquidos.
4. Tenga mucho cuidado al utilizar cualquier electrodoméstico cuando hay niños
alrededor.
5. Desenchufe el electrodoméstico del tomacorriente cuando no lo esté utilizando.
Desenchufe la unidad antes de quitar o colocar piezas y deje que se enfríe antes
de limpiarla.
6. NO opere ningún electrodoméstico que tenga el Cable o enchufe dañado, si la
unidad no funciona correctamente o si se ha dañado de alguna manera. Lleve
el electrodoméstico a un Centro de Servicio Autorizado para que lo revisen,
reparen o ajusten.
7. NO lo utilice al aire libre.
8. NO permita que el Cable cuelgue del mostrador o la mesa ni toque
superficies calientes.
9. NO lo coloque cerca o sobre una estufa a gas/ eléctrica o en un horno caliente.
10. Tenga suma precaución al mover el electrodoméstico si contiene agua,
alimentos calientes o cualquier otro líquido caliente.
11. NO utilice el electrodoméstico para un propósito distinto para el cual fue
diseñado.
12. Levante y abra la Tapa cuidadosamente para evitar quemarse y deje que el agua
gotee hacia la Olla Interior.
13. NO utilice este electrodoméstico sin colocar la Tapa, pues produce vapor durante
su funcionamiento.
14. El uso de accesorios no recomendados por el fabricante del electrodoméstico
pueden causar heridas.
15. Si se usan los cables de extensión, la capacidad nominal eléctrica del cable
de extensión debe ser igual o mayor que el amperaje que se muestra en el
electrodoméstico y coloque el cordón de extensión de manera que no cuelgue
sobre el borde del mostrador o mesa donde pueda halarlo un niño o tropezar con
él accidentalmente.
16. Este artefacto eléctrico no está destinado para ser usado por personas
(incluyendo niños) cuyas capacidades físicas, sensoriales o mentales estén
disminuidas, o carezcan de experiencia y conocimiento, a menos que una
persona responsable por su seguridad les haya supervisado o instruido en el

Español-2
uso de este electrodoméstico. Los niños deberán estar bajo supervisión para
cerciorarse de que no jueguen con el artefacto eléctrico.
17. Se requiere estricta supervisión cuando las personas discapacitadas o los niños
utilicen cualquier electrodoméstico o estén cerca de él.
18. Este artefacto no ha sido diseñado para funcionar mediante un temporizador
externo ni un sistema de control remoto.
19. Este artefacto ha sido diseñado para uso doméstico o en aplicaciones similares
tales como: áreas de cocina del personal de tiendas, oficinas y otros ambientes
de trabajo, granjas, clientes de hoteles, moteles y otros ambientes de tipo
residencial, así como en ambientes de hospederías.
ESTA UNIDAD ESTA DISEÑADA SOLO PARA USO DOMÉSTICO.
CONSERVE ESTAS INSTRUCCIONES
INSTRUCCIONES ESPECIALES PARA EL CABLE
1. Se proporciona un cable de alimentación corto para disminuir el peligro de que
una persona o una mascota se enrede o tropiece con un cable largo.
2. Se puede comprar y utilizar una extensión si se emplean las debidas precauciones.
3. Si se usa una extensión, la potencia nominal indicada en la misma debe ser
igual o mayor a la de la unidad. El cable alargado resultante debe colocarse de
manera que no cuelgue del mostrador o de la mesa, donde los niños podrían
halarla o podría ocasionar tropiezos accidentales.

Español-3
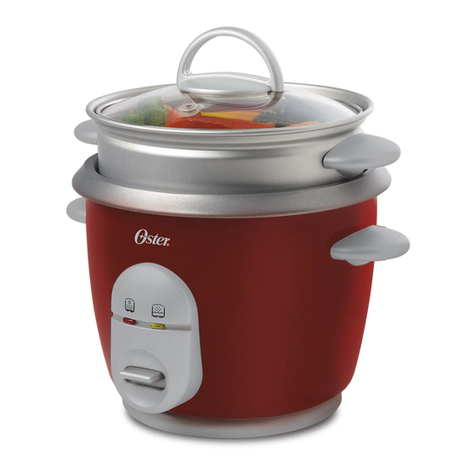
1. Tapa de Vidrio
2. Olla Interior
3. Cuerpo Calefactor
4. Luz de Calentar (amarilla)
5. Luz de Cocción (roja)
6. Interruptor de Encendido
7. Bandeja para Cocinar al Vapor
(modelos 4731, 4731K, 4731M,
4731R, 4731T y CKSTRC4733
solamente)
8. Asas
9. Cordón Eléctrico
10. Taza Medidora
11. Cucharón
DESCRIPCIÓN DEL ARTEFACTO
1
7
8
9
10
11
2
3
4
5
6

Español-4
PREPARACIÓN PARA EL USO
POR PRIMERA VEZ
Limpie la Tapa de Vidrio, la Olla Interior, el Cucharón, la Bandeja para Cocinar
al Vapor (modelos 4731, 4731K, 4731M, 4731R, 4731T y CKSTRC4733
solamente) y la Taza Medidora de acuerdo con las instrucciones para
el mantenimiento.
USANDO SU ARTEFACTO
1. Asegúrese de que la Arrocera esté desconectada del tomacorriente.
2. Mida la cantidad deseada de arroz crudo con la taza graduada que se incluye
de 180 ml. (Una taza de arroz crudo rinde aproximadamente dos tazas de arroz
cocido). La capacidad máxima es de 7 tazas (1,2 L) de arroz crudo para el
modelo 4728 y 4728R. La capacidad máxima es de 10 tazas (1,8 L) de arroz
crudo para los modelos 4729, 4731/
4731K/4731M/4731R/4731T
y 4732. La
capacidad máxima es de 12 tazas (2,2 L) de arroz crudo para el modelo 4730.
La capacidad máxima es de 15 tazas (2,6 L) de arroz crudo para el modelo
CKSTRC4733.
3. Con la ayuda de la Taza Medidora, agregue la cantidad correcta de agua al arroz
dentro de la Olla Interior. Para un arroz más mojadito (pegajoso), agregue un
poco más de agua. Para un arroz más suelto (esponjoso), use menos agua.
La taza proporcionada no iguala 1 taza:
El peso de arroz de 1 taza es 160 g, el peso de una taza de agua es de 175 g.
2 tazas de arroz necesitan 788 g (4 ½ tazas) de agua;
4 tazas de arroz necesitan 1200 g (7 tazas) de agua;
6 tazas de arroz necesitan 1500 g (8 ½ tazas) de agua;
8 tazas de arroz necesitan 1720 g (9 ¾ tazas) de agua; 10 tazas de arroz
necesitan 1860 g (10 ²⁄³tazas) de agua; 12 tazas de arroz necesitan 2232 g
(12 ¾ tazas) de agua; 15 tazas de arroz necesitan 2790 g (16 tazas) de agua.
4. Coloque la Olla Interior del artefacto. Asegúrese de que ésta hace contacto con
el Plato Calefactor, girándola ligeramente de derecha a izquierda hasta que esté
colocada correctamente.
5. Cubra con la tapa. NO OPERE ESTE ARTEFACTO SIN QUE ESTÉ CUBIERTO
CON LA TAPA. EL VAPOR SE GENERA DURANTE EL USO.
6. Conecte el Cable eléctrico. Encienda la Arrocera presionando el Interruptor de
Encendido hacia abajo. Verifique que la Luz de Cocción (roja) esté iluminada.
7. Después de 15 minutos mezcle el arroz. Levante y abra la Tapa cuidadosamente
para evitar quemarse y deje que el agua gotee hacia la Olla Interior. Use el
Cucharón o cualquier otro utensilio con un mango largo para mezclar el arroz.
Después de mezclar, cubra la Olla Interior con la Tapa.
Español-5
8. Cuando el arroz ya esté cocido, la Arrocera automáticamente cambiará
a la función de calentar y la Luz de Calentar (amarilla) se iluminará. La
Arrocera permanecerá calentando hasta que la unidad sea desconectada del
tomacorriente.
9. La Arrocera mantendrá el arroz caliente a una temperatura de 60 °C – 80 °C
(140 °F – 175 °F) automáticamente.
10. Permita que el aparato se enfríe completamente antes de limpiar. Desconecte la
Arrocera del tomacorriente cuando no la esté utilizando.
NOTAS: Lave el arroz en un tazón por separado si así lo desea.
Para un arroz más suave, sugerimos que prepare el arroz y el agua en la Olla
Interior y déjelo remojando de 10 a 20 minutos antes de cocinar.
INSTRUCCIONES PARA RECALENTAR EL ARROZ
Para recalentar arroz frío, agregue ¼de taza (4 cucharadas) de agua fría por cada
taza de arroz, revuelva y mezcle, después presione el Interruptor de Encendido para
cocinar. Cuando el arroz esté caliente, la Arrocera automáticamente cambiará a la
función de calentar.
CÓMO USAR LA BANDEJA PARA COCINAR A VAPOR
(MODELOS 4731, 4731K, 4731M, 4731R, 4731T Y CKSTRC4733 SOLAMENTE)
Los vegetales cocinados al vapor retienen mucho más los nutrientes que los
vegetales hervidos o cocidos y además conservan su color natural.
1. Prepare los vegetales, lávelos bien, pélelos y córtelos en trozos pequeños.
2. Asegúrese de que la Arrocera esté desconectada del tomacorriente.
3. Llene la Olla Interior con la cantidad de agua recomendada (Ver la Tabla).
4. Coloque la Olla Interior dentro del Cuerpo Calefactor. Asegúrese de que la Olla
Interior haga contacto con el plato calefactor.
5. Coloque los vegetales en la Bandeja para Cocinar a Vapor y coloque la Bandeja
encima de la Olla Interior. Cubra con la Tapa. NO OPERE ESTE ARTEFACTO
SIN QUE ESTÉ CUBIERTO CON LA TAPA. EL VAPOR SE GENERA DURANTE
EL USO.
6. Conecte la unidad al tomacorriente. Encienda la Arrocera presionando el
Interruptor hacia abajo. Verifique que la Luz de Cocción (roja) esté iluminada.
7. Controle manualmente el tiempo de cocción de acuerdo al siguiente cuadro. La
unidad pasará automáticamente al ciclo de mantener caliente al evaporarse toda
el agua. Si toda el agua llega a evaporarse y usted desea los alimentos más
cocidos, agregue más agua.

Español-6
8. Una vez que los vegetales estén cocidos remueva la Bandeja para Cocinar al
Vapor de la Olla Interior.
9. Desconecte la Arrocera del tomacorriente y permita que se enfríe completamente
antes de limpiar.
VEGETAL CANTIDAD AGUA TIEMPO
Granos Verdes 10 onzas / 300 g ¹⁄³taza / 50 ml 30-35 minutos
Brócoli 10 onzas / 300 g ¹⁄³taza / 50 ml 30-35 minutos
Zanahoria 8 onzas/ 200 g ¹⁄³taza / 50 ml 30-35 minutos
Colior 8 onzas / 200 g ¹⁄³taza / 50 ml 30-35 minutos
Maíz (Grano) 10 onzas / 300 g ¹⁄³taza / 50 ml 40-45 minutos
Guisantes 10 onzas / 300 g ¹⁄³taza / 50 ml 30-35 minutos
Espinaca 5 onzas / 150 g ¹⁄³taza / 50 ml 20-30 minutos
Vegetales Mixtos 10 onzas / 300 g ¹⁄³taza / 50 ml 30-35 minutos
NOTA: Estos tiempos son aproximados. Es recomendable que usted supervise el
proceso de cocción al vapor y ajuste los tiempos de acuerdo a su preferencia. De
vez en cuando, revuelva los vegetales durante el proceso de cocción. Al cocinar el
arroz, el tiempo para cocer al vapor puede variar.
CUIDADO Y LIMPIEZA
LIMPIE LA ARROCERA DESPUÉS DE CADA USO.
1. Desconecte la Arrocera del tomacorriente cuando no la esté utilizando y antes de
limpiarla. ¡Nunca sumerja el Cuerpo Calefactor en agua o en ningún otro líquido!
Permita que la Arrocera se enfríe antes de limpiarla.
2. No use limpiadores abrasivos, esponjas de metal o lana para limpiar la Arrocera.
3. Cuerpo Calefactor: limpie ligeramente el exterior con un paño o esponja
húmedos. ¡No sumerja el Cuerpo Calefactor en agua o en ningún otro líquido!
Seque bien con un paño suave.
4. Olla Interior: llene con agua caliente y permita que esté así un tiempo, después
lave con agua caliente jabonosa y una esponja; seque bien con un paño.
También puede lavarse en lavaplatos.
5. La Tapa, la Taza Medidora, el Cucharón y la Bandeja para Cocinar al Vapor
(modelos 4731, 4731K, 4731M, 4731R Y 4731T solamente): lave en agua tibia
jabonosa. Enjuague bien y seque.
PRECAUCIÓN: maneje la tapa con extremo cuidado, puede resbalarse cuando
está mojada. También puede lavarse en lavaplatos.

Español-7
6. Plato Calefactor: granos de arroz y otros objetos extraños pueden pegarse al
plato calefactor. Estos deben ser removidos para prevenir un funcionamiento
inadecuado al cocinar. Para remover arroz cocido, un papel con lija suave
puede usarse. Suavice y elimine los residuos para que la Olla Interior y el plato
calefactor estén en contacto al cocinar.
7. No hay partes que usted pueda reparar dentro de la Arrocera. No intente reparar
este electrodoméstico ya que puede ser peligroso.
RECETAS
ARROZ A LA ESPAÑOLA
250 g de chorizo
1 cebolla mediana
1 cucharada de ají amarillo molido
1 cucharadita de pimentón
2 tazas de tomates picados, sin piel ni
semillas
1 taza de arvejas
1 pimiento rojo cortado en cuadritos
2 tallos de apio cortado en rebanadas
1 pimiento verde cortado en cuadritos
2 tazas de arroz de grano largo
3 tazas de caldo de pollo
sal y pimienta al gusto
Pica la cebolla. En la Arrocera Multi-Usos Oster®, freír el chorizo cortado
en rebanadas, agregar la cebolla, el ají, el pimentón y los tomates. Mezclar
homogéneamente. Incorporar el resto de los vegetales, el arroz y el caldo,
verificar la sazón, tapar y dejar cocinar hasta que esté listo. Decorar con perejil
fresco. Servir caliente.
FETTUCCINI EN SALSA DE MANZANAS, CAMARONES Y CURRY
½ kg de fettuccini
4 cucharadas de mantequilla
3 cucharadas de harina
1 cucharadita de curry
½ taza de crema de leche
1 taza de caldo de pollo
2 tazas de manzanas peladas y picadas
en cuadritos
½ kg de camarones
Queso parmesano a gusto
Jugo de un limón (para las manzanas)
En la Arrocera Multi-Usos Oster®, derretir la mantequilla, agregar la harina y el
curry. Cocer por 2 minutos. Agregar la crema de leche, el caldo de pollo, las
manzanas y los camarones. Mover hasta que espese. Pase a la función de
mantener caliente. En la Arrocera Multi-Usos Oster®, verter agua y sal suficientes
para cocinar los fettuccini al dente. Servir el fettuccini con salsa y espolvorear con
abundante queso parmesano.

Español-8
ARROZ CON MARISCOS
453,6 g (1 libra) de arroz con azafrán
113,4 g (¼ libra) de ostiones
1 taza de chícharos dulces
¼ pimiento rojo cortado en cuadros
12 almejas pequeñas
113,4 g (¼ libra) de camarones limpios,
con o sin cola
Lave las almejas tallando minuciosamente y enjuague muy bien. Prepare el arroz
en la Arrocera Multi-Usos Oster®, siguiendo las instrucciones del empaque. Añada
las almejas, los camarones, ostiones, chícharos y pimiento cinco minutos antes
que el arroz se haya cocido. Mezcle bien con movimientos envolventes y sirva
con trocitos de pan francés y una ensalada fresca. Opción: Puede sustituirse el
arroz con azafrán por una mezcla de arroz integral.
MINESTRÓN MILANÉS
½ kg de pechuga de pollo
1 cucharada de albahaca
½ taza de frijolito fresco
½ cucharadita de orégano
½ taza de pimientos verdes picados
½ taza de calabacines picados
2 tazas de tomates pelados, sin
semillas y picados
2 cucharaditas de salsa inglesa
1 taza de queso parmesano
2 litros de agua
2 dientes de ajo picados
½ taza de apio
½ cucharadita de tomillo
½ taza de cebollas en rodajas
½ taza de champiñones en rebanadas
3 papas medianas peladas y cortadas
en dados
½ kg de fideos canutos
3 cucharadas de margarina
Sal al gusto
En la Arrocera Multi-Usos Oster®, verter el agua y hervir el pollo con la sal.
Cuando el pollo esté cocido, retirar y cortar en cuadritos. Reservar el caldo. En
la Arrocera Multi-Uso Oster®, derretir la margarina, agregar los ajos, la cebolla, el
apio, el pimiento, los champiñones, el frijolito y los calabacines. Freír hasta que
se ablanden. Agregar los tomates, luego las papas y freír por 5 minutos más.
Agregar esta preparación al caldo de pollo, incorporar la salsa inglesa, el bouquet
de hierbas (albahaca, tomillo, orégano), sal, pollo y fideos. Dejar cocinar por
10 minutos hasta que las papas estén cocidas pero firmes. Incorporar el queso
parmesano revolviendo. Dejar por 2 minutos más. Al servir espolvorear con más
queso.

Español-9
ARROZ CON POLLO
0,9 kg arroz
3 aji dulce
4 dientes de ajo
4 pechugas de pollo pimienta al gusto
caldo de pollo, 1 sobre
1 cebolla
2 zanahorias
apio al gusto
3 cucharadas de sal
orégano al gusto
pasta de tomate
Se cocina el pollo en agua, sal, pimienta, orégano, caldo de pollo en su Arrocera
Multi-Usos Oster®. Al estar listo se deshilacha el pollo en el agua que se cocinó,
se hierven el ají, la cebolla, ajo, apio, zanahoria todo bien picadito, 10 minutos de
cocimiento, se le agrega pasta de tomate y el pollo deshilachado. Luego de tener
la salsa se le agrega al arroz crudo y limpio tapando el arroz un poco más de lo
normal.
ENSALADA DE ARROZ CON ATÚN
2 tazas de arroz cocido
1 lata de atún
3 huevos duros
sal y pimienta
aceite de oliva
2 pimientos en vinagre*
100 g de aceitunas verdes
mayonesa
hojas de lechuga
vinagre
Cocinar el arroz en la Arrocera Multi-Usos Oster®en la forma tradicional, retirarlo
y colocarlo en una fuente hasta que se enfríe totalmente. Cortar los pimientos
cocidos en trocitos y los huevos duros en rodajas. Desmenuzar el atún e
incorporarlo junto con el resto de los ingredientes al arroz, dejando algunas
rodajas de huevo y aceitunas para decorar. Condimentar con aceite de oliva, sal,
pimienta y vinagre. Vaciar la ensalada sobre una fuente decorada con hojas de
lechuga y adornar con huevos duros y aceitunas.
* Pimientos en vinagre: lavar y cortar los pimientos por la mitad a lo largo.
Quitarle las semillas y ponerlos a cocinar en una cacerola con dos tazas de agua
y media taza de vinagre de vino con un poco de sal. Después de 15 minutos,
retirar del fuego.

Español-10
ARROZ CON LECHE
1 taza de arroz
1 palito de canela
1 ¾ taza de leche evaporada
1 cucharadita de ralladura de limón y
naranja
1 cucharadita de vainilla
1 yema de huevo
3 tazas de agua
2 clavos de olor
1 ¼ lata de leche
condensada
½ taza de pasas negras
¼ taza de pisco
Canela en polvo
En la Arrocera Multi-Usos Oster®, poner a hervir el arroz, previamente lavado, con
las 3 tazas de agua, el palito de canela y los clavos de olor. Una vez cocido el
arroz, agregar los dos tipos de leche, la ralladura y las pasas. Seguir moviendo
hasta que tome cuerpo. Incorporar la vainilla, el pisco y la yema de huevo bien
batida. Espolvorear con canela y servir.

English-1
IMPORTANT SAFEGUARDS
When using electrical appliances, basic safety precautions should always be
followed including the following:
1. READ ALL INSTRUCTIONS, PRODUCT LABELS AND WARNINGS BEFORE
USING THE APPLIANCE.
2. DO NOT touch hot surfaces. Use pot holders when removing Lid or handling hot
containers to avoid steam burns.
3. To protect against risk of electric shock, DO NOT immerse the Heating Body in
water or other liquids.
4. Close supervision is necessary when any appliance is used near children.
5. Unplug from outlet when not in use. Unplug before putting on or taking off parts,
and allow to cool before cleaning.
6. DO NOT operate any appliance with a damaged cord or plug, or after the
appliance malfunctions or has been damaged in any manner. Return appliance
to an Authorized Service Center for examination, repair or adjustment.
7. DO NOT use outdoors.
8. DO NOT let Cord hang over edge of table or counter, or touch hot surfaces.
9. DO NOT place on or near a hot gas or electric burner, or in a heated oven.
10. Extreme caution must be used when moving an appliance containing hot food or
water or other hot liquids.
11. DO NOT use appliance for other than its intended use.
12. Lift and open Lid carefully to avoid scalding and allow water to drip into the
Inner Pot.
13. DO NOT operate this appliance without the Lid in place on the unit. Steam is
generated during use.
14. The use of accessory attachments not recommended by this appliance
manufacturer may cause hazards.
15. If a longer detachable power-supply cord or extension cord is used, (1) the
marked electrical rating of the extension cord should be arranged so that it will
not drape over the countertop or tabletop where it can be pulled on by children or
tripped over unintentionally.
16. This appliance is not intended for use by persons (including children) with
reduced physical, sensory or mental capabilities, or lack of experience and
knowledge, unless they have been given supervision or instruction concerning
use of the appliance by a person responsible for their safety. Children should be
supervised to ensure that they do not play with the appliance.
17. Close supervision is necessary when any appliance is used by or near children,
or incapacitated individuals.
18. The instructions shall state that appliances are not intended to be operated by
means of an external timer or separate remote-control system

English-2
19. This appliance is intended to be used in household and similar applications such
as: staff kitchen areas in shops, offices and other working environments, farm
houses, by clients in hotels, motels and other residential type environments, bed
and breakfast type environments.
THIS UNIT IS FOR HOUSEHOLD USE ONLY.
SAVE THESE INSTRUCTIONS
SPECIAL CORD SET INSTRUCTIONS
1. A short power supply cord is provided to reduce the hazards resulting from
becoming entangled in or tripping over a longer cord.
2. An extension cord may be purchased and used if care is exercised in its use.
3. If an extension cord is used the marked electrical rating of the extension cord
must be the same as the product. The extended cord must be arranged so that
it will not drape over the counter top or tabletop where it can be pulled on by
children or tripped over accidentally.

English-3
DESCRIPTION OF THE APPLIANCE
1. Glass Lid
2. Inner Pot
3. Heating Body
4. Keep Warm Light (yellow)
5. Cook Light (red)
6. On-Switch Button
7. Steaming Tray (models 4731,
4731K, 4731M, 4731R, 4731T and
CKSTRC4733 only)
8. Handle
9. Power Cord
10. Measuring Cup
11. Paddle
1
7
8
9
10
11
2
3
4
5
6

English-4
PREPARING FOR FIRST TIME USE
Clean the Glass Lid, Inner Pot, Paddle, Steaming Tray (models 4731, 4731K,
4731M, 4731R, 4731T and CKSTRC4733 only) and Measuring Cup according to
the user maintenance instructions.
USING YOUR APPLIANCE
1. Make sure appliance is unplugged.
2. Measure raw rice for desired amount with the Measuring Cup (180 ml) provided.
(One cup of the uncooked rice will make about two cups of cooked rice.)
Maximum of 7 cups (1.2 L) uncooked rice for models 4728 and 4728R. Maximum
of 10 cups (1.8 L) uncooked nice for models 4729, 4731/4731R and 4732.
Maximum of 12 cups (2.2 L) uncooked rice for model 4730. Maximum of 15 cups
(2.6 L) uncooked rice for model CKSTRC4733.
3. By using the Measuring Cup, add proper amount of water to the rice inside the
Inner Pot. For stickier rice, add slightly more water. For fluffier rice, use slightly
less water.
The cup provided is not equivalent to 1 cup:
The weight of 1 cup of rice is 160g; the weight of 1 cup of water is 175 g.
2 cups of rice need 788 g (4½ cups) of water;
4 cups of rice need 1,200 g (7 cups) of water;
6 cups of rice need 1,500 g (8½ cups) of water;
8 cups of rice need 1,720 g (9 ¾ cups) of water; 10 cups of rice need 1,860 g
(10 ²⁄³cups) of water; 12 cups of rice need 2,232 g (12 ¾ cups) of water; 15 cups
of rice need 2,790 g (16 cups) of water.
4. Set the Inner Pot into the Rice Cooker. Make sure that the Inner Pot sits directly
in contact with the heating plate by turning it slightly from right to left until it is
seated properly.
5. Cover with Lid. DO NOT OPERATE THIS APPLIANCE UNCOVERED. STEAM IS
GENERATED DURING USE.
6. Plug the Power Cord into an electrical outlet. Activate the Rice Cooker by
pushing down the On-Switch Button down. Make sure the Cook Light (red) is on.
7. After 15 minutes mix the rice. Lift and remove the Lid carefully to avoid scalding
and allow water to drip into the Inner Pot. Use the Paddle or another long
handheld utensil to scoop and mix the rice. After mixing, cover the Inner Pot with
the Lid.

English-5
8. When your rice is cooked, the Rice Cooker will automatically switch to the warm
function and the Keep Warm Light (yellow) will turn on. The Rice Cooker will
keep the rice warm until the unit is disconnected from the wall outlet.
9. The Rice Cooker will automatically keep rice warm at 140 °F – 175 °F (60 °C –
80 °C).
10. Allow the appliance to cool completely before cleaning. Disconnect the plug from
the wall outlet when not in use.
NOTES:
Wash the rice in a separate bowl, prior to cooking, if desired.
For softer rice, we suggest preparing rice and water in the Inner Pot and letting soak
for 10 – 20 minutes before cooking.
INSTRUCTIONS TO REHEAT RICE
To reheat cold rice, add ¼cup (4 Tbsp.) of cold water per cup of cooked rice, stir to
mix, then press On-Switch Button to start cooking.
When rice is warm, the Rice Cooker will automatically switch to the keep warm
function.
USING THE STEAMING TRAY
(MODELS 4731, 4731K, 4731M, 4731R, 4731T AND CKSTRC4733 ONLY)
Steam cooking vegetables retains more nutrients than boiling or baking, while
preserving the bright, natural color.
1. Prepare vegetables by washing, peeling and then cutting into smaller
sized pieces.
2. Make sure the unit is unplugged.
3. Fill the Inner Pot with the appropriate amount of water. (See Chart)
4. Set the Inner Pot into the heating body. Make sure that the Inner Pot sits directly
in contact with the heating plate.
5. Place vegetables in the Steaming Tray and position the Tray on top of the Inner
Pot. Cover with Lid. DO NOT OPERATE THIS UNIT UNCOVERED. STEAM IS
GENERATED DURING USE.
6. Plug the Power Cord into a wall outlet. Activate the Rice Cooker by pushing down
the On-Switch Button. Make sure the red Cook Light is on.
7. Time the cooking manually according to the chart on next page. The unit will
automatically switch to the keep warm cycle once all the water evaporates. If all
the water evaporates and you wish to extend the cooking cycle, add more water.
8. Once the vegetables have been steamed according to your personal preference,
remove the Steamer Tray from the Rice Cooker.
9. Disconnect from the wall outlet and allow the unit to cool completely
before cleaning.
VEGETABLE QUANTITY WATER TIME
Green Beans 10 ounces / 300 g ¹⁄³Cup / 50 ml 30-35 minutes
Broccoli 10 ounces / 300 g ¹⁄³Cup / 50 ml 30-35 minutes

English-6
Carrots (Sliced) 8 ounces / 200 g ¹⁄³Cup / 50 ml 30-35 minutes
Cauliower 8 ounces / 200 g ¹⁄³Cup / 50 ml 30-35 minutes
Corn (Kernel) 10 ounces / 300 g ¹⁄³Cup / 50 ml 40-45 minutes
Peas 10 ounces / 300 g ¹⁄³Cup / 50 ml 30-35 minutes
Spinach 5 ounces / 150 g ¹⁄³Cup / 50 ml 20-30 minutes
Mixed Vegetables 10 ounces / 300 g ¹⁄³Cup / 50 ml 30-35 minutes
NOTE: These times are approximate. It is recommended that you monitor the
steaming process and adjust the cooking time according to your preference. Stir
vegetables occasionally during the cooking process. When cooking rice, steaming
times may vary.
CARE AND CLEANING
THIS APPLIANCE SHOULD BE CLEANED AFTER EVERY USE.
1. Unplug the Rice Cooker from the wall outlet when not in use or before cleaning.
Never immerse the Heating Body in water or any other liquid! Allow the Rice
Cooker to cool completely before cleaning.
2. Do not use abrasive cleaners or scouring pads or steel wool to clean the Rice
Cooker.
3. Heating Body: lightly wipe the exterior with a damp cloth or sponge. DO
NOT IMMERSE HEATING BODY INTO WATER OR ANY OTHER LIQUID. Dry
thoroughly with a soft cloth.
4. Inner Pot: fill with hot water and let sit for a while and then wash with hot, soapy
water using a sponge and dry thoroughly with a cloth or use dishwasher.
5. Lid, Measuring Cup, Paddle and Steaming Tray: wash in warm, soapy water.
Rinse thoroughly and dry.
CAUTION: handle the Lid with extreme care, as it may become slippery when
wet or use dishwasher.
6. Heating plate: grains of rice or other foreign matter may stick to the heating plate.
These must be removed to prevent inadequate cooking. To remove cooked rice,
smooth sandpaper can be used. Smooth out and polish the spot for good contact
between the heating plate and the bottom of the Inner Pot.
7. There are no user serviceable parts inside this appliance. Do not attempt to
repair this appliance yourself as you could render it dangerous to use.

English-7
RECIPES
SPANISH RICE
250 grams of sausage (chorizo)
1 tablespoon yellow pepper, ground
2 cups tomatoes, diced, without
skin or seeds
1 red pepper, diced
1 green pepper, diced
3 cups chicken broth
1 medium onion
1 teaspoon paprika
1 cup green peas
2 celery stalks, sliced
2 cups long-grain rice Salt and pepper
Chop the onion. In the Oster®Multi-Use Rice Cooker, sauté the sausage cut in
slices, add onion, yellow pepper, paprika and tomatoes. Mix together. Add the
remaining vegetables, the rice and the broth. Check seasoning, cover and cook
until done. Garnish with curly parsley. Serve hot.
FETTUCCINI WITH APPLE, SHRIMP AND CURRY SAUCE
½ kg fettuccini
3 tablespoons flour
½ cup cream
2 cups apples, peeled and diced
Parmesan cheese to taste
4 tablespoons butter 1 teaspoon curry
1 cup chicken broth
½ kg shrimp
Juice of one lemon (for the apples)
In the Oster®Multi-Use Rice Cooker, melt butter, add flour and curry. Cook for
2 minutes. Add cream, chicken broth, apples and shrimp. Stir until thickened.
Remove from heat and keep hot. In the Oster®Multi-Use Rice Cooker, pour
sufficient water and salt to cook fettuccini al dente. Serve the fettuccini with the
sauce and sprinkle with Parmesan cheese.
RICE WITH SHELLFISH
453.6 grams (1 lb) saffron rice
113.4 grams (¼ lb) shrimp, shelled and
deveined, with or without tails
¼ red pepper, diced
12 small clams
113.4 grams (¼ lb) oysters
1 cup sweet peas
Wash clams, shucking thoroughly, and rinse well. Cook rice in the Oster®Multi-
Use Rice Cooker, following the instructions on the package. Add clams, shrimp,
oysters, sweet peas and red pepper five minutes before the rice is fully cooked.
Mix well, without stirring. Serve with French bread croutons and a fresh salad.
Option: The saffron rice may be substituted with brown rice.

English-8
MILANESE MINESTRONE
½ kg chicken breast
1 tablespoon basil
½ cup fresh beans
½ teaspoon oregano
½ cup green pepper, chopped
½ cup squash, diced
3 medium potatoes, peeled and diced
2 teaspoons of Worcestershire sauce
1 cup Parmesan cheese
2 quarts water
2 cloves garlic, chopped
½ cup celery
½ teaspoon thyme
½ cup onions, sliced
½ cup mushrooms, sliced
2 cups tomatoes, diced, without
skin or seeds
½ kg fine noodles
3 tablespoons margarine
salt
In the Oster®Multi-Use Rice Cooker, pour water and boil chicken with the salt.
When chicken is cooked, remove and dice. Reserve the broth. In the Oster®
Multi-Use Rice Cooker, melt butter, add garlic, onion, celery, green pepper,
mushrooms, beans and squash. Sauté until soft. Add the tomatoes, then the
potatoes and sauté for 5 more minutes. Add this mixture to the chicken broth, add
Worcestershire sauce, the herbs bouquet (basil, thyme, oregano), salt, chicken
and noodles. Cook 10 minutes until the potatoes are cooked, but firm. Add
Parmesan cheese while stirring. Cook 2 minutes longer. Serve and sprinkle with
more cheese.
RICE WITH CHICKEN
2 lb rice
3 green peppers
4 cloves garlic
4 chicken breasts
black pepper to taste
chicken broth, 1 envelope
1 onion
2 carrots
celery to taste
3 tablespoons salt oregano to taste
tomato paste
Cook the chicken in water, salt, black pepper, oregano, chicken broth in the
Oster®Multi-Use Rice Cooker. When done, shred the chicken in the water in
which it was cooked and add green peppers, onion, garlic, celery and carrots,
everything well chopped. Cook 10 minutes, and add tomato paste and shredded
chicken. After the sauce is cooked, add the uncooked, washed rice and cover the
rice somewhat more than normal.

English-9
RICE AND TUNA SALAD
2 cups cooked rice
1 can tuna
3 hard-boiled eggs
Salt and pepper
Olive oil
2 peppers in vinegar*
100 gr green olives
Mayonnaise
Cook the rice in the Oster®Multi-Use Rice Cooker in the traditional manner,
remove and place on a platter until it is completely cool. Dice the cooked peppers
and slice the eggs. Shred the tuna and add along with the remaining ingredients
to the rice, reserving some of the egg slices and olives to garnish the salad.
Season with olive oil, salt, pepper and vinegar. Serve the salad on a platter with
lettuce leaves and garnish with hard-boiled egg and olives.
* Peppers in vinegar: wash and cut the peppers in two lengthwise. Remove the
seeds and cook the peppers in a saucepan with two cups water and one-half cup
vinegar with a pinch of salt. After 15 minutes, remove from heat.
RICE PUDDING
1 cup rice
1 cinnamon stick
1 ¾ cup evaporated milk
1 teaspoon grated lemon
and orange peel
1 teaspoon vanilla
1 egg yolk
3 cups water
2 whole cloves
1 ¼ cup condensed milk
½ cup dark raisins
¼ cup grape brandy
Powdered cinnamon
In the Oster®Multi-Use Rice Cooker, cook the pre-washed rice with 3 cups of
water, cinnamon stick and cloves. Once the rice is cooked, add evaporated and
condensed milk, grated lemon and orange peel, and raisins. Continue stirring
until set. Add vanilla, grape brandy and the egg yolk well beaten. Sprinkle with
cinnamon and serve.
Other manuals for 4728
3
This manual suits for next models
10
Table of contents
Languages:
Other Oster Rice Cooker manuals

Oster
Oster 4728 User manual

Oster
Oster 3071 User manual

Oster
Oster CKSTRC4722-049 User manual

Oster
Oster CKSTRC4711 User manual

Oster
Oster 10 Cup Rice Cooker User manual

Oster
Oster 6-Cup Rice Cooker User manual

Oster
Oster CKSTRC9030S User manual

Oster
Oster 4715 User manual

Oster
Oster CKSTRC1700W User manual

Oster
Oster CKSTRC7029 User manual