–4– –5– –6–
http://support.overlandstorage.com
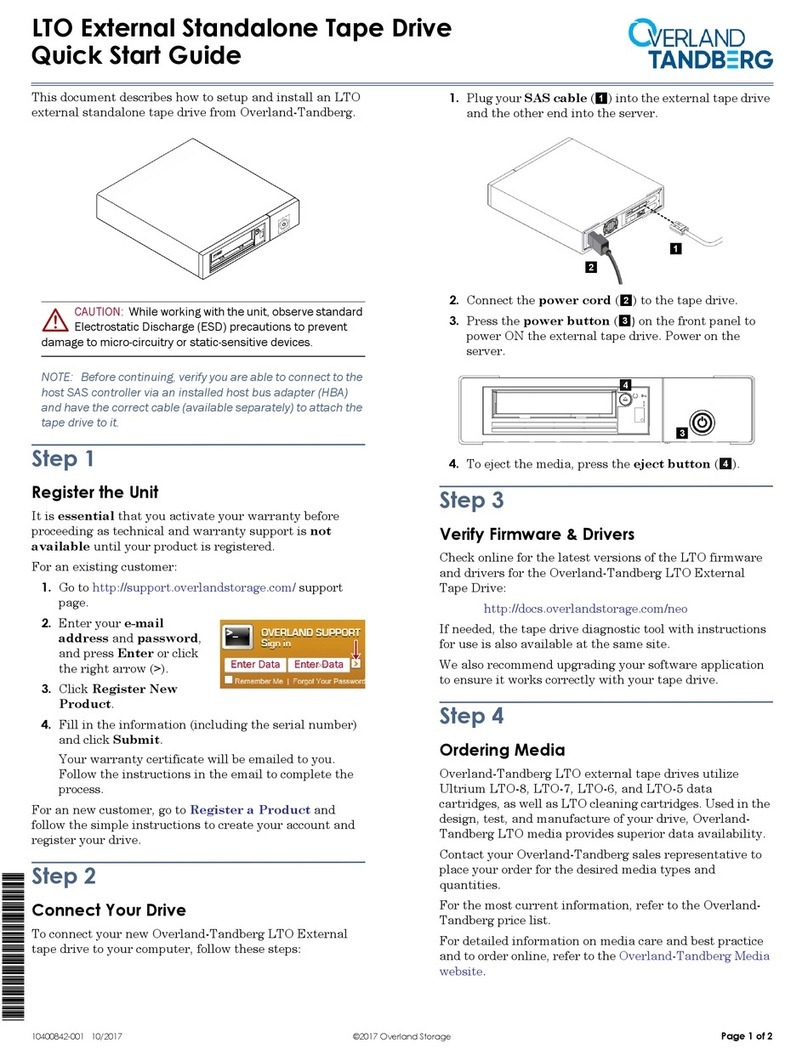
You can get additional technical support on the Internet at the Overland Storage Support web page, or
by contacting Overland Storage using the information found on the Contact Us page on our web site.
May 2019 ©2019 Overland-Tandberg
Step 4
WARNING: To reduce the risk of electric shock or damage to equipment, always
remove any power cords while working with the unit.
WARNUNG: Um das Risiko eines elektrischen Schlags oder Schäden am Gerät zu
vermeiden, ziehen Sie stets den Netzstecker, bevor Sie an der Einheit arbeiten.
AVERTISSEMENT: Pour réduire le risque de choc électrique ou endommagement de
l'équipement, retirez toujours les cordons électriques en travaillant avec l'appareil.
The half-height tape drive is installed at the rear of the library.
NOTE: Refer to the installation instructions and warnings that are packaged with the drive.
1. For the first drive, slightly pull out the ID label pull-out tab (3) so it does not
interfere.
2. Slightly insert the tape drive into the lower drive bay while supporting the drive.
3. Push the tape drive all the way into the drive bay until it seats itself against the
back of the library.
4. Tighten the blue captive screws with your fingers to secure the tape drive.
5. Push the ID label pull-out tab back into library.
If you have a second tape drive to install:
1. Remove and retain the top drive bay cover.
2. Slightly insert the tape drive into the upper drive bay while supporting the
drive.
3. Push the tape drive all the way into the drive bay until it seats itself against the
back of the library.
4. Tighten the blue captive screws with your fingers to secure the tape drive.
Step 5
Cable Attachment
CAUTION: It is recommended that you shut down and turn OFF the associated server.
Turn OFF all attached devices. Remove the power cables from the server and all
attached accessories. Failure to remove the power cords from these devices before
connecting the host interface cable could result in damage to the library.
All cabling, power connections, and cooling are located on the NEOs T24 rear panel.
1. Attach one end of the host interface cable to the library:
•For a Serial Attached SCSI (SAS) connected library, attach one end of the SAS
cable to Port A (left) SAS HBA ( ) on the drive.
•For a Fibre Channel (FC) library, attach one end of the fibre cable to Port 0
(left) connector on the drive (not shown).
- AC Power Socket
- SAS HBA Ports
- S/N Pull-out Tab
- Ethernet Port
- Serial Port
- USB Connection
2. Attach the other end of the host interface cable as follows:
•For a SAS library, connect the host interface cable to the host HBA, using a
direct SFF-8088 connection, or an interposer as required. Unused SAS
connectors do not need termination.
•For a Fibre Channel library, connect the fibre cable to the host or to a switch.
3. Plug the network Ethernet (management) cable into the Ethernet port on the
rear panel of the library. If the Ethernet connection is directly attached to a server
or laptop, a crossover Ethernet cable may be required.
NOTE: It is the customer's responsibility to supply the crossover cable if one is required.
4. Plug the power cord into the AC power socket.
5. Press the Power button on the front just left of the LED screen.
Step 6
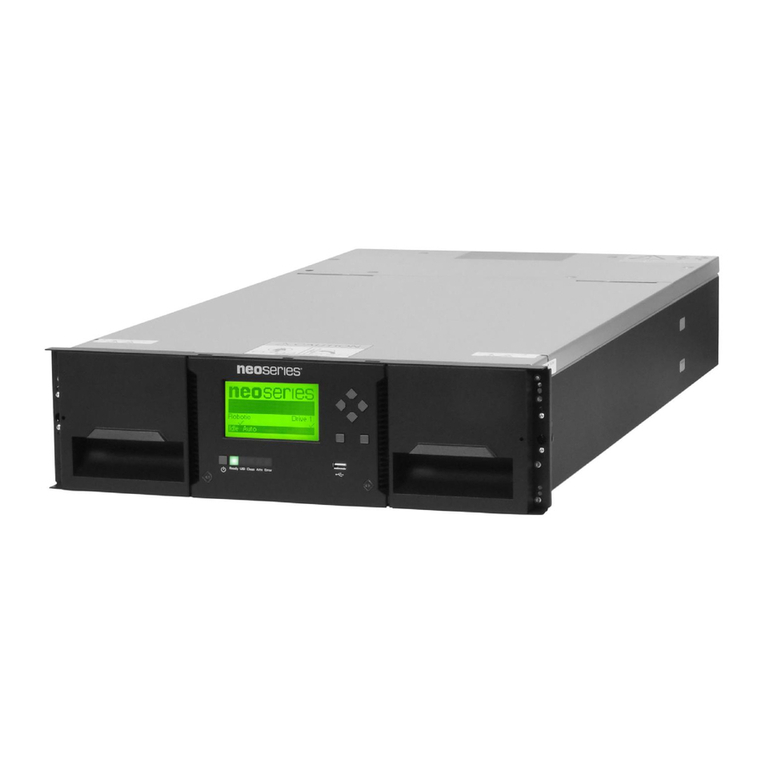
The library can be operated using either the Operator Control Panel (OCP) on the front
of the device or remotely using the Remote Management Interface (RMI) web access.
Operator Control Panel
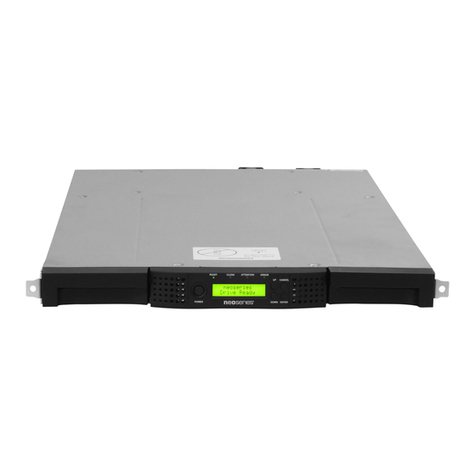
The OCP is the LCD screen located on the front panel (13), and displays actions and
status information, menu items, and error messages equivalent to the operation mode.
There are two modes:
• User interaction mode – This mode is employed when a user is pushing buttons
on the OCP.
• System driven mode – This is the normal mode of operation where the OCP
displays statuses associated with the actions resulting from commands issued
from the host software application.
It is supported by four LEDs above the screen (3-6) and four buttons to the right (7, 8,
11, 12). Refer to the NEO S-Series Tape Library User Guide for complete details.
Remote Management Interface
Many of the same operations performed locally from the OCP can also be performed
remotely using the network-connected RMI interface.
The RMI hosts a dedicated, protected Internet site that displays a graphical representation of the
library. After establishing a network connection to the library, open any HTML browser
and enter the IP address of the library.
NOTE: To access the RMI, you must first set the desired static IP address for the library using
the OCP or configure the library to use DHCP.
Refer to the NEO S-Series Tape Library User Guide for complete details.
Step 7
Confirm Your Library Firmware Version
Before using your new NEOs library, it is highly recommended that you verify it is
running the latest library firmware version:
1. At the Startup Screen, make a note of the firmware version.
2. Go to the Overland-Tandberg
Downloads and Resources
site:
http://docs.overlandstorage.com/neo
3. Under Downloads/NEO Series Firmware, click the link for the library.
4. At the FTP site, if newer, download the firmware and Release Notes.
5. Update the firmware using the NEO S-Series User Guide instructions.
Confirm Your Tape Drive Firmware
Refer to the installation instructions and warnings that are packaged with your tape
drive to determine if the firmware is current or needs to be updated.
If you determine that the firmware needs to be updated, follow these steps detailed in
the tape drive instructions.
Step 8
Additional information and support are available from Overland-Tandberg.
User Guides
For detailed information on configuring your NEOs library,
refer to the NEO S-Series User Guide available online
under Resources at:
http://docs.overlandstorage.com/neo
More information can be accessed from the Overland-
Tandberg Knowledge Base:
https://www.overlandtandberg.com/knowledgebase/
Warranty and Technical Support
For warranty and general technical support information,
see our Contact Us web page:
http://www.overlandstorage.com/company/contact-us/
index.aspx
For information on contacting Overland-Tandberg technical
support, see our Contact Support web page:
http://docs.overlandstorage.com/support


