manuals.online logo
Brands
  1. Home
  2. •
  3. Brands
  4. •
  5. PAC
  6. •
  7. Automobile Electronic
  8. •
  9. PAC NU-CHY1 Manual

PAC NU-CHY1 Manual

J1850
Class 2
VPW
Class 2
J1850
100011101111001001101100
111010000110110111001100
Arbitration
EOD
CRC
100011101111001001101100
111010000110110111001100
Class 2
Class 2
J1850
J1850
Class 2
VPW
Class 2
J1850
100011101111001001101100
111010000110110111001100
Arbitration
EOD
CRC
100011101111001001101100
111010000110110111001100
Class 2
Class 2
J1850
NU-CHY1
Chrysler/Dodge/Jeep
Navigation Unlock
Integration Interface
*These instructions only support revision 1.1.4 or higher of the NU-CHY1
Installation: Disconnect the main 22-pin harness from the back
of the radio. Plug the male connector on the NU-CHY1 harness into
the 22-pin port on the back of the radio. Connect the factory 22-pin
harness into the female connector on the NU-CHY1 harness.Plug the
Black micro-t 24-pin connector on the NU-CHY1 harness into the NU-
CHY1.
In vehicles equipped with a Multi-Function Display (MFD) in the
instrument cluster or an external Uconnect module it is not necessary
to connect and mount the LED. The best way to determine if the
UConnect is external is if the vehicle has an external iPod or USB input
(not including the one built into the front of the radio). If the vehicle is
not equipped with an MFD or external Uconnect module mount the
LED in a location that is visible to the driver.
The NU-CHY1 is a Navigation Unlock integration interface that allows the factory navigation features of
your Chrysler/Dodge/Jeep radio to be used by the passenger at anytime.
NU-CHY1
Chrysler/Dodge/Jeep
Navigation Unlock Interface
To Vehicle
Red Wire - Reverse Camera
Turn On Output
(12v+ 1 Amp Max)
To Factory Radio
NUCHY Harness
Connection Diagram
To dash-mount LED
Installation
Operation - Vehicles With Steering Wheel Controls
Activating the Navigation Unlock
Press and hold the “Source” button on the steering wheel controls (SWC) for at least two seconds and then release to activate the NU-CHY1. If
the vehicle is equipped with a MFD in the cluster it will display “Conrm Safe Passenger Use”. If the vehcle is equipped with an external Uconnect
module the radio will display “Press Again to Conrm Safe Passenger Use”. If present, the dash mount LED will illuminate red. Press the “Source”
button on the SWC again within 5 seconds to acknowledge “safe use”, agreeing that use will be performed only by the passenger
whenever the vehicle is in motion, and activate the NU-CHY1. If applicable, the MFD and/or radio will display “Acknowledged”. If present,
the dash mount LED will then illuminate green. To de-activate the NU-CHY1 simply press and hold the “Source” button on the SWC for at least
two seconds and then release.
WARNING: In order to avoid distraction, which could lead to an accident, the driver should never utilize systems unlocked by the
NU-CHY1 when the vehicle is in motion. Even when operated by the passenger, the vehicle driver should maintain their attention on
the road at all times.
1. Press & Hold the Source Button
for at Least 2 Seconds Then
Release
2. MFD and/or Radio Will Display
“Confirm Safe Passenger Use”. If
Present, Dash Mount LED
Displays Red Light Prompting
Confirmation of Safe Passenger
Use
3. Press the Source Button Again
Within 5 Seconds to Confirm
4. MFD and/or Radio Will Display
“Acknowledged”. If Present Dash
Mount LED Displays Green
Light
5. Repeat Step 1 to De-Activate
Press & Hold the Source
Button to Enable/Disable
Navigation Unlock
**CONTROLS LOCATED ON RIGHT REAR OF STEERING WHEEL**
1. Press & Hold the Source Button
for at Least 2 Seconds Then
Release
2. MFD and/or Radio Will Display
“Confirm Safe Passenger Use”. If
Present,Dash Mount LED
Displays Red Light Prompting
Confirmation of Safe Passenger
Use
3. Press the Source Button Again
Within 5 Seconds to Confirm
4. MFD and/or Radio Will Display
“Acknowledged”. If Present Dash
Mount LED Displays Green
Light
5. Repeat Step 1 to De-Activate
Press & Hold the Source
Button to Enable/Disable
Navigation Unlock
J1850
Class 2
VPW
Class 2
J1850
100011101111001001101100
111010000110110111001100
Arbitration
EOD
CRC
100011101111001001101100
111010000110110111001100
Class 2
Class 2
J1850
DISCLAIMER: Under no circumstances shall the manufacture or the distributors of the NU-CHY1 be held liable for claims of any
loss or damage, consequential, direct or indirect, arising from the sale, installation, or use of the NU-CHY1. The manufacture
and its distributors will not, nor will they authorize any representative or any other individual, to assume obligation or liability in
relation to the NU-CHY1 other than its replacement.
AGREEMENT: End user agrees to use this product in compliance with the instructions and terms of use above and with all State
and Federal laws. PAC provides instructions and safety warnings with respect to this product and disclaims all liability for any use
not in conformity with those instructions or other misuse of its product. If you do not agree, please discontinue use immediately
and return product to place of purchase. This product is intended for off-road use and passenger use only.
Operation - Vehicles Without Steering Wheel Controls
Activating the Navigation Unlock
Start with the factory radio on. Turn the radio off then on within three
seconds. The dash mount LED will illuminate red. Turn the radio off then
on again within three seconds to acknowledge “safe use”, agreeing
that use will be performed only by the passenger whenever
the vehicle is in motion, and activate the NU-CHY1. The dash
mount LED will then illuminate green. To de-activate the NU-CHY1
simply turn the radio off then on within three seconds.
WARNING: In order to avoid distraction, which could lead to an
accident, the driver should never utilize systems unlocked by the
NU-CHY1 when the vehicle is in motion. Even when operated by
the passenger, the vehicle driver should maintain their attention on
the road at all times.
LOAD
MENU
AUDIO
PULL
AUX
HARD DISC DRIVE
.1t8."t+1&(
VOLUME
MEDIA
RADIO
PUSH ON RBZ
MY
FILES
1. Start with radio on.
2. Turn the radio o then on within 3 seconds.
The dashmount LED will illuminate red.
3. Turn the radio o then on again to conrm
safe use. The dash mount LED will illuminate green.
4. Repeat step 2 to de-activate.
Turn radio o and on
within 3 seconds to
activate/de-activate
the NU-CHY2
1. When installing this interface the vehicle must be turned off.
2. If the factory radio does not come on or “ickers” off & on, the factory amplier does not turn on or you are receiving audio on only one side of
the vehicle, please make sure that the male pins in the NU-CHY1 plug are not bent or out of place.
3. The red status LED on the NU-CHY1 indicates that the board is functioning properly. This LED can only be seen by removing the blue housing
and accessing the main circuit board.
4. In order to see the text on the MFD it must be in the default display of the temperature/compass or at the top of the list if setup in list format.
Installation Notes/Troubleshooting

Other PAC Automobile Electronic manuals

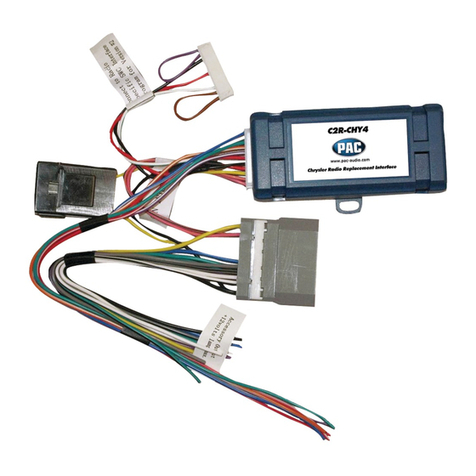
PAC C2R-CHY4 User manual

PAC

PAC C2R-CHY4 User manual

PAC I GM3 User manual

PAC

PAC I GM3 User manual

PAC RadioPRO4 User manual

PAC

PAC RadioPRO4 User manual

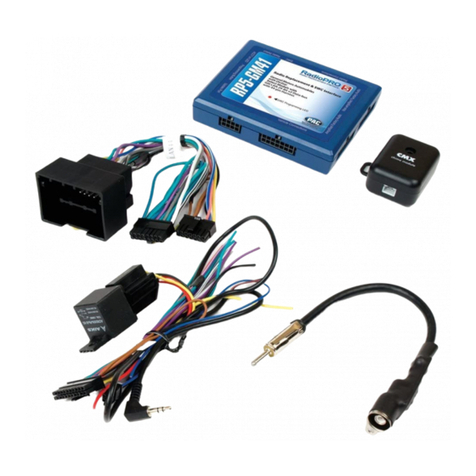
PAC RadioPRO 5 RP5-GM41 User manual

PAC

PAC RadioPRO 5 RP5-GM41 User manual

PAC RPK4-HD1101 User manual

PAC

PAC RPK4-HD1101 User manual

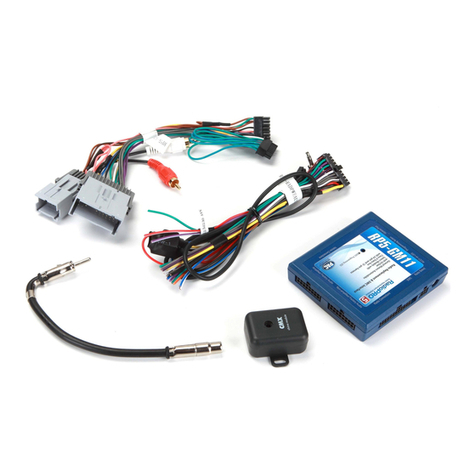
PAC RP5-GM11 User manual

PAC

PAC RP5-GM11 User manual

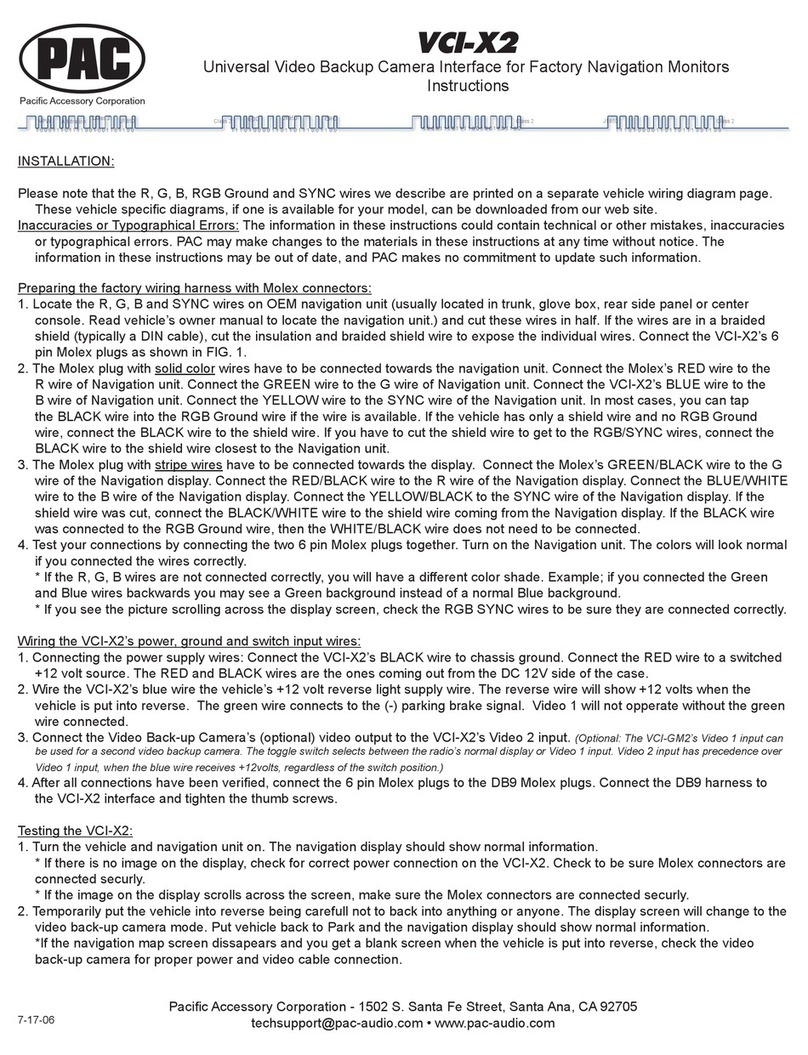
PAC VCI-X2 User manual

PAC

PAC VCI-X2 User manual

Popular Automobile Electronic manuals by other brands

VDO VIEWLINE 85 MM - MOUNTING 11-09 installation instructions

VDO

VDO VIEWLINE 85 MM - MOUNTING 11-09 installation instructions

Steelman Codekey Operation manual

Steelman

Steelman Codekey Operation manual

Spod BANTAM Operational instructions

Spod

Spod BANTAM Operational instructions

mods4cars smartTOP STLFBW3 installation manual

mods4cars

mods4cars smartTOP STLFBW3 installation manual

Hoffman Stellar ST8000 User guide and installation manual

Hoffman

Hoffman Stellar ST8000 User guide and installation manual

NavInc OEM-VAG-MIC1 quick start guide

NavInc

NavInc OEM-VAG-MIC1 quick start guide

Mazda C860 V7 281A installation instructions

Mazda

Mazda C860 V7 281A installation instructions

Waeco MagicWatch MWE650 Installation and operating manual

Waeco

Waeco MagicWatch MWE650 Installation and operating manual

VDO TRIM GAUGE installation instructions

VDO

VDO TRIM GAUGE installation instructions

EPS 305 Installation & parts manual

EPS

EPS 305 Installation & parts manual

Pyle PLCMDVR47 user manual

Pyle

Pyle PLCMDVR47 user manual

Axxess AX-DSP-HYKIA2 installation instructions

Axxess

Axxess AX-DSP-HYKIA2 installation instructions

CaRobotor Y Pro instruction manual

CaRobotor

CaRobotor Y Pro instruction manual

Dynojet Power commander V installation instructions

Dynojet

Dynojet Power commander V installation instructions

Chamberlain LiftMaster Professional 975LMC Owner's instructions

Chamberlain

Chamberlain LiftMaster Professional 975LMC Owner's instructions

Volvo TSI manual

Volvo

Volvo TSI manual

Vision VAE 225 Installation & user manual

Vision

Vision VAE 225 Installation & user manual

VDO MODULAR TACHOGRAPH MTCO 1324 datasheet

VDO

VDO MODULAR TACHOGRAPH MTCO 1324 datasheet

manuals.online logo
manuals.online logoBrands
  • About & Mission
  • Contact us
  • Privacy Policy
  • Terms and Conditions

Copyright 2025 Manuals.Online. All Rights Reserved.