SWITCHING ON FOR THE FIRST TIME
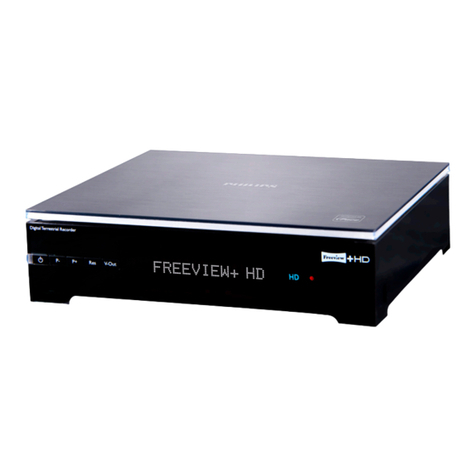
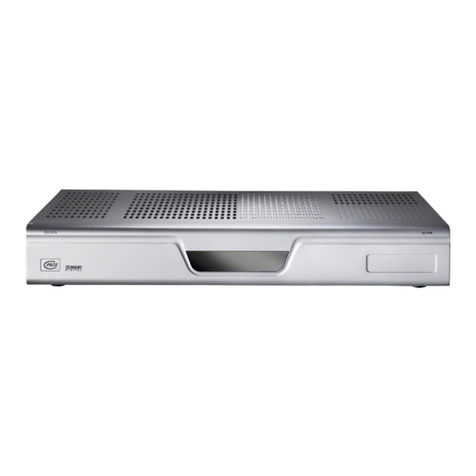
When you have connected your
TV Recorder to the mains supply,
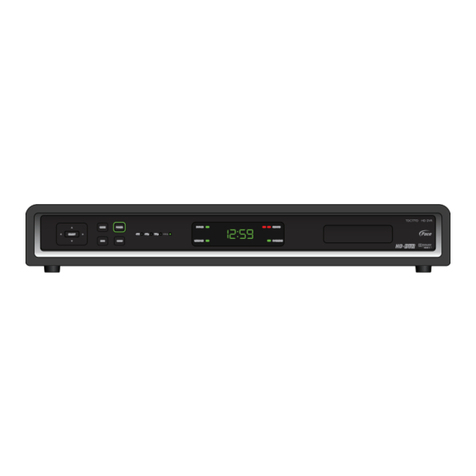
the display on your TV Recorder’s
front panel lights up, showing
‘– – – –’ initially. Carry out the
following steps:
1. Switch on your TV and make
sure that it is set to the correct
‘AV’ channel (refer to your TV’s
user guide).
2. Use the arrow buttons to
highlight the language you
want on the menu that
appears, then press
OK
.
3. Your TV Recorder now
initialises its disk. When you
see “Disk initialisation done”, press
OK
to continue.
4. You can now change the TV settings if you wish. For further details, please see your
User Guide. Press
OK
to continue and save any changes you make.
5. Your TV Recorder now scans for channels. When this has been done, press
OK
.
6. A list of all
Freeview
channels found (above, right) appears on your TV screen. Use
the arrow buttons to highlight the channel you want to watch, then press
OK
.
SWITCHING ON AND OFF
Whenever you are not using your TV Recorder, put it into standby. Do not unplug it at the
mains.
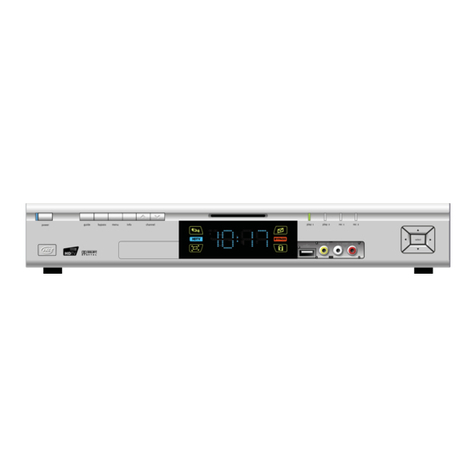
To put your TV Recorder into standby, press the
Standby
(S
) button. The front-panel
display shows the current time.
To take your TV Recorder out of standby, press the
Standby
(S
) button. The front-panel
display shows the current channel number.
You can change channel by:
• using the
Ch +
and
Ch –
buttons;
• using the number buttons to select a valid channel number;
•pressing the
List
button, then the arrow buttons to go through the current list,
then
OK
to change;
• selecting a channel from the
TV Schedule
(see your User Guide for further details).
CHANGING CHANNEL
RECORDING DIGITAL TV & RADIO PROGRAMMES
“One-Touch” recording
If you want to start recording the
programme you are currently
watching, simply press the
Record
(
M
) button once; the
remainder of the programme will
be recorded on your TV
Recorder’s disk.
Recording from the TV
Schedule
Press the
Guide
button to display
the
TV Schedule
, shown right
(you can find more information
about this feature in your User
Guide).
Use the arrow buttons and
to highlight the programme you want to record, then press the
Record
(
M
) button.
The
Event scheduling
window appears, which you use to confirm or amend details of the
new event. To confirm the existing event details, or any changes you make, press the
OK
button.
The new recording is added to the
Event list
.This is a list of scheduled events in time and
date order.
When a recording is taking place on your TV Recorder’s disk, a red dot shows on the front-
panel display.
There are other methods you can use to record digital TV and radio programmes - for details
of these methods, the
Event scheduling
window and the
Event list
, please see your User
Guide.
Insert the two batteries into your remote control.
Make sure you insert them the correct way round, as shown by the
+
signs on the drawing
in the battery compartment.
For full details of your remote control’s buttons, please see your User Guide.
FITTING YOUR REMOTE CONTROL’S BATTERIES
