manuals.online logo
Brands
  1. Home
  2. •
  3. Brands
  4. •
  5. Palram
  6. •
  7. Outdoor Furnishing
  8. •
  9. Palram Palermo User manual

Palram Palermo User manual

14.12_Languages_78914_V1
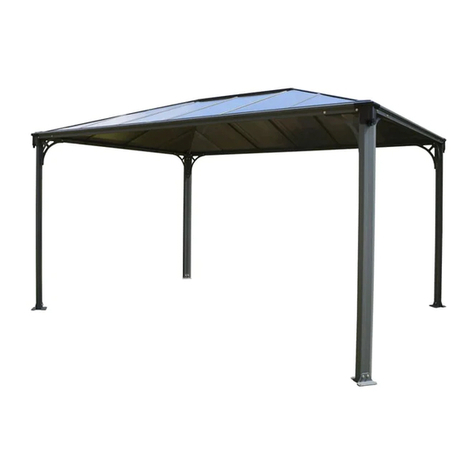
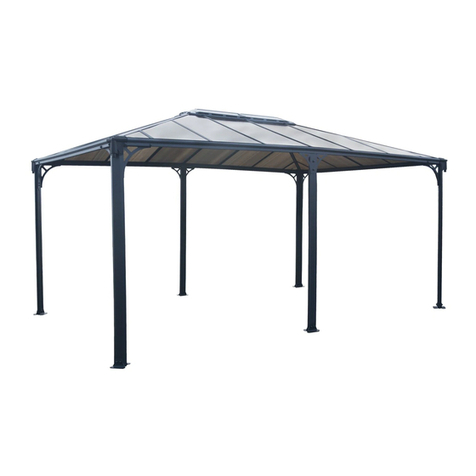
Palermo™Garden Gazebo
Netting Set
www.palramapplications.com
Compatible with Palram’s Palermo - Garden Gazebo 3’or 3.6’ sizes only.
Assembly Instructions
After Sale Service
Email: customer.ser[email protected]
USA 877-627-8476 England 01302-380775 France 0169-791-094
Canada 1 800-866-5749 Germany 0180-522-8778 International +972 4-848-6942
IMPORTANT
These instructions are compatible with Palram’s Palermo - Garden Gazebo
3’ or 3.6’sizes only.
IMPORTANT
Ces instructions ne sont compatibles qu’avec le Gazebo du jardin Palermo
de Palram - de taille 3’ ou 3,6’.
» Safety Advice
•If using a stepladder or power tools please make sure that you follow the
manufacturer’s safety advice.
» Before Assembly
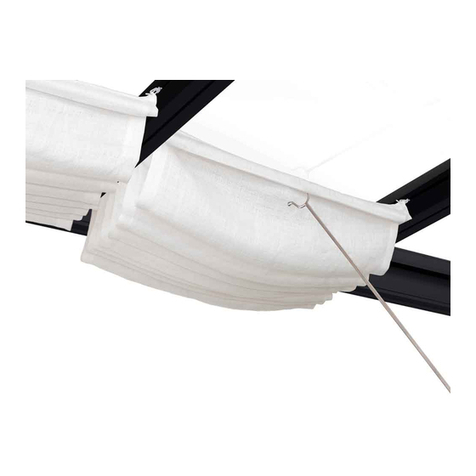
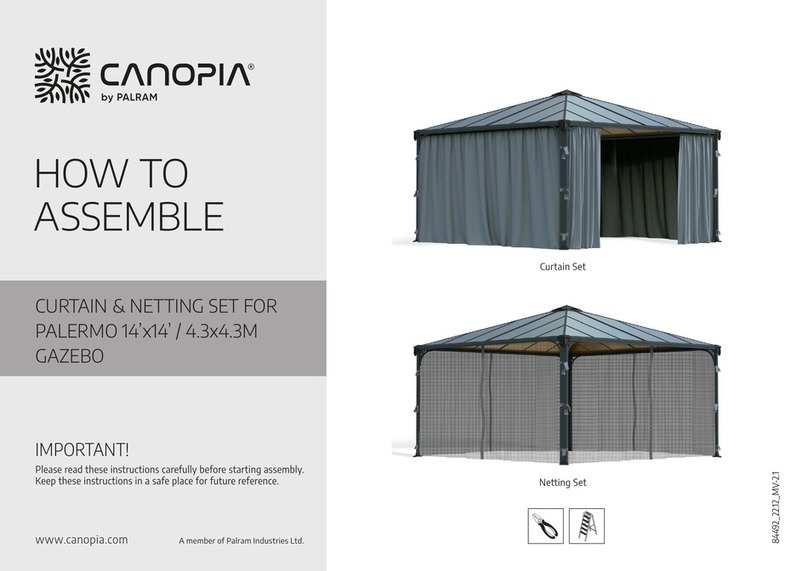
•This curtains / netting set includes 2 parts that cover half of the gazebo, in order to
fully cover the gazebo you will need to purchase another set.
•Please read these instructions carefully before you start to assemble this product.
•Please carry out the steps in the order set out in these instructions.
•Keep these instructions in a safe place for future reference.
•Some of the steps may require the assistance of a second person.
» During Assembly
In order to assemble the curtain / netting
you will need to use part #7829.
This part is supplied with the gazebo. If the
part was not inserted while the gazebo was
assembled please refer back to the Palermo
Garden Gazebo Assembly Instructions.
(You can download the assembly instructions
from our website: www.palramapplications.com)
Step 1a: Insert the needle into the first pocket (about 1/3 deep), then pinch
the heading tape and insert the second needle into the third pocket.
Push the hook into the rest 2/3 part of the pocket. Adjust the heading tape
and the hook so that the pinch pleat is formed.
Repeat Step 1a with rest of the hooks (We recommend to spread 8 hooks
on each curtain face as shown in Step 1).
•When closed the curtains / netting has to be stretched in order to preserve them.
•When opened the curtains / netting should be tied to the poles with the built-in straps.
Step 3: After hanging the curtains / netting on the hooks, please use pliers in order to
squeeze the top of the peg to prevent the hooks from slipping out.
» Mesure de sécurité
•Si vous vous servez d’un escabeau ou d’outils électriques, alors veuillez vous
assurer que vous suivez les conseils de sécurité du fabricant.
» Avant l’assemblage
•Cet ensemble de rideaux / filets est composé de deux parties et couvre la moitié du
gazebo, pour couvrir ce dernier entièrement vous aurez besoin d’acheter un autre
ensemble.
•Veuillez lire attentivement ces instructions avant de commencer l’assemblage de ce produit.
•Veuillez effectuer les étapes dans l’ordre indiqué dans ces instructions.
•Conservez ces instructions en lieu sûr pour consultation ultérieure.
•Certaines étapes nécessitent l’aide d’une deuxième personne.
» Durant l’assemblage
Pour assembler le rideaux / filet, vous aurez
besoin d’utiliser la partie #7829.
Cette partie est fournie avec le gazebo.
Si la partie n’a pas été insérée alors que le
gazebo a été assemblé, veuillez vous référer
aux instructions d’assemblement du Palermo
Jardin Gazebo.
(Vous pouvez télécharger les instructions de
montage sur notre site Web : www.palramapplications.com)
Étape 1a : Insérez l’aiguille dans la première poche (environ 1/3 de profondeur),
puis pincez le ruban du haut et insérez la seconde aiguille dans la troisième poche.
Enfoncez et poussez le crochet dans les 2/3 restants de la poche. Ajustez le
ruban du haut et le crochet de sorte que le pli du pincement soit formé.
Répétez l’étape 1a avec le reste des crochets (Nous vous recommandons
de filer 8 crochets dans chaque face du rideau comme indiqué à l’étape 1).
•Veuillez garder les rideaux / filets tendu si vous souhaitez les fermer.
•Une fois que vous aurez ouvert les rideaux / filets, vous devez les attacher aux
cannes avec les sangles intégrées.
Étape 3 : Après avoir accroché les rideaux / filets aux crochets, veuillez utiliser des
pinces pour reserrer la partie supérieure afin d’éviter que les crochets glissent.
EN FR
14.12_V1
7829
7829
1
Palermo 3’x3’ Palermo 3.6’x3.6’
x32
x2
Or
ab
x8
x8
43 32
43 54
a
a
b
b
c
a
a
b
b
c
Master_Gazebo_curtain_v1-3

Other Palram Outdoor Furnishing manuals

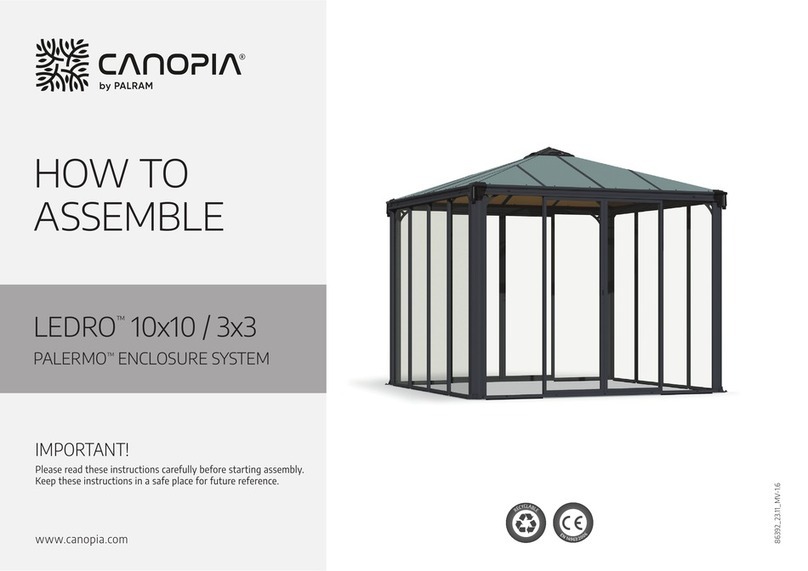
Palram Canopia Ledro 3x3 Administrator Guide

Palram

Palram Canopia Ledro 3x3 Administrator Guide

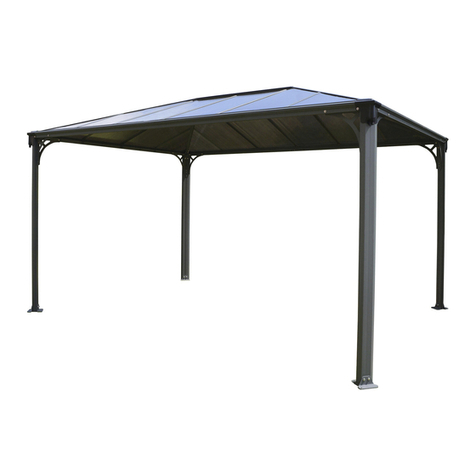
Palram Palermo 3600 User manual

Palram

Palram Palermo 3600 User manual

Palram Palermo 3000 User manual

Palram

Palram Palermo 3000 User manual

Palram Arcadia 4300 User manual

Palram

Palram Arcadia 4300 User manual

Palram Palermo 4300 User manual

Palram

Palram Palermo 4300 User manual

Palram GARDA 17x20 Administrator Guide

Palram

Palram GARDA 17x20 Administrator Guide

Palram Canopia Ledro 10x14 Administrator Guide

Palram

Palram Canopia Ledro 10x14 Administrator Guide

Palram Palermo 3000 User manual

Palram

Palram Palermo 3000 User manual

Palram Canopia Ledro 12x12 Administrator Guide

Palram

Palram Canopia Ledro 12x12 Administrator Guide

Palram Palermo Gazebo 3000 User manual

Palram

Palram Palermo Gazebo 3000 User manual

Palram SideWall 3 User manual

Palram

Palram SideWall 3 User manual

Palram Feria 3x4.2 User manual

Palram

Palram Feria 3x4.2 User manual

Palram Nancy 1500 User manual

Palram

Palram Nancy 1500 User manual

Palram CANOPIA MAJORCA 13x21.5/4x6 Administrator Guide

Palram

Palram CANOPIA MAJORCA 13x21.5/4x6 Administrator Guide

Palram CANOPIA Roma 12x14/3.6x4 Administrator Guide

Palram

Palram CANOPIA Roma 12x14/3.6x4 Administrator Guide

Palram CANOPIA MARTINIQUE 10x14/3x4.3 Administrator Guide

Palram

Palram CANOPIA MARTINIQUE 10x14/3x4.3 Administrator Guide

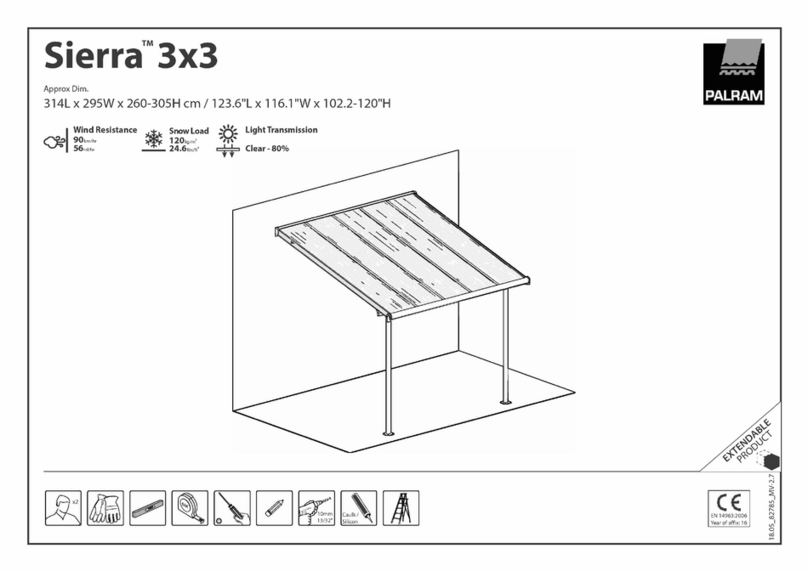
Palram Sierra 3x3 User manual

Palram

Palram Sierra 3x3 User manual

Palram Martinique User manual

Palram

Palram Martinique User manual

Palram Palermo 3000 User manual

Palram

Palram Palermo 3000 User manual

Palram TUSCANY User manual

Palram

Palram TUSCANY User manual

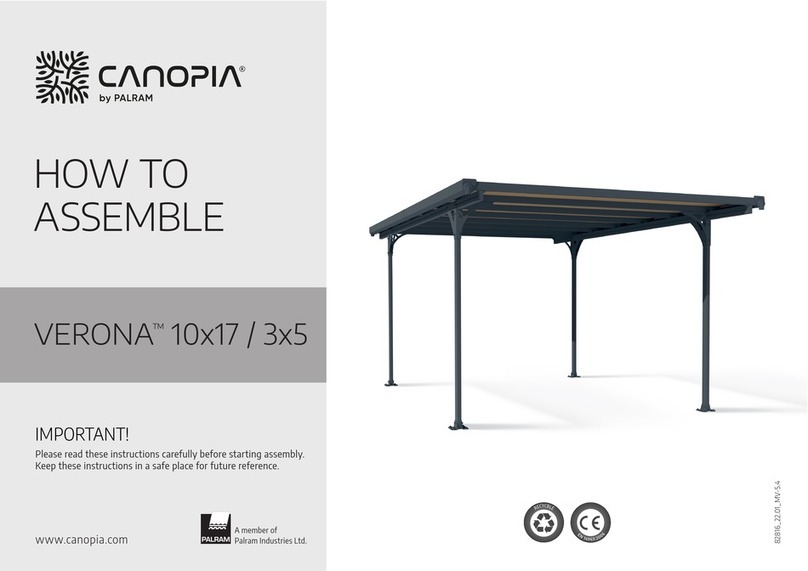
Palram Verona 5000 User manual

Palram

Palram Verona 5000 User manual

Palram CANOPIA Dallas Administrator Guide

Palram

Palram CANOPIA Dallas Administrator Guide

Palram CANOPIA ARIZONA EXTRA KIT User manual

Palram

Palram CANOPIA ARIZONA EXTRA KIT User manual

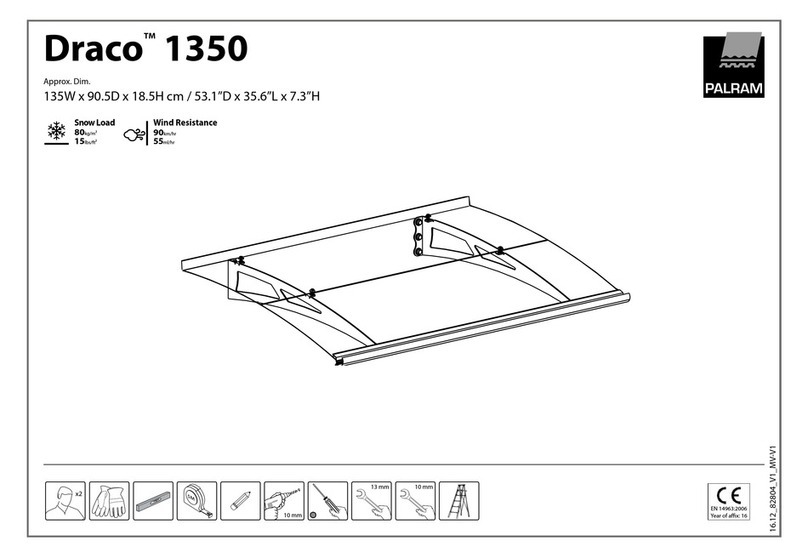
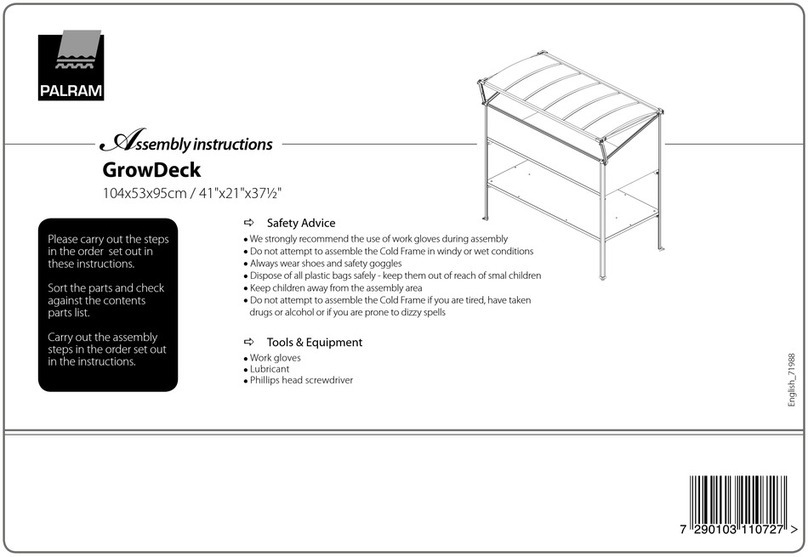
Palram GrowDeck User manual

Palram

Palram GrowDeck User manual

Popular Outdoor Furnishing manuals by other brands

Umbrosa UM-PFB400 installation manual

Umbrosa

Umbrosa UM-PFB400 installation manual

GRAND RESORT D71 M48607 Use and care guide

GRAND RESORT

GRAND RESORT D71 M48607 Use and care guide

OZCO Project 567 manual

OZCO

OZCO Project 567 manual

True DN 3000 Assembly instructions

True

True DN 3000 Assembly instructions

Argos 4M Hexagonal Gazebo Assembly instructions

Argos

Argos 4M Hexagonal Gazebo Assembly instructions

Naterial ORIS Fix Assemby - Use - Maintenance Manual

Naterial

Naterial ORIS Fix Assemby - Use - Maintenance Manual

Blomus BASO Torch Base operating instructions

Blomus

Blomus BASO Torch Base operating instructions

sweeek. BILBAO ECDECKX2 manual

sweeek.

sweeek. BILBAO ECDECKX2 manual

Mainstays Charleston MSD128059664037 Assembly instruction

Mainstays

Mainstays Charleston MSD128059664037 Assembly instruction

Treasure Garden UM920 Assembly and operation guide

Treasure Garden

Treasure Garden UM920 Assembly and operation guide

Mosaic SAYRE quick start guide

Mosaic

Mosaic SAYRE quick start guide

PHI VILLA THD7-104-351 Use and care guide

PHI VILLA

PHI VILLA THD7-104-351 Use and care guide

Uberhaus 72255118 Operator's manual

Uberhaus

Uberhaus 72255118 Operator's manual

highwood ELK OUTDOORS EO-RKCH4 Assembly guide

highwood

highwood ELK OUTDOORS EO-RKCH4 Assembly guide

barkman Belvedere quick start guide

barkman

barkman Belvedere quick start guide

Blooma Gabbs 3663602723349 quick start guide

Blooma

Blooma Gabbs 3663602723349 quick start guide

Grange BOWED WALKWAY 221800A001OWBZ01C1 Assembly instructions

Grange

Grange BOWED WALKWAY 221800A001OWBZ01C1 Assembly instructions

BENITO Urban P77 PA613 Anchoring instructions

BENITO

BENITO Urban P77 PA613 Anchoring instructions

manuals.online logo
manuals.online logoBrands
  • About & Mission
  • Contact us
  • Privacy Policy
  • Terms and Conditions

Copyright 2025 Manuals.Online. All Rights Reserved.