INSTRUCTION MANUAL
Ultra High-Speed, High-Accuracy Laser Displacement Sensor
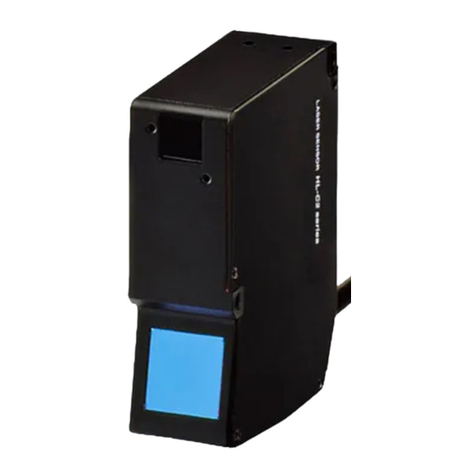
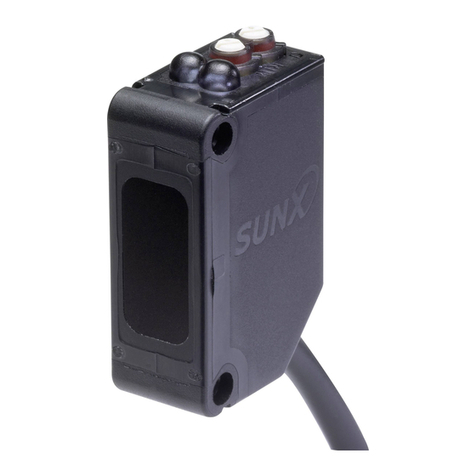
Sensor Head
HL-C201A(E)-SP3, HL-C201A(E)-SP3M
CMJE-HLC201ASP3(03) No.0059-61V
Thank you very much for purchasing Panasonic products. Read this Instruction Man-
ual carefully and thoroughly for the correct and optimum use of this product. Kindly
keep this manual in a convenient place for quick reference.
WARNING
●This product is intended to detect the objects and does not have the control func-
tion to ensure safety such as accident prevention.
Do not use the product as a sensing device to protect human body.
●
Be careful not to directly watch or touch the direct laser beam or reected laser beam.
●The product was developed and manufactured for industrial use.
BEFORE USE
●Before using the product, check the sensor head model and contents of packing.
●Sensor head model
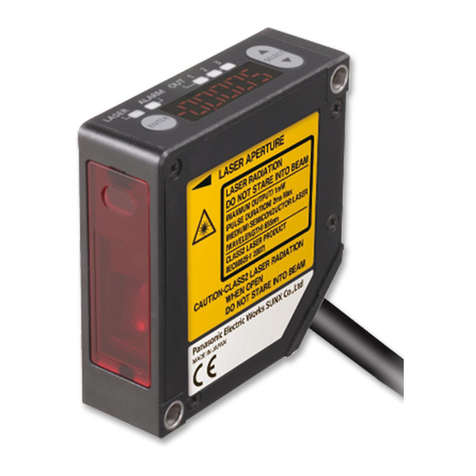
Check the model name of product at the top of sensor
head.
●Packing
Check that all of the following components are includ-
ed in the package.
• 1 sensor head unit
• 1 Instruction manual
• Laser warning labels
[JIS/IEC/KS: 1 set, GB: 1 set (E type only)]
● This product satises the adaption of CE product by using in combination with
controller and programmable display, which are subjected to CE. Please conrm
that there is CE mark on connecting controller’s label.
1DESCRIPTION
●
HL-C201A(E)-SP3, HL-C201A(E)-SP3M displacement sensor head achieves ul-
tra high-speed and high-accurate measurement using linear image sensor as light
receiving element to be used on equipment that require high-speed operation with
high-accuracy.
● The product is used at specular reection installation.
2CAUTIONS ON HANDLING LASER LIGHT
●In order to prevent the accident by laser product and protect the users, JIS C
6802-2014 “Safety of laser products” was established based on the regulation of
IEC (International electrotechnical Commission). This regulation classies laser
products according to the level of hazard, and provides the safety measures for
respective classes.
HL-C201A(E)-SP3, HL-C201A(E)-SP3M are classied as “Class 1 laser products”
according to IEC 60825-1-2014 (JIS C 6802-2014) “Safety of laser products”.
●Laser hazardous class
Classication according to IEC 60825-1-2014 (JIS C 6802-2014)
Class Model Description of hazardous evaluation
Class 1 HL-C201A(E)-SP3
HL-C201A(E)-SP3M Safe under reasonably foreseeable conditions of operation
●WARNING label
<Label position>
In Chinese
In Japanese / English
/ Korean
(E type only)
●
Install the product so the laser beam comes higher or lower than eye level in order
not to watch the beam directly during operation.
●Please contact our company if the system breaks down. It is not equipped with a
function that stops laser radiation automatically during disassembling the sensor
head. The users therefore may be exposed to laser beam in disassembling the
sensor head.
● When this product is used in China, afx the Chinese warning label (accessory)
on the label in the product.
●
Do not use the system in the manner other than specied in this Instruction Manual.
3EXPORT REGULATIONS BY JAPANESE GOVERNMENT
●
HL-C201A-SP3 and HL-C201A-SP3M are subject to export control regulation by
the Foreign Exchange and Foreign Trade Law. Export admission by Japanese
government is required before the product is to be exported or brought out of the
country. These products are also subject to Article 1.B.3.b.1 of Nuclear Suppliers
Group in international export control regime and 2.B.6.b.1 of Wassenaar Arrange-
ment.
●Please follow the export control regulations required.
HL-C201AE-SP3 and HL-C201AE-SP3M (E type) are not subject to export con-
trol regulations under the condition that they are used combined with the non-
pertinent controller to export control specied by Foreign Exchange and Foreign
Trade Law. When they are combined with the pertinent controller to export control,
they are subject to the Law. In this case export admission by Japanese govern-
ment is required before the product is to be exported or brought out of the country.
4SPECIFICATIONS
Model No. HL-C201A(E)-SP3 HL-C201A(E)-SP3M
Meas. method Specular reection
Measurement center distance 15mm
Measurement range (Note 2) ±1mm
Beam source Red semiconductor laser Class 1 (JIS/IEC/GB/KS)
Max output: 0.3mW, Emission Peak wavelength: 658nm
Beam diameter (Note 3) Approx. ø30μm Approx. 30 × 1,400μm
Beam receiving element Linear image sensor
Resolution 0.04μm / average times: 256, 0.01μm /average times: 4,096
[E type (Note 4) 0.25μm / average times 256]
Linearity ±0.02%F.S. [E type (Note 5) ±0.025%F.S.]
Temperature characteristics 0.02%F.S./°C
Indicator
Laser emission Green LED: Lights up during laser emission.
Meas. range
Yellow LED: Near measurement center:ON, within measurement range:Blink, beyond the range:OFF
Protective structure IP67 (except connector)
Pollution degree 2
Insulation resistance 20M ohms or more by 500V DC megger (between all the terminals and enclosure.)
Dielectric
withstand
Commercial Frequency AC 500V for 1min. (between all the terminals and enclosure.)
Impulse ±
1,000V 1.2/50μs (between all the terminals and enclosure.)
Vibration resistance
Endurance: 10 to 55Hz (cycle: 1minute), Resistant amplitude of vibration: 1.5mm, in
X, Y, and Z directions for 2 hours
Shock resistance 196m/ s2in X, Y, and Z directions for 3 times
Ambient illuminance (Note 6) 3,000ℓx or less (illuinance at beam receiving surface using incandescent lamp)
Ambient temperature 0 to +45°C (No dew condensation or icing allowed), At storage: -20 to +70°C
Ambient humidity 35 to 85%RH At storage:35 to 85%RH
Ambient Height 2,000m or less
Material Main unit case / cover faluminum: Die-cast, Front cover: Glass
Cable length 0.5m
Cable extension Extendible to 30m long maximum using the optional extension cable.
Weight Approx. 400g including cable weight
Applicable regulations Conformed to EMC Directive
Notes: 1) Measuring conditions are as follows unless otherwise specied; connection with controller, power voltage:
24V DC, ambient temperature: 20°C, sampling cycle: 40μs, average times:256, at measurement center dis-
tance, measurement subject: clear glass, and digital measurement value.
2) The measurement range is between +0.1 and +1.0mm (in case the sampling cycle is 20μs), or between +0.8
and +1.0mm (in case the sampling cycle is 10μs).
3) The gure shows the value at measurement center distance. It is determined by 1/e2(approximately 13.5%)
of center beam intensity. Due to leak light outside the specied area, the reectance around the detecting
point may be higher than at the point and this may affect the measurement value.
4) The minimum resolution of 0.25μm can be achieved if the sensor head is connected to the controller that is
not subject to “Foreign Exchange and Foreign Trade Law”.
5) The linearity of ±0.025%F.S. can be achieved if the sensor head is connected to the controller that is not sub-
ject to “Foreign Exchange and Foreign Trade Law”.
6) The variation in ambient illuminance is ±0.02%F.S. or less.
