manuals.online logo
Brands
  1. Home
  2. •
  3. Brands
  4. •
  5. Panasonic
  6. •
  7. Air Conditioner
  8. •
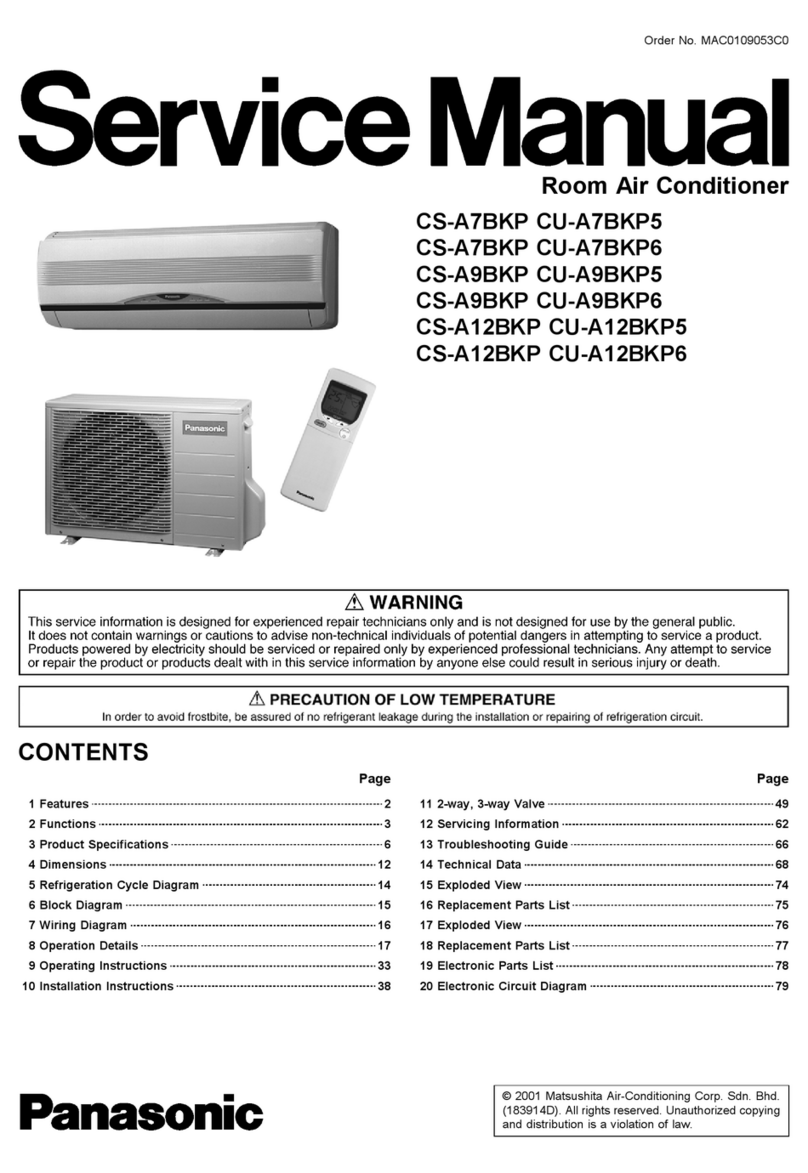
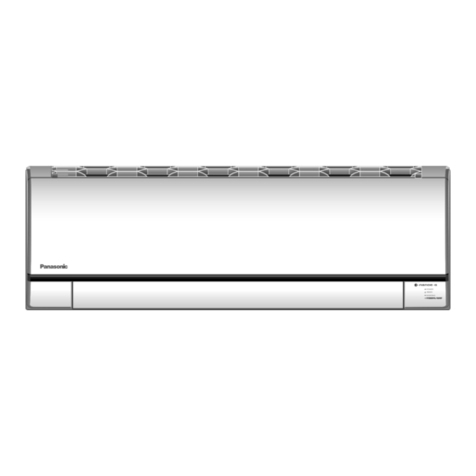
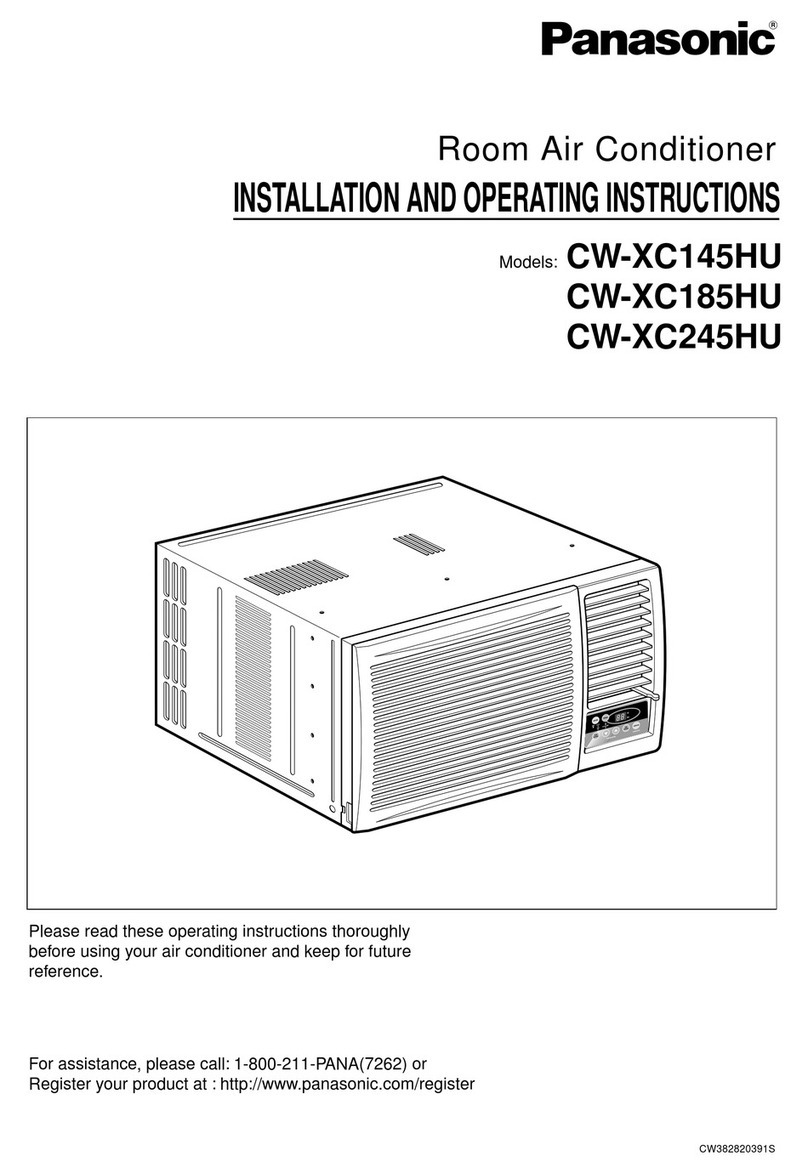
  9. Panasonic CW-C141NU User manual

Panasonic CW-C141NU User manual

Other manuals for CW-C141NU

3

Other Panasonic Air Conditioner manuals

Panasonic CS-ME7EB1E User manual

Panasonic

Panasonic CS-ME7EB1E User manual

Panasonic CW-C101MU User manual

Panasonic

Panasonic CW-C101MU User manual

Panasonic U-71PEY1E5 User manual

Panasonic

Panasonic U-71PEY1E5 User manual

Panasonic CS-SC12BKP User manual

Panasonic

Panasonic CS-SC12BKP User manual

Panasonic CS-C12KKV User manual

Panasonic

Panasonic CS-C12KKV User manual

Panasonic CS-PW9GKX User manual

Panasonic

Panasonic CS-PW9GKX User manual

Panasonic S-36PU1E5 Manual

Panasonic

Panasonic S-36PU1E5 Manual

Panasonic CS-V7PWA-2 User manual

Panasonic

Panasonic CS-V7PWA-2 User manual

Panasonic CS-KS30NKU User manual

Panasonic

Panasonic CS-KS30NKU User manual

Panasonic CS-S9TKV User manual

Panasonic

Panasonic CS-S9TKV User manual

Panasonic CS/CU-HU12ZKY Series Product guide

Panasonic

Panasonic CS/CU-HU12ZKY Series Product guide

Panasonic CSC12BKP - SPLIT A/C SYSTEM User manual

Panasonic

Panasonic CSC12BKP - SPLIT A/C SYSTEM User manual

Panasonic U-5MX4XPQ User manual

Panasonic

Panasonic U-5MX4XPQ User manual

Panasonic S-60PU1R5 User manual

Panasonic

Panasonic S-60PU1R5 User manual

Panasonic WH-MDC05F3E5 User manual

Panasonic

Panasonic WH-MDC05F3E5 User manual

Panasonic CU-5E34PBE User manual

Panasonic

Panasonic CU-5E34PBE User manual

Panasonic CS-RE9NKX User manual

Panasonic

Panasonic CS-RE9NKX User manual

Panasonic CS-RE9JKX-1 User manual

Panasonic

Panasonic CS-RE9JKX-1 User manual

Panasonic CS-C125KR User manual

Panasonic

Panasonic CS-C125KR User manual

Panasonic CS-E7JKEW User manual

Panasonic

Panasonic CS-E7JKEW User manual

Panasonic CU-2C14BKP5G User manual

Panasonic

Panasonic CU-2C14BKP5G User manual

Panasonic CS-C18JKD User manual

Panasonic

Panasonic CS-C18JKD User manual

Panasonic CS-LZ25TKE User manual

Panasonic

Panasonic CS-LZ25TKE User manual

Panasonic CW-C501RU User manual

Panasonic

Panasonic CW-C501RU User manual

Popular Air Conditioner manuals by other brands

Fujitsu ASYG 09 LLCA installation manual

Fujitsu

Fujitsu ASYG 09 LLCA installation manual

York HVHC 07-12DS Installation & owner's manual

York

York HVHC 07-12DS Installation & owner's manual

Carrier Fan Coil 42B Installation, operation and maintenance manual

Carrier

Carrier Fan Coil 42B Installation, operation and maintenance manual

intensity IDUFCI60KC-3 installation manual

intensity

intensity IDUFCI60KC-3 installation manual

Frigidaire FAC064K7A2 Factory parts catalog

Frigidaire

Frigidaire FAC064K7A2 Factory parts catalog

Sanyo KS2432 instruction manual

Sanyo

Sanyo KS2432 instruction manual

LG MultiV Series installation manual

LG

LG MultiV Series installation manual

CLIMAVENETA a-CHD U-2T 606+2209 OPERATING AND INSTALLATION Manual

CLIMAVENETA

CLIMAVENETA a-CHD U-2T 606+2209 OPERATING AND INSTALLATION Manual

Midea EWK06CW5 user manual

Midea

Midea EWK06CW5 user manual

Pioneer FAB Series installation manual

Pioneer

Pioneer FAB Series installation manual

SPT WA-1511S user manual

SPT

SPT WA-1511S user manual

Mitsubishi Electric Mr.Slim MSZ-A24NA operating instructions

Mitsubishi Electric

Mitsubishi Electric Mr.Slim MSZ-A24NA operating instructions

Mitsubishi Electric PUHZ-RP50VHA4 Service manual

Mitsubishi Electric

Mitsubishi Electric PUHZ-RP50VHA4 Service manual

Gree GWH18TC-K3DNA1B/I Service manual

Gree

Gree GWH18TC-K3DNA1B/I Service manual

Friedrich ZoneAire Compact P08SA owner's manual

Friedrich

Friedrich ZoneAire Compact P08SA owner's manual

Daikin R32 Split Series installation manual

Daikin

Daikin R32 Split Series installation manual

Daikin FFQ09Q2VJU Operation manual

Daikin

Daikin FFQ09Q2VJU Operation manual

Taurus Alpatec R750 manual

Taurus Alpatec

Taurus Alpatec R750 manual

manuals.online logo
manuals.online logoBrands
  • About & Mission
  • Contact us
  • Privacy Policy
  • Terms and Conditions

Copyright 2025 Manuals.Online. All Rights Reserved.

!,nstallationand
!! Instructions
de
Instalaci6nyOperaci6n
RoomAir Conditioner
AcondicionadordelAire deHabitaci6n
Model: CW-C141 NU
Modelo:
Before using your air conditioner, p(ease read this operating
instructions carefully and keep it for future reference.
Antes de usar su acondicionador del aire, por favor lea estas
instrucciones de operaci6n cuidadosamente y gu6rdelo para
referencia futura.
English
Espar_d ,O_
!i!i
F563103
Thank you for purchasing a Panasonic product
Gracias por comprar un producto Panasonic
This Panasonic Room Air Conditioner has been designed to keep your room
comfortably cool with maximum energy efficiency and minimal noise.
Este Acondicionador De Aire Panasonic ha sido dise_ado para mantener la habitaci6n a
una tern_eratura comfortable con m6xima eficiencia de energia y minimo ruido.
REFERENCE
REFERENCiA
Model Number :
N0mero del modelo:
SerialNumber:
(Locatedon thesideof unit)
N0mero de serle:
(Localizado en el costodo de la unidadl
Dealer's Name :
Nombre del distribuidor:
Deater's Address :
Nombre det comerciante:
Deabr's Tel :
Telefono del comerciante:
Dateof Purchase:
Fecha de adqulsicion:
_m--m
Pleasestapleyour receiptof purchaseherefor futurerecords.
Porfavor Pegueac6 surecibo de compra para un registrofuturo.
_mm--J
© 1999 Matsushita Electrical Co., Ltd. All Right Reserved
© 1999 Matsushita Electrical Co., Ltd. Derechos Reservaclos
e, ,filter
Table of Contents
Contenido
Before Use
Antes de Usar
How to Install
Coma Instalarlo
How to Operate
Como Utilizar
Helpful Reminder
Advertencia I_/til
If Necessary
Si es Necesario
ProductSpecifications .......o°ol,°,o°°o°o ° °oo°° °
Especificacionesdel Producto
ImportantSafetyPrecautions.................
Precaucionesde Seguridad Importantes
Air Conditioner Installation...................
Instalaci6ndel Acondicionador de Aire
Air Conditioner Operation ....................
Operaci6n delAcondicionador de Aire
EnergySaving Hints.............................
Consejosde Ahorramiento de Energia
Care and Maintenance.........................
Cuidadosy Mantenimiento
BeforeCalling for Service.....................
Antesde LlamarParaMantenimiento
Pages
P6ginas
4
5-7
8 -15
16-17
18-19
20-21
22-23
3
Product Specifications
Especificaciones del Producto
4
Model
Modelo CW-C ! 41NU
Cooling Capacity
Capacidad de
Enfriamiento
Electrical Rating
Clasificaci6n de la
Electricidad
EER
EER
(Btu/hr)
(8tu/h)
Phase
Ease
Cycle (Hz)
Cicla (Hz)
Voltage (V)
Voltaje (V)
Current (amps)
Corriente (amps)
Input (watts)
Entrada (wars)
(Btu/watt-hr)
(Btu/wat_-h)
13,500
13.500
1¢
1¢
60
60
115
115
12.0
12,0
1,370
1.370
9.8
9,8
Moisture Removal (pints/hr) 3.8
Deshumidificaci6n (pintas/h) 3,8
Air Circulation (Cf/min) 370
Circulaci6n del Aire (Cf/min) 370
(inches)
(pulgadas)
Dimension
Dimensiones Height
Alto
Width
Ancho
Depth
Profundidad
(inches)
(pulgadas)
16-7/8
16-7/8
26
26
28-25/32
28-25/32
(inches)
(pulgadas)
Net Weight (Ibs) 133
PesoNeto (libras) 133
Gross Weight fibs) 158
PesoBrute (libras) 158
Toaccommodate further improvement of the product, the above specifications are subject to change without notice.
Lasespecificaciones est6n sujetas a cambios per mejoros sin previo aviso.
Important Safety Precautions
Precauciones de Seguridad Importantes
[] Pleaseobservethefollowingsafetyprecautionswhenusingyourairconditioner.
[] P0rfavorobservelassiguientesprecaucionesdeseguridadcuandousesuacondicionadordeaire.
Ifyoufail toobservetheprecautions,itcouldresultintire,s,electricalshocksor personalinjury.
Siustednoabservalasprecauciones,puederesultaren incendio,choqueel_clrlcooberidas personales.
O Thissymbol(witha blackbackground)denotean actionthat isCOMPULSORY.
Estesimbolo(conun fondonegro)denotaunaacci6nque esOBUGATORIA.
(_ Thissymbol(witha whitebackground) denotean actionthat isPROHIBITED.
Estesimbolo(conunfondoblanco)denotauna acci6nque esPROHIBIDA.
fInstallation Precautions
Precaucionesde Instalaci6n
O• Becauseof theheavyweight of thisproduct,we
recommendthat you haveahelper toassistin the
installation.Toavoid inury,usepropermethod
fur ilting.Avoid anysharpedges.
•Debidoa que esteproductoesmuy pesado, le
recomendamosquetenga un asistentepara
ayudarlo en la instalaci6n.Para evitar _esiones,
useun modo propio para levantarlo. Al_jesede
losfilos afilodos.
O• Makesurethewindowframeto be usedcan
properlysupportthisproduct.
• Aseggresequeel marcode la ventana que se
usar6 puedesoportar apropiodamente este
producto.
_). Do notinstalltheunitin placeswhere inflammable
gas, fumesor sootmaybe generated.
• No instalee! aparato cercade un lugar donde
gasesinflamables,emanacionesde humou
hollin, puedan serproducidos.
O• Thisproduct mustbe installedin accordancewith
all localcodesand ordinances.
• Esteproductodebeserinstaladode acuerdocon
losleyesy regulacioneslocales.
0
0
0
Operation Precautions
PrecaucionesdeOperaci6n
•Operate your air conditionerfromastable115
VoltsAC supply.
• Haga funcionar suacondicionador de aire desde
una fuentede afimentaci6nde CA de 115 voltios.
.Pluginto aseparate15ampsgroundedoutletonly.
• Ench0fe[os61oen un tamacorrienteseparadode
15 amp con conexi6na tierra.
- Useof extensioncords
Avoid usingextensioncord.If thereare no
alternatives,ensurethat thecord isa ULlisted
3-wire groundingtype,rated 125 voltswitha
minimumcurrent-carrying ratingof 15 amps-
number14 or heavierwire.
• Utilizaci6ndecablesde extensi6n
No usecablesdeextensi6n.Si noexistieraotra
posibilidad, deberla seruncable de 3 alambres
conconexi6n a tierra de tipo UL,de 125 volfios
con un amperaie mlnimo de 15 amp,de
alambre ngmero 14 o mayor.
•Usea 15 ampstimedelayfuseor acircuitbreaker.
•Useunfusible de retardo de 15 amp o un
cortacircuitos.
_. Do notunplugthe unitwhile it isoperating. Turn
theMain Switchto 'OFF'beforeunplugging.
• No desenchufeel aperato mientrosest6
funcionando. Gire la perilla de controlprincipal
a la posici6n "OF,:" antesde desenchufarlo.
LineCord Plug
Cablede Alimentaci6n
de Corriente
PlugType
Tipode Enchufe Power Supply
Suministrode
Electricidad
Time Delay Fuse : 15 Amp
Fusiblede Retardo
CircuitRating Breaker : ! 15V
Nivel del Cortacircuitos 5
_arning:.Thissignwarnsyouofdaeposfib_ofdealhorseriousinjmyifflaeinslrucfionsarenotfollowed.
Advertcncia:Estaserialleadviertedelaposibilidaddemuerteoseriaslesionessilasinslruccionesno
sonsegui .
®
\ \ \
Do not pull the power cord as this will damage
the cord and may lead to serious electrical shocks.
Tounplug the power cord, hold the plug and pull.
No tire de[ cable de aLimentaci6n ya que esto da_ar6
el cable y puede conducir a choques el_ctricos serios.
Para desconectar el cable de alimentaci6n, coja y tire
del enchufe.
®Do not touch or pull the power cord with wet hands.
No toque o ale el cable de alimentacion de
e ectricidad con as manos mo]adas.
_O_Q_OOOQOOOOOOOQOOO_QOO_O6@OgU
®Do not modi any arts of this Useill, p product, only
the specified replacement parts.
No modifique ninguna porte de este aparato. Use
solamente _osrepuestos especificados.
®Do not attempt to repair the unit by yourself.
Call your nearest servicenter.
No trate de reparar la unidad por si mismo.
Llame al centro de servicio mas cercano.
6
®
®
®
®
Caution:_is signwamsoflhepos_i_tyofproductorpropertyd,amageifhLqrucfions_notfo_owed.
Ctfidado:Estaserialadviertesobrelaposibilidaddedafioalproductooalapropiedadsilas
instrucdonesnosonseguidas. Do not obstruct the air intake of the evaporator as this
_ will result in reduced cooling power and abnormal
operation. Make surethere are no furnitures,curtains
and window blinds blocking the front of the unit.
No bloquee la entrada de[ aire de1 evaporador ya
que esto puede resultar en poder reducido de
enfriamiento y un funcionamiento abnormal.
Aseg0rese de que no haya muebles, cortinas y
persianas que bloqueen la parte delantera del aparato.
Do not put sticks, rods or any other foreign objects
into any parts of the unit.
No ponga palos, coBas u arras obietos en nlnguna
parte de la unidad.
Do not operate the unitwith the frontgrille removed.
No haga funcionar la unidad sin la rejilla frontal.
Do not operate the unit without the air filter.
No haga funcionar la unidad sin el filtro de aire.
Save These Instructions
Guarde Estas Instrucciones 7
Air Conditioner Installation
Instalaci6n del Acondicionador de Aire
•INSTALLATION BOX CONTENTS "_1
CONTENIDO DE LA CAJA DE INSTALACION !
f
Type Ascr_a Top mounting rail _*
Tarnillo fipo A Riet angular
superior
Type Cscrew
Tomillo lipo C
Seohng ribbon
Precinto sellador
Type E screw Sash gasket
Tornillo ti -- Cinta selJadora
Leftwindow _iher panel _"
Panel fi]tro I_do izquierdo Type D scr_'
Type F screw Tornillo t_p_D
Tomil[o tip_ F
t
90 ° bracket
Soporte angular 90%_-____ Canal de Io repisa
Type A screw Support
Tornillo lipo A
SCREWSFURNISHED
(seesamples)
TORNILLOSSUMINISTRADOS
(yea las muestras)
Type A Type B Type C Type OType E Type F
_poA TIpo_ TipoC TipoD TIpoE TipoF
(;zquierdQ)
Adjuspeg
Perno aiustador TypeFsa_*"
Tomillo
A CWX_*_I[_5_ WoodScrew kornillO Pare Madera 8
B 45,B0345 TappingScrew Tomitlo De Punlur_ 3
C CWXYE6+F$0 TappingScrew TornJStoDe Punt_r_ 3
D 45_3211 M_¢hineS_rew TomilloPamMaqL_ina 2
EC_)RT4D10C_ TSl_BIn_SCrew TornfllOOe Puntur_ 4
F CWXSN6÷10S MachineScrew TorniH_,ParaM_quina
Iype A
screw Support
Tornl)lo 90 ° bracket bracket
tlpa A Soporte (rlgbl}
anguJar 90 _ Escvadr_
soporte
{deracho)
Type A screw
Tarnilla tlpa A
Yype Etcrew
Torniliotipo E
panel
SUGGESTED TOOLS LIST
LISTA DE HERRAMIENTAS SUGERIDAS
Medium size screwdriver (#2 Phillips)
Destornillador mediano (Ph;l}ipsNo 2) Pencil
L6piz
8
Knife or Scissors
Cuchillo ofljeras
TapeMeasure
Cinta rnetrica
Level
Nivel
WINDOW REQUIREMENTS
REQUISITOS DE k_ VENTANA
÷ Hot sun rays hitting theoutside surface of the cabinet will create considerable heat load. }fthe outside of the
cabinet is in direct sunlight, consider building an awning to shadethe cabinet while providing ample area for the
heated air to be exhausted from the condenser (both sides)and the top.
This unit is designed far installation in standard double hung windows.
NOTE: The unit may also be installed "through thewall". Youshould,however, observe
standardcarpentry practicesand frametheopeningwithoutviolating localordinances.
÷ Losrayos solares que tocan la superficie exterior de lacaia crearan una
considerable cargo de color. Sila parte que daal exterior de la caja est6 bajo
la luz directa del sol, considere el construir un toldo para dar sombra pero dejando
espacio suficiente para que el aire catiente pueda set expulsado del condensador
(en ambos Jados)y parte superior.
Esteaparato est6 disefiado para set instalado en ventanas levadizas dobles.
NOTA: Esteaparato tambi6n sepuede instalar "a trav6sde la pared". Enestecaso,sedeber6n
realizar trabajos de carpinteria y construiruna estructuraen la abertura de acuerdo conlos reglamentoslocales.
fSELECT THE BEST LOCATION (Single or Double hung window)
ELIJA LA MEJOR UBICACION (Ventana de guillotina simple o doble)
Indoorside Window Outdoorside
Ladointerior Ventana Ladoexterior
23 inches
23 pulgadas
Frontgrille
Rejillafrontal
More than 4 inches
Mas de 4 puJgadas
J
HOWTO REMOVE THE FRONT GRILLE
COMO REMOVER LA RE_ FRONTAL
STEP1Removethe2 screwsfromthefrontgrille.
STEP2 At bottomrightsideoffrontgrille,pressinwardoncabinetnearthepowercord,andpullthegrilleoutwardtotherightuntil
righttab releases. TopTob_
Cintas Cabinet
STEP3 At bottomleftside,pushinwardoncabinetandpullthegrilleoutwardtothelefttoreleasethelefttab. s_m_o_coio
Donotpoll thebottomedgetowardsyoumorethan3 inchesastopreventtoF
STEP4 Slidethefrontgrilleupwardtofreethetwotoptabsfrom F,-o,,tGrille
slotsatthetopofthecabinet.
Paso4
Paso1 Aemuevalosdostornillosdela reiillafrontal
Paso2 Eniaparteinferiorderechade la reiillafrontal,presione
haciadentroen elmuebleal ladodeJcord6ndealimentaci6ny _
tiredela rejilla haciafuera,haciala derecha,hastedesengancharlo lengLietaderecha. F_,,_rCo_d
Cable de
Paso3 Enel lado inferiorizquierdo,presionehaciadentroenelmuebtey tirede la rejiJtahaciafuera, Tab alEment_ci6n
haciataizquierda,paredesengancharla teng_ietaizquierda. L_g_o,o
No tiredel hordeinferio_haciausjed,m6sde3 pulfladasparaimpedirquelosdoslenq_etassuperioressedarien.
Deslicela rejilJafrontalhaciaarribapara liberarlosdoslengOetassuperioresdelosronurasenla portesuperiordel mueble.1
O
s •
O
9
PREPARATION OF AIR CONDITIONER CHASSIS
PREPARACION DEL CHASIS DEL
ACONDICIONADOR DE AIRE
It is much easier and also safer to install an empty cabinet in a window and we suggest you to
do so.
NOTE: Do not remove any internal styrofoam from the unit, it is part of air guider.
Do not pull on STYROFOAM AIR GUIDER as damage may occur.
1. Remove the air conditioner from carton•
2. Remove 2 screws from rear side of cabinet•
3. Remove the chassis locking bracket and save for later use.
4. Remove the chassis grounding screw and save for later use.
5. Slide out the chassis from the cabinet by pulling on the chassis grip.
Es mucho m_s f6cil y tambien seguro instalar la caja vacia en la ventana y le sugerimos que
asi Io haga.
NOTA: No remueva ninguna espuma poliestir_nica del interior de la unidad, esta forma parte
de la gula de aire.
No tire de la GUJA DE AIRE DE ESTIROESPUMA pues puede da_arla.
1. Retire el acondicionador de aire de su envoltura.
2. Retire los dos torniJlos del lado posterior de la caja.
3. Retire los m_nsulas de retenci6n del chasis y gu6rdelas para usa posterior.
4. Retire el tornillo de puesta a tierra del chasis y guardelo para usa posterior.
5. Deslice hocia afuera el chasis de la caia tirando del asidero del chasis.
dd chasis
Evaporator coil
Serpentin
evaporador \
•Cabinet
Caia
Condensercoil
Serpenfin condensador
Basedel chos_s
Bulkhead Separates indoor ,fromoutdoor side
RefiJerzo (Separa el interior de exterior}
Grip Grounding Powercord
Grip wire location Cable de atimentaci6n
Cable de
atimentaci6n
10 \ do chas s