EN9
Operating Precautions
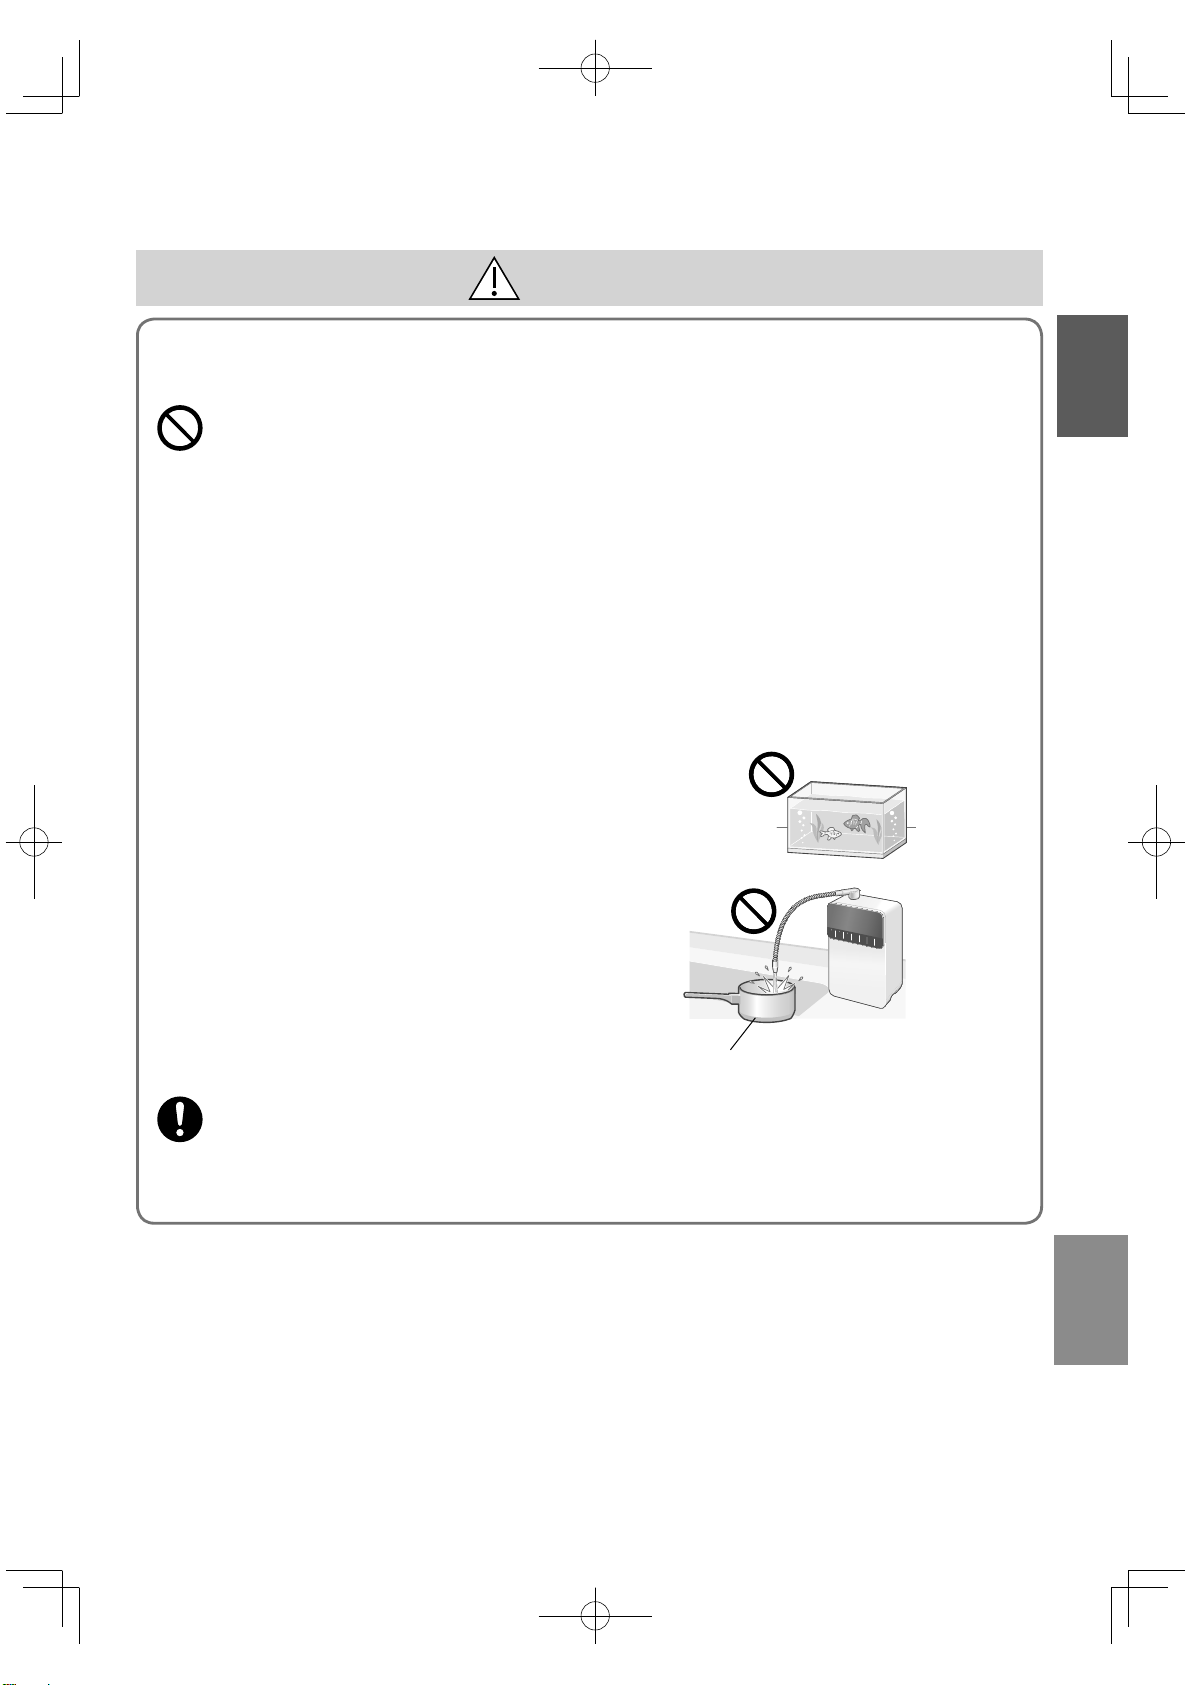
Water supply
Do not drink water in case of the following
conditions.
Water which is very turbid, or water containing a
great deal of red rust
( Doing so may shorten the service life of the
cartridge.)
Well water near sea coast
(Doing so may cause malfunction.)
To use in areas* where the hardness of
tap water is high, the slightly acidic water
should be discharged for about 1 minute
before using every day.
( Or the calcium will attach on the main spout and
water run through path, which may lead to poor
water run through condition.)
* In areas where the hardness of water is high, the
foaming state of soap is poor, and white matter
(calcium) will attach to teapots and pots.
Due to the quality of tap water in the
residential area, the pH level of the water
may not be adjusted to the specifi ed level.
Installation
Do not install the Alkaline Ionizer in any of
the following locations.
Near hot areas such as heating appliances(above 60 °C)
(Doing so may cause it to become deformed.)
In an area in direct sunlight or where it may
be exposed to wind and rain
(Doing so may cause incorrect operation or malfunctions.)
Where it may freeze
(Doing so may cause cracking in the water pipes or cartridge.)
Where it may be covered with oil
(Doing so may cause cracking in the case.)
In a bathroom or where the Alkaline Ionizer
will be exposed to water or steam
(Doing so may cause incorrect operation or malfunctions.)
In areas lower than the kitchen counter (such as the fl oor)
(Water may not be drained completely.)
Near radios
(Prevent radio wave interference and noise.)
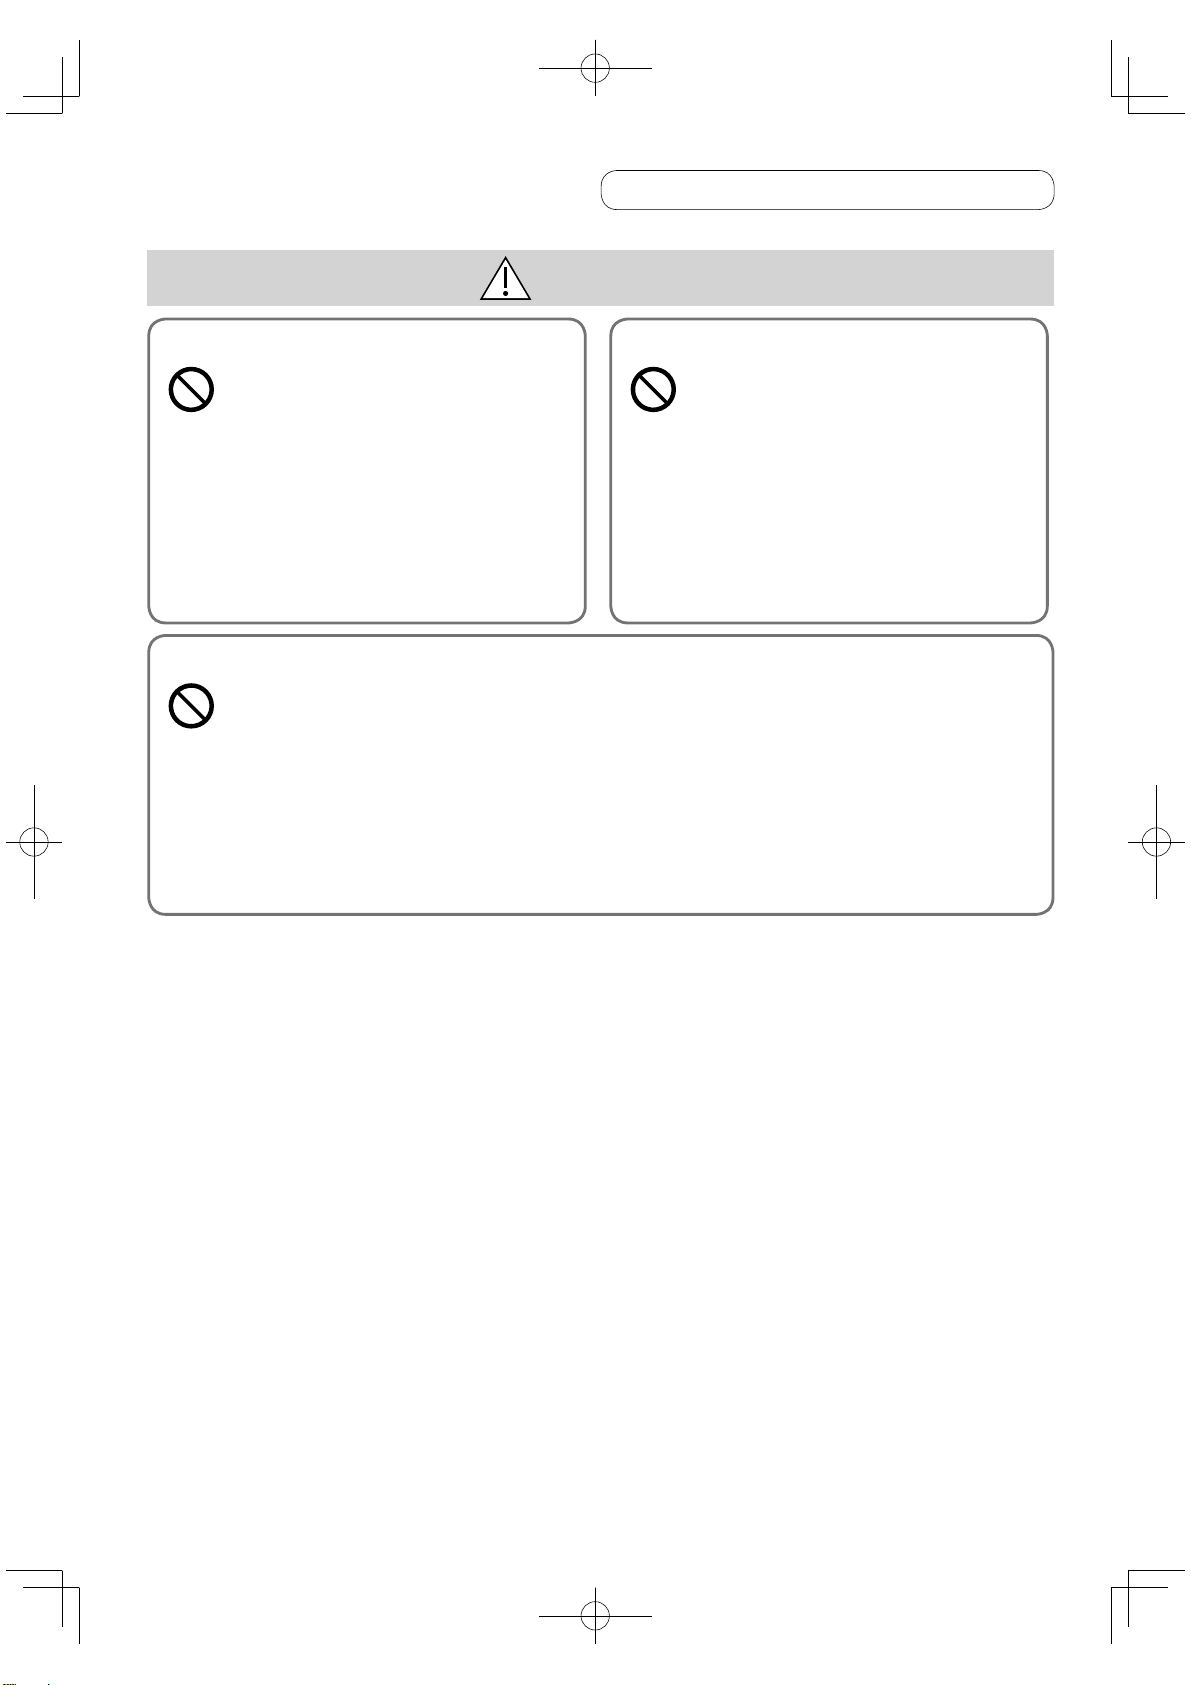
Do not connect the Alkaline Ionizer to a
hot water-only faucet.
(Doing so may cause malfunction.)
Do not extend the main spout using a
commercially sold hose, etc.
(Doing so may cause malfunction.)
Usage
Do not place this product upside down.
(Doing so may cause that lead to malfunction.)
The table below shows the temperatures of water
that can be used. Use water at these temperatures.
( Failure to do so may cause damage or adhesion to the cartridge,
resulting in part of the total trihalomethane being discharged.)
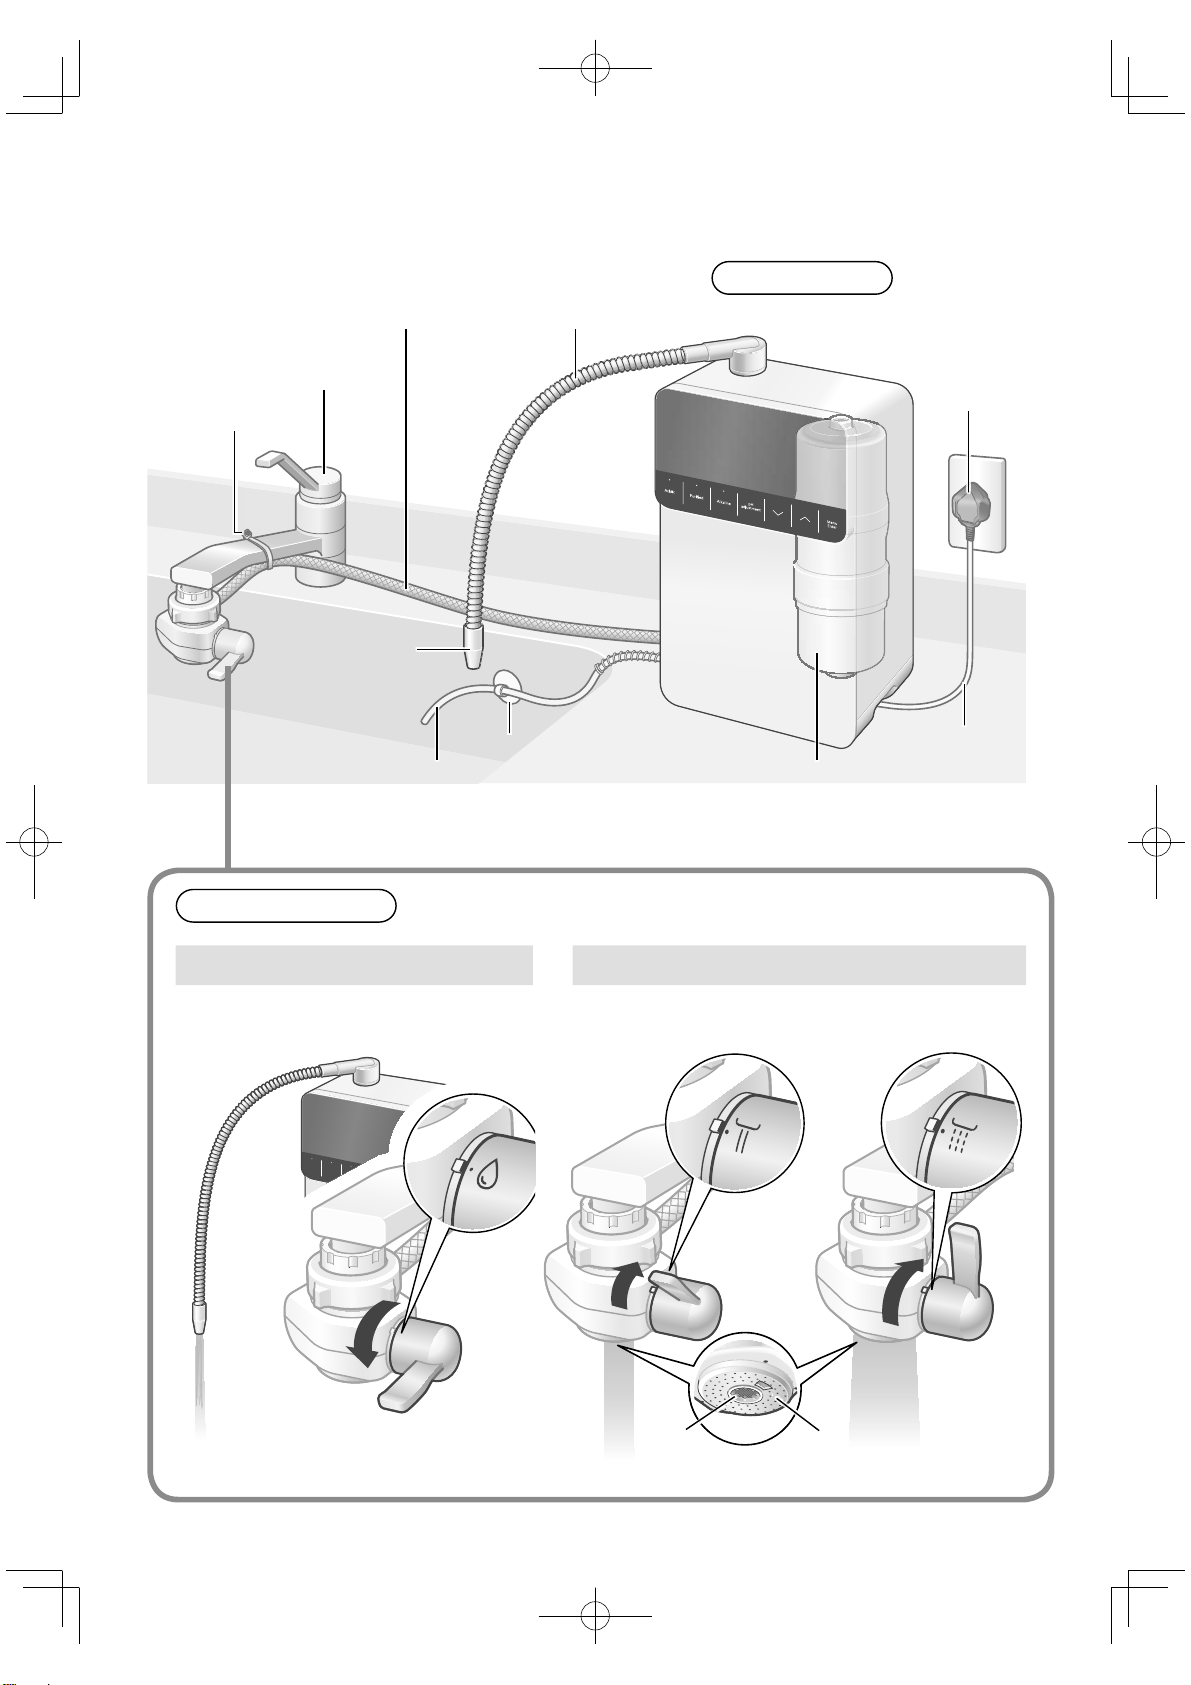
Position of bypass selector Water
temperature
When using alkaline ion water, etc.
: Purifi ed
Under 35 °C
When using tap water
:
Unpurifi ed (Foam straight)
Under 80 °C
:
Unpurifi ed (Foam shower)
Do not continuously use alkaline ion water,
weak acidic water, and acidic water for
approx. 10 minutes or more.
Using such water approx. 10 minutes or more displays ,
stops electrolysis, and returns to the Purifi ed mode.
Handling of pH test liquid (P. EN13, EN22)
Store the pH test liquid in a place
without direct sunlight.
Or it cannot make correct measurement
due to color change.
To dispose of the pH test liquid, dilute
it with water before pouring it down
the drain.
Confi rmation
English
TK-AS700_En.indb 9TK-AS700_En.indb 9 2022/04/14 18:17:372022/04/14 18:17:37