manuals.online logo
Brands
  1. Home
  2. •
  3. Brands
  4. •
  5. Pando
  6. •
  7. Ventilation Hood
  8. •
  9. Pando E-250 User manual

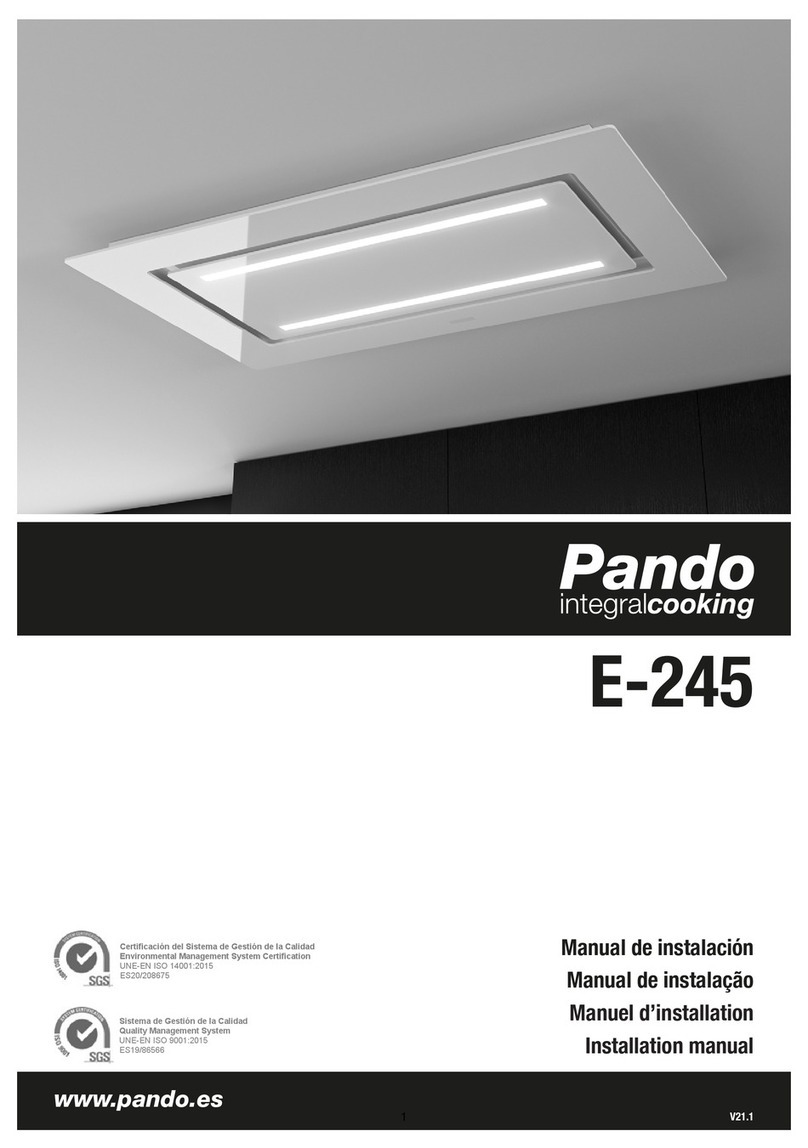
Pando E-250 User manual

RANGE HOODS
E-250 - E-260 - E-270
INSTALLATION GUIDE
1 - MINIMUM DISTANCE
Before to install the hood , please, ensure, that there is a minimum distance of 2 0 mm bet-
ween the CEILING and the false ceiling. Please note that the maximum distance between the FALSE
CEILING and the FLOOR should be no more than 2.40 m.
The thread rods included with the range hood allow you to adjust the height between 2 0 and 370
mm.
2– CHOOSING THE EXTRACTION SIDE
You have the option to chose the side of the extractor hood that the extracted air will flow
through (see fig 2). Once you have chosen the best position, prepare the conduit; the unit is supplied
with a Ø 50mm circular ring for the side outlet and another rectangular outlet. 00x260. Leave the
unused outlets closed.
INSTALLATION GUIDE E-250, E-260, E-270.
Page 2
3 – DRILLING HOLES INTO THE CEILING
On the solid ceiling , draw the outline of the hole required to house the extractor hood based in
the chosen model.
The models E-250,E-260, E-270 are supplied with threaded rods which screw into the frame.
The adjusting nuts can be used to set the required height for the extractor hood ( between 2 0mm and
370mm).
Drill the 4 holes into the ceiling, following the measurements indicated on the drawing, , In-
sert the plugs supplied with the extractor hood into the holes and then screw in the rods.
OUTCUT:
300 —- 230 X 720
600 —- 485 X 720
900 —- 825 X 720
Page 3
INSTALLATION GUIDE E-250, E-260, E-270.
Page 4
4– CONNECTIONS
All th conn ctions should b mad b for fitting th xtractor hood into th hol .
Fum xtractor pip conn ctions: the extractor hood has two Ø 50 outlets and 2 00x260
(Ø200) outlets , one on the front and other on the side. It also has Ø 50 or Ø200 outlet on the top of
the extractor hood for vertical pipe installations.
Pow r conn ction: The model E-250, E-260, E-270 has one cable for the mains power con-
nection and another cable to connect the motor.
5– POSITIONING AND SECURING THE EXTRACTOR HOOD
Once the connections are completed, we can then lift the hood and insert it in the correct posi-
tion inside the hole. Before doing so, we must open the doors of the hood and remove the filters.
Insert the extractor hood into the niche, fitting the threated rods into the corresponding holes;
the outer edge of the hood should line up perfectly with the false ceiling. Place the small
plates supplied with the extractor and the nuts on to the theaded rods and tighten them correctly.
Page 5
INSTALLATION GUIDE E-250, E-260, E-270.
Page 6
COMMISSIONING:
After opening the doors and removing the filters, we can see the connection box. The ON
switch for the extractor hood is opposite the connection box. If all the ceiling connections with the
external or roof motor have been completed, we may start up the hood.
¡¡IMPORTANT!! After starting up the hood, please, synchronize the remote control ( ins-
tructions on Pag 7)
Put the filters in their correct position and close the doors
Page 7
E-220 INSTALLATION GUIDE
• The synchronization of the remote control can be canceled because of the cut power. So
the new synchronization is necesary.
– Switch off the circuit breaker , o switch off the the hood by pressing switch of the diferencial
case.(see photo).
2 – Switch on the circuit breaker o the diferencial case of the hood.
3 - IMPORTANT: when the step 2 is done, but b for 20 s conds pass, pl as dir ct th r -
mot control to th hood and k p pr ss d th button “Light” until th lighst of th hood
swith on.
4.- The operating frequence of the hood is recorded and the hood is synchronized.
¡¡¡Important!!!
Wh n th hood is install d and th diff r ncial cas is switch d on, b for 20 s conds
pass, pl as k p pr ss d th button “light” until th lights of th hood swith on. This
way th hood r cords th op rating fr qu ncy of th r mot control and top rating of
th hood is corr ct.
* Syncronization of th r mot control with th hood:
SYNCRONIZATION OF THE REMOTE CONTROL (ceiling hoods E-200/210 series)
* switch/
diferencial case
Light
Page 8
INSTALLATION GUIDE E-250, E-260, E-270.
POINTS TO BE CONSIDERED:
• Extraction conduit pipe connection to the extractor hood.
Before the false ceiling is closed, some form of access panel must be installed on the side of the ex-
tractor hood where the conduit is connected.
• The ceiling where the extractor hood is to be installed must be completely flat, with no uneeven
areas of any kind.
• For optional operation of the models E-250,E-260, E-270 , ventilation grilles must be installed at
ground level to ensure a continious flow of air..
• The maximum distance between the FALSE CEILING and the FLOOR should be no more than
2,40 m.
• These models are only sullpied with External, Ceiling and Wall mounted Motors. Thought must the-
refore be given to where the motor will be located, since it must be easily accessible.
• Once we know what type of motor we need, we must then consider the maximum distance between
the extractor hood and motor:
V 400—2 metres V2 00—4 metres V2300—6 metres
V 300—9,5 metres V 900— 5 metres V2500—6 metres
IMPORTANT: EXTERNAL MOTOR IN FALSE CEILING
The dimensions of the external motor must be taken into account, particulary if it is to be located at
the same level as the false ceiling of the extractor hood. (See dimensions an appendix).
SUPPLIED ACCESSORIES : (th s acc ssori s ar suppli d with th hood):
4 threaded rods of 8mm. 8 washers Ø 24mm.
4 washers Ø60mm. 4 wingnuts of 8mm.
4 wingnuts 8mm. 4 metalic plugs of 8mm.
Remote control installation guide
installation guide.
• ONLY FOR HOODS WITH MOTOR V1400:
side adaptor Ø 50mm ( converter from rectangular to circular)for to pipe the conduit to the side
air outlet
Tupper lid with circular ring Ø 50mm for to pipe the conduit to the verticalair outlet.
• ONLY FOR HOOD WITH MOTORS V1300/1900/2100/2300/2500:
adapter rectangular of 00x260mm for to pipe the conduit by the side;
* adapter converter from rectangular 00x260mm to circular Ø200mm for to pipe the conduit by
the side.
conducto de tubo SEC de 5m de largo, smoke dutchwork of Ø200mm from interior part and Ø270
mm form exterior part.
(* please note, if you use the adaptor for to pipe to the side air outlet , the height of the hood increase
form 200 to 300 mm, because the adaptor stands out by the upper side of the hood).
Corian version remote control. User Instructions.
1. Hood motor on and off.
2. Reduce motor speed.
3. Increase motor speed.
4. Motor timer, keeps the hood on for 10 minutes and then switches it off.
5. Led indicator of control key pressed. Also indicates programming process.
6. Light on and off. *.
* A short press switches the main light on or off, and in models with a courtesy light, this is controlled with a long push,
keeping the key pressed for more than 2 seconds.
Synchronising the control with the hood:
When the hood is installed or if a change is made in the transmission code, it is necessary to synchronise the control with
the hood control unit. The process is as follows: Disconnect and then reconnect the power supply to the hood (with the
hood control unit switch or by unplugging the hood, or with the circuit breaker switch on the home electric panel), when
the hood has ben reconnected to the mains supply, before 20 seconds have passed press the light key with the remote
control pointing to the hood, the hood will light up, indicating that the process was correct.
If more than 20 seconds pass before you synchronise the control, the control unit will close the reception and no code will
be recorded.
Attention!: Synchronisation of the remote control with the hood can be lost due to external reasons such as power cuts,
electrical discharges, interference….In these cases it is necessary to repeat the synchronisation process.
Generating a new transmission code:
The manufacturer supplies the remote control ready for use, with the factory default codes.
If you want to generate new codes, do the following: Press simultaneously and keep pressed the three keys indicated in
the illustration (1-2-3) until the LED (5) begins to flash, at that moment the control is going through the different frequencies
available, when you release the keys, the led (5) will stop flashing and record the frequency being scanned at that
moment.
If you want a different frequency, repeat the process (after re-establishing the factory default configuration), and the
chosen frequency will depend on the time you keep the keys pressed.
ATTENTION! This operation will definitively delete the existing codes.
Re-establishing factory default configuration:
If you have changed the transmission code and want to recover the factory default code, do the following: Press
simultaneously and keep pressed the three keys indicated in the illustration (1-2-3) until the LED (5) is permanently lit, at that
moment, the control has re-established the factory default frequency.
ATTENTION! This operation will definitively delete the existing codes.
ATTENTION– WARNING – MAINTENANCE
The battery must be replaced every year in order to guarantee optimum range of the transmitter.
To replace an exhausted battery, remove the back cover quite, remove the battery with care so as no to damage or deform
the unit’s connection tabs, insert a new battery observing the indicated polarity.
Button type battery, Lithium model CR-2032 3V. Used batteries must be disposed of adequately.
Operating frequency 433.92 Mhz, 4096 combinations.
This product complies with R&TTE Directive 99/5/EC specifications.
12 345 6
INSTALLATION GUIDE E-250, E-260, E-270.
APPENDIX (EXTERNAL MOTORS DEMENSIONS)
Página 10

This manual suits for next models

2

Other Pando Ventilation Hood manuals

Pando P-842 User manual

Pando

Pando P-842 User manual

Pando TIM-2 User manual

Pando

Pando TIM-2 User manual

Pando Curve User manual

Pando

Pando Curve User manual

Pando TIB-2 User manual

Pando

Pando TIB-2 User manual

Pando E-350 User manual

Pando

Pando E-350 User manual

Pando P-730 User manual

Pando

Pando P-730 User manual

Pando I-898 User manual

Pando

Pando I-898 User manual

Pando E-220 User manual

Pando

Pando E-220 User manual

Pando P-960 User manual

Pando

Pando P-960 User manual

Pando P-960 User manual

Pando

Pando P-960 User manual

Pando I-1300 Operating manual

Pando

Pando I-1300 Operating manual

Pando E-290 User manual

Pando

Pando E-290 User manual

Pando P-777 User manual

Pando

Pando P-777 User manual

Pando TIM User manual

Pando

Pando TIM User manual

Pando I-897 User manual

Pando

Pando I-897 User manual

Pando I-861 User manual

Pando

Pando I-861 User manual

Pando P-861 User manual

Pando

Pando P-861 User manual

Pando P-745 Operating manual

Pando

Pando P-745 Operating manual

Pando E-201 User manual

Pando

Pando E-201 User manual

Pando E-232 Operating manual

Pando

Pando E-232 Operating manual

Pando P-496 Operating manual

Pando

Pando P-496 Operating manual

Pando P-725 Operating manual

Pando

Pando P-725 Operating manual

Pando V.3000 N ECO User manual

Pando

Pando V.3000 N ECO User manual

Pando E-231 User manual

Pando

Pando E-231 User manual

Popular Ventilation Hood manuals by other brands

GE Monogram ZV850 installation instructions

GE

GE Monogram ZV850 installation instructions

CIARRA CBCB6736G manual

CIARRA

CIARRA CBCB6736G manual

Siemens LF16RH560 instruction manual

Siemens

Siemens LF16RH560 instruction manual

Inalto ARCIS90TPS quick start guide

Inalto

Inalto ARCIS90TPS quick start guide

Electrolux EFG10563OX user manual

Electrolux

Electrolux EFG10563OX user manual

Electrolux EFC 9450 user manual

Electrolux

Electrolux EFC 9450 user manual

Hotpoint HDI90X Instructions for installation and use

Hotpoint

Hotpoint HDI90X Instructions for installation and use

Fisher & Paykel HP60IDCHX2 Installation instructions & user guide

Fisher & Paykel

Fisher & Paykel HP60IDCHX2 Installation instructions & user guide

THERMEx Airslim instruction manual

THERMEx

THERMEx Airslim instruction manual

Ariston Grease Filter Instructions for intallation

Ariston

Ariston Grease Filter Instructions for intallation

Bofa AD500 iQ user manual

Bofa

Bofa AD500 iQ user manual

GEAppliances JVW5361 owner's manual

GEAppliances

GEAppliances JVW5361 owner's manual

Zephyr MESA DME-M90ASSX installation instructions

Zephyr

Zephyr MESA DME-M90ASSX installation instructions

KOBE IS2436GSF-1 Installation instructions and operation manual

KOBE

KOBE IS2436GSF-1 Installation instructions and operation manual

Hotpoint Ariston HNB 9.6 LMI X/HA operating instructions

Hotpoint Ariston

Hotpoint Ariston HNB 9.6 LMI X/HA operating instructions

Best WPD29M Series Specification sheet

Best

Best WPD29M Series Specification sheet

Everbilt BPMH4BLKHD6 Use and care guide

Everbilt

Everbilt BPMH4BLKHD6 Use and care guide

AEG DBE5761HG user manual

AEG

AEG DBE5761HG user manual

manuals.online logo
manuals.online logoBrands
  • About & Mission
  • Contact us
  • Privacy Policy
  • Terms and Conditions

Copyright 2025 Manuals.Online. All Rights Reserved.