Maintenance and Service
Depending on operating conditions, periodic cleaning and/or
replacement of components may be necessary.
iWarning
Prior to any service work, the system should be put
into a safe condition by qualied personnel. Failure
to do so may result in injury or loss of life.
1. e system should be pumped down according to standard
operating procedures and in accordance with all local rules
and regulations.
2. e coil and electrical connections should be disconnected
and put into a known safe condition.
Only after the system is put into a safe condition should
maintenance work be performed.
Valve Disassembly
1. Disconnect the coil. Depending on the type of coil used, the
method to disconnect the coil from the electrical system may
vary.
2. Remove the coil nut and washer. Care should be taken not to
apply any forces or torques to the operator.
3. Remove the coil.
4. Disassemble the operator from the body. A wrench nut or
spanner wrench should be used to apply the torque necessary.
No tools should be used to apply force or torque to the operator
sleeve itself as this can cause an unsafe condition.
5. Remove the gasket from the valve body.
6. Remove the valve seat from the housing. e valve seat features
a 3/8" hex design to allow for disassembly using standard tools.
Prior to reassembly all gaskets and sealing surfaces should be
inspected for any damage. If damage is found the parts should be
replaced.
Valve Service
If the S8VS fails to open or close, there are four probable causes.
• Coil is improperly applied. Check supply voltage and frequency
compared to coils rated voltage and frequency. Ensure that the
control circuitry is applying power when needed. Ensure that
the coil is not burned out.
• Pressure exceeds MOPD. Check the system pressure compared
to the valve's rating. e valve will not be able to open when
the system pressure exceeds its MOPD.
• Control seat is dirty or eroded. is can be remedied by
replacing the valve seat or by cleaning the seat.
• Valve is installed backwards. is can be remedied by removing
the valve from the system and reinstalling in the correct
orientation.
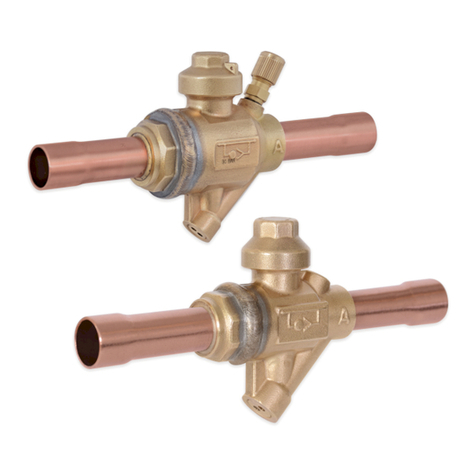
Strainer Cleaning
It is important that the strainer is periodically inspected for dirt
and cleaned during system start-up until no further dirt is found.
To remove the strainer basket, rst ensure that the S8VS/S8ST has
been pumped out and that no refrigerant is trapped in the valve.
en remove the bottom cap. After the strainer has been inspected
and cleaned, place the screen assembly into the body so that the
spring clip on the closed end is towards the open end of the body.
e spring clip must t tightly into the thread, as it helps hold
the basket in place for service. Lightly oil and place a new gasket
on the valve body and t the bottom cap over the gasket. Place
the strainer nut on top of the bottom cap and torque to 60lb-ft
(81Nm). Use the at surfaces of the bottom cap to secure it with a
wrench when installing the pipe plug. Do not permit the bottom
cap to turn when installing the pipe plug.
Strainer Service
ere are three possible failure modes of the RSF strainer portion
of the S8VS/S8ST valve.
• Screen assembly is ruptured.
(a) Clogged screen causing excessive pressure drop to rupture
the screen — check and clean more frequently.
(b) Fluid Velocity too great — use a larger strainer or expansion
valve to reduce velocity.
• Screen assembly has collapsed.
(a) Reverse ow through strainer — avoid reverse ow by using
a check valve where appropriate and never open a hand valve
downstream of a strainer before the upstream hand valve has
been opened.
(b) Screen assembly crushed during installation — ensure that
care is taken when aligning and inserting the screen into the
valve body.
• Dirt is passing through strainer.
(a) Ruptured or collapsed screen assembly — replace.
(b) Spring is broken or missing — replace.
(c) Fine dirt, less than several thousandths of an inch in size
requires more frequent cleaning of the strainer or possible
temporary insertion of an R/S lter bag where applicable.
Bulletin 10-02
7
