Table Of Contents
.......................................................................................................................................................4
Before getting started
...........................................................................................................................................................................................................4
Charging the battery
...........................................................................................................................................................................................................4
Downloading the app
...........................................................................................................................................................................................................5
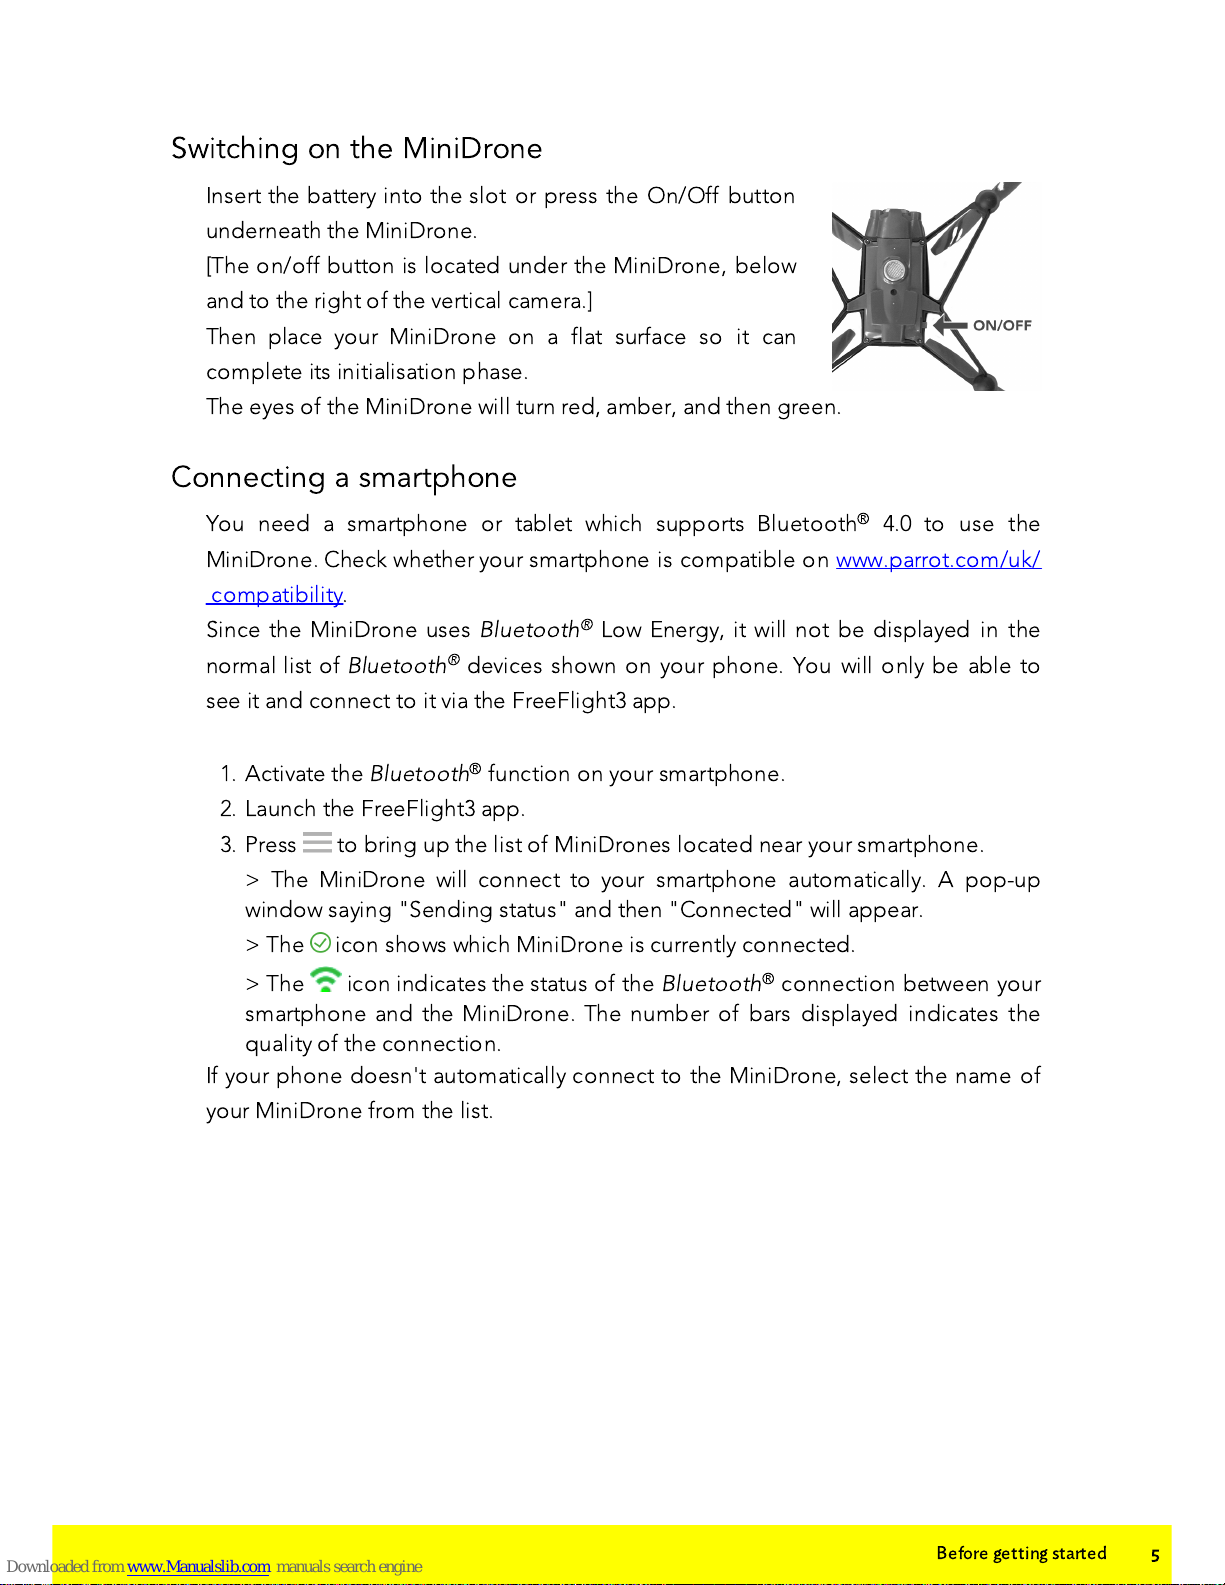
Switching on the MiniDrone
...........................................................................................................................................................................................................5
Connecting a smartphone
.......................................................................................................................................................6
Flying
...........................................................................................................................................................................................................7
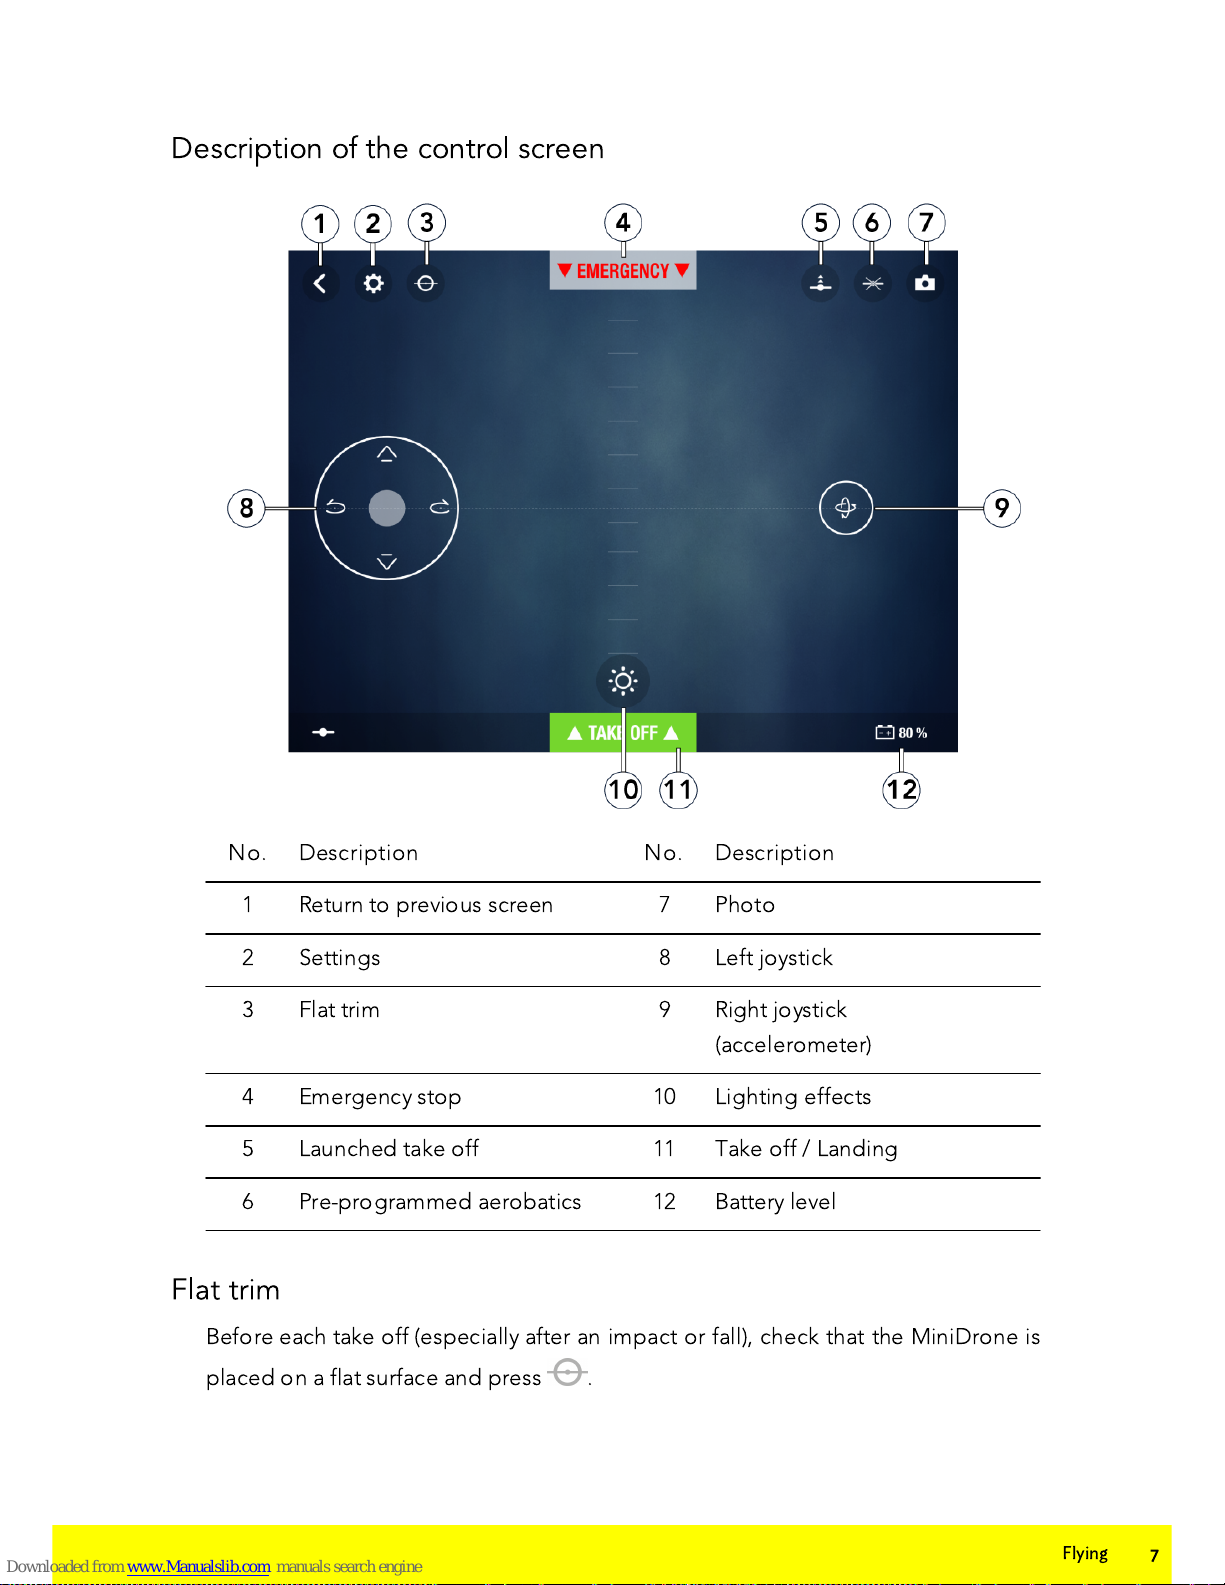
Description of the control screen
...........................................................................................................................................................................................................7
Flat trim
...........................................................................................................................................................................................................8
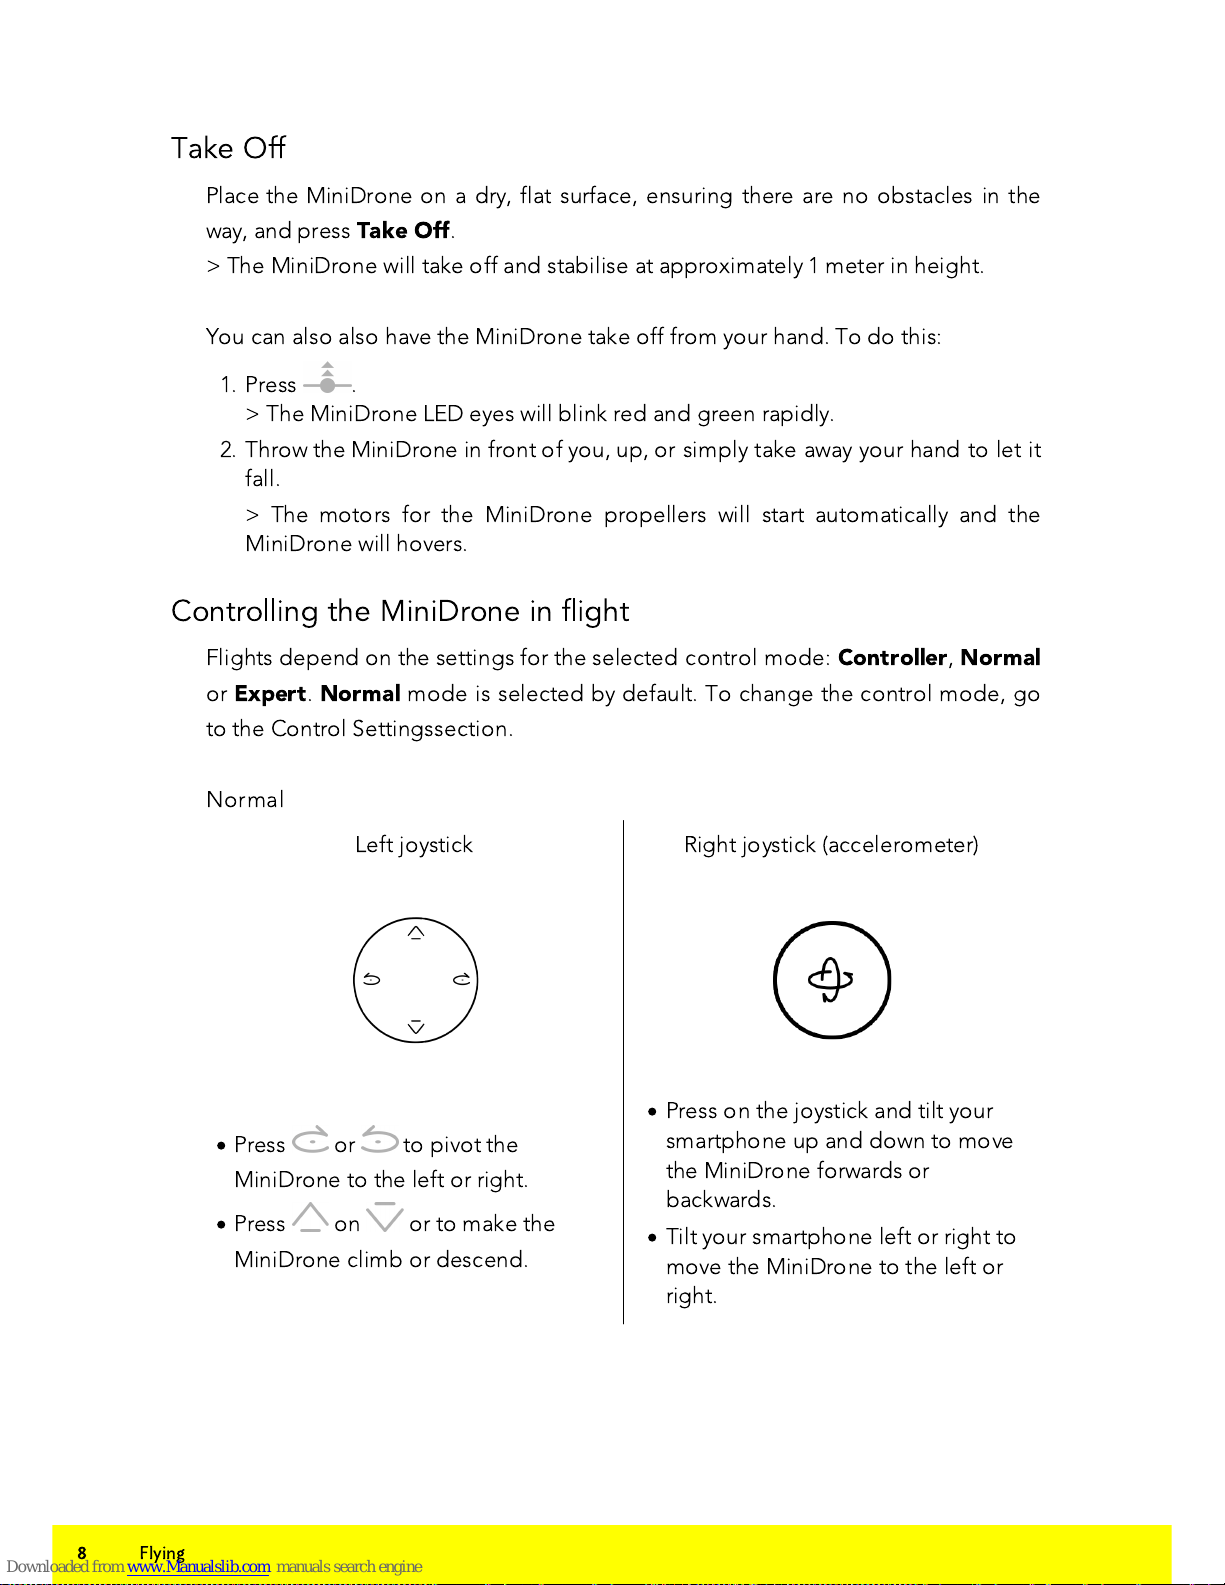
Take Off
...........................................................................................................................................................................................................8
Controlling the MiniDrone in flight
...........................................................................................................................................................................................................10
Pre-programmed aerobatics
...........................................................................................................................................................................................................10
Light effects
...........................................................................................................................................................................................................10
Landing
...........................................................................................................................................................................................................11
Battery
...........................................................................................................................................................................................................11
Photos
...........................................................................................................................................................................................................11
Retrieving or deleting photos
...........................................................................................................................................................................................................12
Videos
.......................................................................................................................................................13
Settings
...........................................................................................................................................................................................................13
Max Altitude
...........................................................................................................................................................................................................13
Max Tilt
...........................................................................................................................................................................................................13
Left-handed mode
...........................................................................................................................................................................................................13
Control Settings
...........................................................................................................................................................................................................13
Automatic Recording
...........................................................................................................................................................................................................13
Max Vertical Speed
...........................................................................................................................................................................................................14
Max Rotation Speed
...........................................................................................................................................................................................................14
Short-Circuit
...........................................................................................................................................................................................................14
Charge Settings
...........................................................................................................................................................................................................14
Network Name
...........................................................................................................................................................................................................14
Versions
.......................................................................................................................................................15
Academy Drone
.......................................................................................................................................................17
Updates
.......................................................................................................................................................18
General Information