manuals.online logo
Brands
  1. Home
  2. •
  3. Brands
  4. •
  5. PASCO
  6. •
  7. Accessories
  8. •
  9. PASCO PASPort PS-2132 User manual

PASCO PASPort PS-2132 User manual

Other PASCO Accessories manuals

PASCO PS-3209 User manual

PASCO

PASCO PS-3209 User manual

PASCO Motion Sensor II User manual

PASCO

PASCO Motion Sensor II User manual

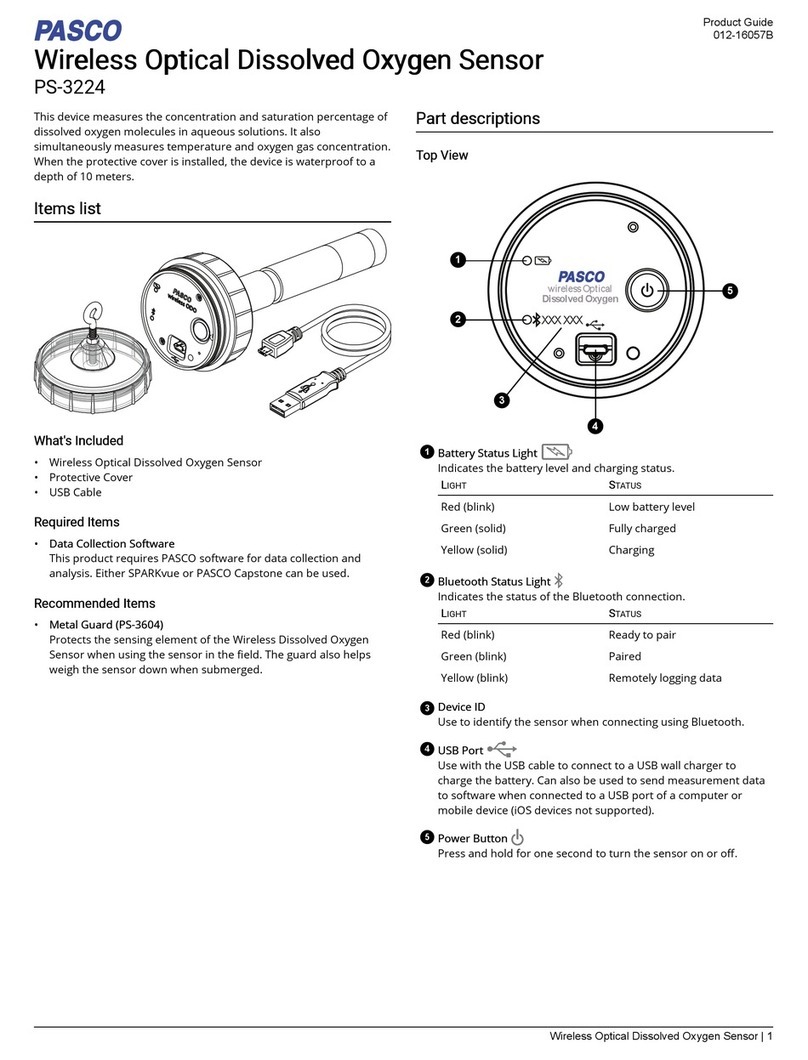
PASCO PS-3224 User manual

PASCO

PASCO PS-3224 User manual

PASCO PS-3224 User manual

PASCO

PASCO PS-3224 User manual

PASCO PS-3209 User manual

PASCO

PASCO PS-3209 User manual

PASCO PasPort PS-2102 User manual

PASCO

PASCO PasPort PS-2102 User manual

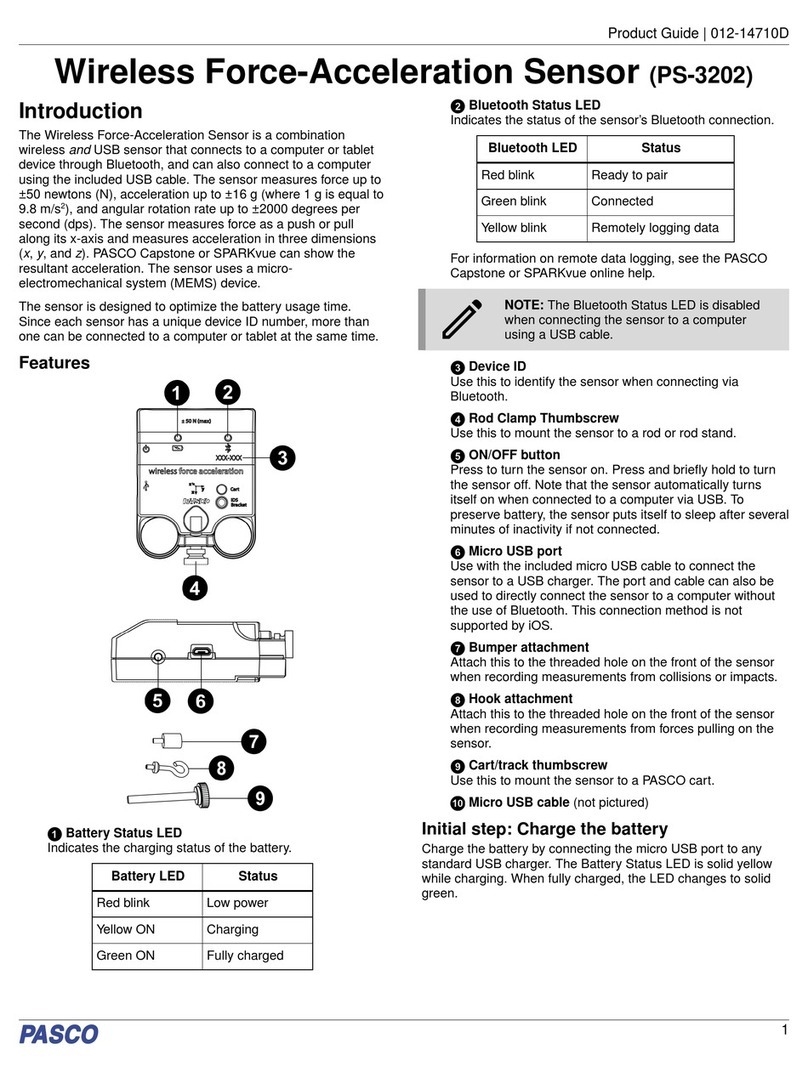
PASCO PS-3202 Guide

PASCO

PASCO PS-3202 Guide

PASCO PasPort PS-2195 User manual

PASCO

PASCO PasPort PS-2195 User manual

PASCO PS-3211 User manual

PASCO

PASCO PS-3211 User manual

PASCO CI-6538 User manual

PASCO

PASCO CI-6538 User manual

PASCO ME-8953 User manual

PASCO

PASCO ME-8953 User manual

PASCO CI-6504A User manual

PASCO

PASCO CI-6504A User manual

PASCO PS-3322 User manual

PASCO

PASCO PS-3322 User manual

PASCO PS-3213 User manual

PASCO

PASCO PS-3213 User manual

PASCO PASPORT PS-2104 User manual

PASCO

PASCO PASPORT PS-2104 User manual

PASCO Pasport PS-2197 User manual

PASCO

PASCO Pasport PS-2197 User manual

PASCO Motion Sensor II User manual

PASCO

PASCO Motion Sensor II User manual

PASCO PASPort PS-2133 User manual

PASCO

PASCO PASPort PS-2133 User manual

PASCO PS-3248 User manual

PASCO

PASCO PS-3248 User manual

PASCO CI-6537 User manual

PASCO

PASCO CI-6537 User manual

PASCO PS-3236 User manual

PASCO

PASCO PS-3236 User manual

PASCO PASPort PS-2126A User manual

PASCO

PASCO PASPort PS-2126A User manual

PASCO PS-3219 User manual

PASCO

PASCO PS-3219 User manual

PASCO PAS Port PS-2186 User manual

PASCO

PASCO PAS Port PS-2186 User manual

Popular Accessories manuals by other brands

Quincy lab 140AE-1 operating manual

Quincy lab

Quincy lab 140AE-1 operating manual

HomePro ZIR000 user manual

HomePro

HomePro ZIR000 user manual

DOL 20SCR Technical user guide

DOL

DOL 20SCR Technical user guide

RAB Smart Task installation manual

RAB

RAB Smart Task installation manual

Kemppi KMS 300 quick guide

Kemppi

Kemppi KMS 300 quick guide

Stearns 57,500 Series Installation and service instructions

Stearns

Stearns 57,500 Series Installation and service instructions

iGuzzini TWILIGHT COPENAGHEN manual

iGuzzini

iGuzzini TWILIGHT COPENAGHEN manual

Adelaide Annexe & Canvas Avan Deluxe installation guide

Adelaide Annexe & Canvas

Adelaide Annexe & Canvas Avan Deluxe installation guide

OHAUS 5000 instruction manual

OHAUS

OHAUS 5000 instruction manual

HOME8 WLS1300 quick start guide

HOME8

HOME8 WLS1300 quick start guide

MAXBOTIX MaxSonar quick start guide

MAXBOTIX

MAXBOTIX MaxSonar quick start guide

ioSmart iSmart56 Installation and user guide

ioSmart

ioSmart iSmart56 Installation and user guide

Focusrite Scarlett 18i8 user guide

Focusrite

Focusrite Scarlett 18i8 user guide

Velleman ED38105 user manual

Velleman

Velleman ED38105 user manual

JumpSport SkyBounce user manual

JumpSport

JumpSport SkyBounce user manual

Prima-Temp PRIYA Instructions for use

Prima-Temp

Prima-Temp PRIYA Instructions for use

Tefcold BC85I-BC85I W user manual

Tefcold

Tefcold BC85I-BC85I W user manual

Vaisala WMS302 user guide

Vaisala

Vaisala WMS302 user guide

manuals.online logo
manuals.online logoBrands
  • About & Mission
  • Contact us
  • Privacy Policy
  • Terms and Conditions

Copyright 2025 Manuals.Online. All Rights Reserved.

®
PS-2132
The PS-2132 Charge Sensor measures charge (in Coulombs) and voltage (in volts).
Charge Sensor Quick Start
Additional Equipment Needed
• PASPORTTM USB interface [USB Link (PS-2100), Xplorer (PS-2000), or a Power-
Link (PS-2001)
• EZscreen or DataStudio® software (version 1.7.2 or later)
Equipment Setup
1. Connect the PASPORT interface to a USB port on your computer or to a USB hub.
2. Connect the input cable to the receptacle on the Charge Sensor.
3. Connect the 9-pin connector on the Charge Sensor to a PASPORT interface.
4. The software launches when it detects a PASPORT sensor. Select a choice from the
PASPORTAL window.
Sensor Speci ications:
Sensor Range:
±
0.1
µ
C or
±
10 V
Resolution: 500
µ
V, 5.0 pC
Input Resistance: 1012 ohms
Input Capacitance: 0.01
µ
F
±
5%
Input Cable: 0.9 m length, shielded
Maximum Input Voltage:
±
150 volts dc, continuous
800-772-8700 • 916-786-3800 • techsupp@pasco.com • www.pasco.com 012-08282A
123
Charge Sensor
Zero button
4
Charge Activity: Charge by Induction vs.
Charge by Contact
DataStudio/DS Lite Task Procedure
Record the charge: On the main toolbar, click the Start button ( ).
View the charge reading: From the Data list, drag the Charge icon ( ) to an
open display.
Change measurement
units: Click on the Setup button ( ) to open the setup
window. Click on the Maximize button and scroll to
the Charge Sensor options. Click to place a check in
the box next to the desired units (Coulombs or volts).
Rescale to it the data: On the display, click the Scale-to-Fit button ( ).
Induction vs. Contact Charges with Charge
Producers and a Faraday Ice Pail
1. Connect the input cable to the receptacle on the Charge Sensor.
2. Connect the Charge Sensor to a PASPORT interface (USB Link,
Xplorer, etc.)
3. Connect the black lead to the ground or negative source and the
red lead to the charged source.
4. If necessary, click the Zero button to zero the sensor and/or
remove any residual charge.
5. In your software or Xplorer, click the Start button to collect data.
(To stop data collection, click the Stop button.)
Equipment required: Charge Sensor (PS-2132), Charge Producers (ES-9057B),
Faraday Ice Pail (ES-9042A)
1. Place the Charge Sensor and Faraday Ice Pail on a non-conductive
surface.
2. Connect the Charge Sensor to a PASPORT interface.
3. Connect the black lead of the Charge Sensor to the outer shield of the
Faraday Ice Pail and the red lead to the inner ice pail.
4. Click the Start button to take a reading of the voltage across the ice pail.
Zero the sensor by pressing the Zero button.
5. Rub the faces of the Charge Producers together.
6. Take a data run for each of the following cases: a) Pass the white disk in
and out of the inner pail, without touching the disk to the pail. b) Contact
the bottom of the pail with the white disk, then remove it without touching
the pail. c) Repeat steps 6a and 6b with the blue disk.
7. For each case, explain what causes the change in charge measurements.
Collecting Data with the Charge Sensor