manuals.online logo
Brands
  1. Home
  2. •
  3. Brands
  4. •
  5. PB TEEN
  6. •
  7. Indoor Furnishing
  8. •
  9. PB TEEN Beadboard Daybed & Trundle User manual

PB TEEN Beadboard Daybed & Trundle User manual

www.pbteen.com
Beadboard Daybed & Trundle
Pre-assembly:
•Please read all instructions before beginning assembly.
•Two-adult assembly is recommended.
•Save all packing materials until assembly is complete to avoid accidentally discarding smaller parts or
hardware.
Parts Included:
A – Headboard Cabinet – 1 pc B – Footboard – 1 pc C – Front Rail – 1 pc
D – Rear Panel – 1 pc E – Slats Roll – 1 pc F – Trundle with Slat Roll – 1 pc
G – Adjustable Shelf – 2 pcs
Hardware Included:
H – Wooden Knob with Bolt – 3 pcs I – Wooden Knob – 3 pcs J – Wooden Knob Bolt – 3 pcs
(5/32”x28mm)
www.pbteen.com
K – Phillips Head Screw – 28 pcs L – Shelf Support Peg – 8 pcs M – Connecting Metal Plate – 1 pc
(#8x30)
N – Phillips Head Screw – 4 pcs
(#6x15)
Tools Required:
Phillips Head Screwdriver (not included)
Assembly Instructions:
1. For the Trundle with Slat Roll (F), gently screw Wooden Knob with Bolt (H) into the upper false drawer front
panel till tighten; then gently attached Wooden Knob without Bolt (J) to the lower drawer front panel with the
Wooden Knob Bolt (I) by holding the Wooden Knobs (J) over pre-drilled holes in drawer front. Screw
Wooden Knob Bolt (I) through the rear of the drawer so that it enters the Wooden Knob (J. Tighten using a
Phillips Head Screwdriver, as shown below. Repeat process for all false drawer front panels and lower
drawer front panels.
2. Place the Headboard Cabinet (A) in its desired position and insert the Shelf Support Peg (L) into the pre-
drilled holes within the cabinet section until fully secure. NOTE: the Shelf section of the Headboard will be
facing away from bed section. Place Adjustable Shelf (G) onto the Shelf Support Peg (L), making sure the
shelf is stable.
3. Hold Front Rail (C) and Rear Panel (D) up to the slots on the back panel of Headboard Cabinet (A) and the
legs of Footboard (B). Insert the hooks of Front Rail (C) and Rear Panel (D) into the slots. Push down firmly
on the top of Front Rail (C) and Rear Panel (D) until they seat themselves securely over the pins inside the
back posts of Headboard Cabinet (A) and the leg slats of the Footboard (B), as shown below.
www.pbteen.com
4. Lay the Slat Roll (E) down onto the inner ledges of the Front Rail (C) and Rear Panel (D). Using a Phillips
Head Screwdriver, loosely fasten the Slat Roll (E) to the rails with the Phillips Head Screws (K), as shown
below. Once all Phillips Head Screws (K) are in place, fully tighten.
5. Using the Connecting Metal Plate (M) and Phillips Head Screws (N), affix the Headboard Cabinet (A) to the
Rear Panel (D). Align the pre-drilled holes of the Connecting Metal Plate (M) over the pre-drilled holes in the
side of Headboard Cabinet (A) and the back of the Rear Panel (D). Insert the Phillips Head Screws (N)
through the Connecting Metal Plate (M) and into the Headboard Cabinet (A) and the Rear Panel’s (D) pre-
drilled holes and tighten using a Phillips Head Screwdriver, as shown. Do not fully tighten until all screws
are in place. Failure to do so may cause the bolts to misalign, as shown.
6. Slide assembled trundle under daybed, as shown.
7. Adjust the recessed levelers underneath the Headboard Cabinet leg and Footboard leg to make sure the
whole assembling balanced.
8. Hardware should be checked periodically for tightness.
Care Instructions:
•Avoid direct sunlight and excessive temperatures.
•Dust often using a clean, soft, dry and lint-free cloth.
•Slightly moisten cloth with water. A damp cloth holds dust and prevents scratching.
•Waxing is not recommended on lacquered finish.
www.pbteen.com
Beadboard Daybed Desk
Pre-assembly:
•Please read all instructions before beginning assembly.
•Two-adult assembly is recommended.
•Save all packing materials until assembly is complete to avoid accidentally discarding smaller parts or
hardware.
Parts Included:
A – Desk Pedestal – 1 pc B – Desk Top – 1 pc C – Desk Leg – 1 pc
Hardware Included:
D – Wooden Knob – 4 pcs E – Wooden Knob Bolt – 4 pcs F – Hex Bolt – 3 pcs
(5/32” x 28 mm) (1/4” x 1-1/2”)
G –Spring Washer – 3 pcs H – Flat Washer – 3 pcs I – Allen Key – 1 pc
(1/4” x 11 mm) (1/4” x 15 mm)
J – Hex Bolt – 2 pcs K –Spring Washer – 2 pcs L – Flat Washer – 2 pcs
(5/16” x 2-1/4”) (5/16” x 13 mm) (5/16” x 18 mm)
www.pbteen.com
Tools Required:
Phillips Head Screwdriver (not included)
Instruction
9. Place the Pedestal (A) in the desired position and gently attach Wooden Knobs (D) to drawer and door
fronts by holding the Wooden Knob (D) over the pre-drilled holes in drawer and door front. Screw a Wooden
Knob Bolt (E) through the rear of the drawer and door so that it enters the Wooden Knob (D). Tighten using
a Phillips Head Screwdriver, as shown.
10. Repeat with the drawer and door at the other side.
11. Carefully lay the Desk Top (B) upside down on a carpet or scratch-free surface next to the Pedestal (A).
Insert the wooden dowels, which are attached to the end of the Desk Leg (C), into the two, middle pre-
drilled holes located on the short apron of Desk Top (B). Slide a Spring Washer (K) and a Flat Washer (L)
onto a Hex Bolt (J) and attach Desk Leg (C) to the end of Desk Top (B) by inserting this assembled Hex
Bolt (J) through the pre-drilled hole underneath Desk Top (B) and into the underside of the Desk Top (B), as
shown in the left image below. Next, slide a Spring Washer (G) and a Flat Washer (H) onto a Hex Bolt (F).
Insert this assembled Hex Bolt (F) through the pre-drilled hole of the Desk Top (B) and into the pre-drilled
holes of Desk Leg (C), as shown in the right image below. Tighten all bolts with the Allen Key (I), as shown.
Repeat for all pre-drilled holes.
12. Turn the assembled Desk Top and Leg right side up and place on top of the Pedestal (A), making sure the
Pedestal (A) aligns with the positioning frames underneath the end of the Desk Top (B) without the Desk
Leg (C). Slowly lower the Desk Top (B) down until it seats firmly on the pedestal, as shown.
13. Adjust the recessed levelers underneath the Desk Leg (C) and the legs of the Pedestal (A), to make sure
the whole assembly balanced.
14. Hardware should be checked periodically for tightness.
Care Instructions:
•Avoid direct sunlight and excessive
temperatures.
•Dust often using a clean, soft, dry and
lint-free cloth.
•Slightly moisten cloth with water. A
damp cloth holds dust and prevents
scratching.
•Waxing is not recommended on
lacquered finish.

Other PB TEEN Indoor Furnishing manuals

PB TEEN Hampton Corner Media User manual

PB TEEN

PB TEEN Hampton Corner Media User manual

PB TEEN Chelsea User manual

PB TEEN

PB TEEN Chelsea User manual
PB TEEN ROWAN OVERHEAD BRIDGE User manual

PB TEEN

PB TEEN ROWAN OVERHEAD BRIDGE User manual

PB TEEN Ultimate User manual

PB TEEN

PB TEEN Ultimate User manual

PB TEEN ELSIE DAYBED TRUNDLE User manual
PB TEEN

PB TEEN ELSIE DAYBED TRUNDLE User manual

PB TEEN Antiqued Paneled Mirror Heart User guide
PB TEEN

PB TEEN Antiqued Paneled Mirror Heart User guide

PB TEEN Primo Plasma Media Base User manual
PB TEEN

PB TEEN Primo Plasma Media Base User manual

PB TEEN DISPLAY-IT User manual

PB TEEN

PB TEEN DISPLAY-IT User manual
PB TEEN ELSIE User manual

PB TEEN

PB TEEN ELSIE User manual

PB TEEN Fridge Cart User manual

PB TEEN

PB TEEN Fridge Cart User manual

PB TEEN Oxford Hutch User manual

PB TEEN

PB TEEN Oxford Hutch User manual

PB TEEN CHELSEA CLASSIC DESK HUTCH User manual

PB TEEN

PB TEEN CHELSEA CLASSIC DESK HUTCH User manual

PB TEEN Chatham Multi Storage Base User manual

PB TEEN

PB TEEN Chatham Multi Storage Base User manual

PB TEEN DOVER STORAGE BED TWIN User manual
PB TEEN

PB TEEN DOVER STORAGE BED TWIN User manual

PB TEEN Peg Shelf 3FT User guide

PB TEEN

PB TEEN Peg Shelf 3FT User guide

PB TEEN Locker Bookcase 3 User manual

PB TEEN

PB TEEN Locker Bookcase 3 User manual

PB TEEN Inspired Nighstand User manual

PB TEEN

PB TEEN Inspired Nighstand User manual

PB TEEN BEADBOARD User manual

PB TEEN

PB TEEN BEADBOARD User manual

PB TEEN GENEVIEVE User manual

PB TEEN

PB TEEN GENEVIEVE User manual

PB TEEN CHELSEA CORNER DESK User manual

PB TEEN

PB TEEN CHELSEA CORNER DESK User manual

PB TEEN PARK User manual

PB TEEN

PB TEEN PARK User manual

PB TEEN Soho User manual

PB TEEN

PB TEEN Soho User manual

PB TEEN FINDLEY User manual

PB TEEN

PB TEEN FINDLEY User manual

PB TEEN Locker Bookcase User manual

PB TEEN

PB TEEN Locker Bookcase User manual

Popular Indoor Furnishing manuals by other brands
GoodHome perma 5059340018157 manual

GoodHome

GoodHome perma 5059340018157 manual

Mainstays MSS129900298079 Assembly and Care Guide

Mainstays

Mainstays MSS129900298079 Assembly and Care Guide

Ambu Man Service manual

Ambu

Ambu Man Service manual

Olympia Tools 82-738 user manual

Olympia Tools

Olympia Tools 82-738 user manual

iCube NIGHTSTAND Assembly instructions

iCube

iCube NIGHTSTAND Assembly instructions

Dorel Home Products copley S019502T Assembly instructions

Dorel Home Products

Dorel Home Products copley S019502T Assembly instructions

Home affaire Laura 38054 Assembly instructions

Home affaire

Home affaire Laura 38054 Assembly instructions

RH Teen RIDLEY TASK SCONCE Assembly instructions
RH Teen

RH Teen RIDLEY TASK SCONCE Assembly instructions

Vivo DESK-EV02RB instruction manual

Vivo

Vivo DESK-EV02RB instruction manual
Pulaski Furniture B027-024-825 Assembly instructions
Pulaski Furniture

Pulaski Furniture B027-024-825 Assembly instructions

Whittier Wood Products 441Wa Assembly instructions
Whittier Wood Products

Whittier Wood Products 441Wa Assembly instructions

Cosmopolitan CosmoLiving 3642872COMCLUK Assembly instructions
Cosmopolitan

Cosmopolitan CosmoLiving 3642872COMCLUK Assembly instructions

atmosphera ANTONELLA 192932 manual

atmosphera

atmosphera ANTONELLA 192932 manual

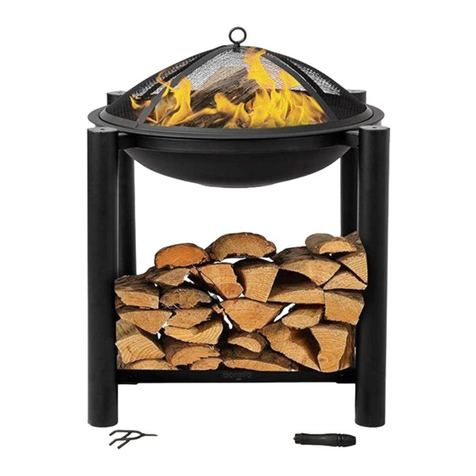
siena GARDEN Alexis C30933 Assembly instruction
siena GARDEN

siena GARDEN Alexis C30933 Assembly instruction

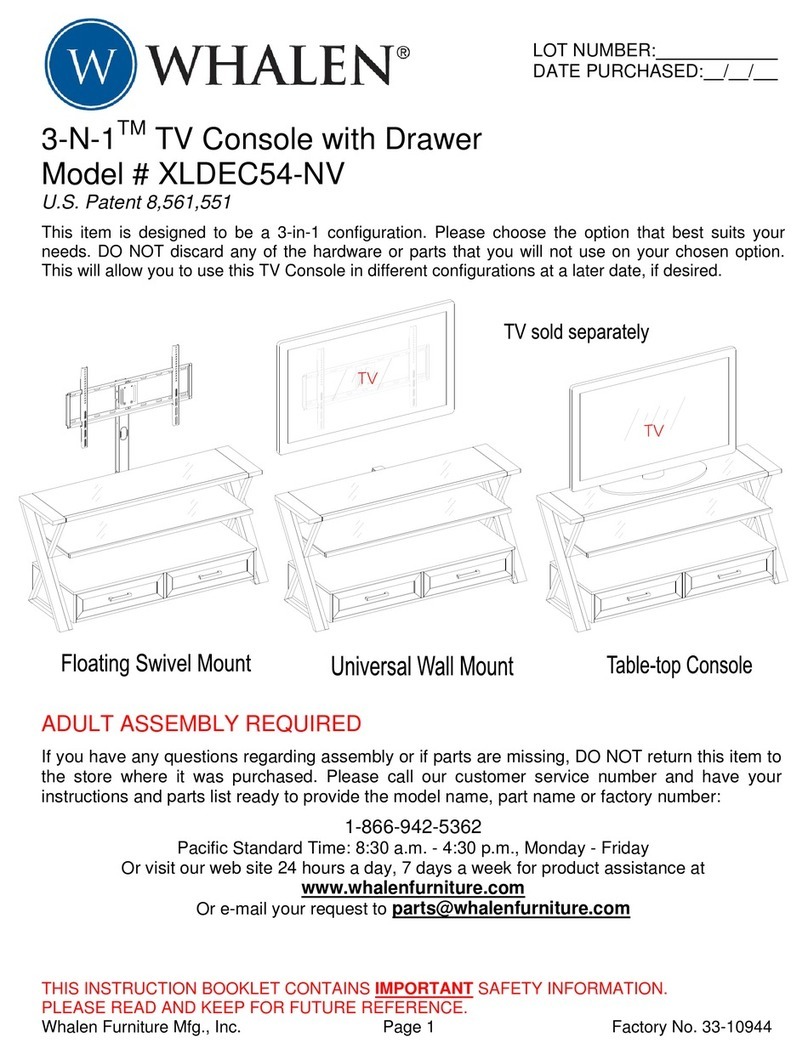
Whalen XLDEC54-NV Assembly instructions
Whalen

Whalen XLDEC54-NV Assembly instructions

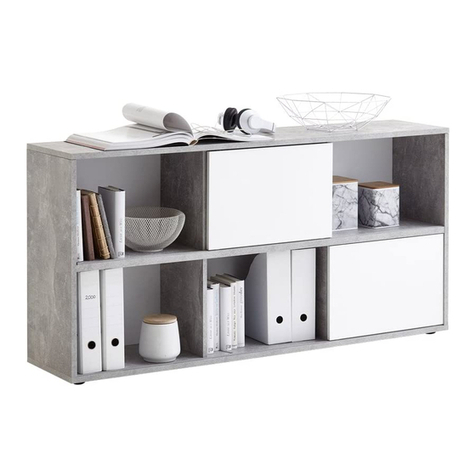
FMD Furniture FUTURA 4 UP 217-204 Assembly instruction
FMD Furniture

FMD Furniture FUTURA 4 UP 217-204 Assembly instruction

Bonnlo JS-FT168 instruction manual

Bonnlo

Bonnlo JS-FT168 instruction manual

Great Little Trading Abbeville L2992 quick start guide

Great Little Trading

Great Little Trading Abbeville L2992 quick start guide

manuals.online logo
manuals.online logoBrands
  • About & Mission
  • Contact us
  • Privacy Policy
  • Terms and Conditions

Copyright 2025 Manuals.Online. All Rights Reserved.