3 of 5 ISSUED: 05-04-10 SHEET #: 120-9078-3 06-10-13
FOR VESA 75 MOUNTING PATTERN:
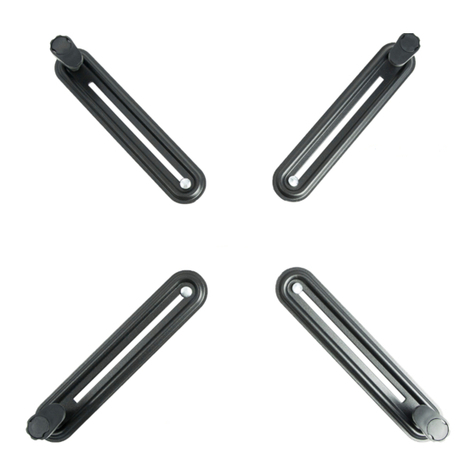
Attach adapter brackets (AA & BB) to back of screen using four M4 x 10 mm
screws and four #8 SAE upper washers as shown in figure 1.3.
*NOTE: If hole pattern is in a pocket, attach adapter brackets (AA & BB) to back
of screen using four M4 x 25 mm screws, eight #8 SAE upper and lower washers,
and four retaining spacers as indicated below.
FOR VESA 100 MOUNTING PATTERN:
Attach adapter brackets (AA & BB) to back of screen using four M4 x 10 mm
screws and four #8 SAE upper washers as shown in figure 1.3.
*NOTE: If hole pattern is in a pocket, attach adapter brackets (AA & BB) to back
of screen using four M4 x 25 mm screws, eight #8 SAE upper and lower washers,
and four retaining spacers as indicated below.
FOR VESA 200 MOUNTING PATTERN:
Attach adapter brackets (AA & BB) to back of screen using four M4 x 10 mm
screws and four #8 SAE upper washers as shown in figure 1.3.
*NOTE: If M4 x 10 mm screws gets less than three threads of engagement,
attach adapter brackets (AA & BB) to back of screen using four M4 x 25 mm
screws, eight upper and lower #8 SAE washers, and four retaining spacers as
indicated below.
FOR VESA 200 x 200 MOUNTING PATTERN:
Attach adapter brackets (AA & BB) to back of screen using four M6 x 12 mm
screws as shown in figure 2.3.
*NOTE: If M6 x 12 mm screw gets less than three threads of engagement, attach
adapter brackets (AA & BB) to back of screen using four M6 x 20 mm screws as
indicated below.
If M6 x 20 mm screws get less than three threads of engagement, attach
adapter brackets (AA & BB) to back of screen using four M6 x 30 mm screws as
indicated below.
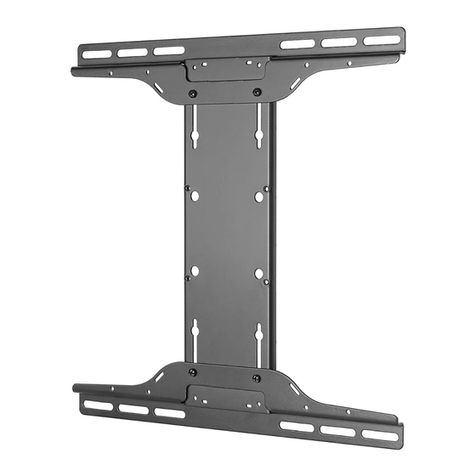
To prevent scratching the screen, set a cloth on a flat, level surface that will support the weight of the screen. Place
screen face side down. Place and align adapter brackets (AA & BB) on back of screen to VESA hole pattern as
shown in fig. 1.1.
*NOTE: If mounting holes are not centered on back of screen, center brackets on back of screen as shown in fig.
1.2. Find the VESA®hole pattern below, and attach brackets to screen accordingly. Verify that all holes are prop-
erly aligned, and then tighten screws using 4 mm allen wrench (CC).
Installing Adapter Brackets
1
SCREWS
fig 1.3
UPPER WASHER
LOWER WASHER
• If screws don't get three complete turns in the screen inserts or if screws bottom out and adapter brackets are still
not tightly secured, damage may occur to screen or product may fail. Contact customer care for correct hardware to
use.
WARNING
fig 1.1
AA BB
RETAINING SPACER
NOTE: "X" DIMENSIONS SHOULD BE EQUAL.
BB X
X
AA
fig 1.2
200 100 75
