PEIKER CEE CEECOACH PLUS User manual

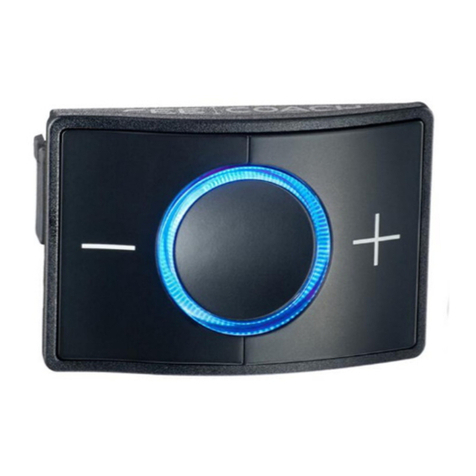
Communication Device CEECOACH PLUS
Instruction manual
English translation of the original instruction manual
05/2021


Table of contents
Notes on the instructions and the manufacturer ..........................3
Keep guide available........................................................................3
Information available online......................................................................3
Design features in the text ........................................................................3
Copyright .....................................................................................................4
Manufacturer address................................................................................4
Security..............................................................................................5
Intended use ...............................................................................................5
Basic safety instructions............................................................................5
Avoid property damage and malfunctions..............................................6
Design features of the warning labels.....................................................7
Design features of the notices on property damage .............................7
Description........................................................................................8
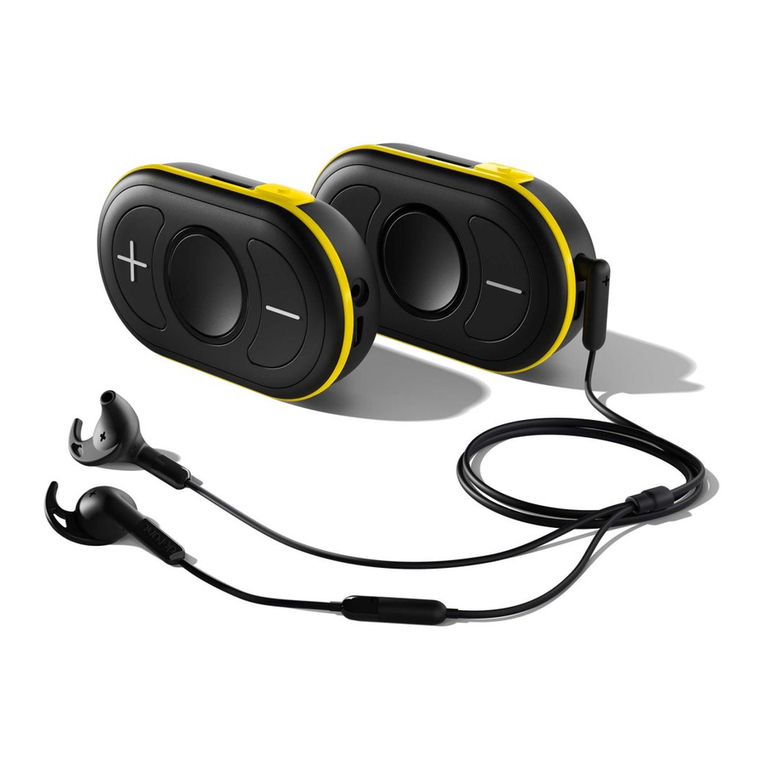
Scope of delivery........................................................................................8
Task and function.......................................................................................9
Controls......................................................................................................10
Indicators in the illuminated ring.............................................................11

Unpack and check scope of delivery............................................12
Putting the device into operation..................................................13
Switching the device on and off....................................................14
Form group......................................................................................15
Set volume.......................................................................................16
Switching the microphone on and off (mute function)...............17
Key lock ...........................................................................................18
Connect device with a Bluetooth® headset.................................19
Wear device on belt ........................................................................21
Attach device to upper arm ...........................................................23
Update the software of the device ................................................24
Load device .....................................................................................25
Reset device to basic setting ........................................................26
Fix problem......................................................................................27
Clean device....................................................................................29
Storing and transporting the device.............................................30
Dispose device................................................................................31
Technical data.................................................................................32
Warranty statements ......................................................................33
EU Declaration of Conformity........................................................34

3
Notes on the instructions and the manufacturer
The CEECOACH PLUS communication device is referred to as the
"device" in the following.
These instructions will help you to use the CEECOACH PLUS
communication device, version 1.1.6.x or higher, safely.
Keep guide available
These instructions are part of the device.
Make sure that this guide is always available for you.
Always download the latest manual after an update.
Information available online
You will receive information about news regarding feature enhancements
and updates for the device in the newsletter and on social media, as well
as at www.peiker-cee.de.
Design features in the text
Normal text
•Enumeration
Action steps
Tips contain additional information.

4
Copyright
These instructions contain information that is subject to copyright. These
instructions may not be copied, printed, filmed, processed, reproduced or
distributed in any form, either in whole or in part, without the prior written
permission of peiker CEE GmbH.
©2021 peiker CEE GmbH
All rights reserved.
Manufacturer address
peiker CEE GmbH
Garden street 25
D-61352 Bad Homburg
Tel.: +49-6172-1797-500
E-Mail: info@peiker-cee.de
Internet: www.peiker-cee.de

5
Security
Intended use
The device is used for group communication in sports and recreation.
The device can communicate with a maximum of 16 participants in one
group.
The range between the participants is up to 700 m.
The distance of the devices must be less than 10 m when connecting to a
group.
Intended use also includes reading and understanding these instructions.
Furthermore, you must observe and comply with all information in this
manual, in particular the safety instructions.
Any other use is expressly considered improper.
Basic safety instructions
Avoid serious injury or death from explosions
The device does not have approval according to the ATEX directive for
use in potentially explosive atmospheres.
Only use the device in areas where there are no special requirements
for explosion protection.
Avoid risk of suffocation
Small parts are included in the scope of delivery. Children can swallow
the small parts during play and choke on them.
Make sure that the small parts do not get into the hands of children.

6
Avoid hearing damage
Excessive volume can irreparably damage your hearing.
Avoid continuous exposure to sound at maximum volume.
Avoid environmental damage
Dispose of the device and its components in accordance with the
regulations applicable at the place of use.
Avoid property damage and malfunctions
Avoid damage to the device due to incorrect carrying
Attach the device to your belt or wear it securely on your upper arm. A
belt clip or a wrist strap with Velcro closure are included.
Do not drop the device.
Avoid shock loads.
Avoid headset cable breakage
To plug in or remove the cable, hold it by the plug only.
Avoid damage to the device due to incorrect cleaning
Cleaning with harsh cleaning agents can damage the device.
Only use a soft cloth to clean the device if it is slightly dirty.
Only use gentle cleaning agents for heavy soiling. Make sure that the
cleaning agent does not affect the case parts and keys by testing it on
a hidden spot.
Avoid damage to the device due to improper repair
Never open the housing of the device.
Have the device repaired by qualified personnel only.

7
Design features of the warning labels
WARNING
Notes with the word WARNING warn of a dangerous situation
that can possibly lead to death or serious injury.
CAUTION
Notes with the word CAUTION warn of a situation that may
result in minor or moderate injury.
Design features of the notices on property damage
ATTENTION!
These notes warn of a situation that will result in property
damage and limited functionality.

8
Description
Scope of delivery

9
No.
Naming
1
Belt clip (included in duo set 2 times)
2
Bracket (included in duo set 2 times)
3
Device (included in duo set 2 times)
4
Headset (included 2 times in the duo set)
5
Velcro tape (included in duo set 2 times)
6
Screwdriver
7
USB-C cable (included 2 times in the duo set)
Task and function
The device is used for group communication in sports and recreational
areas.
The device can communicate with a maximum of 16 participants in one
group.
The range between the participants is up to 700 m.
The distance of the devices must be less than 10 m when connecting to a
group.

10
Controls

11
No.
Naming
1
Function key for connecting the device with other devices
2
Connection socket for headset
3
USB socket for USB-C cable
4
Minus key: Decrease volume
5
Function key for connecting the device with other devices
or with the Bluetooth® headset.
6
Main key: Switch device on and off
Switch microphone on and off
7
Plus key: Increase volume
8
Light ring
Indicators in the illuminated ring
Color
Meaning
Red
Battery almost empty (less than 30% charged)
Yellow
Battery charged between 30% and 70%
Green
Battery more than 70 % charged Device
is connected and at least one device is in transmit and
receive range
White
There is no connection to other devices
Cyan
Device is connected, but there is no other device in the
transmit and receive range
Blue
Device can be connected with a Bluetooth® headset
Magenta
The microphone is switched off

12
Unpack and check scope of delivery
WARNING
Small parts are included in the delivery.
Children can swallow the small parts during play and choke
on them.
Make sure that the small parts do not get into the hands of
children.
Remove the parts of the device from the original packaging.
Keep the original packaging for possible return.
Check if all parts of the device are included.
Check the perfect condition of the parts.
Contact the manufacturer if any parts are missing or damaged.

13
Putting the device into operation
Switch on the device (see the next section).
Form a group with your team (see section "Forming a group" starting
on page 17). You only need to do this the first time or if you want to
form a new team.
Use the headset as described in the manufacturer's instructions.
When using a Bluetooth® headset, proceed as described in the section
"Connecting the device to a Bluetooth® headset" starting on page21.
Connect the device to the desired other devices.
You can connect the device with up to 15 other devices to form a group
(for this, see section "Forming a group" from page 15).

14
Switching the device on and off
To switch on the device, press the main button (1) and hold it down for
at least 3 seconds.
The illuminated ring (2) then shows a color (green, orange or red
depending on the battery charge) for 3 seconds. You will also hear the
voice prompt "Power on". As long as the device is switched on, an LED in
the illuminated ring (2) flashes in the color
•White when the device is not connected to any other device.
•Cyan if the device is connected to at least one other device, but it is
out of range.
•Green when the device is connected to at least one other device that
is within range.
To switch off the device, press the main button (1) again and hold it
down for at least 3 seconds.
The illuminated ring (2) then shows a color (green, orange or red
depending on the battery charge) for 3 seconds. You will also hear the
voice prompt "Power off".
The device is automatically switched off after five minutes if there is
no connection to another device. This is the case when the LED
lights up white (device is not paired) or cyan (no other device is
within radio range) every 2 seconds.

15
Group pairing
You can pair a group with up to 15 other devices. The distance between
the devices must be less than 10 m when connecting them.
Make sure that the devices to be connected are within range.
Switch on the devices (see "Switching the device on and off" from
page14).
Press the function keys (1, 2) on the devices simultaneously for at
least one second.
The light ring now fills with a color for 30 seconds and connects to all
other devices that are also in this state. After that, you will hear the voice
prompt "Device connected" when at least one other device has been
successfully connected. The LED ring flashes green.
If no connection has been established, the illuminated ring flashes white.
In this case, repeat the procedure.
You can create new groups with already connected devices at any
time by repeating the "Create group" operation.

16
Set volume
CAUTION
Hearing damage possible due to excessively loud noises.
Avoid continuous exposure to sound at maximum volume.
To increase the volume, press the Plus button gradually.
The device becomes progressively louder. The ring fills up segment by
segment. At maximum volume, the illuminated ring lights up completely
green.
To reduce the volume, press the minus key step by step.
The device gradually becomes quieter. The ring empties segment by
segment. At minimum volume, only one LED lights up.
To quickly change the volume, press and hold the plus or minus
button.

17
Switching the microphone on and off (mute
function)
To switch off the microphone, press the main key (1) briefly.
You hear the voice prompt "Mute on". The light ring (2) flashes magenta.
You will now no longer be heard by other connected subscribers.
To switch on the microphone, briefly press the main button (1) again.
You hear the voice prompt "Mute off". You will now be heard again by the
connected subscribers.

18
Key lock / Keyguard
To prevent accidental pressing of a key, the device has a key lock /
Keyguard.
To activate the key lock, press the plus and minus keys simultaneously
for 3 seconds.
The activation of the key lock is signaled to you by the illuminated ring. At
0, 3, 6 and 12 o'clock the LEDs flash and the color that corresponds to
the connection status:
•White when the device is not connected to any other device.
•Cyan if the device is connected to at least one other device, but it is
out of range.
•Green when the device is connected to at least one other device that
is within range.
To deactivate an activated key lock, you have two options
Press the Plus and Minus keys simultaneously for 3 seconds.
The successful deactivation of the key lock is signaled by the light ring,
where only one LED flashes in the color corresponding to the connection
status.
Or switch off the device as described in the section "Switching the
device on and off".
Other manuals for CEECOACH PLUS
4
Table of contents
Other PEIKER CEE Conference System manuals
Popular Conference System manuals by other brands

Shenzhen PUAS Industrial Co., Ltd
Shenzhen PUAS Industrial Co., Ltd PUS-OHD200S SERIES user manual

Poly
Poly Studio R30 Beta user guide

Grandstream Networks
Grandstream Networks GAC2500 user manual

Konftel
Konftel CC200 user guide

Crestron
Crestron UC-2 quick start guide

Aiphone
Aiphone NHX SYSTEM series Operation manual