Penpower WorldocScan 400 User manual

Penpower WorldocScan
User's Guide
Version: V1.0
Release: July 2008

Penpower Technology Ltd.
Software User License Agreement
You are licensed to legally use this software program (“the Software”) by Penpower Technology
Ltd (“Penpower”) under this license agreement (“The Agreement”). If you do not agree with any
of the provisions in this Agreement, please do not install, copy or use the Software. By using the
Software, you are deemed to fully understand and accept the provisions of this Agreement.
1. Intellectual Property
All intellectual property rights in the Software, together with all information and documents included in
the packaging for the Software (including but not limited to copyrights), are property of Penpower, and
are protected by relevant laws and regulations.
2. License to Use
You are authorized to use the Software on one (1) single computer only. You may not use the Software on
any other machines other than the said single computer.
3. Authority to Copy
The Software and all documents included with the Software, and copyright thereof, are property of
Penpower. You are licensed to make one (1) copy of the Software for your personal backup purposes. All
other acts of copying are strictly prohibited.
You may not sell, lease, dissemble, reverse engineer, copy, translate, adapt or derive the Software, or ob-
tain the source code of the Software by any other means. You may not use the Software for any purposes
other than those permitted under this Agreement.
4. Business Users
If you need to install or use the Software on more than one (1) computer, please contact Penpower or our
local distributor to purchase a license for the additional use.
5. Liability
You agree to indemnify Penpower against all losses, costs, debts, settlement payments or other expenses
(including but not limited to attorneys fees) arising from your breach of this Agreement, and you agree to
compensate Penpower for all of the abovementioned damages.
6. No Warranty
Effectiveness of a packaged software in handling information is closely related to its software and
hardware environment. The Software is published following careful development and product testing by
Penpower, but Penpower is not able to conduct tests based on all possible combinations of software and
hardware environment. Therefore, Penpower is unable to promise nor warrant that there will be absolutely
no risk of loss or damage of information, or any other kind of loss, during installation and/or execution of
the Software. You must be fully aware of your risks in using the Software.
Penpower will provide you with the Software and support services in respect of the Software to the maxi-
mum extent permitted by law. However, Penpower does not warrant that the Software and information in-
cluded in the package of the Software contain no defects or errors. Penpower is not liable for any indirect,
special or incidental loss arising from the Software, including but not limited to loss of prots, damage to
business reputation, cessation of work, hardware malfunction or damage, or any other commercial dam-
age or loss arising from commercial use of the Software.
7. Limitation of Liability and Damages
The maximum amount of compensation payable by Penpower, in respect of any damage incurred by
you for any reason under this Agreement, is limited to the amount you have already paid to Penpower in
respect of the Software.
Under no circumstances will Penpower be held liable for the possibility of loss, notwithstanding Penpower
may be aware of the possibility of such loss.
8. Prohibition Against Sublicense
You are prohibited to assign the license in respect of the Software granted to you under this Agreement,
or to grant a sublicense to another person.
9. Jurisdiction
With regards to any disputes arising from this Agreement, Penpower and you agree that the court having
jurisdiction over the business location of Penpower will be the court in the rst instance.
10. Miscellaneous
In the event that any provision of this Agreement is found to be invalid at law, such invalidity will not af-
fect the validity of any other provisions, or the legal enforceability of such other provisions.
In the event that the Software cannot be executed under conditions of normal use, due to any damage to
the original disk/s, Penpower will replace the disk/s free of charge.

Content
Chapter 1 Product Features..................................................................................1
1.1 Product Introductory...........................................................................................1
1.2 Product Function..............................................................................................2
1.3 System Requirements..........................................................................................2
Chapter 2 Installation............................................................................................3
2.1 Installing the Application Software.................................................................3
2.2 Installing the Hardware Driver.........................................................................5
2.3 Calibration...........................................................................................................7
Chapter 3 Getting Started with Scan2PDF..........................................................8
3.1 User Interface......................................................................................................8
1. Scan2PDF Main Interface..............................................................................8
2. Scan Wizard Interface....................................................................................................................9
3.2 Scanning Process..............................................................................................10
Step 1: Place document in scanner..................................................................................................10
Step 2: Document Setting.................................................................................................................10
Step 3: Scan Editing..........................................................................................................................14
Step 4: Switch View Mode...............................................................................................................14
Step 5: Send Mail...............................................................................................................................15
Chapter 4 Uninstall............................................................................................................................16

- 1 -
WorldocScan
Chapter 1 Product Features
1.1 Product Introductory
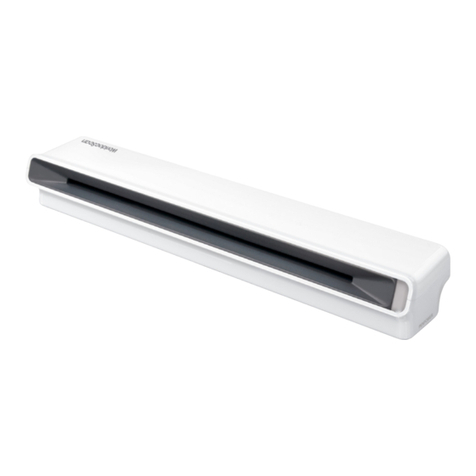
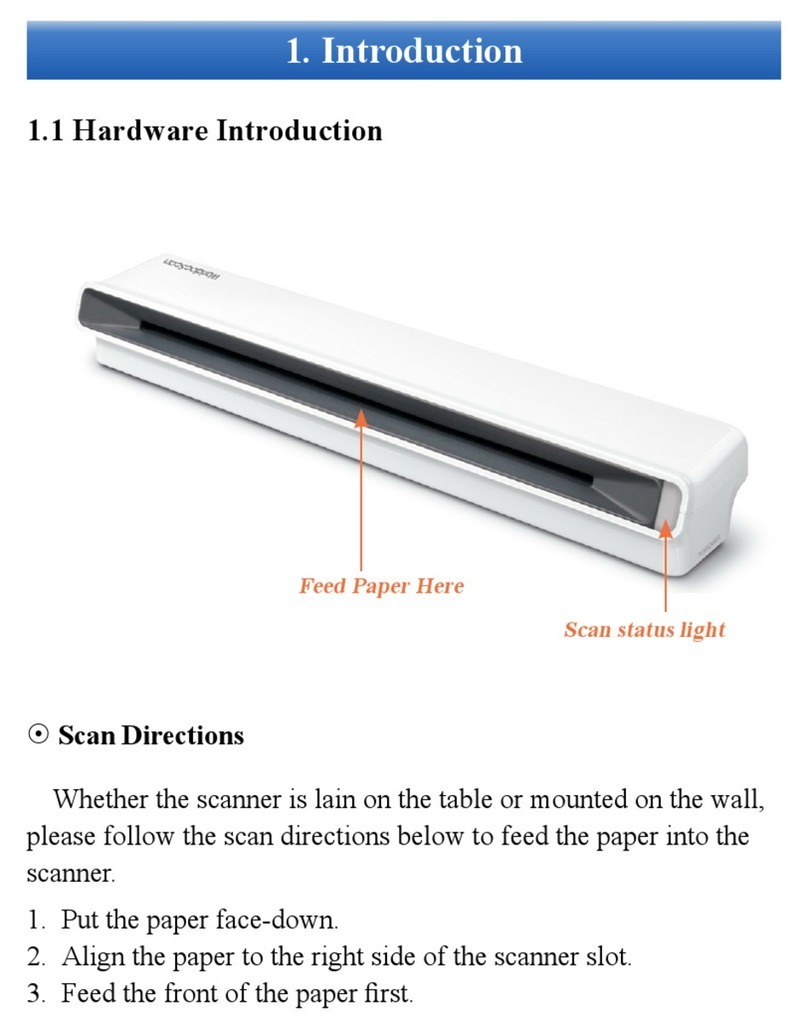
The WorldocScan offers the best solution for document management. The program
allows you to scan and convert your paper documents into a PDF le within seconds for
easy management and editing.
Dimension(LxWxH): 11.7” x 2” x 1.7”
Introduction
Scanning Area
Scan Button

- 2 -
WorldocScan
- 3 -
1.2 Product Function
• Support resolution of 75-600 dpi
• OCR Language Support
• Searchable PDF le with password protection
• Scan Page size setting and Scan setting(B/W, Gray, Color)
• File type (PDF and Jpeg) and setting
• File management
• Send le by E-mail directly
1.3 System Requirements
• Pentinum III 300 or Equivalent Processor
• Windows 2000/XP/Vista 32-bit
• 128MB RAM (512MB for Windows XP/Vista)
• 200 MB Available Hard Disk Space
• CD-ROM Drive
• USB Port
Introduction

- 2 -
- 3 -
WorldocScan
Chapter 2 Installation
2.1 Installing the Application Software
1. Place the installation CD in the CD/DVD-ROM drive and the system will automatically
run setup.exe. Please click on [Install Scan2PDF] to begin the installation process.
Installation
2. At the License Agreement screen, check [I accept the terms of the license agreement]
then click on [Next] to continue. Please read licensing agreement completely.

- 4 -
WorldocScan
- 5 -
Installation
3. At the folder selection screen, you can use the system default folder or click on
[Browse] to select an installation folder. Click on [Next] to continue.
4. Check [Download Acrobat Reader] option, the installation kit will be linked to Adobe
Reader webiste for you to download. When the installation is complete, click on
[Finish]to exit. After the Scan2PDF software is installed, a register reminder window
will pop up to remind you registering your product at www.penpower.net/reg.html for
ensuring the warranty service. Click [Register now] to register. If you click [Register
later], you may go to [About/Register] when you are ready to register.

- 4 -
- 5 -
WorldocScan
Installation
2.2 Installing the Hardware Driver
After installing Scan2PDF, you must then install the WorldocScan scanner driver. At
the main menu, click on [install WorldocScan 400 driver].
1. Please select the language version then click on [OK]. Follow the prompts on the
screen to install the driver.
Note: When installing driver, please don’t plug the USB connector of scanner into the USB port of
the computer.

- 6 -
WorldocScan
- 7 -
2. Connect your scanner to the computer via the USB port, then click on [Next]. Click
[Finish] to complete installation.
3. After installation of the driver, plug the USB connector of the scanner into the USB
port of the computer. And follow the instructions of the following screen.
Installation
4. After installation , when pressing the [Scan Button] on the scanner, it will automatically
run Scan2PDF software.
Note: Scanned Docs may have poor scanned quality. This is due to lack of power to support several
USB devices. To avoid this problem, connect your scanner and other USB devices to an extra-
powered USB hub.

- 6 -
- 7 -
WorldocScan
Installation
2.3 Calibration
Calibration is necessary to ensure that your computer monitor matches the image
quality of Scan2PDF. When Scan2PDF is run for the rst time, the calibration wizard will
appear to guide you through the process.
Note: In order to use the scanner on another computer, you must perform the calibration procedure
again.
1. Run [Start/Program Files/Scan2PDF/Scan2PDF] then click on the [Calibrate
scanner] button. Make sure that you have the calibration card included in the box
and place the calibration card in the scanner as directed.
Tip: After Scan2PDF is installed, Scan2PDF Manager will be automatically activated each
time your computer is turn on. icon will also appear on the lower right corner of
the toolbar. You can press icon, and the Scan2PDF program will start.
2. In the [Calibrate scanner] dialog box, click on the [Calibrate] button and scanner
calibration will begin.

- 8 -
WorldocScan
- 9 -
8
9
12345
7
6
(1) Scan document
(2) Calibrate scanner
(3) Email document
(4) Switch view mode
(5) Open folder
Chapter 3 Getting Started with Scan2PDF
3.1 User Interface
1. Scan2PDF Main Interface
Application
(6) About
(7) Save as
(8) File Information
(9) Preview Area

- 8 -
- 9 -
WorldocScan
Application
2. Scan Wizard Interface
(1) Scanned File Buffer
(2) Scan Status Display
(3) Rotate Counterclockwise
(4) Rotate Clockwise
1
2
(5) Move Page Foward
(6) Move Page Backward
(7) Delete Image
(8) Show Scanned Image
76543 8

- 10 -
WorldocScan
- 11 -
Application
3.2 Scanning Process
Step 1: Place document in scanner
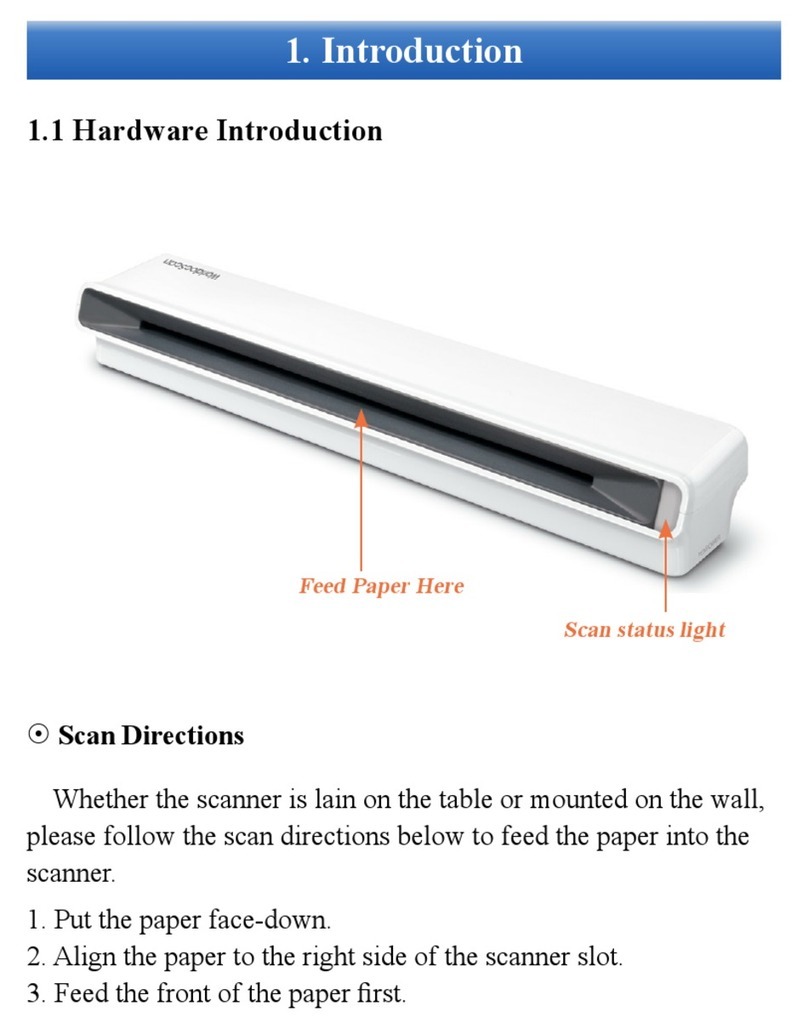
1. Place the document or photo you wish to scan face-down into the scanner.
2. On your computer screen, click on the [Scan document] button or press the [Scan
Button] on the scanner. This will bring up the [Scan Setting] dialog box.
Note: Place the document or photo to scan face-down and align it with the right side of the machine.
Note: When paper inserted into this product, it will be automatically loaded into the machine. Do not
attempt to force a document into the machine. Once the document is inserted into the scanner,
please click on the [Scan document] button again.
Step 2: Document Setting
Save File Setting
1. File Type: This function allows you to choose to save the document or photo as a
PDF document or a JPG image. If the selected le type is PDF, the [Jpg setting] eld
below cannot be edited. Conversely, if the le type is Jpg, the [PDF setting] eld can't
be edited.

- 10 -
- 11 -
WorldocScan
Application
2. Store in Folder: This option allows you to set a destination folder. The software
includes four initial folders( Company, Friend, Private and UnCategory ).
TIP: You can select any of the default folders as required. To add a new folder, you must re-
turn to the Scan2PDF main interface and click on the [Add new folder] button. A
dialog box will appear where you can set a name for the new folder, e.g. [Photo].
Note: The folders mentioned above are located in [My Documents] under the [My Scanned Docs]
folder.
TIP: Scan2PDF offers you the option of clicking on the [Open Folder] button. The
folder dialog box allows you to quickly locate an existing data folder.
1
2

- 12 -
WorldocScan
- 13 -
Application
3. Document Names: Scan2PDF allows you to quickly process large numbers of
documents using the date and order as their le name. For example, [2008_0716.Pdf]
is the first document , [2008_0716(2).Pdf] is the second document, and so on. By
naming the les after the date and scanning order, this allows you to scan documents
quickly. Besides, you can also manually enter a le name
Scan setting
1. Document Type Setting: Scan2PDF offers you a variety of scanning output types.
Depending on the type of document being scanned, options include [B/W Document],
[Gray Scale Document] and [Color Document].
2. Paper Setting: This product supports a variety of page size settings, including Let-
ter size (8.5"*11.0"), Legal size (8.5"*14.0"), A4 (8.3"*11.7"), A5 (5.8"*8.3*), B5
(7.2"*10.1"), Business Card (3.5"*2.2"), Photo (5.0"*3.5"), Large Photo (6.0"*4.0")
and Custom.
Note: Please remove all objects attached to the paper before scanning including labels, post-it notes
and staples to avoid damage to your scanner or poor scanning quality.

- 12 -
- 13 -
WorldocScan
Application
3. DPI Setting: DPI setting allows you to set custom values according to the document
size or resolution requirements. This product supports resolutions of between 75~600
DPI. By default, the software is set to 150 DPI.
4. Advance Setting: This allows the user to adjust the Brightness, Contrast, Gamma
value, Highlight, Shadow, Invert Image, Detect End of Page and Auto Clip functions.
You can always click on the [Reset] button to restore to the factory defaults.
PDF Setting
1. Document Security: This product offers a password-lock function. If you wish to
protect a confidential document, check the [Set a Password] option in the [PDF
Setting] eld and enter a custom password in the eld.
2. OCR Language Support: If you wish to make your scanned document searchable by
software applications such as Acrobat Reader, please check the [Make Searchable
PDF] option . This will allow you to quickly search through the document text.

- 14 -
WorldocScan
- 15 -
Application
Step 3: Scan Editing
1. Once all settings in the [Scan Setting] dialog box have been set, click on the [Next]
button to start scanning.
2. At the [Scan Setting] dialog box, click on the [Scan] button to start scanning.
Note: Pressing the [Scan Button] on the scanner will start scanning as well.
3. While scanning, the scanning progress will be shown as a percentage at the bottom of
the window. When the scan is completed, you will see the scanned le in this window.
4. To edit the scanned le, click on the le's icon then use the toolbar below for Rotate
Counterclockwise , Rotate Clockwise , Move Page Forward , Move Page
Backward , Delete Image and Show Scanned Image .
Note: This product provides you the function of enlarging the scanned image. There are three ways
to do it. First, choose the image that you want to enlarge and click [Show Scanned Image] but-
ton. The window of the enlarged image will pop up. Second, move the cursor on the scanned
image. The window of the enlarged image will pop up, too. Third, you can double click the left
mouse button on the scanned image to pop up the window.
5. After editing the file, click on the [Finish] button. You can now view the newly
scanned le in the main interface.
123

- 14 -
- 15 -
WorldocScan
Application
Step 4: Switch View Mode
Scan2PDF includes two view modes: Icon Mode and Detail Mode.
1. Click the [Switch view mode] button in the toolbar at the top of the main
interface. This will allow you to change the view mode to [Icon Mode ]or [Detail
Mode].
2. In both Icon Mode and Detail Mode, double clicking on a file will open it for
inspection.
Icon Mode Detail Mode
Step 5: Send Mail
Scan2PDF includes a Send E-Mail function that launches your E-mail client to send
the selected le.
1. In the [File Information] area, select the file to send then click on the [E-mail
document] button in the toolbar.
2. This will bring up the e-mail client, e.g. Outlook. Scan2PDF will have already
included the selected le as an attachment to the e-mail. You can send the e-mail once
you specify the recipient and subject.

- 16 -
WorldocScan
Uninstallation
Chapter 4 Uninstall
1. First, close Scan2PDF.
2. Launch [Start / Program Files / Scan2PDF / Uninstall Scan2PDF].
3. This will open the [Uninstall Program] window and the system will ask you to
conrm that you wish to remove the program. Click on [Yes] to begin uninstalling.
Table of contents
Other Penpower Scanner manuals

Penpower
Penpower Super ScanEYE User manual

Penpower
Penpower WorldCard Mac User manual

Penpower
Penpower mini ScanEYE User manual

Penpower
Penpower WorldCard Series User manual

Penpower
Penpower mini ScanEYE User manual

Penpower
Penpower Chinease Expert PCE Standard User manual

Penpower
Penpower WorldocScan 410 User manual

Penpower
Penpower WorldPenScan Go User manual

Penpower
Penpower WorldCard duet User manual

Penpower
Penpower WorldPenScan X User manual