manuals.online logo
Brands
  1. Home
  2. •
  3. Brands
  4. •
  5. Performance Tool
  6. •
  7. Tools
  8. •
  9. Performance Tool W54200 User manual

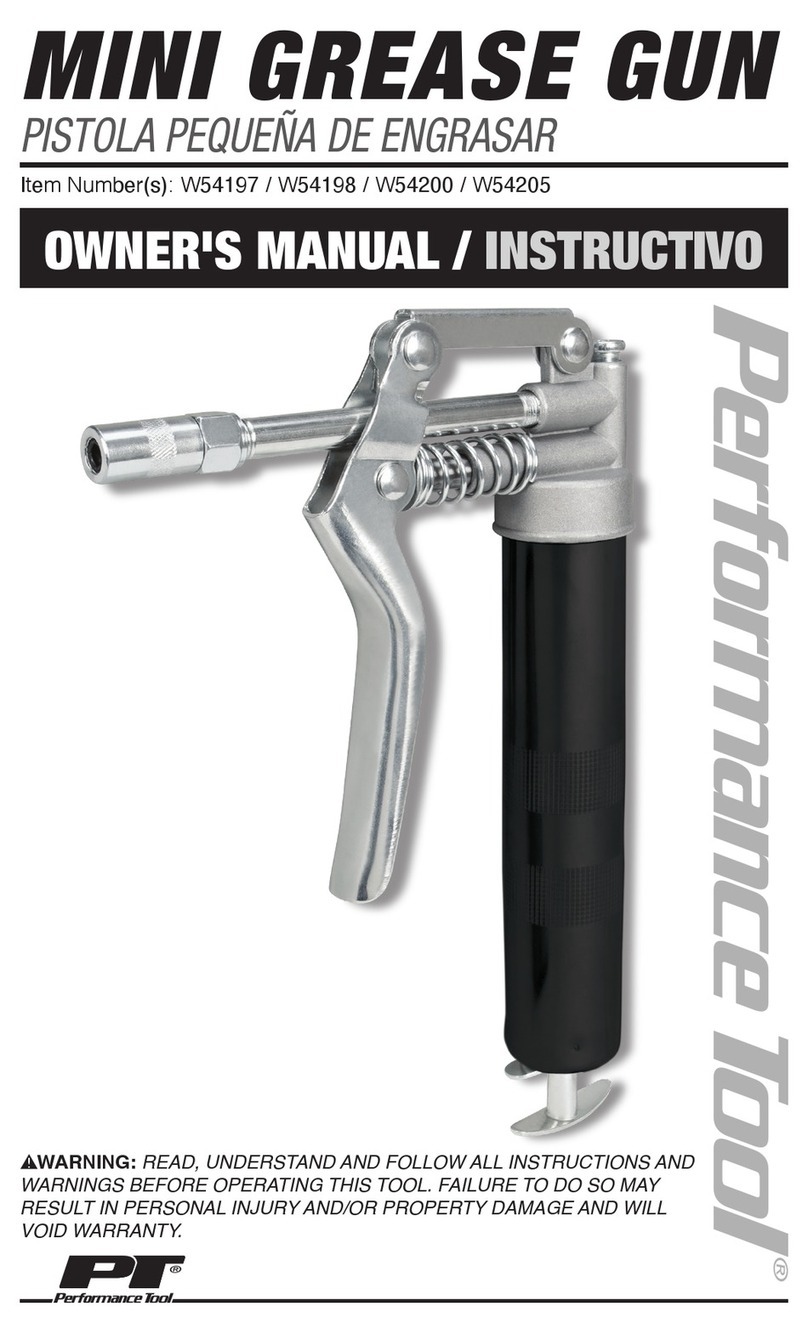
Performance Tool W54200 User manual

GREASE CARTRIDGE LOADING/PARA LLENAR CARTUCHO DE GRASA BULK LOADING WITH DISPENSER/RELLENO EN VOLUMEN CON DISPENSADOR
SUCTION FILLING/RELLENO A SUCCIÓN
NOTE- This is a basic instruction manual which covers various models of grease guns. The illustrations-
below may not depict exactly your specic gun.1. Rotating counter clockwise, unscrew Head Cap from
gun Barrel. (Fig. 1)
NOTA- Este es un manual de instruciones basico que cubre varios modelos de pistolas de grasa. Lasi-
lustraciones de abajo puenden no ser exactamente iguales que su pistola especica.1. Desatornille la
tapa del barril de la pistola girando en dirección opuesta a las manecillas del reloj.(Fig. 1)
NOTE- Used cartridges must be removed prior to bulk loading.
1. Make sure the bulk loading ller valve is compatible with the adapter on the pump. (Figure 5)
2. Attach the ller valve to the adapter by pushing in and rotating slightly.
3.
Operate the pump handle while holding the gun rmly to the pump. As the grease pumps into the
grease gun barrel the plunger handle will extend. Loading is complete when the plunger rod is fully extended.
4. A slight twist of the gun will detach it from the pump. Depress lock release and push the plunger
rod back into the gun.
NOTA - Los cartuchos usados de deben remover antes de ser recargados en volumen.
1. Asegurese que la válvula sea compatible con el adaptador en la bomba. (Fig. 5)
2. Sujete la válvula de relleno al adaptador empujandola y rotando ligeramente.
3. Opere el mango de la bomba mientras sujeta la pistola rmamente hacia la bomba. La barra del
piston se extendera al momento de entrar la grasa al barril. El relleno se termina cuando la barra
del piston esta completamente extendidia.
4. La pistola se desprende de la bomba con un pequeño giro. Quite el sujetador del seguro y empuje
la barra del piston de nuevo en la pistola.
Head Cap/
Tapa de
Cabeza
Barrel/Barril
Fig. 1
Plunger
Handle /
Piston
de
Mango
Fig. 2
Grease Cartridge Plastic Cap/Tapa de plástico
Cartucho de grasa Barrel/Barril
Fig. 3
Flip-top Tab/Tapa Quita-pon
Fig. 4
Note - Because they lack lubrication on the rubber plunger, new grease guns may be difcult to load
with grease cartridges the rst time. Apply a liberal coating of grease to plunger when using gun for the
rst time. This grease gun requires a 3 oz. grease cartridge.
2. Draw handle back fully so that the plunger rod catches and locks into place. (Fig. 2)
Caution: Depressing the lock release when empty causes
the handle to snap back quickly.
3. After removing the plastic cap from the grease cartridge,
apply a small amount of grease to the inside edge of the
cartridge. This will make insertion of the plunger easier. (Fig. 3)
4. Push grease cartridge into gun barrel completely, until
metal edge tightly seals on top of the grease gun barrel.
Detach ip-top seal from cartridge. (Fig. 4)
5. Screw on head cap approximately two turns, being sure
not to tighten. Release plunger rod from its locked position
and push in. Push on plunger rod handle to force plunger
into cartridge. At the same time, pump the lever or handle to release trapped air. When grease
comes through vents and the head of the gun, fully tighten the head cap to the barrel.
6. As soon as the gun is pumping grease, carefully depress the lock release and push plunger
rod back into gun.
Nota - Debido a la escasa lubricacion del piston de goma, puede ser dicil llenar la primera
vez de grasa los cartuchos. Aplique una capa suciente de grasa a el piston cuandose usa la pistola por
primera vez. Esta pistola de grasa requiere un cartucho de grasa de 85 g.
2. Jale completamente el mango hacia atras para que la cabeza del piston se asegure en su lugar (Fig. 2)
Precaucíon: Si se jala el sujetador del seguro al estar vacio, causa que el mango haga repentinamente
para atras.
3. Despues de remover la tapa de plastico del cartucho de grasa, aplique una pequeña cantidad de
grasa al borde interior del cartucho. (Fig. 3)
4. Empuje el cartucho de grasa hacia el barril completamente, hasta que el metal selle con la parte
superior de la pistola de grasa. Retire le sello de arriba del cartucho. (Fig. 4)
5. Atornille la cabeza de la tapa aproximadamente dos vueltas, asegurandose que no apriete. Saque el
piston de su posición asegurada. Empuje el mango para forzar la cabeza del piston contra el cartucho.
Al mismo tiempo, bombee el mango para liberar el aire. Cuando la grasa salga de los extremos de la
pistola, Apriete la cabeza de la tapa contra al barril.
6. Al momento que la pistola bombee grasa, cuidadosamente jale el sujetador del seguro y empuje la
cabeza del piston de vuelta en la pistola.
WARNING / PRECAUCIÓN
DO NOT REFILL
USED CARTRIDGES
NO RELLENE CARTUCHOS
USADOS
NOTE - Used cartridges must be removed prior to suction lling.
1. Remove the gun head cap from the barrel.
2. Submerge open end of the barrel into grease bucket. Be sure the plunger handle is depressed
completely. Grasp the barrel rmly and pull back slowly on the plunger handle. Be sure the mouth
of the barrel is always under the surface so that air is not transferred into the barrel. (Figure 6)
3. Loading is complete when plunger rod is fully extended.
4. Reattach the gun head cap to the barrel. Depress lock release and push the plunger rod back
into the gun.
NOTE - Grease guns may lose their prime on occasion, because of air pockets in the grease. If this
occurs, remove the trapped air by bleeding the head cap and resume pumping.
NOTA - Los cartuchos usados se deben remover antes de llenar a succión.
1. Remueva la tapa de la cabeza de la pistola del barril.
2. Sumerja la parte abierta del barril en el cubo de grasa. Aserurese que el
mango del piston esta completamente suelto. Sujete el barril rmemente
y jale despacio el mango del piston. Asegurese que la boca del barril
este siempre sumergida en el cubo para que no pase aire a el barril. (Fig. 6)
3. El relleno se termina cuando la barra del piston esta completamente
extendida.
4. Ponga de nuevo la tapa de la cabeza de la pistola a el barril. Quite
el sujetador del seguro y ponga la barra del piston de nuevo en la
pistola.
NOTA - En ocasiones las pistolas de grasa pueden perder su fuerza
debido a bolsas de aire en la grasa, si esto ocurre, remueva el aire
atrapado purgando la tapa de la cabeza y sigua bombeando.
Fig. 5
Fig. 6
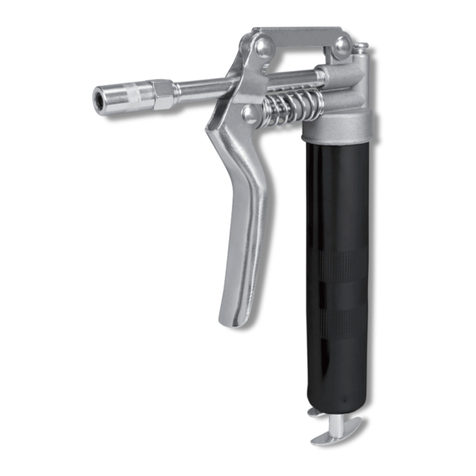
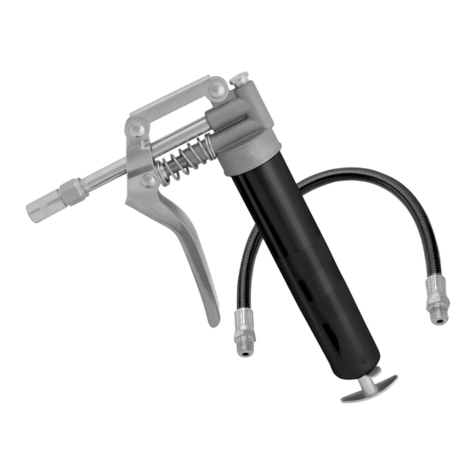
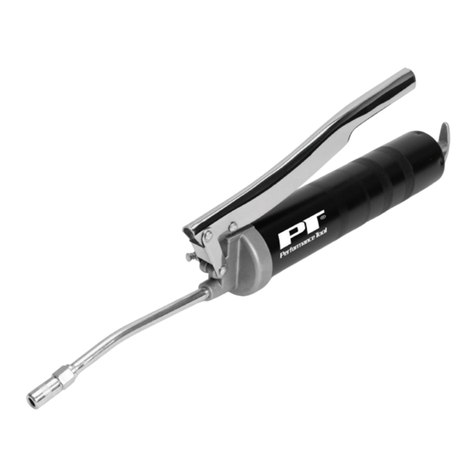
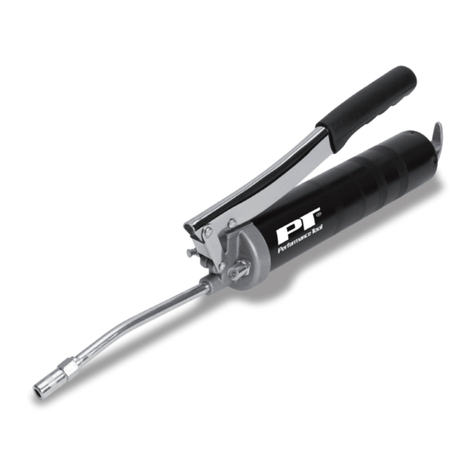
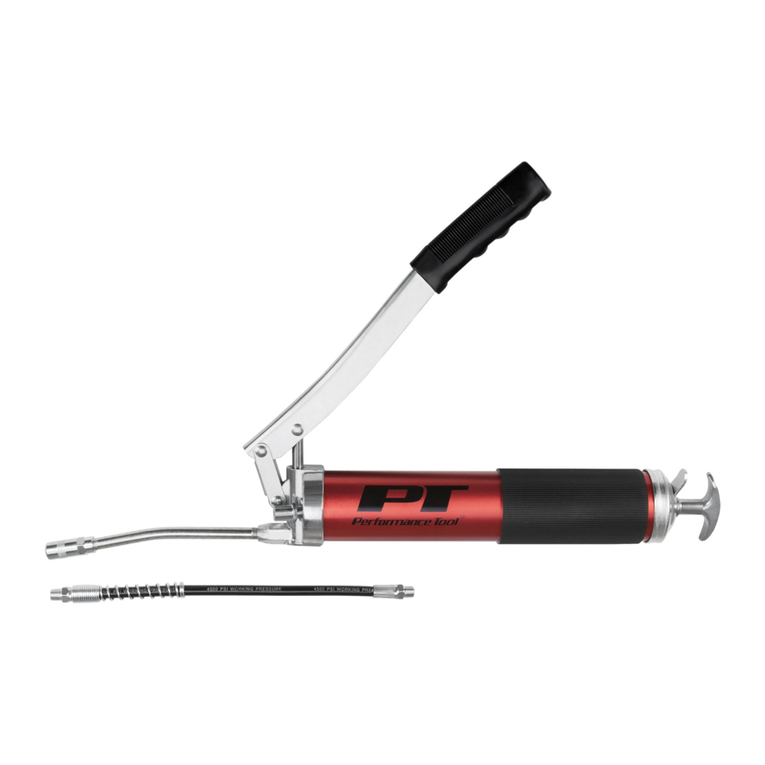
Mini Grease Gun
Pistola Pequeña de Engrasar
Stock Number / Número de Materia prima W54200 / W54205
OWNER’S MANUAL / INSTRUCTIVO
For Your Safety, please read these instructions carefully and retain them for future use.
Para Su Proteccíon, favor de leer estas instruciones atentamente y retenarlas para uso futuro.
LIMITED WARRANTY
PERFORMANCE TOOL® extends only the following warranties, and only to original retail purchasers. These war-
ranties give specic legal rights. Except where prohibited by local law, the law of the State of Washington governs
all warranties and all exclusions and limitations of warranties and remedies.There may be other rights which vary
from state to state.
PERFORMANCE TOOL® warrants the product to be free from defects in materials and workmanship under normal
use and service. A defective product may be returned for a free replacement within 90 days from the date of
purchase, provided that product is returned to place of purchase immediately after discovery of defect. These war-
ranties shall be valid only when a sales receipt showing the date of purchase accompanies the defective product
being returned.
These warranties exclude blades, bits, punches, dies, bulbs, fuses, hoses, and other consumables which must be
replaced under normal use and service. These warranties shall not apply to any product or part which is used for a
purpose for which it is not designed, or which has been repaired or altered in any way so as to affect adversely its
performance or reliability, nor shall these warranties apply to any product or part which has been subject to misuse,
neglect, accident or wear and tear incident to normal use and service.
PERFORMANCE TOOL® does not authorize any other person to make any warranty or to assume any liability in
connection with its products.
Except for warranties of title and the limited express warranties set forth above, PERFORMANCE TOOL® makes
no express or implied warranties of any kind with respect to its products. In particular, PERFORMANCE TOOL®
makes no implied warranty of merchantability and no implied warranty of tness for any particular purpose, except
that for goods purchased primarily for personal, family or household use and not for commercial or business use,
PERFORMANCE TOOL® makes an implied warranty of merchantability (and, if otherwise applicable, an implied
warranty of tness for a particular purpose), but only for the particular qualities or characteristics, and for the dura-
tion, expressly warranted above. The laws on limitation of implied warranties may differ from state to state, so the
above limitations may not apply in all cases.
PERFORMANCE TOOL® shall not be liable for consequential, incidental or special damages resulting from or in
any manner related to any product, or to the design, use, or any inability to use the product. The sole and exclusive
remedy for a defective product or part shall be the repair, or replacement thereof as provided above. The laws on
limitation of remedies or on
consequential, incidental or special damages may vary from state to state, so the above limitations may not apply
in all cases.
GARANTIA LIMITADA
PERFORMANCE TOOL® extiende las siguientes garantías, y sólo a los compradores originales. Estas garantía les
da derechos especicos. Excepto donde es prohibido por las leyes locales, la ley Estado de Washington gobiema
todas las garantîas y todas las eliminaciones y limitaciones de las garantîas y remedios. PERFORMANCE TOOL®
garantiza que el producto está libre de defectos en matriales y mano de obra ya sea en servicio. Un producto con
defecto puede ser devuelto para ser reemplazado gratuitamente dentro de 90 dias a partir de la fecha en que se
compró, regresando el producto al lugar donde lo compro inmediatamente que se descubra el defecto. Estas ga-
rantías deben ser válidas solamente cuando muestre el recibo de compra que muestra la fecha en que se compró
junto con el producto defectusoso que regresó. Esta garantía no incluye las aspas, colores, focos, bulbos, fusibles,
mangueras y otros consumos que deban ser reemplazados con el uso o servicio normal. Estas garantías no son
aplicables a ningún producto parte que sea usada para el propósito que no sea diseñado, o que sea reparado o al-
terado en cualquier modo como afecte adversariamente el funcionamiento o veraciadad, tampoco estas garantías
se aplican a ningun producto o parte que ha sido expuesto al mal uso, megligencia, incidente de romper o cortar
accidentalmente con el uso y servicio normal. PERFORMANCE TOOL® no autoriza a ninguna otra persona de
garantías o asumir ningung responsabilidad en conección con estos productos. Excepto para garantías de titulo y
garantias limitadasexpresadas antes mencionadas, PERFORMANCE TOOL® no expresa o implica garantías de
ninguna clase en respecto a sus productos. En particular, PERFORMANCE TOOL® no implica garantías de co-
mercialidad y no implica garantías de adaptación de ningun propósito, excepto de aquellos productos comprados
principalmente para uso personal, familiar o para el hogar y no pare uso comercial o de negocio, PERFORMANCE
TOOL® hace un sobreentendido de la garantía comerciable (y, si de otro modo aplica, una implicación de garantía
de adaptaci ón para algo particular), pero solo para las calidades o caractérostocas particulares, y para la duración,
mencionada anteriormente. Las leyes en limitación implica garantías que pueden variar de estado a estado, así
que las limitaciones quizás no apliquen en todos los casos. PERFORMANCE TOOL® no es responsable de alguna
consecuencia, incidente o daños especiales causados de ninguna manera relacionado a ningun producto, o al
diseño, uso, ninguna incapacidad para usar este producto. El solo y exclusivo remedio de un producto defectuoso
o parte debe ser la repaación, o reemplazo de lo contrario debe ser dado anterior. Las leyes en limitació de reme-
dios o en consecuencias, incidente o daños especiales pueden variar de estado a estado, así que las limitaciones
arriba mencionadas quizás no apliquen en todos los casos. (Garantía No Válida en México)
Copyright © 2008 PERFORMANCE TOOL PO Box 88259 Tukwila, WA 98138
All rights reserved / Todos los Derechos Reservados
This manual suits for next models

1

Other Performance Tool Tools manuals

Performance Tool W54202 User manual

Performance Tool

Performance Tool W54202 User manual

Performance Tool W89100 User manual

Performance Tool

Performance Tool W89100 User manual

Performance Tool W54201 User manual

Performance Tool

Performance Tool W54201 User manual

Performance Tool W2007 User manual

Performance Tool

Performance Tool W2007 User manual

Performance Tool W1611 User manual

Performance Tool

Performance Tool W1611 User manual

Performance Tool W54290 User manual

Performance Tool

Performance Tool W54290 User manual

Performance Tool W54290 User manual

Performance Tool

Performance Tool W54290 User manual

Performance Tool W54207 User manual

Performance Tool

Performance Tool W54207 User manual

Performance Tool W54197 User manual

Performance Tool

Performance Tool W54197 User manual

Performance Tool W54198 User manual

Performance Tool

Performance Tool W54198 User manual

Performance Tool W89202 User manual

Performance Tool

Performance Tool W89202 User manual

Performance Tool W54205 User manual

Performance Tool

Performance Tool W54205 User manual

Performance Tool W89220 User manual

Performance Tool

Performance Tool W89220 User manual

Performance Tool W89307 User manual

Performance Tool

Performance Tool W89307 User manual

Performance Tool W54204 User manual

Performance Tool

Performance Tool W54204 User manual

Performance Tool W54291 User manual

Performance Tool

Performance Tool W54291 User manual

Performance Tool W2007 User manual

Performance Tool

Performance Tool W2007 User manual

Performance Tool W2006 User manual

Performance Tool

Performance Tool W2006 User manual

Performance Tool W85014 User manual

Performance Tool

Performance Tool W85014 User manual

Performance Tool M664 User manual

Performance Tool

Performance Tool M664 User manual

Popular Tools manuals by other brands

Hilti TE DRS-4/6 manual

Hilti

Hilti TE DRS-4/6 manual

Cessna R172K 1980 Pilot operating handbook

Cessna

Cessna R172K 1980 Pilot operating handbook

HFT 61558 Owner's manual & safety instructions

HFT

HFT 61558 Owner's manual & safety instructions

CLAS HU 1102 manual

CLAS

CLAS HU 1102 manual

Rose electronics PINPUSHER III owner's manual

Rose electronics

Rose electronics PINPUSHER III owner's manual

Tyco Electronics ERGOCRIMP operating instructions

Tyco Electronics

Tyco Electronics ERGOCRIMP operating instructions

StrongHandTool BUILDPRO TKT4020 Assembly instructions

StrongHandTool

StrongHandTool BUILDPRO TKT4020 Assembly instructions

Atlas Copco EP5PTX15SR10-AT Safety information

Atlas Copco

Atlas Copco EP5PTX15SR10-AT Safety information

TSPROF K01RP instruction manual

TSPROF

TSPROF K01RP instruction manual

Forster Products Co-Ax Primer Seater instructions

Forster Products

Forster Products Co-Ax Primer Seater instructions

DURHAND XBW-01 instruction manual

DURHAND

DURHAND XBW-01 instruction manual

Larzep CY1501 instruction manual

Larzep

Larzep CY1501 instruction manual

Utility Solutions LOAD-RANGER XLT Series Maintenance manual

Utility Solutions

Utility Solutions LOAD-RANGER XLT Series Maintenance manual

Husqvarna 541EA Operator's manual

Husqvarna

Husqvarna 541EA Operator's manual

EINHELL 41.327.43 operating instructions

EINHELL

EINHELL 41.327.43 operating instructions

Fujitsu DevKit16 user guide

Fujitsu

Fujitsu DevKit16 user guide

MSW MSW-DV-125 user manual

MSW

MSW MSW-DV-125 user manual

Ripley UtilityTool SCS Series manual

Ripley

Ripley UtilityTool SCS Series manual

manuals.online logo
manuals.online logoBrands
  • About & Mission
  • Contact us
  • Privacy Policy
  • Terms and Conditions

Copyright 2025 Manuals.Online. All Rights Reserved.