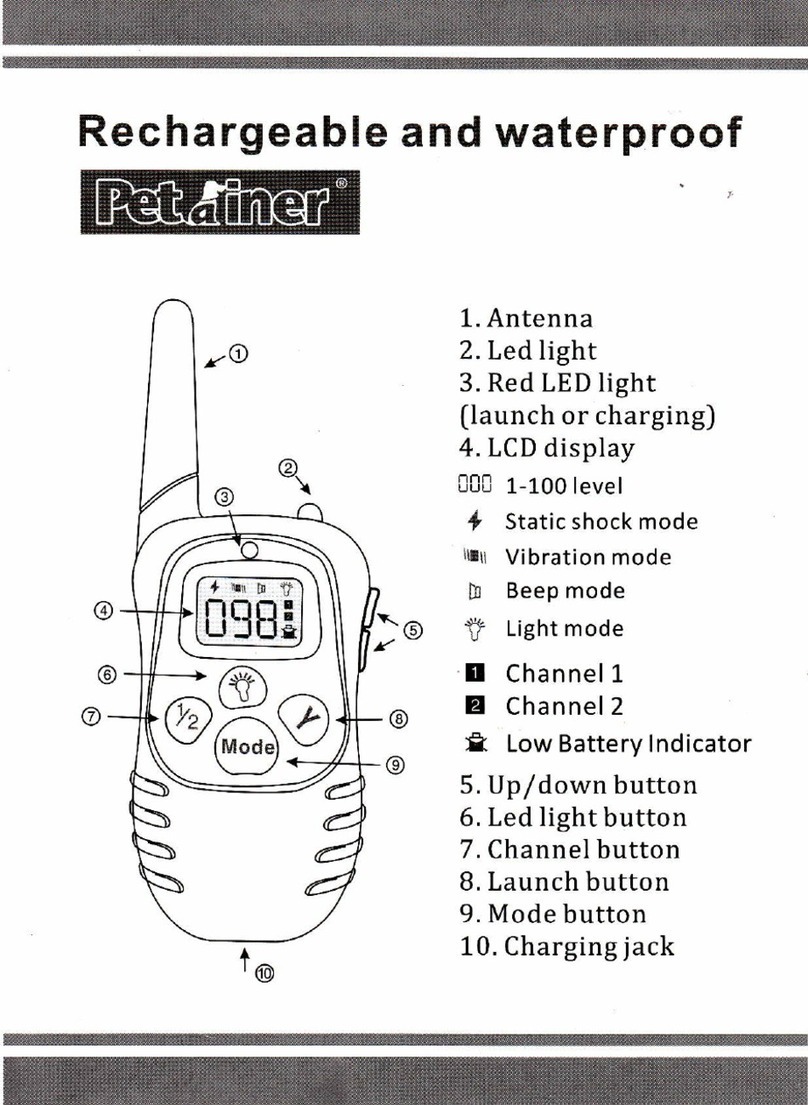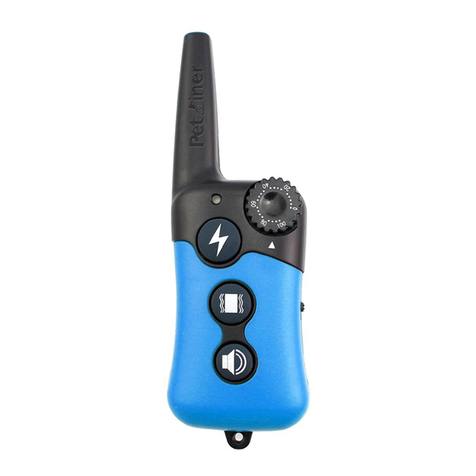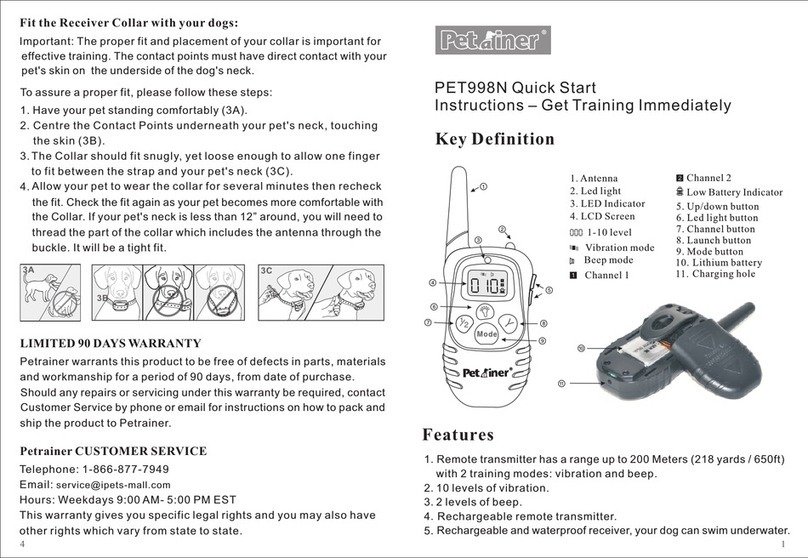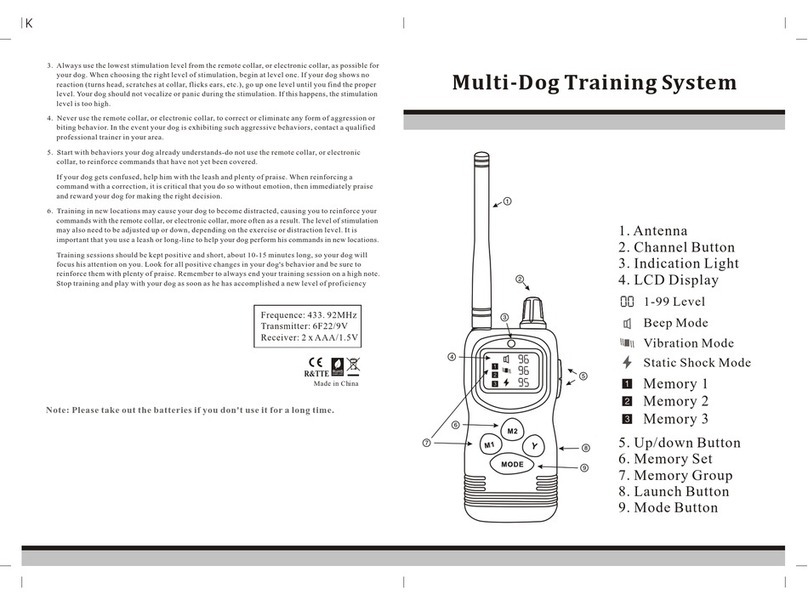
1. Mode Button: hold over 3 seconds to turn on/off
the Remote Transmitter
press the button to choose the different modes
there are 5 modes as followings.
a. Vis the Vibration mode for the Training Collar
b. Sis the Static mode for the Training Collar
c. is the intensity Level of Vibration and Static
d. Ris the running mode for Remote Beeper and also reactivates the Remote Beeper
functions after disabled by the Location mode
e. Tis the Tone Mode and allows to choose from 9 different Remote Beeper Sounds
f. Lis the Location Mode and also disables the Remote Beeper Functions
g. is the different tone sound
2. Channel button: Choose the different channels for Training Collar or/and
beeper collar
3. Transmitter button: confirm the operation and send the signal to the collars
4. Up/Down button: adjust intensity levels of stimulation and choose the different
tone sounds
5. Charging Jack: connect to the charger
Brief introduction for Remote Transmitter
Vibration Mode
1-9 Intensity Level
Run Mode
1-9 Different Tones
OR
Location Mode
Static Mode
Channel 1
Channel 2
Tone Mode
Low Battery Indicator
Transmitter Antenna
Charging Jack (with Cover)
Channel 1/Channel 2
Transmitter Indicator Light
Up/Down Button
Transmitter Button
Mode Button
Brief introduction for Training Collar
1. Waterproof Training Collar: Corrects the dog behavior by stimulations (vibration
and/or shock).
2. On/Off button: Turns the Training Collar on/off. Also set to be ready to encode the
transmitter and Training Collar by holding the on/off button for 10 seconds.
3. Receiver indicator Light: Indicates when turned on/off and also serves as low-battery
indicator and after charge full
4. Charging Jack with cover: For connecting the charger
On/Off Button
Receiver Indicator Light
Charging Jack (With Cover) Contact Points
Beeper Speaker
Charging Jack (With Cover)
Indicator Light
On/Off Button
Brief introduction for Remote Beeper
1. Waterproof Remote Beeper: Beeps with a tone and frequency set by the user.
2. On/Off button: Turns the Remote Beeper on/off. Also set to be ready to encode the
transmitter and Remote Beeper by holding the on/off button for 10 seconds.
3. Receiver indicator Light: Indicates when turned on/off and also serves as low-battery
indicator and after charge full
4. Charging Jack with cover: For connecting the charger
Charging for your devices
A. Lift the rubber cover protecting the charging Jack
B. Connect the connector to the Charging Jack
C. Plug the charger into a standard wall outlet
Low battery and charging indications for
Remote Transmitter
D. Need to charge when the Low battery sign shows up
Low battery and charging indications for Training Collar and Remote Beeper
F. When in Low battery, the green light will flash every one second changing from
flashing twice every one second.
G. When plugging to charge, the green light will change
to the red color without flashing.
H. After fully charged, the red led light will turn off.
K. Press and hold ON/OFF button for 3 seconds, the Training Collar indicator light will
come on and keep lighting for 10 seconds. You must encode the Remote transmitter
with the Training Collar within these 10 seconds. You could choose channel 1 or 2
by pressing Mode button and then press the Transmitter button Yto confirm. The
confirmation must be done within those 10 seconds, otherwise, you have to turn it off
and repeat the steps.
L. For extra Training Collar, just choose the different channel and repeat the above.
How to set the Remote Beeper to work with a Remote Transmitter
M. Press the ON/OFF button to turn on the Remote Beeper, the Green indicator light
flashes twice per seconds. Now the Remote Beeper is in the Standby status.
N. Turn the Remote Beeper off (the Green Led light will be turned off)
O. Press and hold ON/OFF button for 3 seconds, the Beeper indicator light will come on
and keep lighting for 10 seconds. You could choose channel 1 or 2 by pressing Mode
button and then press the Transmitter button Yto confirm. The confirmation must be
done within those 10 seconds, otherwise, you have to turn it off and repeat the steps.
P. For extra Remote Beeper, just choose the different channel and repeat the above.
Operation manual between Remote Transmitter and
Training Collar
Before use, please make sure you already encode the Remote Transmitter with
Training Collar, and also choose the right channel.
How to set the Training Collar to work with a Remote Transmitter
I. Press the ON/OFF button to turn on the Training Collar, the Green indicator light
flashes twice per seconds. Now the Training Collar is in the Standby status.
J. Turn the Training Collar off (the Green Led light will be turned off)
Training Collar Remote Beeper
Training Collar
Remote Beeper
E. Please charge it for3 hours
