REC
USB
1 Plug the USB device into the socket.
2 Prepare the source (Disc, Radio, Aux in, Phono,
or Bluetooth source) to record from.
3 Press REC to star t recording.
• To stop recording, press .
--:--
00:01
00
08:01
01
12 HR
12
1 In standby mode, press and hold CLOCK/PROG
on the remote control to activate the clock
setting mode.
2 Press / to select hour format.
3 Press CLOCK/PROG to conrm.
4 Repeat the above steps to set hour and minute.
75
Press to select the sleep timer
period.
When [OFF] is displayed, the
sleep timer is deactivated.
Make sure that you have set the clock correctly.
1 In standby mode, press and hold SLEEP/TIMER.
2 Press SOURCE repeatedly to select an alarm source.
3 Press SLEEP/TIMER to conrm.
4 Press / to set the hour.
5 Press SLEEP/TIMER to conrm.
6 Repeat the above steps to set minute.
3 sec
MHz
PROG
MHz
22:01
01
08:01
00:01
00
SELECT SOURCE
3 sec
Program radio stations
automatically
1 Press CLOCK/PROG
for more than 2 seconds
to activate automatic
program mode.
2 Press / to select
preset radio stations. FM 86.88
FM 86.88
108.90
2
86.88
FM 108.90
Program radio stations
manually
1 Press / to tune to a
radio station.
2 Press CLOCK/PROG to
activate the programming.
3 Press / to select allocate a
number to this radio station.
4 Press CLOCK/PROG to
conrm.
5 Repeat steps 1-4 to program
more radio stations.
Press FM/ST/MO to select stereo
broadcast or mono broadcast.
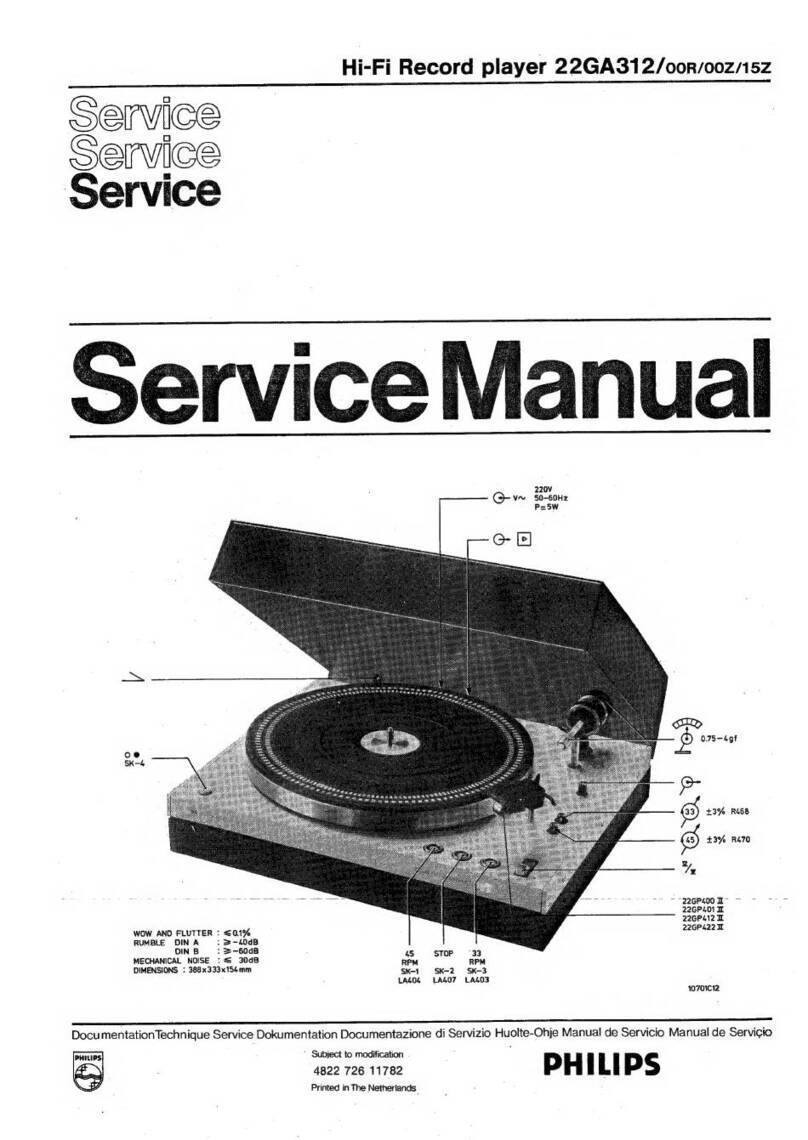
User Manual
OTT2000
www.philips.com/welcome
Alwaysthere to help you
Registeryourproduct and get support at
Question?
Contact
Philips
PDF
www.philips.com/support.
To download the full user manual, visit www.philips.
com/support.
Specications
AC Power Rating 220 - 240 V~, 60 Hz
Operation Power
Consumption
16 W
Standby power consumption < 1 W
Dimensions
- Main Unit ( W x H x D)
335 x 311 x 169 mm
Weight (Main Unit) 2.5 kg
Tuner
Tuning Range FM: 87.50 - 108.00 MHz;
Tuning grid 50 kHz
Signal to Noise Ratio > 50 dB
Number of preset radio
stations
20
Vinyl
Supported vinyl size 7 inch / 12inch
Speed 33/45
Amplier
Rated Output Power 1.5 W x 2 RMS
Frequency Response 60 Hz - 16 kHz, ±3 dB
Signal to Noise Ratio > 65 dB
Aux Input 0.5 V RMS 20 kohm
Speakers
Speaker Impedance 4 ohm
Speaker Driver 2 X 3" full range
Sensitivity 84 dB/m/W
Bluetooth
Communication system Bluetooth Standard version
2.1
Output Bluetooth Standard Power
Class 2
Maximum
communication range
Line of sight approx. 10m
(30 feet)
Frequency band 2.4 GHz band (2.4000 GHz
- 2.4835 GHz)
Compatible Bluetooth
proles
Advanced Audio
Distribution Prole (A2DP)
Supported codecs
- Receive
- Transmit
SBC (Sub Band Codec)
Not supported
Safety
Warning
•Never remove the casing of this apparatus.
•Never lubricate any part of this apparatus.
•Never look into the laser beam inside this apparatus.
•Never place this apparatus on other electrical equipment.
•Keep this apparatus away from direct sunlight, naked ames or heat.
•Ensure that you always have easy access to the power cord, plug or
adaptor to disconnect the apparatus from the power.
• The device shall not exposed to dripping or splashing.
• Do no place any source of danger on the device (e.g.
liquid lled objects. lit candles).
• Where the MAINS plug or an appliance coupler is used
as the disconnect device, the disconnect device shall
remain readily operable.
• Make sure that there is enough free space around the
product for ventilation.
• Only use attachments/accessories specied by the
manufacturer.
Risk of electric shock or re!
• Never expose the product and accessories to rain or
water. Never place liquid containers, such as vases, near
the product. If liquids are split on or into the product,
disconnect it from the power outlet immediately. Contact
Consumer Care to have the product checked before use.
• Never place the product and accessories near naked
ames or other heat sources, including direct sunlight.
• Never insert objects into the ventilation slots or other
openings on the product.
• Where the mains plug or an appliance coupler is used as
the disconnect device, the disconnect device shall remain
readily operable.
• Disconnect the product from the power outlet before
lightning storms.
• When you disconnect the power cord, always pull the
plug, never the cable.
• Never remove the casing of this product.
Risk of short circuit or re!
• Before you connect the product to the power outlet,
make sure that the power voltage matches the value
printed on the back of the product. Never connect the
product to the power outlet if the voltage is different.
• Never expose the product to rain, water, sunshine, or
excessive heat.
• Avoid force coming onto power plugs. Loose power
plugs can cause arcing or re.
Risk of injury or damage to the product!
• This product shall not be exposed to dripping or
splashing!
• Do not place any sources of danger on this product (e.g.
liquid lled objects, lighted candles).
• Never place the product or any objects on power cords
or on other electrical equipment.
• If the product is transported in temperatures below
5°C, unpack the product and wait until its temperature
matches room temperature before connecting it to the
power outlet.
• Only use attachments/accessories specied by the
manufacturer.
Risk of overheating!
• Never install this product in a conned space. Always
leave a space of at least four inches around the product
for ventilation.
• Make sure that curtains or other objects never cover the
ventilation slots on the product.
Risk of swallowing coin battery!
• The device may contain a coin/button type battery, which
can potentially be swallowed. Keep the battery out of
reach of children at all times! If swallowed, the battery
can cause serious injury or death. Severe internal burns
can occur within two hours of ingestion.
• If you suspect that a battery has been swallowed or
placed inside any part of the body, seek immediate
medical attention.
• When you change the batteries, always keep all new and
used batteries out of reach of children. Make sure that
the battery compar tment is completely secure after you
replace the battery.
• If the battery compar tment cannot be completely
secured, discontinue use of the product. Keep out of
reach of children and contact the manufacturer.
Note
•The type plate is located on the back of the product.
Notice
Any changes or modications made to this device that are
not expressly approved byWOOX Innovations may void
the user’s authority to operate the equipment.
Compliance
This product complies with the radio
interference requirements of the
European Community.
Hereby,WOOX Innovations declares that this product is in
compliance with the essential requirements and other relevant
provisions of Directive 1999/5/EC. You can nd the Declaration
of Conformity on www.philips.com/support.
This is CLASS II apparatus with double insulation, and no
protective earth provided.
Care for your product
• Do not inser t any objects other than discs into the disc
compartment.
• Do not inser t warped or cracked discs into the disc
compartment.
• Remove the discs from the disc compartment if you are
not using the product for an extended period of time.
• Only use microber cloth to clean the product.
Care of the environment
Disposal of your old product and battery
Your product is designed and manufactured with
high quality materials and components, which can be
recycled and reused.
This symbol on a product means that the product is
covered by European Directive 2012/19/EU.
This symbol means that the product contains batteries
covered by European Directive 2013/56/EU which
cannot be disposed of with normal household waste.
Inform yourself about the local separate collection
system for electrical and electronic products and batteries.
Follow local rules and never dispose of the product and
batteries with normal household waste. Correct disposal of old
products and batteries helps prevent negative consequences
for the environment and human health.
Removing the disposable batteries
To remove the disposable batteries, see battery installation section.
Environmental information
All unnecessary packaging has been omitted. We have tried
to make the packaging easy to separate into three materials:
cardboard (box), polystyrene foam (buffer) and polyethylene
(bags, protective foam sheet.)
Your system consists of materials which can be recycled
and reused if disassembled by a specialized company. Please
observe the local regulations regarding the disposal of
packaging materials, exhausted batteries and old equipment.
Trademark notice
The Bluetooth®word mark and logos are registered
trademarks owned by Bluetooth SIG, Inc.
and any use of such marks by WOOX
Innovations is under license.
Important notes for users in the U.K.
Mains fuse
This information applies only to products with a UK mains plug.
This product is tted with an approved molded plug. If you
replace the fuse, use one with:
• the ratings shown on the plug,
• a BS 1362 approval, and
• the ASTA approval mark.
Contact your dealer if you are not sure about what type of
fuse to use.
Caution:To conform with the EMC directive (2004/108/EC), do
not detach the plug from the power cord.
How to connect a plug
The wires in the power cord are colored as follows: blue =
neutral (N), brown = live (L).
If the colors do not correspond with the colors on your plug,
identify the terminals in your plug as follows:
1 Connect the blue wire to the terminal marked N or colored black.
2 Connect the brown wire to the terminal marked L or colored red.
3 Do not connect either wire to the earth terminal in the plug,
marked E (or e) or colored green (or green and yellow).
Before you replace the plug cover, make sure that the cord grip
is clamped over the sheath of the cable and not just over the
two wires in the cable.
Copyright in the U.K.
Recording and playback of material may require consent. see
Copyright Act 1956 andThe performer’s Protection Acts 1958
to 1972.
Copyright
2014 © WOOX Innovations Limited. All rights reserved.
Specications are subject to change without notice. WOOX
reserves the right to change products at any time without
being obliged to adjust earlier supplies accordingly.


