Tel: +44 (0)1274 657 088 Fax: +44 (0)1274 657 087 Web: www.cromptonlamps.com
Images are for information only. Phoebe LED shall not be held liable for improper operation of the luminaire
in circumstances where procedures and specications have not been followed correctly. Crompton Lamps Limited 2020
267mm
187mm
34mm
54mm
Environmental Protection
Waste electrical products should not be
disposed of with household waste. Please
recycle where facilities exist.
Check with your Local Authority or retailer for
recycling advice.
THANK YOU for buying this PHOEBE LED product. To help ensure this luminaire gives complete satisfaction please only use it according to the
following instructions, and then pass the instructions to the appropriate person for retention and future reference.
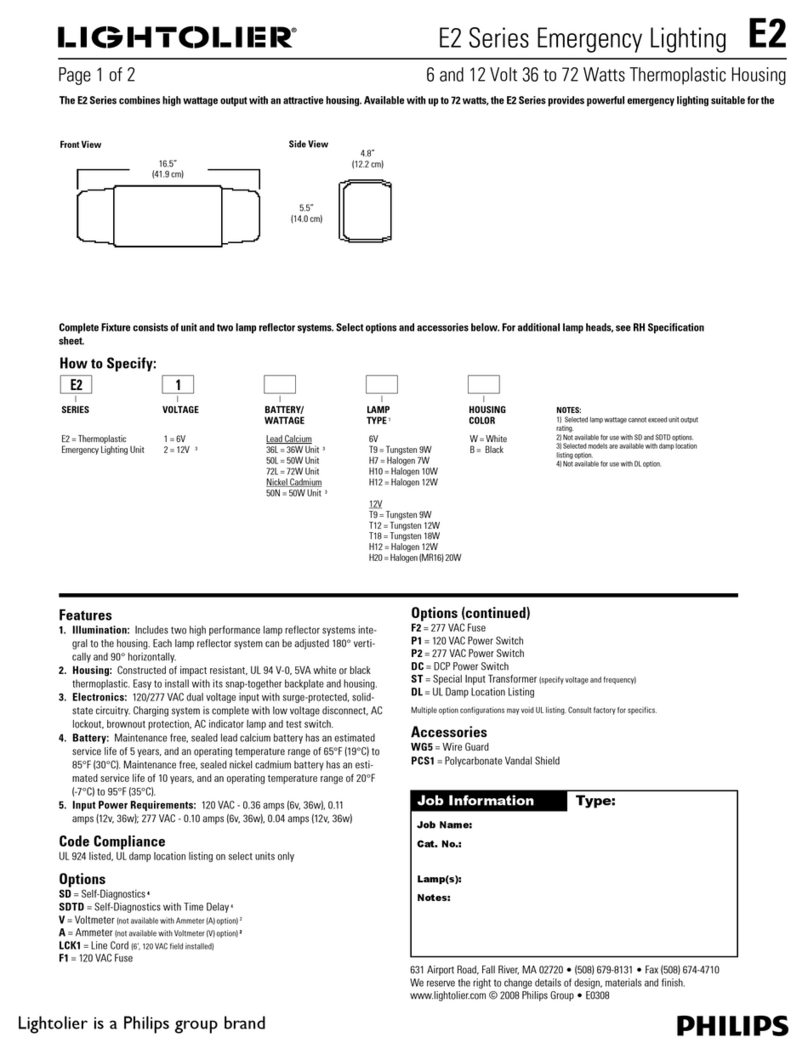
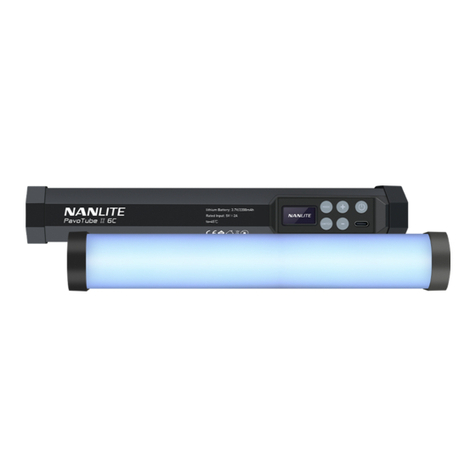
This instruction sheet is relevant to Phoebe LED KRIOS Emergency Blade
product code: 14022
Warning
1. Installation only to be carried out by a qualied electrician
2. Please ensure mounting surface is suitable
3. Do not operate if product is damaged
Product
code Description Power
(W) Colour
14022 Krios Blade 26000K Daylight
Krios Blade Accessories
14039 Legend Up - -
14046 Legend Left/Right - -
14565 Suspension Kit - -
14572 Recessed Kit - -
BEFORE YOU START
PLEASE READ ALL THE
INSTRUCTIONS CAREFULLY
ONLY ONCE INSTALLATION
IS COMPLETE
Turn power
back on at
the mains
CIRCUIT TESTING
For high voltage circuit insulation
testing disconnect mains input
supply rst
(Do not circuit test using a Megger)
Turn power
off at the
mains
PRIOR TO INSTALLATION
5a. Attach the legends using the four supplied push
clips and insert the assembled blade into the body,
it will click into place.
b. If you need to remove the blade press down the
side clips (ii) with a screwdriver and pull the blade
away from the body.
c. Switch on power at circuit.
3a. Mark appropriate xing points on ceiling; check
that xings will not impinge on concealed
cables or pipes before drilling holes.
b. Attach the suspension mounting kit as shown
on the diagram above, attach to the ceiling
using supplied raw plugs and screws.
c. Thread the mains cable through the base
and connect to the L shaped terminal (i) in
accordance with current wiring regulations
(see wiring diagram).
d. Mark installation date on battery and connect
the battery cable then offer up the body and
clip the L shaped terminal (i) into place, afx
the body using the two screws supplied.
e. Skip to 5.
Viewing
Distance
Base
Body
Blade
2a. Mark appropriate xing points on wall/ceiling;
check that xings will not impinge on concealed
cables or pipes before drilling holes.
b. For wall mounts, route the AC mains power
cable through a xing bracket as shown in the
diagrams above.
c. Thread the mains cable through the base
and connect to the L shaped terminal (i) in
accordance with current wiring regulations
(see wiring diagram).
d. For wall mounts, slide the xing bracket onto the base clips and offer up to the
wall for ceiling mounts, offer the base up to the ceiling.
e. Fix the base to the wall/ceiling using supplied raw plugs and screws.
f. Mark installation date on battery and connect the battery cable then offer up the body
and clip the L shaped terminal (i) into place, afx the body using the two screws supplied.
g. Skip to 5.
1a. Switch off power at circuit.
b. To use the Krios Blade in Maintained
mode use short-circuit plug (supplied)
over pins 1&2, for Non-maintained
mode use short-circuit plug over pins
2&3.
c. For required xing method mark and
pre-drill/pre-cut as required.
d. For wall/ceiling mounting go to 2.
e. For suspension mounting using part
number 14565 go to 3.
f. For recess mounting using part number
14572 go to 4.
to mains
240V
Flush Wall Mounted
to mains
240V
(i) (i)
Perpendicular Mounted
to mains
240V
(i)
maintained non-maintained
Wiring Diagram
To 240V
Mains
AC INPUT
to mains
240V
(i)
Ceiling Mounted
to mains
240V
(i)
4a. Pre-Cut hole 53.7mm x 302.5mm ensure
minimum clearance of 43mm depth.
b. Thread the mains cable through the base
and connect to the L shaped terminal (i) in
accordance with current wiring regulations
(see wiring diagram).
c. Mark installation date on battery and connect
the battery cable then offer up the body and
clip the L shaped terminal (i) into place, afx
the body using the two screws supplied.
d. Attach the recess mounting kit as shown on
the diagram above, it will clip into place,
bend back the retention springs and offer
up the tting to the pre-cut hole.
43mm
302.5mm
53.7mm
to mains
240V
(ii)
(ii)
