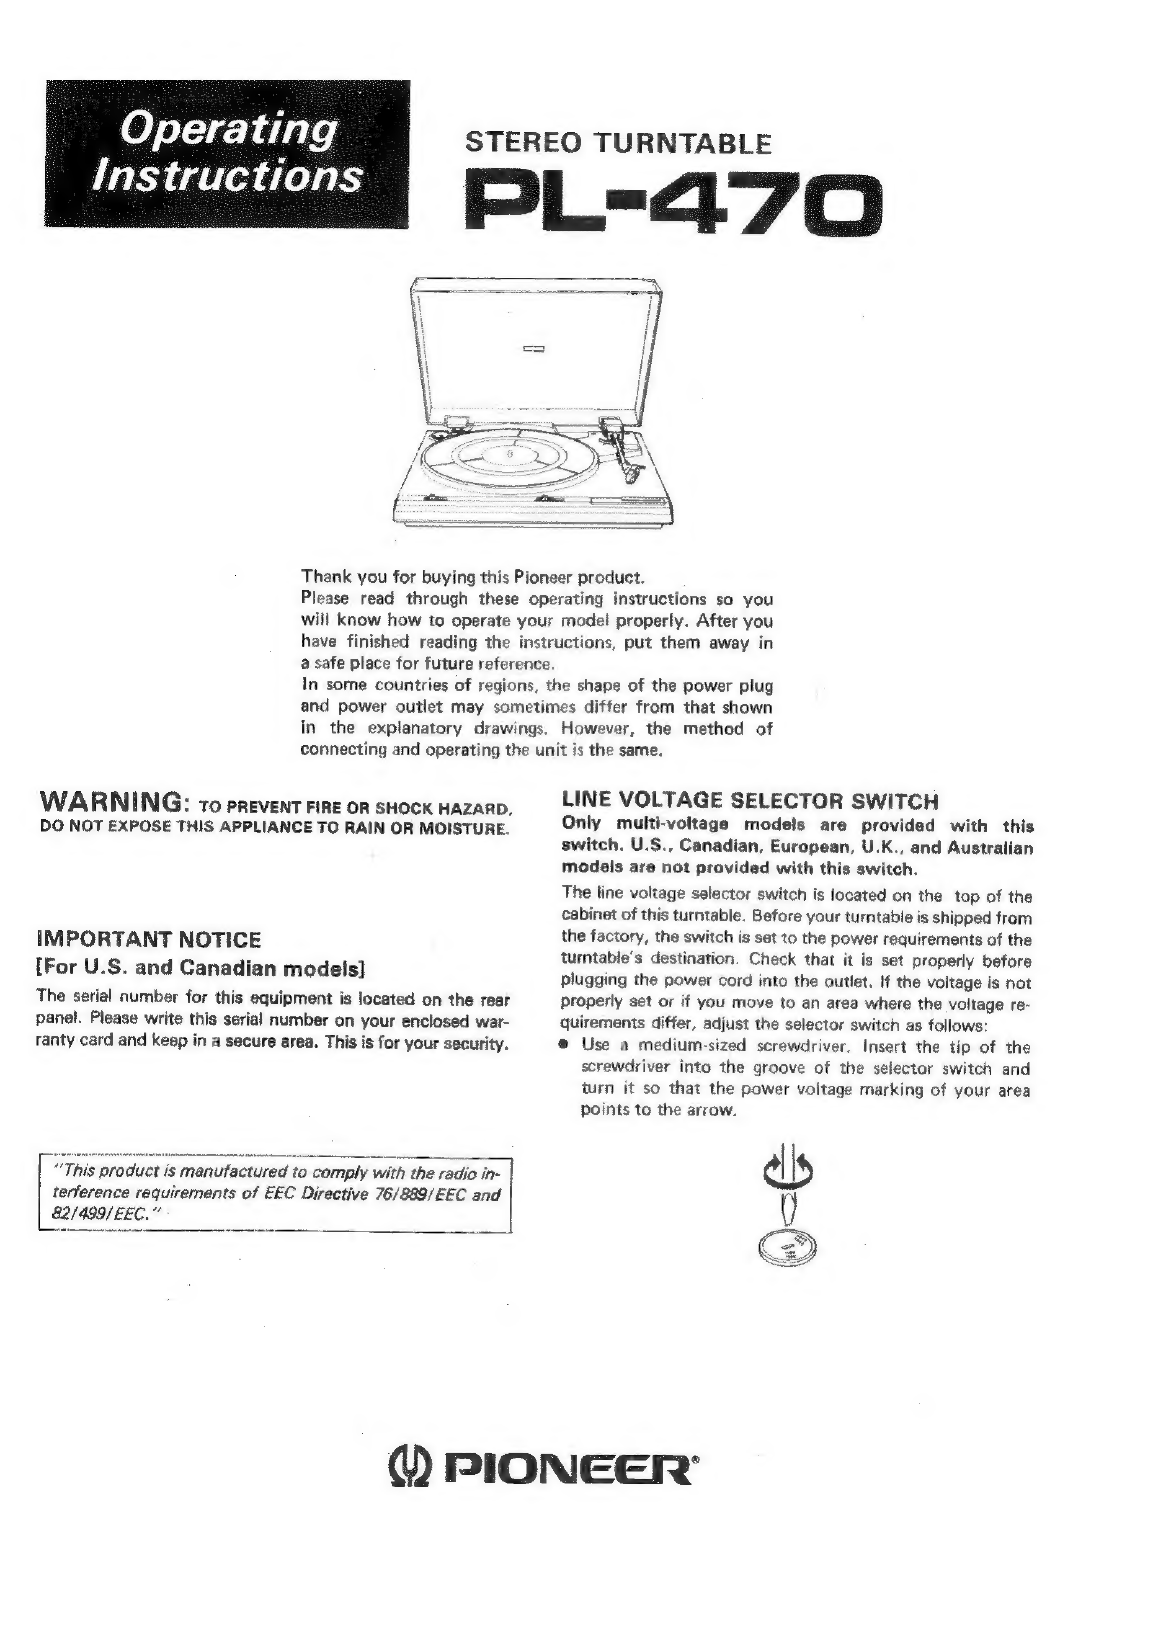
Pioneer PL-470 User manual
Other Pioneer Turntable manuals

Pioneer
Pioneer PL-55X User manual

Pioneer
Pioneer LC-V4300C User manual

Pioneer
Pioneer PL-30-K User manual

Pioneer
Pioneer DEH-P1Y User manual

Pioneer
Pioneer pl-510 KLT User manual

Pioneer
Pioneer DEH-P7550MP User manual

Pioneer
Pioneer PL-71 User manual

Pioneer
Pioneer PL-600 User manual

Pioneer
Pioneer PL-41 User manual

Pioneer
Pioneer PL-514 User manual

Pioneer
Pioneer PL-560 User manual

Pioneer
Pioneer PL-560 BK User manual

Pioneer
Pioneer PL-2 User manual

Pioneer
Pioneer PL-990 User manual

Pioneer
Pioneer PL-200 User manual

Pioneer
Pioneer PL-44F User manual

Pioneer
Pioneer PL-3000/HB User manual

Pioneer
Pioneer PL-516 KUT User manual

Pioneer
Pioneer PL-110 User manual

Pioneer
Pioneer PL-560 User manual