pitsco LUMA User manual

11
Getting Started
Compatible Devices and Computers
LUMA is compatible with PCs, Macs, and Chromebooks; the device must have a USB port and access to the
Internet. LUMA’s USB cable uses a Type-A port to connect to the device. Many computers and devices have
Micro or Type-C USB ports. If this is the case, you’ll need an adapter to convert to the port to a Type-A port.
Compatible Web Browsers
LUMA has its own web app for creating and uploading programs to the robot. It is highly recommended to
use Google Chrome or Microsoft Edge as your browser when running the app. You might be able to create
programs using the app in other browsers, but Chrome and Edge are the only browsers that allow access to
the USB ports of the device for uploading code to the robot. The app can be accessed at luma.pitsco.com.
Browser Settings for Saving Program Files
Turn on the “Ask Where to Save…” feature
Google Chrome and Microsoft Edge both allow you to toggle on a feature that asks where to save each
file before downloading. It is recommended to toggle this feature on. With this feature toggled off, both
browsers usually default to saving files to a downloads file on the device (although the default location can
be changed). The problem with this is the program will automatically be named “code.blockly” or “code”
followed by a number if a “code.blockly” file already exists. This is not ideal because students will need to
rename this file according to the instructions in the activities so they can be easily identified and reloaded at
a later time.
Toggling the “Ask Where to Save...” feature on will bring up a dialog box when students click the Save icon
in the app. The dialog box allows them to name the file according to the instructions as well as choose a
specific location on their device. It is recommended to have them create a LUMA folder to save all their
programs to on their device.
LUMA USER GUIDE
Type-A Type-B Type-CMicro USB

22
3. Toggle on.
To toggle on the “Ask Where to Save…” feature in Chrome or Edge:
1. Click the three dots icon in the top right corner of the browser.
2. In the menu on the left, click Downloads.
3. Toggle on the “Ask Where to Save…” feature.
• In Chrome, the feature is called, “Ask where to save each file before downloading”.
• In Edge, the feature is called, “Ask me what to do with each download”.
Chrome
Edge
1. Click here and
go to Settings.
2. Click here.
1. Click here and
go to Settings.
3. Toggle on.
2. Click here.

33
Connecting LUMA and Uploading Code
1. Using the correct USB cable, connect LUMA to the USB port on the computer or device.
2. Open the LUMA App by navigating to luma.pitsco.com in your web browser.
3. Turn on LUMA.
4. In the app, click Connect LUMA on the left side of the screen.
5. In the pop-up box, select the com port associated with LUMA and click Connect. The sensor panel in
the app will display “CONNECTED.”
6. When connected, you can upload code to LUMA by clicking Upload on the left side of the screen.
7. Click OK on the pop-up box. Make sure you don’t unplug the USB cable or turn LUMA off while code is
uploading. An “Upload Successful!” message will appear after the code is uploaded.
8. Disconnect the USB cable from LUMA and then place LUMA in a safe place with enough space to run
the code. Press LUMA’s green Start button to execute the code.
Maintenance
LUMA should require very little maintenance.
• When LUMA’s batteries get low, it might start acting erratically. Simply replace the four AA batteries.
Make sure to insert the batteries according to the diagrams on the battery holders. LUMA does have a
low battery indicator LED on the control board under the left side of the ultrasonic sensor. The LED will
light up yellow when the batteries are getting low.
• LUMA’s shell and chassis can be cleaned using disinfectant wipes. Avoid using abrasive cleaners and
strong solvents such as a rubbing alcohol as these can damage or scratch LUMA. Do not use any liquid
cleaners on LUMA’s electronic components.
• From time to time, make sure the wheels are pressed firmly on the motor axels. Two small set screws in
the wheels secure the wheels to the motor axle. The set screws can be tightened using the 1/64" Allen
wrench included with LUMA.
• There are four socket head cap screws that might need tightened on the underside of LUMA. These can
be tightened using the 7/64" Allen wrench included with LUMA.
• There are four more socket head cap screws that hold LUMA’s control board to its chassis. To tighten
these, LUMA’s shell must be removed. It is not recommended to let students remove the shell. To
remove the shell:
◦Place your thumbs inside the opening of
the shell under the ultrasonic sensor.
◦Pull out and up to unlatch the tabs on
the front of LUMA’s shell.
◦Move to the back of the shell and
place your fingers under the tabs on
either side of the switch.
◦Pull out and up to unlatch the tabs on
the back of LUMA’s shell.
◦The shell should lift off.
◦Tighten the screws using the 7/64" Allen wrench and
replace the shell when finished.

Pitsco Education • P.O. Box 1708, Pittsburg, KS 66762 • 800-835-0686 •Pitsco.com •
©2023 Pitsco Education, LLC. All rights reserved. PE•0723•0000•00 00000
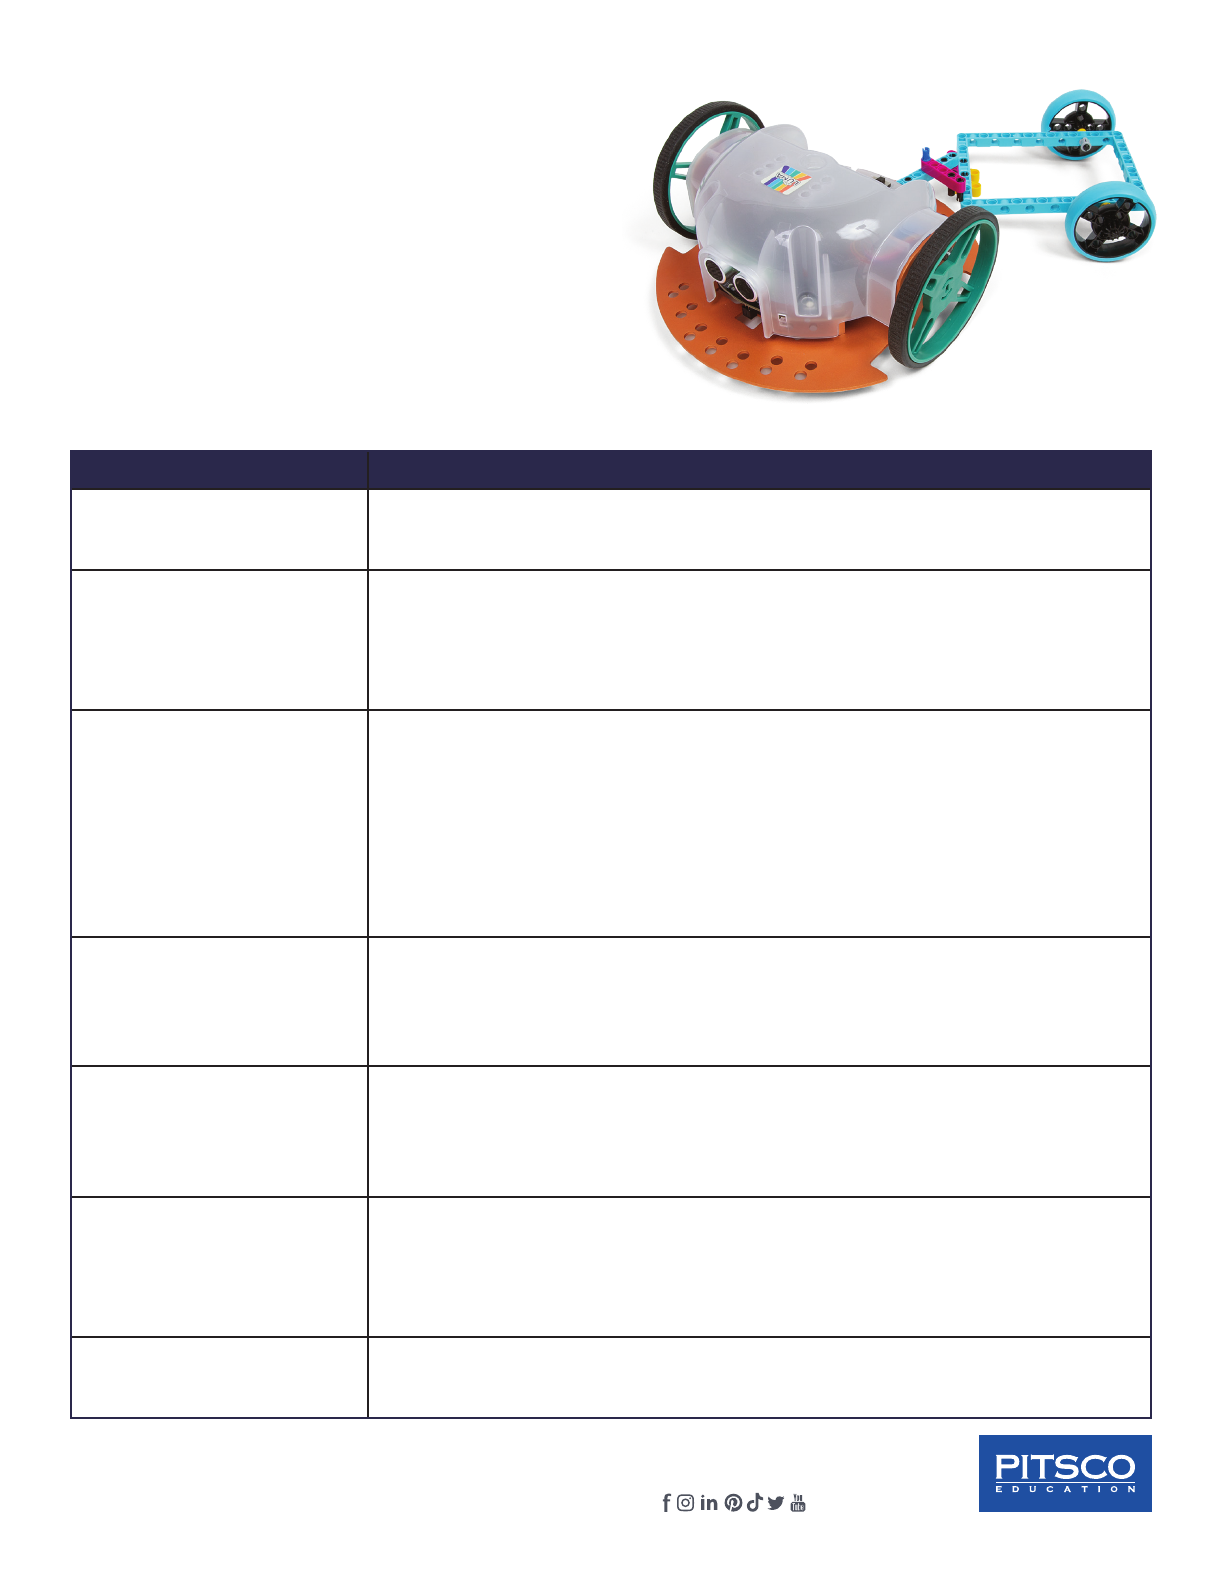
Compatibility with LEGO® Building Elements
LUMA is compatible with LEGO® Technic building
elements. This allows students to build and engineer
all kinds of attachments, tools, and decorations to
customize their LUMA. The small holes on the top of
LUMA’s shell are sized to fit LEGO Technic Pegs.
To use the holes in LUMA’s chassis, first snap the
adapter pegs that came with your LUMA robot into
the holes. Then, you can insert LEGO Technic pegs to
connect beams or other Technic pieces.
LUMA Troubleshooting
Problem Solutions
No power The batteries might be dislodged, in backwards, or dead. Replace LUMA’s batteries
and make sure they are inserted according to the diagrams in the battery holders.
Erratic behavior when
running a program
• LUMA’s batteries might be running low. Check if the low battery indicator LED is on.
This LED is yellow and is located under and to the left of the ultrasonic sensor on the
front of the control board. Erratic behavior may first be exhibited with sensors not
working properly. Replace the batteries if needed.
• Make sure there is not an error in the logic of the program.
Will not connect to a device
through the app
• LUMA uses the web serial API to connect and to write programs to the robot. As of the
time of the creation of this document, only Google Chrome and Microsoft Edge fully
support the web serial API. And, only more recent versions of these browsers have full
support. Make sure the browser you are using is either:
◦Google Chrome version 89 or higher
◦Microsoft Edge version 89 or higher
• The USB cable might be damaged. Replace the cable.
• LUMA’s firmware might be corrupted. Call Pitsco Product Support (800-774-4552).
Programs from the app will
not upload
• Make sure LUMA is connected and powered on.
• Press LUMA’s red Stop button to reset the robot. Reconnect LUMA using the app and
try to upload the program again.
• LUMA’s firmware might be corrupted. Call Pitsco Product Support (800-774-4552).
Motors will not move when
LUMA is powered on and
running a simple move
program
• LUMA’s motors might not be getting power from the control board. With LUMA turned
off, rotate one of the robot’s wheels. The blue power LED should light up briefly as
the motor generates current through the board. If the LED doesn’t light up, the motor
is not getting power. Remove LUMA’s shell (see Maintenance section) and check the
motor wires and connections.
Reflected light sensor will
not detect the difference
between light and dark
surfaces
• LUMA’s batteries might be running low. Replace the batteries.
• There might not be enough contrast between the light and dark surfaces. Test the
sensor by putting it over a white piece of paper and turn LUMA on. The red LED under
and to the right of the ultrasonic sensor should be on. Lift LUMA off the paper about
two or three inches. The red LED should turn off.
Ultrasonic sensor returns
wrong distances LUMA’s batteries might be running low. Replace the batteries.
Table of contents
Other pitsco Educational Equipment manuals
Popular Educational Equipment manuals by other brands

Nasco Healthcare
Nasco Healthcare Simulaids LifeForm LF00698U instruction manual

Simulaids
Simulaids RANDY 9000 Instruction and Care Manual

Hitachi
Hitachi HTCB-77G user guide

Nasco Healthcare
Nasco Healthcare Airway Larry instruction manual

ADEEPT
ADEEPT Ultimate Sensor Kit for Raspberry Pi manual

IKEA
IKEA MALA manual

Keyestudio
Keyestudio Basic Starter Kit Series manual

adafruit learning system
adafruit learning system Bone Box Guide

Reality Works
Reality Works Muscular Figure Natural Size quick start guide

HIK VISION
HIK VISION DS-9604LNI-V/B02 quick start guide

Pretorian
Pretorian SimplyWorks Control PRO manual

K'Nex Education
K'Nex Education SIMplE MACHINES DELUXE LEVERS manual