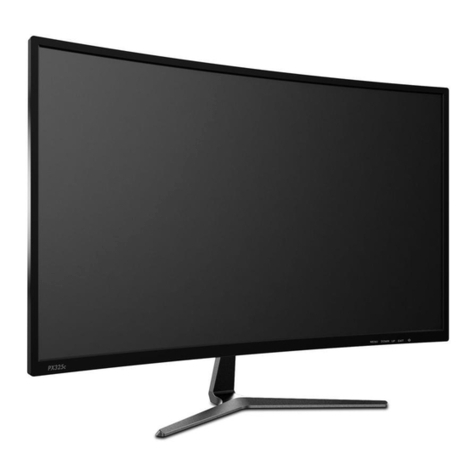
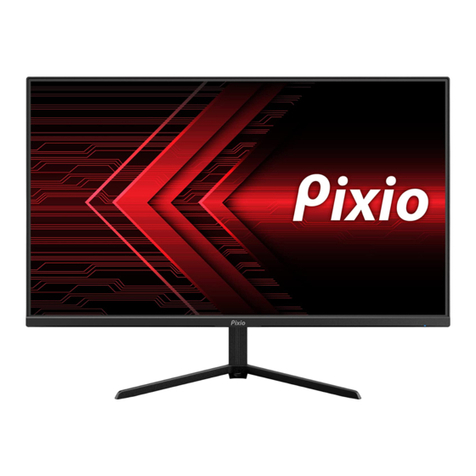
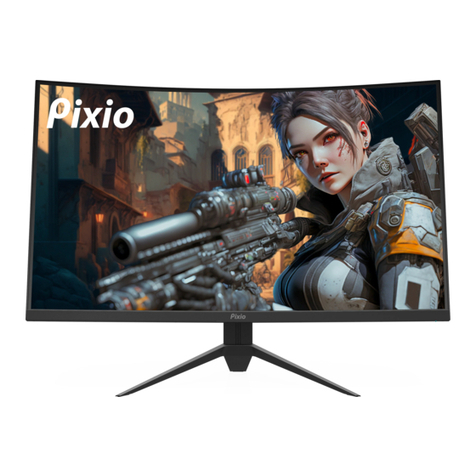
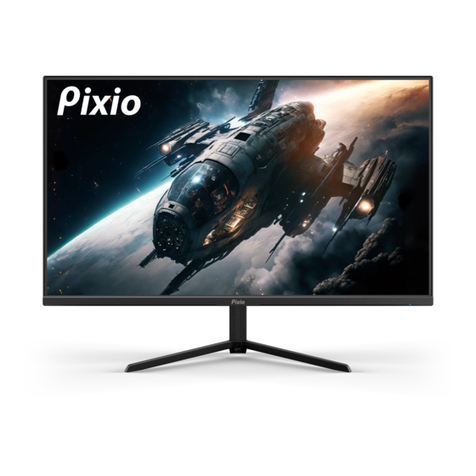
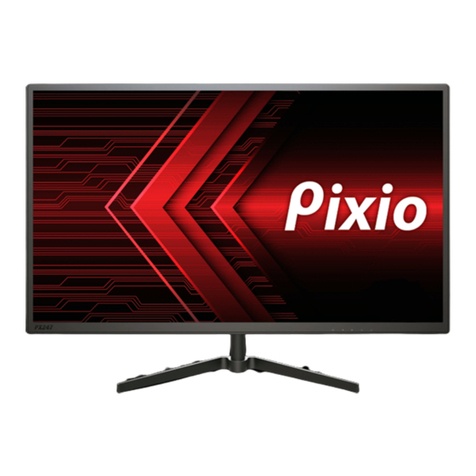
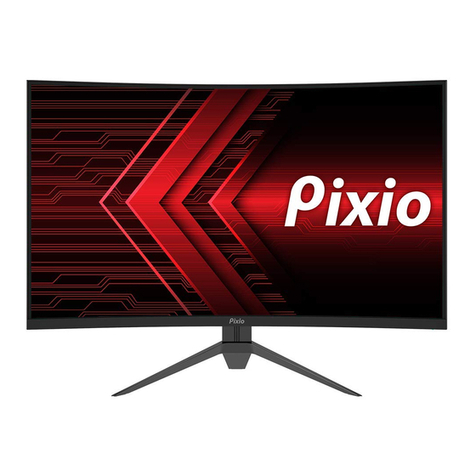
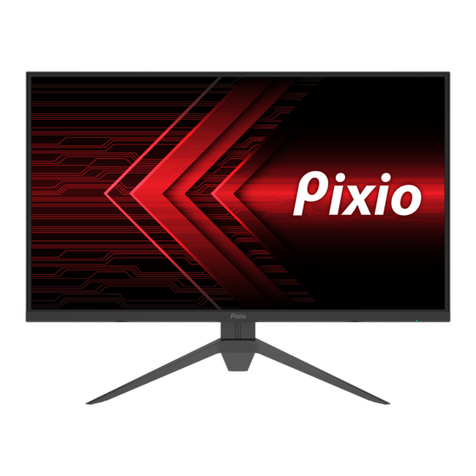
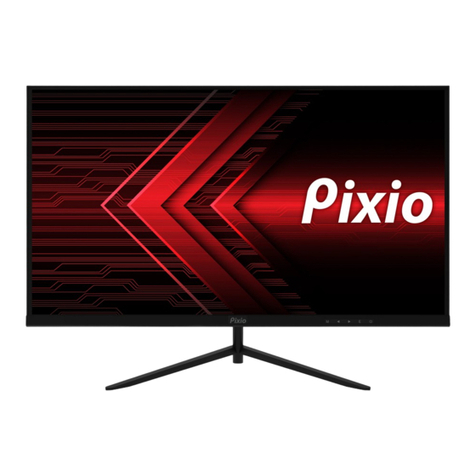
Pixio PX245c User manual


1
Content
Table of Contents
Warnings ------------------------------------------- 2
Instructions------------------------------------------- 3
Content ------------------------------------------- 3
Installation ------------------------------------------- 4
Inputs Guide ----------------------------------- 5
Operating ------------------------------------------- 6
OSD Guide------------------------------------------- 8
Tech Support ------------------------------------ 9
Specification ------------------------------------10

2
Things to be wary of when using an LED monitor
Warning
Make sure the monitor is not near a water source, such as: the bathroom, kitchen, dish-washer,
swimming pool, or a humid basement.
Do not place the monitor on an uneven surface, as the curvature of the monitor makes it more
susceptible to damage by tipping over or dropping flat.
The holes on the back of the monitor are for ventilation and should be left exposed to ensure
proper cooling of the monitor. Make sure the monitor is not used in a confined space.
The screws on the bottom of the monitor may get uncomfortably hot after several minutes of
usage. Please be careful when handling the bottom of the monitor.
Make sure to take proper precautions during a thunderstorm, by unplugging the power adapter
or making sure it is connected to a surge protector.
Make sure to not overburden a single electrical socket or stick any foreign objects into the
monitor openings, as it may risk electrical shock or fires.
Please do not personally try to fix or disassemble the monitor as it will void the warranty. Please
contact the retailer, where you purchased the monitor, to process a repair or replacement.
When you power on the monitor for the first time, there may be flickering. Simply power off the
monitor and start it up again.
Brightness levels for different images may seem slightly uneven.
There is a potential for .01% or less of the pixels to be dead or stuck. Please refer to the warranty
before determining a monitor is defective.
Typical of LED monitors when the monitor is fixed on a single image for a long period of time, the
image may appear to be stuck or ghost in the background. This is normal and the image should
gradually fade and turning off the monitor for a period of time may accelerate the process.
If the monitor no longer turns on or consistently flickers abnormally, please contact the retailer
and process a warranty service repair. Do not try and repair the monitor itself as it may void the
warranty.
The following characteristics may occur, but are not signs of a monitor defect:
Additional Warning:
Please clean the monitor with a proper cleaning solution and not just with water and an abrasive
material.
Please be aware the monitor may cause radio interference.
When using an HDMI to DVI adapter, there will be no audio throughput and may altogether have
compatibility issues.
:
Instruction before use
3
Instructions Prior to Use
Make sure the monitor is not placed near a heat source or in direct sunlight for long periods.
Make sure to keep the original packing materials just in case you encounter an issue and need
to return the item.
For the best protection during transit, use the original packaging materials, namely the foam
support.
Make sure to maintain the monitor with periodic, proper cleaning and always make sure the
power plug is not connected while cleaning.
Do not use abrasive materials as it will cause permanent damage to the panel.
Be careful of liquid exposure to the monitor, as it will likely destroy the components.
LED Monitor
User Manual
Stand Set
Power Adapter
DisplayPort Cable
Pixio Sticker
Packing List
Package contains the following items:

4
Installation Instructions
1. Open the package and lay the foam flat down on the side
without the accessories
2. Remove the top foam piece, with the accessories,
and let the monitor sit in the bottom foam
3. Place the stand neck on top of the metal bracket and
secure it with two of the screws provided
4. Insert the stand into the base of the stand neck and
secure it with two screws

5
5. When moving the monitor, hold it by the stand neck and support it by the bottom of the screen.
1. Please make sure the power adapter is compatible with your local power standards.
2. The voltage of the LED monitor is wide and can be applied to 100/120 VAC or 220/240 VAC
standards.
Control and Connections
Power:
Installation & disassembly instructions
Power Interface
Plug the power adapter into the DC plug on the
monitor and into a proper power outlet.
Plug either side of an HDMI cable into the
monitor and the other side into the relevant
device in use.
DP Signal
Interface
HDMI
Signal Interface
Plug either side of the DisplayPort cable into
the monitor and the other side into the relevant
graphics card.

6
Operating Instructions
On Screen Display Buttons
Monitor Button Operation
Button Function Description
Menu Button Show OSD and select menu item
Down Button Direct the cursor down or decrease the OSD item / double click to
toggle through crosshairs
Up Button
Exit Button
Direct the cursor up or increase the OSD item / double click to
toggle through pre-set modes
Back button for menus and exit button
Turn the monitor on or off
Power Button
Power
Indicator LED Normal: Steady blue light
OSD Operating Instructions
1. Press M twice to activate the OSD menu.
2. Navigate the menu by using the ▲or ▼ buttons.
a. Highlight the function you need and press the M button to select the item.
b. Adjust the selected item with the ▲or ▼ buttons.
3. Press E to go back to the sub-menu, and once more to get back to the main
OSD menu.
4. Press E one more time at the main OSD menu to exit and once more to exit
the pop-up menu. (The OSD menu will disappear on its own; can adjust how
long it takes)

7
Factory preset mode table
OSD window
BRIGHTNESS
90
50
STANDARD
OFF
BRIGHTNESS
CONTRAST
ECO
DCR
Note: Auto-adjust only applies to VGA simulation environment. Image
scale items cannot change when input resolution is wide screen
mode or non-factory preset mode.
H-Freq (KHz)Resolution V-Freq(Hz) Pixel clock(MHz)

8
4:3
OSD Interface
Main Menu Item Main Menu Icon Sub-menu Options Description
Brightness
Brightness
Contrast
ECO
DCR
0-100
0-100
Standard
Game
Movie
Text
FPS
RTS
On / Off
Adjust display brightness
Adjust display contrast ratio
Normal use mode
Game application mode
Movie application mode
Text application mode
First person shooter application mode
Real time strategy application mode
Dynamic contrast ratio
Image Aspect
Wide Adjust image to widescreen mode
Adjust image to 4:3 aspect ratio mode
Color Temp
Blue
Red
Green
Color Temp
Warm
Cool
User
Set to warm color temperature
Set to cool color temperature
Adjust color temperature manually
0-100
0-100
0-100
Adjust Red color temperature(only on User mode)
Adjust Green color temperature (only on User mode)
Adjust Blue color temperature (only on User mode)
OSD Setting
Language
OSD H. Pos.
OSD V. Pos.
OSD Timer
Transparency
12 Languages
0-100
0-100
0-100
0-60
Change the OSD menu language
Adjust the horizontal position of the OSD
Adjust the vertical position of the OSD
Adjust how long the OSD menu remains
Adjust how transparent the OSD menu looks
Reset
Reset Click Reset to factory settings
Misc
Signal Source
Low Blue Light
Freesync
DP, HDMI 1,2
0-100
On / Off
DisplayPort and HDMI 1 and 2 source change
Adjust blue light intensity
Turn Freesync on or off

9
Plug and Use
The monitor conforms to VESA DDC2B under VESA DDC. The monitor will provide a model number to
the connected PC and transfer other data under DDC standards. DDC2B conforms to the dual data
channel communication of I²C. PC’s can get the EDID information through a DDC2B channel.
If there is no input signal, the monitor will not function.
Please ensure the correct signal input is used to properly operate the monitor.
The monitor conforms to VESA and NUTEK standards. Power consumption will be decreased
when there is no signal input. After a short period, the monitor will then switch to a standby state.
Once a proper signal input has been established, the monitor will function normally. This function
is a form of screen protection.
Technical Support (FAQ)
Problem Solutions
Broken power indicator light ●Make sure the power is on
●Make sure the monitor is plugged in
Will not plug and play
●Make sure the monitor is compatible with the
device / graphics card
●Make sure the display cables aren’t
damaged / defective
Dim image ●Adjust the brightness and contrast ratio
●Factory reset the monitor
Image jitter / Moiré image ●Check and see if there are any electric equipment
around that may cause interference
Power Indicator is on
or flashing, but no image
●Check if the monitor is plugged into the device
●Check to see if the graphics card was installed properly
●Make sure the display cables aren’t damaged / defective
Color shortage (RGB) ●Make sure the display cables aren’t damaged / defective
Color difference
(White is not pure)
●Manually adjust RGB
●Factory reset the monitor
Dim brightness
and contrast ratio
●Adjust the brightness and contrast ratio settings
●Factory reset the monitor

10
S3C7G
23.6''
60.96cm diagonal line
178° (H)/178° (V)
0.27156(H)x0.27156(V)
521.3952(H)mm*293.2848(V)mm
mm
Product code
Screen size
Visual size
Viewign angle
Dot pitch
Display area
1920*1080@144Hz
16.7M
DP; HDMI*2
Max resolution
Display colour
Signal Input
Auto-adjust/Exit OSD menu, Menu/Choose, Display mode switchover/
decrease/increase, Dynamic contrast, image scale swith, Power
No
Normal work≤60W, Power≤0.5W
DDC1/2B
Simplified Chinese, English, French, Germany, Italian, Korean,
Russian Spanish, Turkish, Portuguese, Dutch, Polish
Operating temperature: 0℃- 40℃
Storage temperature:-20℃- 60℃
Operating relative humidity: RH 20%-80%(non-condensation)
Tilt forward 5°, tilt backward 15°
Screen rotate: no
Height adjustment: no
Left&Right rotate:no
NO
540.6*322.2*209mm (L*W*H*)
631*406*146mm (L*W*H*)
3.3kg/4.9kg
FCC
Dimension(with stand)
Weight(Net/gross weight)
Power
Speaker
Power consumption
Plug and use
User control
OSD Language
Environmental
Temperature
&humidity
Structure function
VESA
Dimension(Carton)
Certificate
DC 12 3A
Specification

Certification of Qualification
Product: Monitor
Inspector:
Manufacturing date:
The monitor passed the inspection by quality department, and the performance confirms
to technical standards. Delivery from factory is allowed
11
Table of contents
Other Pixio Monitor manuals

Pixio
Pixio PX347c Prime User manual

Pixio
Pixio PX279 Prime User manual

Pixio
Pixio PX259 Advanced White User manual

Pixio
Pixio PXC273 User manual

Pixio
Pixio PX160 User manual

Pixio
Pixio PXC277 User manual

Pixio
Pixio PXC325 User manual

Pixio
Pixio PX222 User manual

Pixio
Pixio PX247 User manual

Pixio
Pixio PX248 Prime S User manual

Pixio
Pixio PX275h User manual

Pixio
Pixio PX243 User manual

Pixio
Pixio PXC327 V2.0 User manual

Pixio
Pixio PX277 Prime User manual

Pixio
Pixio PX325c User manual

Pixio
Pixio PX278 User manual

Pixio
Pixio PX248 PRO User manual

Pixio
Pixio PX7 PRIME User manual

Pixio
Pixio PX274 Prime User manual

Pixio
Pixio PX273 User manual