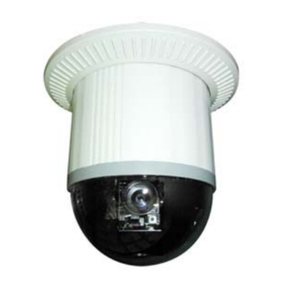
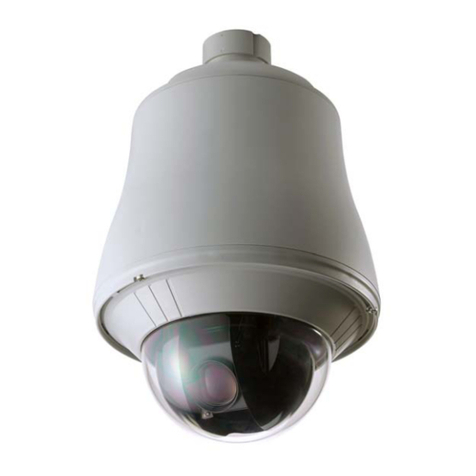
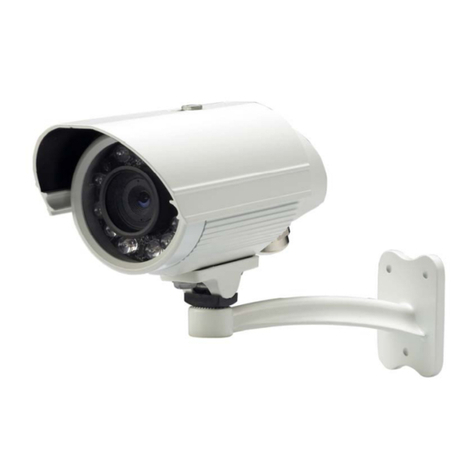
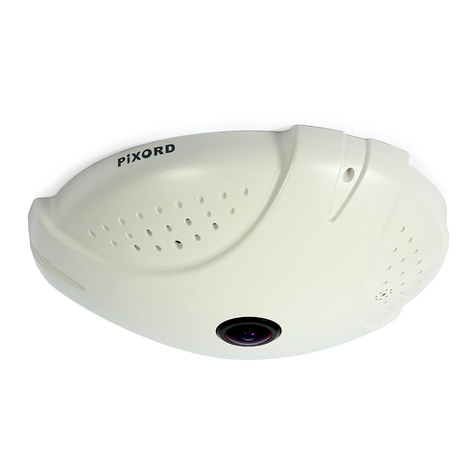
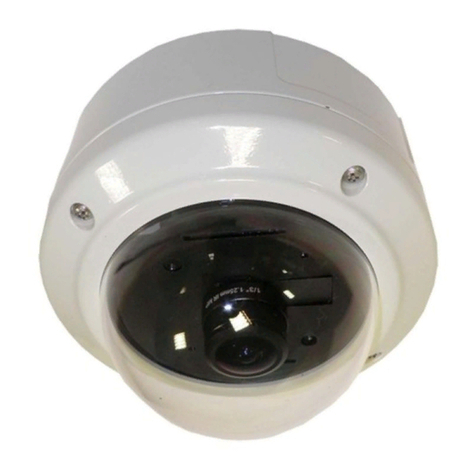
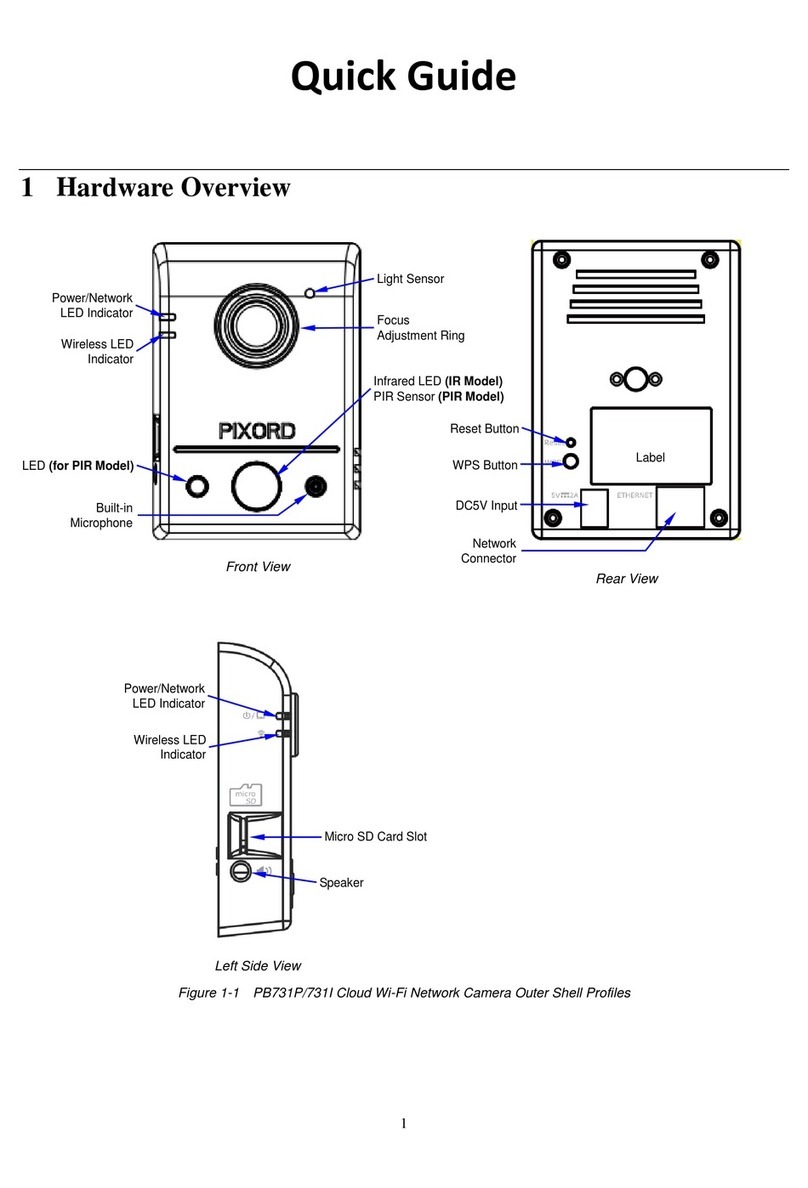
PiXORD 261 series User manual


WARNINGS & CAUTIONS
Please read the manual before attempting installation or operation
Please be aware to the warnings and cautions notice.
1. Don’t use any chemical detergent to clean the machine surface, use a damp cotton cloth only. Regularly clean the
dome cover to assure proper focus ability.
2. Please install the PIXORD NDC in a dry area, water and high humidity may cause damage on internal parts. External
housing should be used for outdoor installation.
3. Please use parts supplied by the manufacturer only, any unqualified part using in the equipment may violate the
warranty.
4. Avoid installing the equipment in an unstable area. Make sure the area is firm and stable. Falling equipment may
injure personnel and damage the equipment.
5. Do not install the equipment near any flammable gas. Violation may cause fire or injury.
6. Avoid running video cable and signal cable through or passing interference sources such as video waves, broadcast
station, power generator, elevator motor or high voltage area … etc. Violation may cause interference.
7. Make sure the power cable is properly fixed. Un-suitably fixed cable may cause serious short circuit or fire.
8. Correct cable connection is important. Do not place any object on the connection cable and change the cable if there
is damage on cable. Violation may cause short circuit, fire and injury.
9. Make sure ground is well connected to avoid damage caused by lightning.
10. Do not put any foreign objects inside the equipment and do not spray any liquid on equipment. This will avoid short
circuit damage.
11. Do not touch power connection with wet hands to avoid short circuit or electricity shock.
12. Do not apply smash-force on the equipment. Violation may cause damage.
13. Do not install the equipment in a location that may expose the equipment directly to sunlight. Violation may cause
color fading or damage.
14. Do not install the equipment in high temperature or low temperature environment to avoid damage. The normal
operational temperature is between –5℃~ +50℃.
15. PIXORD NDC contains high sensitive electric parts inside. Do not try to repair them without qualified personnel.
16. Turn off the power immediately and contact the technician when the following occurs:
A. Damage on power cable or plug.
B. Water leak into the equipment.
C. PIXORD NDC cannot be operated normally.
D. Equipment falling on ground or damage on external case.
E. Unusual occurrence.
17. Warning: Do not try to repair the equipment. Only a qualified technician may disassemble and repair the equipment.
Shut off the power before disassemble the equipment and don’t put power on unless the case is completely assembled.
2

I N D E X
1-1. What is PIXORD Network Dome Camera?............................................................................................ 5
1-2. Advantage Features ............................................................................................................................... 6
2-1. Structural Element.................................................................................................................................. 7
2-2. Connection Jack and Cable Requirement ............................................................................................. 8
2-3. DIP Switch Setting................................................................................................................................ 10
2-4. PIXORD NDC ID Address Setting Refer Chart .....................................................................................11
3-1. Indoor Installation Structural Drawing .................................................................................................. 12
3-2. Outdoor Installation Structural Drawing (Pendant Mounting)............................................................... 13
3-3. Embedded Mounting (False Ceiling).................................................................................................... 14
3-4. Attached Mounting (Fixed Ceiling) ....................................................................................................... 17
4-1. Preparation before IP Assignment: ...................................................................................................... 24
4-2. Assign IP Address by ARP Command.................................................................................................. 25
4-3. Assign IP by IP Installer........................................................................................................................ 27
4-3-1.Execute IP Installer .............................................................................................................................27
4-3-2.The PIXORD IP Installer form is displayed on the screen..................................................................27
4-3-3. Assign an IP Address to PIXORD NDC .............................................................................................28
4-4. Verify the IP Address and Open the Home Page................................................................................. 29
4-5. Verify and Complete the Installation from Your Browser...................................................................... 30
5-1. To Browse PIXORD NDC Live Video From Homepage....................................................................... 31
5-2. Configuration Page .............................................................................................................................. 33
6-1. Server Configuration ............................................................................................................................ 35
6-1-1. Server General Settings ....................................................................................................................35
6-1-2. User Settings .....................................................................................................................................36
6-1-3. Clock Setting......................................................................................................................................38
6-1-4. System Command .............................................................................................................................39
6-2. Network Setting.................................................................................................................................... 40
6-2-1. Network General Settings..................................................................................................................40
6-2-2. SMTP Settings ...................................................................................................................................41
6-2-3. DHCP Settings...................................................................................................................................42
6-2-4. DDNS Setting.....................................................................................................................................43
6-3. I / O Configuration ................................................................................................................................ 45
6-3-1. GPIO Input Status..............................................................................................................................45
6-3-2. PTZ Settings ......................................................................................................................................46
6-4. Video Setting ........................................................................................................................................ 47
6-4-1. Time Stamp ........................................................................................................................................47
6-4-2. Video Adjustment ...............................................................................................................................48
3
6-5. Event Management .............................................................................................................................. 50
6-5-1. Motion Area Selection........................................................................................................................50
6-5-2. Event Edit...........................................................................................................................................51
7-1. Initial Power Up Inspection................................................................................................................... 56
7-2. Manual Operation (Pan / Tilt Control)................................................................................................... 57
7-3. PIXORD NDC Selection....................................................................................................................... 58
7-4. Zoom Lens Control............................................................................................................................... 59
7-5. Manual Zoom Lens Control Speed Selection....................................................................................... 60
7-6. Focus Control....................................................................................................................................... 62
7-7. Iris Control ............................................................................................................................................ 63
7-8. Preset Positions Setting ....................................................................................................................... 65
Selecting PIXORD NDC...............................................................................................................................65
Selecting Preset position..............................................................................................................................65
Joystick Control ............................................................................................................................................65
Adjusting Lens..............................................................................................................................................66
Setting Preset Dwell Time ............................................................................................................................67
Appendix A -...................................................................................................... Upgrading the Software
74
Appendix B - .................................................................................................Update custom web pages
77
Appendix C - ................................................................................................Emergency Factory Default
79
Appendix D - ...................................................................................................... Quick Reference Table
80
Appendix E - ............................................................................................................... Trouble Shooting
82
4

1. Introduction
1-1. What is PIXORD Network Dome Camera?
PIXORD Network Dome Camera (“PIXORD NDC” here and after) is an Internet-based digital Network Speed
Dome Camera, it built in Pan/Tile/Zoom and CCD module to distribute the compressed live video into
Intranet/Internet through Ethernet connection.
PIXORD NDC can be moved (Pan/Tile/Zoom) the view point to get the best monitoring angle easily via standard
browser such as Explore TM or Netscape TM.
PIXORD NDC is self-contained Web Server. Users could access the Network Dome Camera just like browsing
website over Internet using standard browser such as Explore TM or Netscape TM , and do all the management,
configuration, and monitoring easily.
PIXORD NDC contains image compression chipset which is capable of delivering standard JPEG, MJPEG,
real-time video into limited network bandwidth.
5

1-2. Advantage Features
22X Auto Focus Lens (PIXORD-261)
Build-in 22X optical zoom lens with focal length 3.9~85.4mm
Automatic/Manual Iris Control
360° continuous rotation
Up to 128 programmable preset positions
Preset positions auto scanning
High speed rotation and tilt, speed range varies from 0.18°/sec~360°/sec
180° Horizontal Instant Flip
6 alarm inputs, 1 alarm output can be set as NO (normally open) or NC (normally close) for each PIXORD NDC
Two types of alarm response mode: Lock Mode, Release Mode
Build in 1/4” CCD high resolution DSP color camera:
22X optical lens models:
1.480 TV Lines high resolution
2.0.8 Lux high sensitivity
White Balance Control (Auto White Balance and Manual White Balance (Indoor/Outdoor))
Back Light Compensation (ON/OFF)
Auto Gain Control (ON/OFF)
Rs-485 control interface
Up to 64 PIXORD NDC configuration
Compatible with PC control (protocol required)
12V dc voltage input (power supply options: AC 90~260V or AC 24 V)
Flexible Mounting: Indoor-embedded and attached types, Outdoor-with weather resistant housing
6

2-1. Structural Element
2. Physical Connections
1. Dome Cover 2. Camera Case 3. Decoration Ring
4. RS-485 In/Out Jack 5. Alarm In / Out Jack 6. Video In / Out Jack
7. Power In Jack 8. Ethernet / Power / Status / Network LED 9. Camera Base
7

2-2. Connection Jack and Cable Requirement
Power In Jack : DC12V Input Voltage, Power Consumption 1.2Adc, Center Pin 2.0mm
Require Cable: 18 AWG x 2C
Video Out BNC Jack :Video Signal Output CVBS 1.0Vpp 75∩BNC
Recommend Data Cable:5C2V
Alarm In/Out Jack :
- Each PIXORD NDC contains 6 alarm inputs and 1 alarm output
- Alarm Input Voltage 5.6V max, Output 0.5A 120Vac/ 1A 24Vdc
- Recommend Data Cable: UL 26 AWG 80 C 300V
UL 24 AWG 80 C 300V
8

RS-485 In/ Out Jack :
- RS-485 Input (TXDI+, TXDI-) to receiver signal from
keyboard, matrix, DVR or multiplexer through twisted
pair cable.
- RS-485 Output (TXDO+, TXDO-) sending out signal to
next PIXORD NDC through twisted pair cable.
- Recommend Data Cable:
2547 VW-ISC UL 24 AWG x 2C
- Transmission Distance: Max. 1 Kilometer
*When 24VAC PSU is used, the recommend cables are:
UL SPT-1 VW-1 18AWG x 2C
UL SPT-2 VW-1 18AWG x 2C
UL SUT 105C VW-1 18AWG x 3C
The distance between 24Vac PSU and fast dome cannot exceed 200 meters.
Ethernet: Standard IEEE802.3 10 Base T port
POWER/STATUS LED:
-Power On: constant red.
- Emergency factory default (appendix C): Blinking orange (i.e. red mix with green).
NETWORK LED:
- Network Link (connected): Constant red.
- Networks have activities: Blink red.
- Data sent out from server: Blink green.
- Network disconnected: Constant slow blinking green.
- Upgrading software (appendix A): Constant slow to fast blinking of orange.
9

2-3. DIP Switch Setting
Fan Power Switch
Turn the number 2 switch to ON position to activate the internal fan. This will maintain the temperature inside and
make electric parts life.
Alarm Mode Switch
Alarm Mode can be set as Lock or Release mode. Turn number 1 switch to ON position to choose Release mode.
Turn number 1 switch to OFF position to choose Lock mode. PIXORD NDC has 6 alarm inputs and 1 output,
which can be set either NC (normally close) or NO (normally open) mode. Turn number 2 switch to NO position to
choose NC mode. Turn number 2 switch to OFF position to choose NO mode.
Camera Function Switch
22X optical lens models
:
- Turn number 1 switch to ON position for AGC function
- Turn number 1 switch to ON position for BLC function
- Turn number 1 switch to ON position for AWB function
- Turn number 1 switch to OFF position for Manual White Balance (MWB)
- When PIXORD NDC is set to MWB, turn number 4 switch to ON for Outdoor (color temp. 3200K) or to
OFF for Indoor (color temp. 6300K)
10

2-4. PIXORD NDC ID Address Setting Refer Chart
Up to 64 PIXORD NDC can be serial linking in one system. Therefore each dome is addressing by ID switch located
at the base of the PIXORD NDC. Below is the address setting for camera 1~64:
11

3-1. Indoor Installation Structural Drawing
3. Installation
12

3-2. Outdoor Installation Structural Drawing (Pendant Mounting)
13

3-3. Embedded Mounting (False Ceiling)
14

15

Note: After dome cover is attached, use glass-cleaning cloth to clean dome cover. Unclean dome cover may
affect camera performance.
16

3-4. Attached Mounting (Fixed Ceiling)
17

Note: After dome cover is attached, use glass-cleaning cloth to clean dome cover. Unclean dome cover may affect
camera performance.
18

3-5. Pendant Mounting (External Housing)
19

20
Table of contents
Other PiXORD Security Camera manuals

PiXORD
PiXORD PB731P User manual

PiXORD
PiXORD P-465 User manual

PiXORD
PiXORD PL721 User manual

PiXORD
PiXORD P-423 User manual

PiXORD
PiXORD PL621 User manual

PiXORD
PiXORD P-463 User manual

PiXORD
PiXORD P-600 User manual

PiXORD
PiXORD PB670 User manual

PiXORD
PiXORD H.264 Series User manual

PiXORD
PiXORD PD637 User manual

PiXORD
PiXORD P-600 User manual

PiXORD
PiXORD P606 User manual

PiXORD
PiXORD PS760D User manual

PiXORD
PiXORD PD636 User manual

PiXORD
PiXORD PD737 User manual

PiXORD
PiXORD P-600 User manual

PiXORD
PiXORD PD736 User manual

PiXORD
PiXORD PD736 5MP User manual

PiXORD
PiXORD P606 User manual

PiXORD
PiXORD PD636 User manual