manuals.online logo
Brands
  1. Home
  2. •
  3. Brands
  4. •
  5. Planet Bike
  6. •
  7. Bicycle Accessories
  8. •
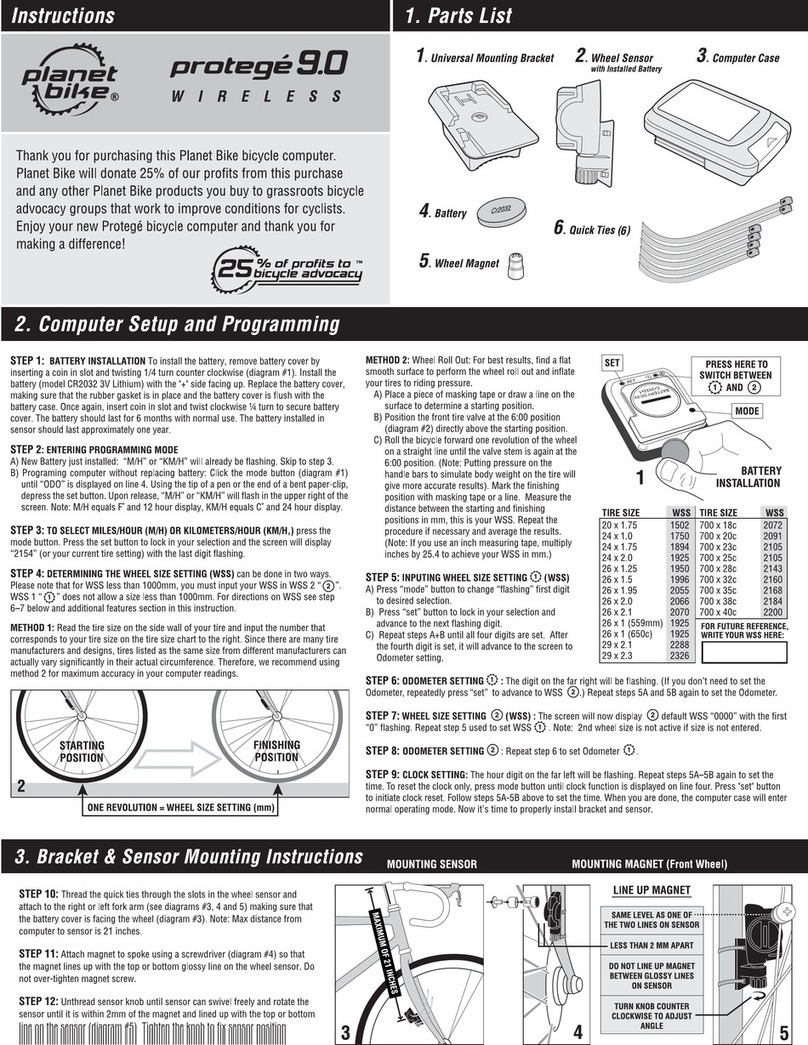
  9. Planet Bike 4001 User manual

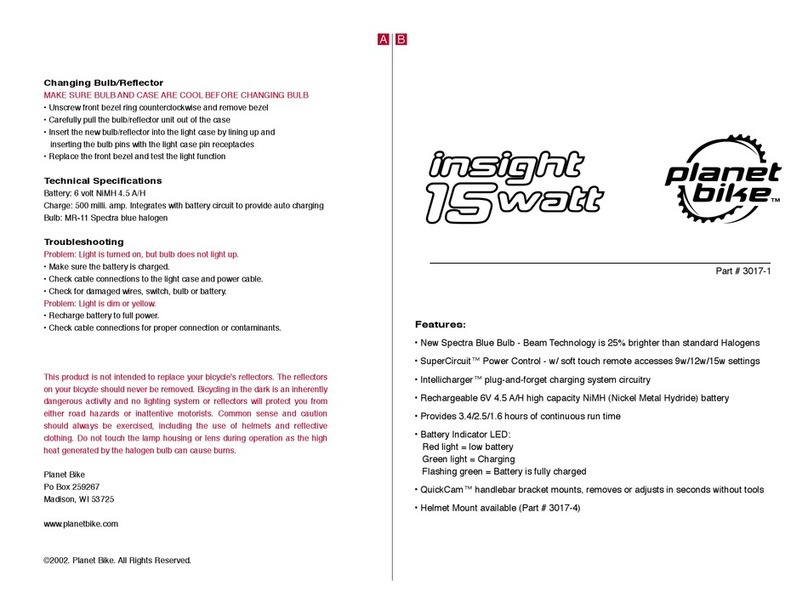
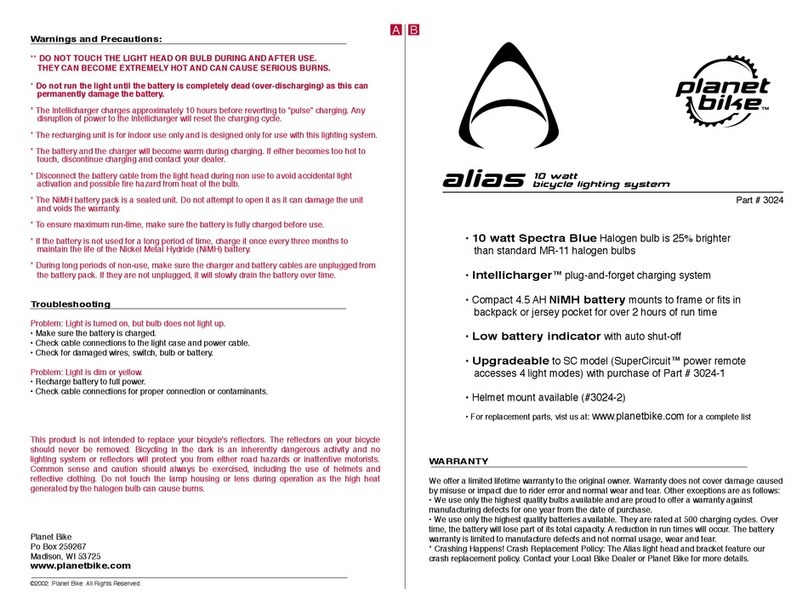
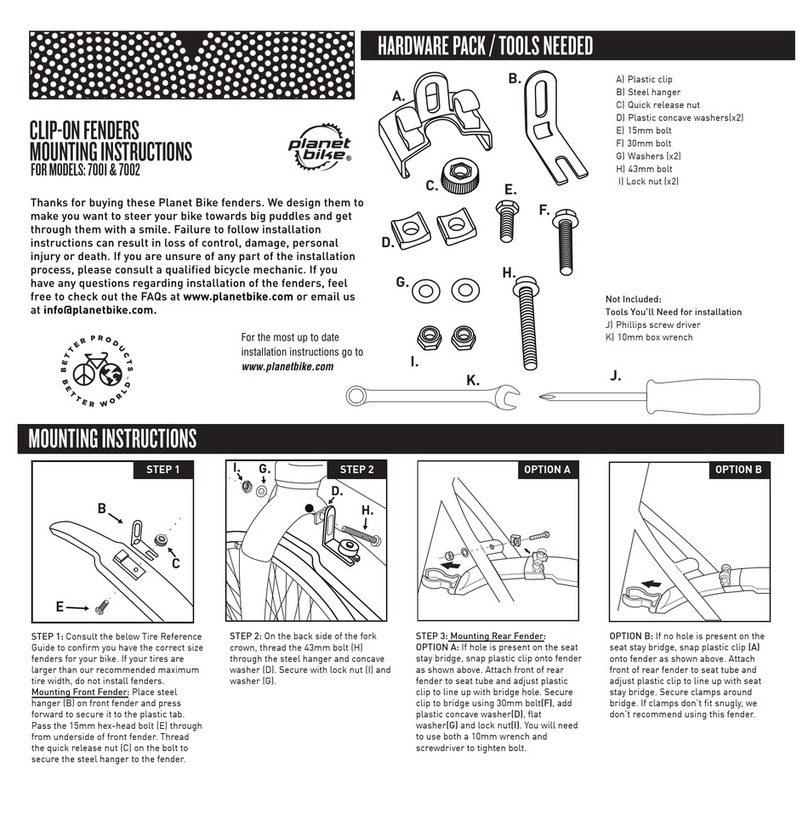
Planet Bike 4001 User manual

A) Lower Mounting Bolt (qty 3)
B) Upper Mounting Bolt (qty 2)
C) Washer (qty 5)
D) Nut (qty 3)
E) P-clamps (qty 2)
F) L-bracket (qty 1)
Tools You’ll Need for Installation,
Not Included:
G) 8mm Box Wrench
H) 4mm Allen Wrench
Thanks for buying a Planet Bike Eco Rack. We designed it to help you
expand your horizons so you can carry more and go farther. If you are
unsure of any part of the installation process, please consult a qualified
bicycle mechanic or local bike shop. Failure to follow installation
instructions can result in loss of control, damage, personal injury or
death. If you have any questions regarding installation of the rear rack,
feel free to check out the FAQs at www.planetbike.com or email us at
info@planetbike.com
We make quality products and they include a limited lifetime warranty to the
original owner of our products. This rack is warranted to be free from defects in
materials and workmanship for as long as the original purchaser owns the
product. This warranty does not cover damage due to accident, abuse, or
normal wear and tear. This warranty is void if the rack or rack mounting
hardware is modified, or is not properly installed on a bicycle for which it was
STEP 1:
Attach rack to bike frame at the lower
rack mounting points using lower mounting bolts
(A) and two washers (C). Do not fully tighten
bolts yet.
ECORACK
INSTALLATION MANUAL
FOR MODELS:4001&4002
Rear Reflector / Light Mount
Upper Rack Mounts
Upper Stays
Lower Rack Mounts
OVERVIEW
designed. To make a claim under this warranty, return the rack together with
proof of purchase, to the retail dealer from which it was purchased, or contact
Planet Bike directly. Purchaser’s sole remedy pursuant to this warranty is for
Planet Bike to repair or replace the faulty part(s). Planet Bike provides no other
warranty, expressed or implied. This warranty gives you specific legal rights;
you may also have other rights which vary from state to state.
STEP 2: Attach the rack’s upper stays to
upper rack mounts using upper mounting
bolts (B) and two washers (C). Position rack
level with the ground. Various stay lengths can
be set by removing pre-installed hardware,
extending stays, and re-securing hardware.
You may need to slightly bend stays into
appropriate position. Tighten down all
hardware (6-8 Nm / 53-69 in lbs).
*Optional longer stays of 15.5” are available for
smaller frames (part #4001-4)
STEP 2 CONT’D: If bicycle frame does
not have upper rack mounts, rubber
coated P-clamps (E), nuts (D), and
upper mounting bolts (B) can be used.
STEP 3: Mount the L-Bracket to rack
using one bolt (A), one washer (C), and
one nut (D). A standard reflector can
be mounted direct to the L-bracket. A
Planet Bike rear light can be mounted
to the L-bracket with the addition of a
Planet Bike Taillight Rack Bracket
(Part# 3108, sold separately).
L-bracket for Reflector
Taillight Rack Bracket
STEP 4: Inspect areas around upper
and lower mounting points for any
interference with the drivetrain or rear
brake assembly. If interference is
present, readjust rack. If interference
remains, do not use the rack. Finish
installation by checking all hardware to
ensure it is secure.
*For the most up to date installation instructions, go to
www.planetbike.com
Check for interference with other bike components,
especially brake and drivetrain components. If
interference is present readjust rack. If interference
remains, do not use the rack.
Failure to follow installation instructions can result in
loss of control, damage, personal injury or death.
Check rack installation before each ride to ensure
hardware is tight and in good condition.
When attaching cargo to rack be sure to secure all straps
and loose items to prevent them from falling into the
spokes of the wheel. Recheck periodically throughout
your ride.
This rack is not intended for off road riding, competitive
use, or excessive speeds.
Do not exceed the maximum carrying capacity of 55 lbs.
Rack is not intended for carrying passengers or
child carriers.
Never attach any kind of trailer or
tow-behind-product to rack.
Any modification to rack or hardware voids
warranty.
To keep the rack functioning safely, replace worn
parts as needed. Small parts can be found at
www.planetbike.com
If you are unsure of any part of the installation
process please consult a certified bicycle mechanic
or local bike shop.
©2016 Planet Bike. All Rights Reserved.
www.planetbike.com

This manual suits for next models

1

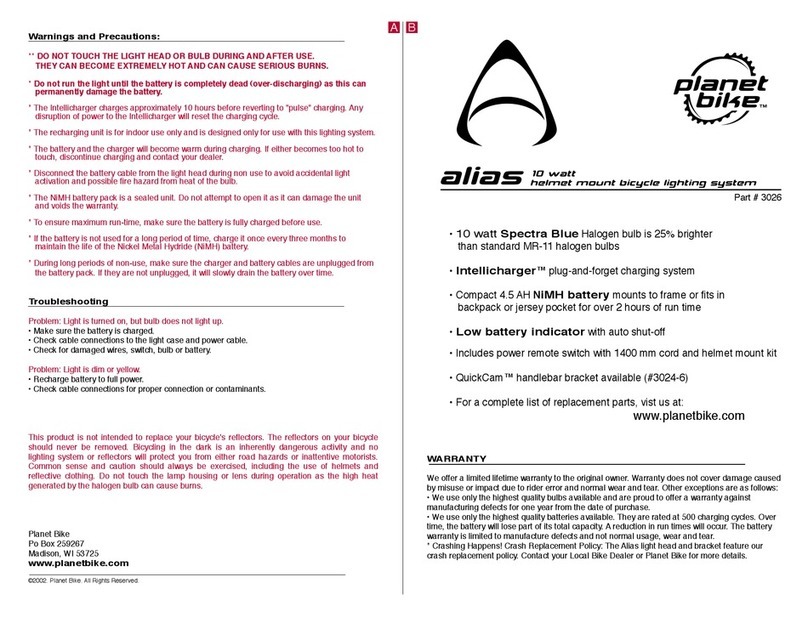
Other Planet Bike Bicycle Accessories manuals
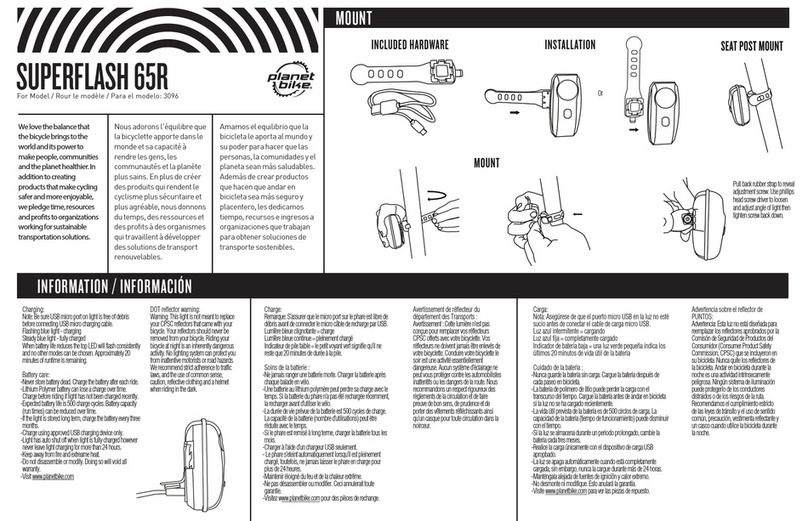
Planet Bike ALIAS SC User manual

Planet Bike

Planet Bike ALIAS SC User manual

Planet Bike ALIAS HELMET User manual

Planet Bike

Planet Bike ALIAS HELMET User manual

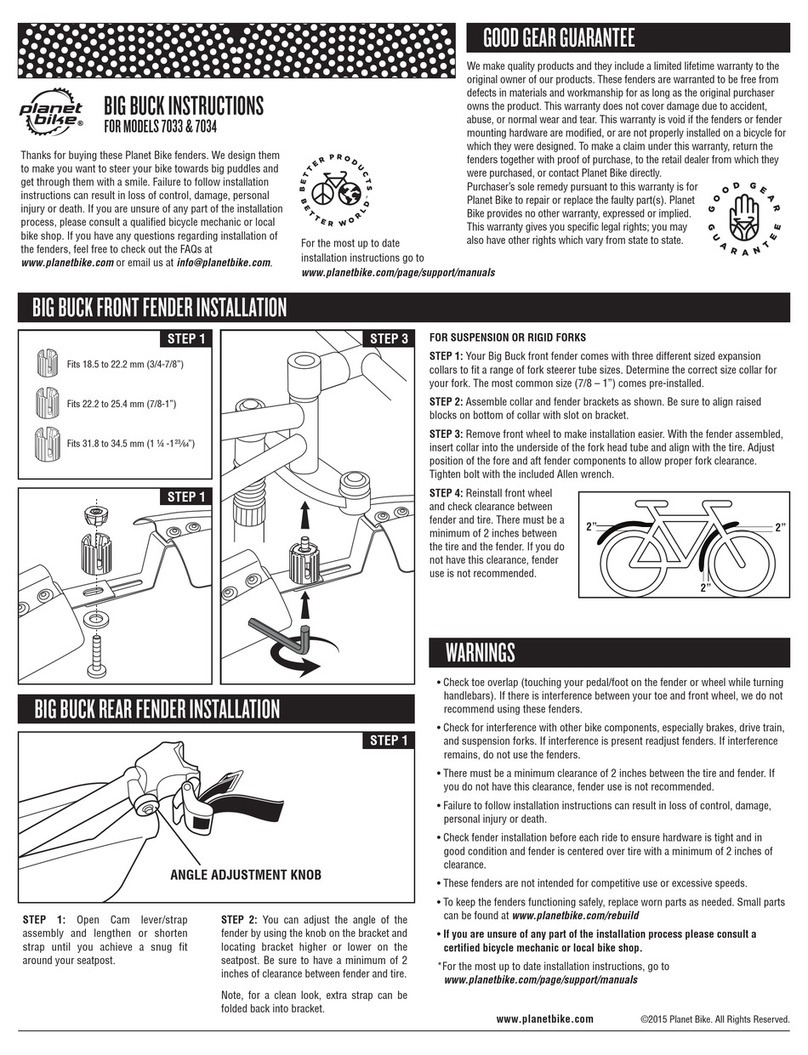
Planet Bike 7033 User manual

Planet Bike

Planet Bike 7033 User manual

Planet Bike 7001 User manual

Planet Bike

Planet Bike 7001 User manual

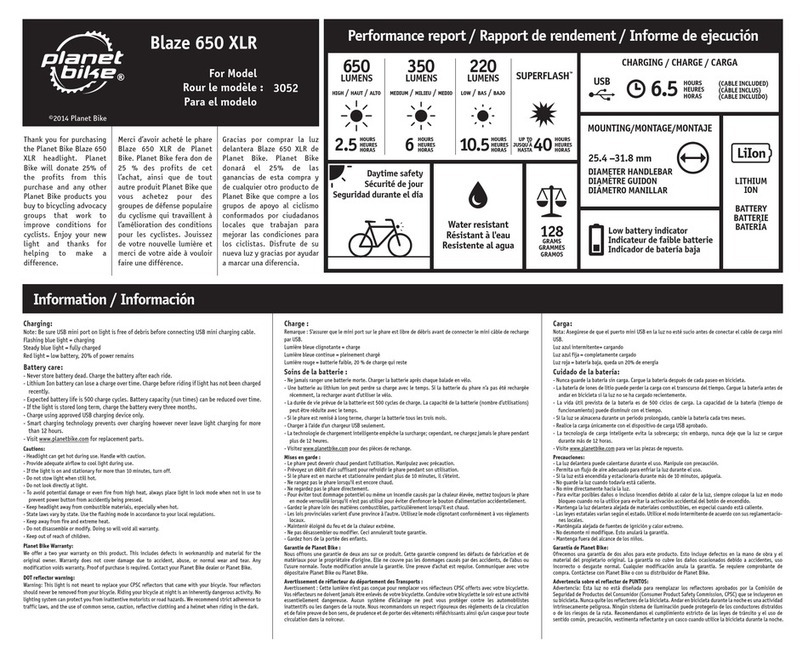
Planet Bike Blaze 650 XLR User manual

Planet Bike

Planet Bike Blaze 650 XLR User manual

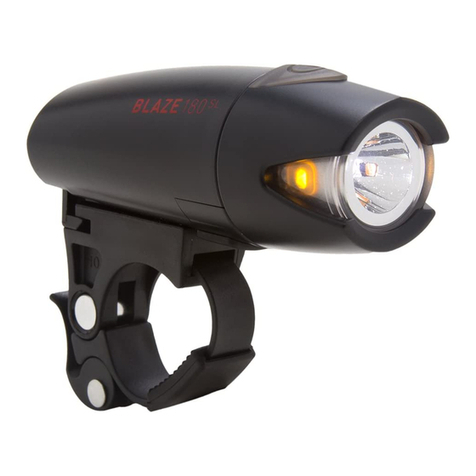
Planet Bike BLAZE 180 SL User manual

Planet Bike

Planet Bike BLAZE 180 SL User manual

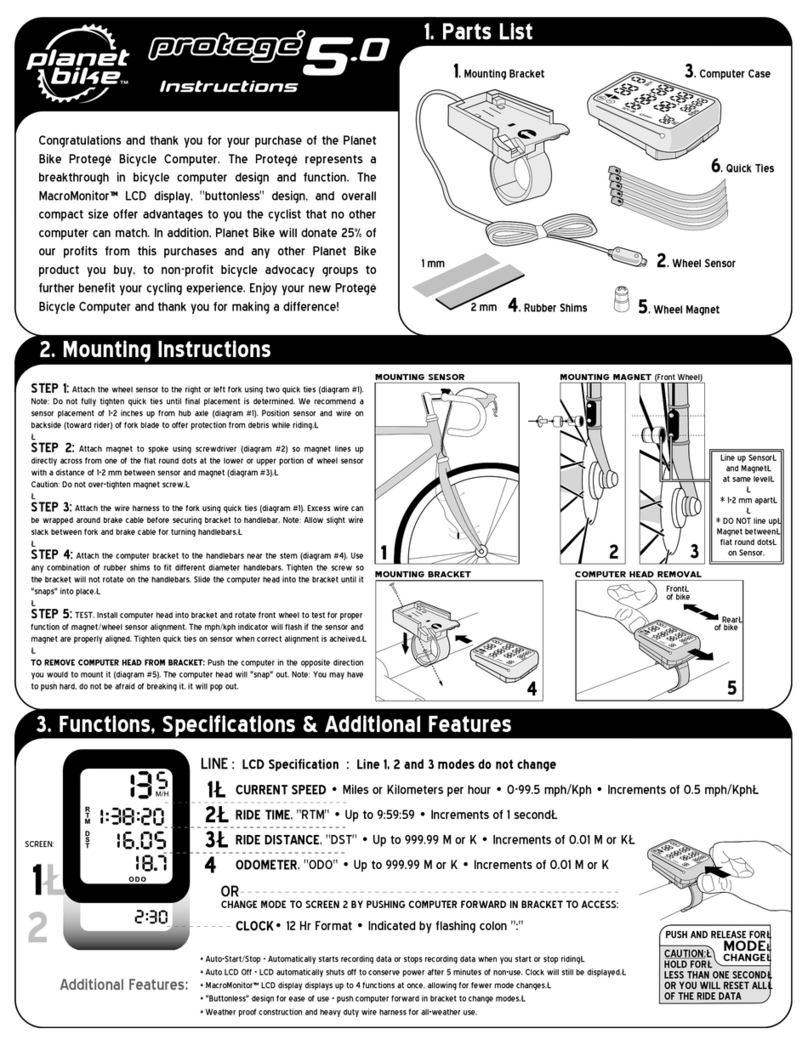
Planet Bike Protege 5.0 User manual

Planet Bike

Planet Bike Protege 5.0 User manual

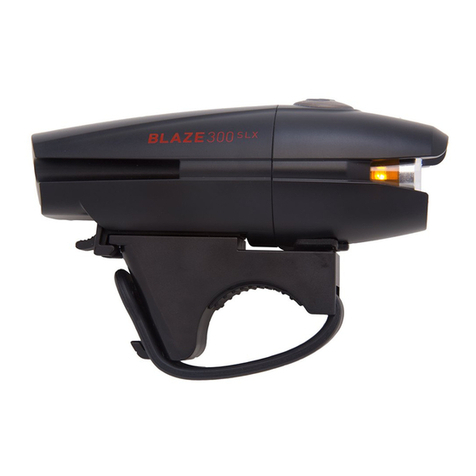
Planet Bike BLAZE 300 SLX User manual

Planet Bike

Planet Bike BLAZE 300 SLX User manual

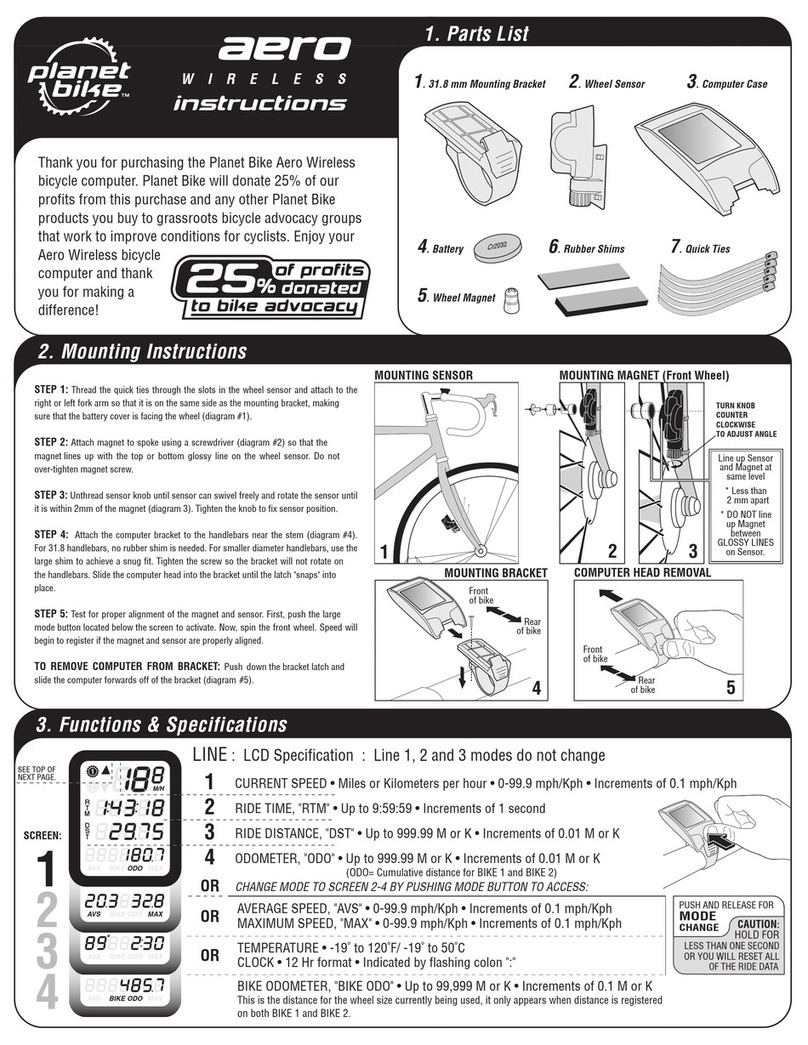
Planet Bike Aero Wireless User manual

Planet Bike

Planet Bike Aero Wireless User manual

Planet Bike GRATEFUL RED 3020 User manual

Planet Bike

Planet Bike GRATEFUL RED 3020 User manual

Planet Bike 1009 User manual

Planet Bike

Planet Bike 1009 User manual

Planet Bike PROTEGE 9.0 9 User manual

Planet Bike

Planet Bike PROTEGE 9.0 9 User manual

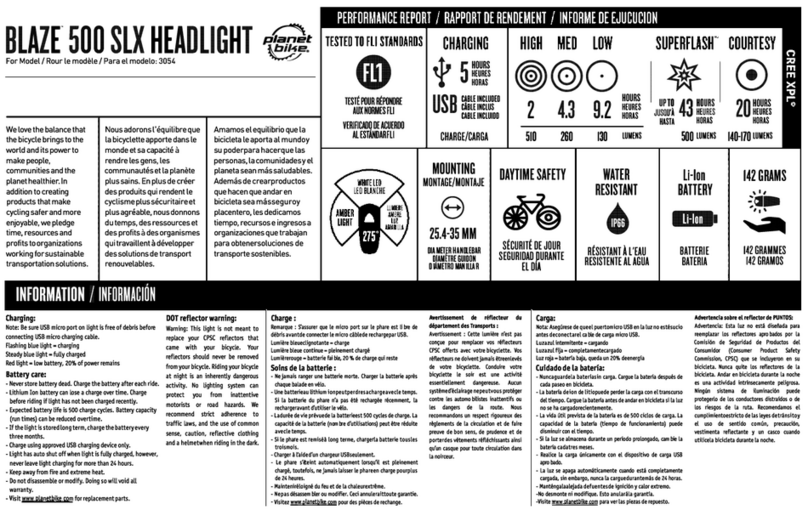
Planet Bike BLAZE 500 SLX User manual

Planet Bike

Planet Bike BLAZE 500 SLX User manual

Planet Bike Cascadia ALX User manual

Planet Bike

Planet Bike Cascadia ALX User manual

Planet Bike ALIAS User manual

Planet Bike

Planet Bike ALIAS User manual

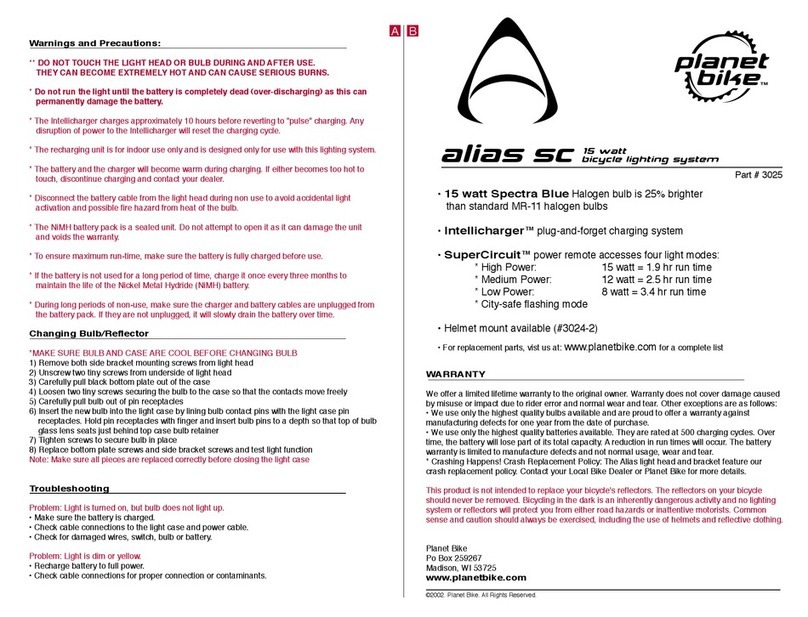
Planet Bike SUPERFLASH 65R User manual
Planet Bike

Planet Bike SUPERFLASH 65R User manual

Planet Bike INSIGHT User manual

Planet Bike

Planet Bike INSIGHT User manual

Popular Bicycle Accessories manuals by other brands

ItsImagical 35199 quick start guide

ItsImagical

ItsImagical 35199 quick start guide

Sigma ROX 11.1 EVO Short manual

Sigma

Sigma ROX 11.1 EVO Short manual

Thule Yepp Nexxt 2 Maxi instructions

Thule

Thule Yepp Nexxt 2 Maxi instructions

Miche SYNTIUM WR DX manual

Miche

Miche SYNTIUM WR DX manual

Cateye GVOLT100 manual

Cateye

Cateye GVOLT100 manual

Bosch eplus ACTIVE LINE Installation

Bosch

Bosch eplus ACTIVE LINE Installation

Bikespeed RealSpeed Instructions for the installation and description of the functions

Bikespeed

Bikespeed RealSpeed Instructions for the installation and description of the functions

Teasi CORE user manual

Teasi

Teasi CORE user manual

Specialized AFR Rear Shock EPA owner's manual

Specialized

Specialized AFR Rear Shock EPA owner's manual

Polar Electro CS600X user manual

Polar Electro

Polar Electro CS600X user manual

Shimano GRX RX 815 Series Dealer's manual

Shimano

Shimano GRX RX 815 Series Dealer's manual

FUXON RL-MINI CLIP manual

FUXON

FUXON RL-MINI CLIP manual

CAMPAGNOLO Ekar 13S Rear Derailleur user manual

CAMPAGNOLO

CAMPAGNOLO Ekar 13S Rear Derailleur user manual

Bryton Rider 20+ quick start guide

Bryton

Bryton Rider 20+ quick start guide

Burley ALTERNATIVE HITCH manual 

Burley

Burley ALTERNATIVE HITCH manual 

Cateye EL135 manual

Cateye

Cateye EL135 manual

Bosch BDU290P owner's manual

Bosch

Bosch BDU290P owner's manual

Contec 800 manual

Contec

Contec 800 manual

manuals.online logo
manuals.online logoBrands
  • About & Mission
  • Contact us
  • Privacy Policy
  • Terms and Conditions

Copyright 2025 Manuals.Online. All Rights Reserved.