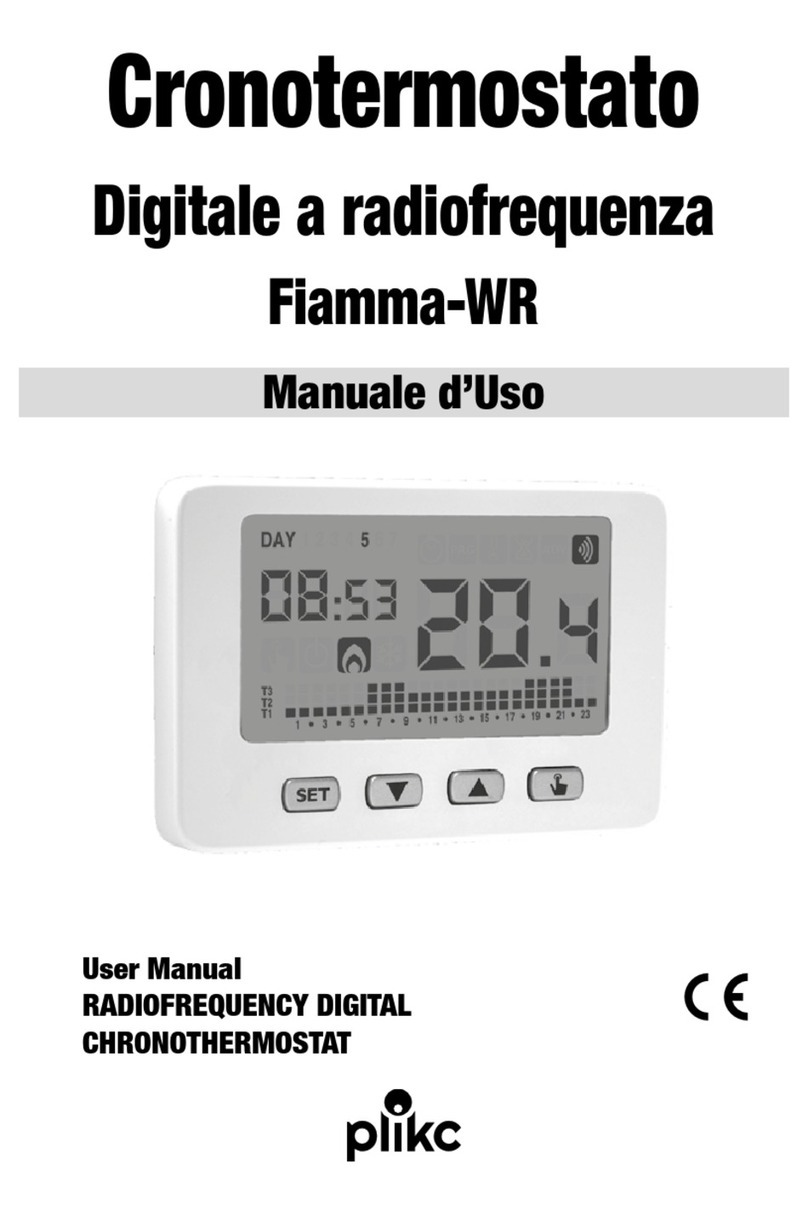
Plikc SKI-RF User manual

1
SKI-RF Instruction
Description
The wireless digital thermostat is ideal to control the temperature of any room(bedroom, kitchen, etc.) and is
very easy to use. Allows for the operation of heating/OFF/cooling equipment, when the temperature of the
environment to be monitored is lower/higher than a user-preset reference temperature. Very easy installation
according to the step by step manual instruction. Mounting and connection can be made either by a technician
or any other person.
IMPORTANT: carefully read the manual of use before the installation and follow the precautions when
using the product.
Precautions on battery use
l Use only batteries of indicated size and voltage.
l Make sure you plug the batteries observing the correct polarity as indicated in the battery compartment.
Battery connection with incorrect polarity may damage the thermostat.
l Do not mix different types of batteries such as an alkaline and a zinc carbon, or old batteries with new
batteries.
l If you expect not to use the thermostat for a long period, disconnect it from the equipment and remove the
batteries to prevent damage resulting from possible battery leakage.
Precautions on installation and use of the thermostat
l The wireless digital thermostat is exclusively for indoor use (closed rooms, garages, porches etc.). Do not
install outdoor or in locations directly exposed to rain.
l Do not install in places with high humidity.
l The thermostat can operate one device only. The connection of several equipment in cascade or in series
(for example, a heater and a fan) does not guarantee the correct functioning of the device.
l Cut off mains power before connecting any device.
l Use the utmost caution when making wiring for connection with equipment and electricity mains: a wrong
connection or unreliable shielding of electrical cables may cause damage to the device and jeopardize
your safety.
Note: the manufacturer waives any responsibility for damage caused by improper installation or use of the
device other than described in this manual.

2
Specification
Transmitter (thermostat):
1.Programmability: Non-programmable
2.Display Temperature Range:0°C~40°C (in 0.1°C increments)
3.Adjustable Temperature Range:5°C~35°C (in 0.1°C increments)
4.Tem per atu re me asu rem ent a cc ur acy : ±1°C (at 20°C)
5.Power Supply: DC 2x AAA 1.5V Alkaline Batteries
6.Load Rating: 6(2)A, 230V
7.Low Battery Indicator: Display “ ” when battery is less than 2.7V
8.Standby current:25uA, Lighting current ≤5.5mA
9.Backlight colour: White
10. Dimensions: 120 x 77 x 28 mm(without holder)
Receiver:
1. Power Supply: 230VAC, 50HZ
2. Operating Frequency:868.35MHZ
3. Transmission Distance: approx. 100m in open terrain
4. Consumption: 6W
5. Maximum Load: 6(2)A, 230V
6. Dimensions: 86 x 86 x 26 mm
LCD Display
Running Mode
Hold the SET button for 5 seconds to access the system running mode switch, then turn the dial to choose
different mode between:
HEAT (Heating): adjust the temperature by turn the dial
COOL (Cooling): adjust the temperature by turn the dial
OFF (Anti-freeze function): it will start heating when the room temperature is under 7°C
Wait for 10 seconds to confirm the setting automatically.

3
How to set the temperature
1. Turn the dial in clockwise to increase the temperature, and then press the SET button to confirm or wait for 5
seconds to automatically confirm.
2. Turn the dial in anti-clockwise to reduce the temperature, and then press the SET button to confirm or wait
for 5 seconds to automatically confirm.
How to calibrate the temperature
Hold the SET button for 5 seconds to access the system running mode switch interface, then press to access
the interface of temperature calibration “CAL” (in -3.0~+3.0, in 0.5°C increments); Turn the dial to set the
desired value, then press the SET button to confirm.
Backlight
The backlight will be turns on by press any buttons and turns off when there is no activity after 15 seconds.
How to replace the batteries
The average battery life is 1 year, but the frequent use of the backlight can reduce this time considerably. If the
icon indicating low battery voltage appears on the display, the batteries must be replaced.
The Receiver
Installation and connection of receiver
The receiver must be mounted on the wall in a place protected against humidity and heat, close to the boiler.
ATTENTION! Do not install the receiving unit under the housing of the boiler or close to hot pipes
because they may damage parts of the device or compromise wireless connection (radio-frequency).
To avoid electric shock, have an expert connect the receiver to the boiler!
Unscrew the two screws at the base of the receiver unit without removing them. Then remove the receiver
unit’s front panel and then secure the back panel to the wall close to the boiler with the screws provided.
230V mains voltage should be supplied to the receiving unit. This provides power to the device, but this voltage
does not appear on terminals 1 and 2. We propose to connect the neutral network to point N, while the phase
conductor to point L. We recommend to use a fork-type connection with switch for mains connection. Please
turn off the device when not used (eg.summer).
The receiver unit controls the boiler or air conditioner through a zero potential relay whose connection points
are: 1(NO), 2(COM) and 3(NC). Connect the two connection points of the heating or cooling system to be
controlled to terminals No.1(NO) and No.2(COM), normally open terminals of the relay.
If you want to use an old boiler or any other device that has connection points for thermostats, then the 1(NO)
and 2(COM) of the thermostat connection points must be connected to the device power cord, in the same way
to connect a switch.
WARNING! Always consider the load capacity of the receiver and follow the instructions of the
manufacturer of the heating or cooling equipment. The device must be installed and connected by a
qualified professional!

4
The voltage at the terminals No.1 and No.2 depends only on the controller system, the wire size is determined
by the type of device to be controlled. The thread length is not relevant, the receiver can be installed near the
boiler or far from it, but not installed under the housing of the boiler.
If the distance between the transmitter and the receiver is too wide, it will make the wireless (radio frequency)
connection unreliable. Install the receiver as close to the point of thermostat.
How to operate the receiver
Turn on the power of the receiver. After a few seconds, the wireless system (radio-frequency) (thermostat and
receiver unit) turns to operating frequency. To test the system in the heating mode, press the thermostat button
several times, until the set temperature is 2~3 °C higher than room temperature. Later, the icon indicating that
the heating is turned on should appear on the thermostat display in a few seconds. At the same time, the red
LED light on the receiver should turn on to indicate that the receiver has received the command transmitter
(thermostat).
Otherwise the system should be rebooted. So, press the M/A button on the receiver and hold it down (for about
10 seconds) until the green LED starts flashing. Then, remove the back cover of the transmitter, hold the
LEARN button on the PCB board for 3 seconds until the green LED on the receiver stops blinking and turns off,
so that the receiver “recognizes” the transmitter code (thermostat). The code will not be lost even in case of
power failure, the device will automatically store.
Manual receiver control
Press the MANUAL button to separate to the thermostat from the receiver. In this case the boiler or the air
conditioner connected to the receiver can be turned on or off manually without temperature control. Fixed
green light indicates the MANUAL mode. Press the M/A button to activate or deactivate the boiler. (The red
LED lights up when the boiler is on). Press the MANUAL button to stop manual control and resume automatic
operation (thermostat-controlled) (the green LED turns off).

5
ON/OFF button on the receiver
O: OFF
When there is no need to use the thermostat, the users can just turn OFF (by the left side of the receiver) to
power off the receiver and it does not need to remove the front case.
I: ON
The receiver is normal operating;
Notes:
When there is no need to use the thermostat for heating or cooling for some seasons, it is advised to turn off
the receiver to protect the equipment and thermostat, and take out the batteries from the thermostat.
If there is need to start the heating or cooling, you can put in the batteries to the thermostat, turn on the switch
on the receiver, and then press MANUAL on the receiver to turn off the green lights, the receiver now is
controlled by the transmitter (thermostat).
Table of contents
Other Plikc Thermostat manuals