manuals.online logo
Brands
  1. Home
  2. •
  3. Brands
  4. •
  5. Plustek
  6. •
  7. Office Equipment
  8. •
  9. Plustek OpticBook 4900 User manual

Plustek OpticBook 4900 User manual

Connect and Install
Unlock the scanner
Always Unlock
Auto Lock
Plug the USB stick to the computer and
run Install.exe/Plustek BookMaker.dmg
in Windows/Mac folder to install the
scanner.
After the installation is completed, you
can nd the BookMaker icon on the
desktop.
Note:
If you cannot nd the USB stick, you
can nd and download it from:
http://plustek.com/BookMaker/Start
Prepare for Scan Create Document
Make sure the inner book spine is closely leaned on the scanner’s atten edge and
align its starting point at which the “Arrow” sign pointed. Commence to scan by
pressing one of scan buttons on the scanner.
“Color” is recommended for text with graphics (e.g. magazine) or photos
“Gray” (Grayscale) is recommended for documents (e.g. textbook, novel)
“B/W” (Black & White) is recommended for text only (e.g. receipt)
In order to contain and save scanned images, you have to create a document for it.
Choose one of the following methods as below.
[1] Directly click one of the scan buttons on the scanner, then BookMaker will be
brought up onto desktop.
[2] With BookMaker, click one of the scan buttons on the toolbar (upper left).
Note:
By [1] and [2], it will bring up “Create/Select Document” dialog. Please input
document name and click “OK” button.
[3] With BookMaker, click “Create Document” button within eCabinet, input
document name, and then click “Enter” twice or double-click to open it.
Preview, Edit and Export
For each scanned image, you can preview it, zoom in for checking details, and
rotate it, if required, where the scanned images are automatically and virtually saved
within the document folder.
Once all scanned images are well organized, you can export the document as in
PDF (or PDF/A) or “Searchable PDF” le. Otherwise, you can choose “Format” as
in “Original” so that each scanned images shall be exported respectively in BMP or
JPEG. Click “Browse” with “Local Drive” and select the path for saving the le(s),
edit “Document Name”, and the click “Export”.
Note:
“eDoc” is a cloud-based, light-weighted Document Management System developed
and provided by Plustek. With eDoc, you can archive, search and share documents
with team anytime anywhere at ease. Please feel free to contact us for free trial.
OpticBook 4900 / BookMaker
Quick Start Guide
P/NO.: 17-07-2FQ1020-C
1
•Scan QR Code to watch tutorial video
Scan me
Data Capture and Note-taking Scanner Settings
With “Note-taking” on the toolbar, you can capture data within a scanned image.
In “Text Recognition” tab, you can work with “Crop” function on the toolbar and click
“Recognize” button to perform Zonal OCR function based on selected “Language”.
In “Barcode Recognition” tab, you can capture data represented with barcodes by
clicking “Recognize” button.
In “Notes” tab, you can write down whatever your ideas or thoughts along the way of
learning. Click “Save” button so that you can use the information afterwards.
Important notice:
If you will need to nd a document based on its page content, it is necessary
to perform “Text Recognition” and/or “Barcode Recognition” and then save the
result in advance.
In the case you want to change quality for scanned image, you can click “Scanner
Settings” on the toolbar next to scan buttons, where
“File Format” can be BMP (uncompressed) and JPG (compressed),
“Scanner Color” can be True Color, Grayscale, B/W (Black & White),
“Resolution” ranges from 100, 200, 300, 400, 500 to 600,
“Auto Crop” is applied to automatically remove black margin of scanned image,
“Auto Deskew” is applied to automatically adjust skewed scanned images,
“Descreen” can be applied for “Newspaper” or “Magazine”,
“Auto Rotate” is applied to automatically correct orientation of scanned images,
“Bleed-through Removal” is applied to remove noises on background of scanned
images,
“Reset to Defaults” can be applied at any time if you wish to restore the default
settings for “Scanner Color” proles.
Find/Search Document
Click “Search” button to nd a document with one of the options as below.
(1)“Include keyword(s) appears in all of the elds”: only nd a document with
matched keyword(s) appears in all of the selected leds.
(2)“Include keyword(s) appears in any of the elds”: nd a document with matched
keyword(s) appears in any of the selected leds.
(3)“Exclude keyword(s) appears in any of the elds”, only nd a document without
matched keyword(s) appears in any of the selected leds.
Scope of eld:
Display Name includes document, folder and page names
OCR’ed Text covers all document pages that have content in “Text Recognition” tab
BCR’ed Text covers all document pages that have content in “Barcode Recognition”
tab
Note covers all document pages that have content in “Notes” tab
Troubleshooting
FAQ 1: The scanner buttons are not working.
Solutions:
The scanner will enter the standby mode after it is idle for a while. Simply press any
scanner buttons on the scanner and it will be available again.
Technical Support
USA/Canada
Service Hours (Except National Holiday): Monday to Friday, 9AM to 5:30PM Pacic
Time
Tel.: 714-670-7713
Web: https://plustek.com/usa/support/

Other manuals for OpticBook 4900

1

Other Plustek Office Equipment manuals

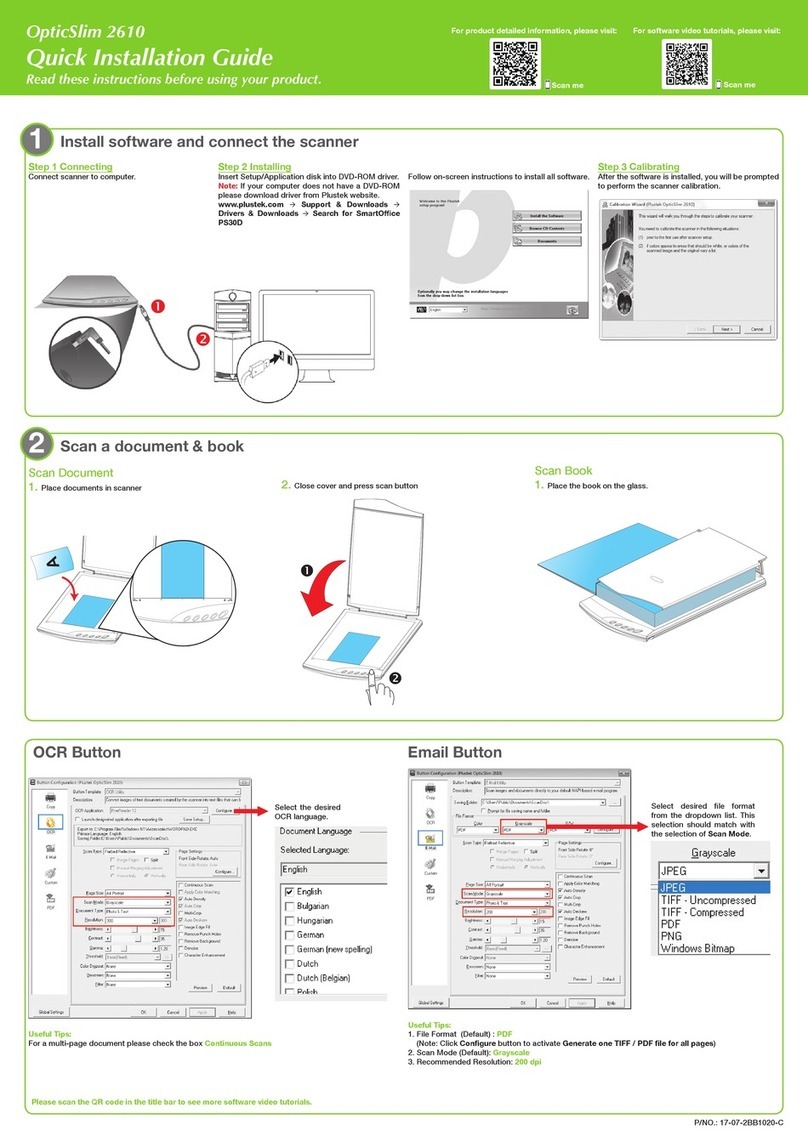
Plustek OpticSlim 2610 User manual

Plustek

Plustek OpticSlim 2610 User manual

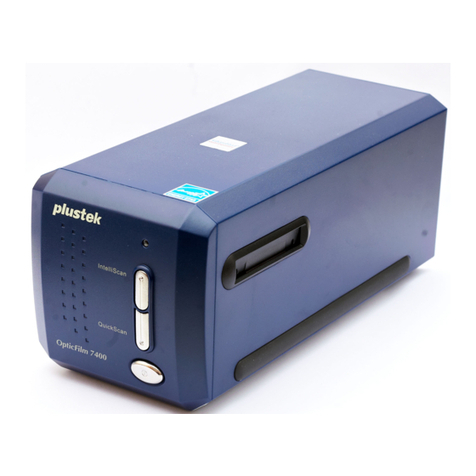
Plustek OPTICFILM 7400 - User manual

Plustek

Plustek OPTICFILM 7400 - User manual

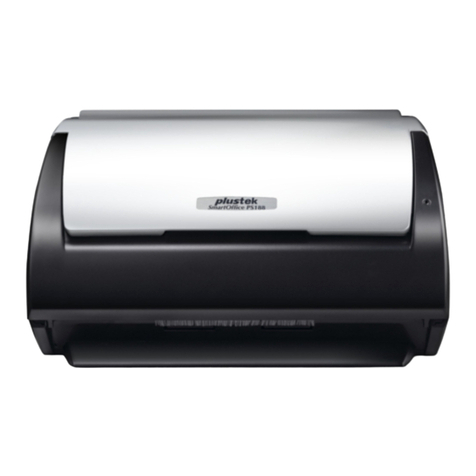
Plustek SmartOffice PS186 User manual

Plustek

Plustek SmartOffice PS186 User manual

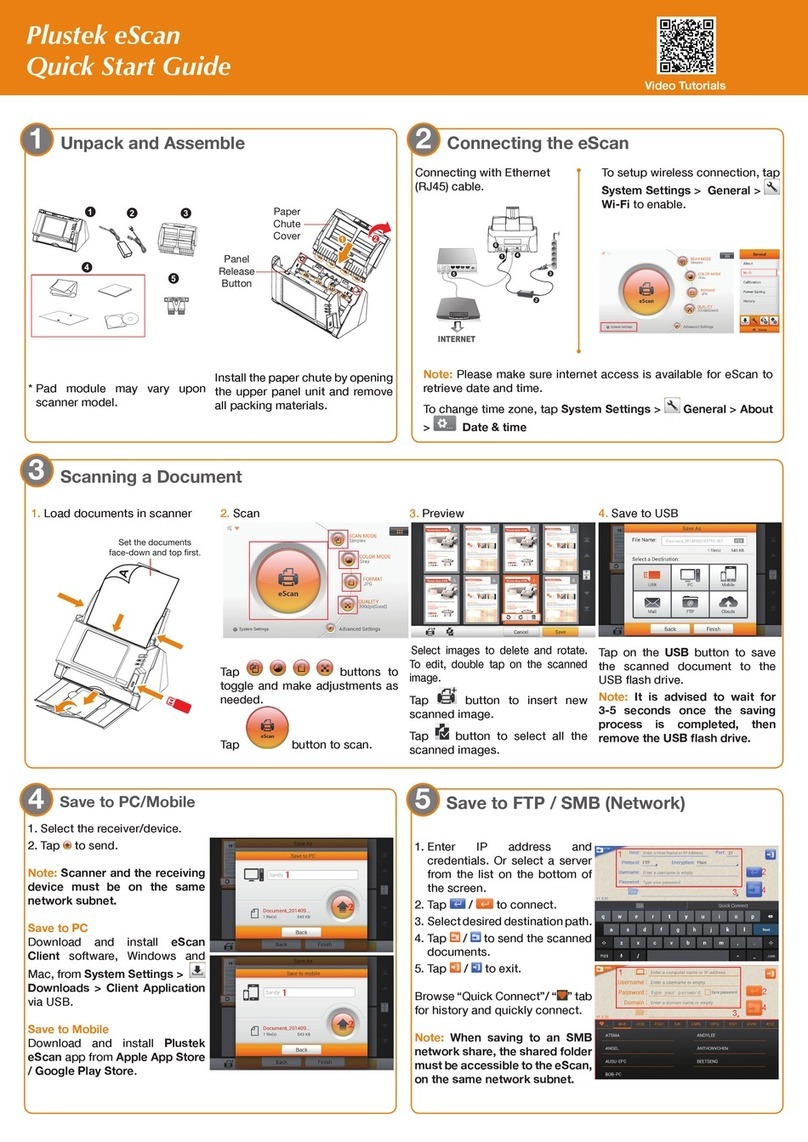
Plustek eScan User manual

Plustek

Plustek eScan User manual

Popular Office Equipment manuals by other brands

BuzziSpace BuzziNest Booth owner's manual

BuzziSpace

BuzziSpace BuzziNest Booth owner's manual

AMQ Amobi Desk One Setup and user guide

AMQ

AMQ Amobi Desk One Setup and user guide

Steelcase Avenir PAB-3 manual

Steelcase

Steelcase Avenir PAB-3 manual

Sharp EL-6230 Operation manual

Sharp

Sharp EL-6230 Operation manual

J.Burrows JBSHAD18WW Assembly instructions

J.Burrows

J.Burrows JBSHAD18WW Assembly instructions

UMI M21 installation guide

UMI

UMI M21 installation guide

LDI Safco TAMP48 instructions

LDI

LDI Safco TAMP48 instructions

Uplift Desk Lady Bird Standing Desk Converter UDA124 instructions

Uplift Desk

Uplift Desk Lady Bird Standing Desk Converter UDA124 instructions

MOB MESSAGE ME user manual

MOB

MOB MESSAGE ME user manual

Steelcase Elective Elements Freestanding Corner... manual

Steelcase

Steelcase Elective Elements Freestanding Corner... manual

hushoffice hushwork HUS-BX-009 Maintenance and safety manual

hushoffice

hushoffice hushwork HUS-BX-009 Maintenance and safety manual

Honeywell 7222 owner's manual

Honeywell

Honeywell 7222 owner's manual

OCEE DESIGN SASS-0096 Assembly instructions

OCEE DESIGN

OCEE DESIGN SASS-0096 Assembly instructions

VITRA Stefan Hürlemann Dancing Wall Assembly instructions

VITRA

VITRA Stefan Hürlemann Dancing Wall Assembly instructions

Zenbooth Quad Build instructions

Zenbooth

Zenbooth Quad Build instructions

Vicoustic VicOffice Desk Lat installation manual

Vicoustic

Vicoustic VicOffice Desk Lat installation manual

SnapCab Meet 6 manual

SnapCab

SnapCab Meet 6 manual

Anviz FacePass Pro user manual

Anviz

Anviz FacePass Pro user manual

manuals.online logo
manuals.online logoBrands
  • About & Mission
  • Contact us
  • Privacy Policy
  • Terms and Conditions

Copyright 2025 Manuals.Online. All Rights Reserved.