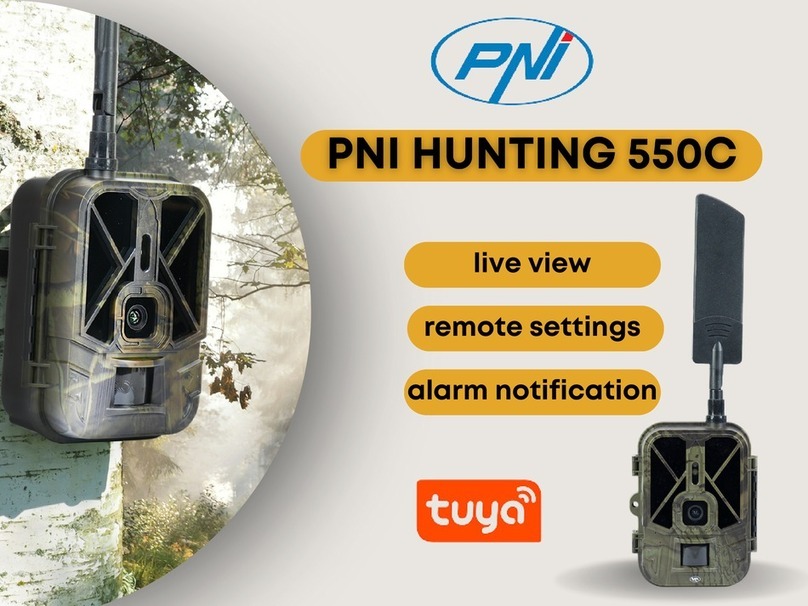
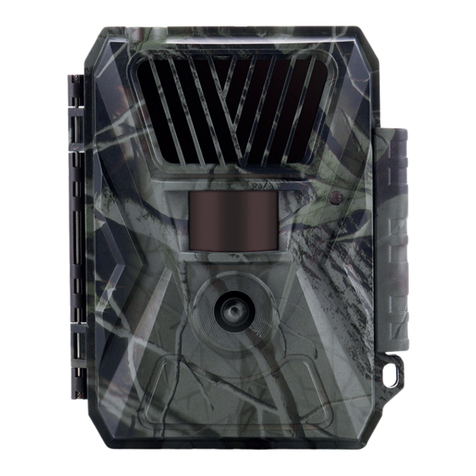
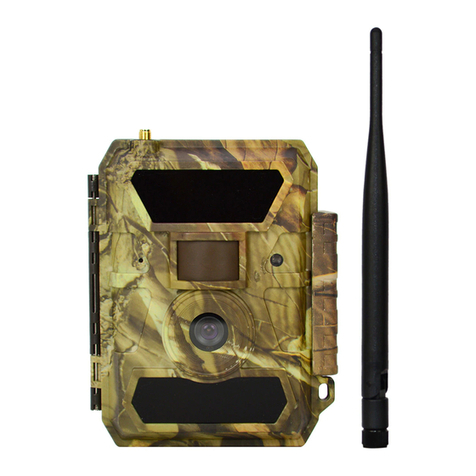
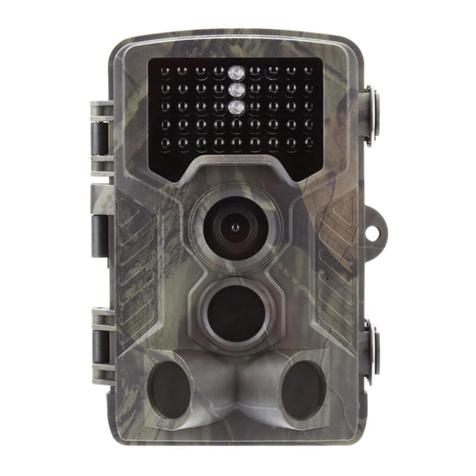
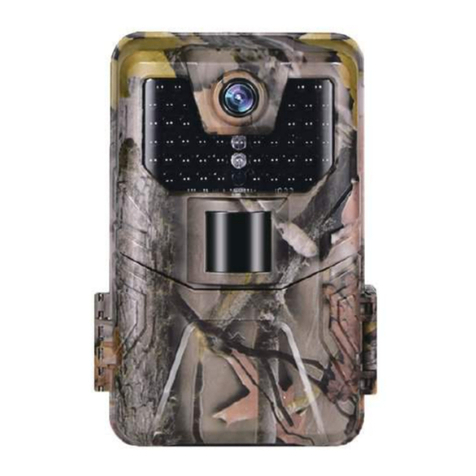
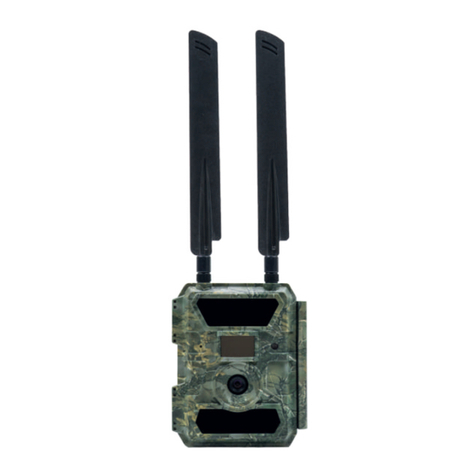
PNI Hunting 250C User manual

PNI Hunting 250C
4G Hunting Camera / 4G ловна камера / 4G-Jagdkamera /
Cámara de caza 4G / Caméra de chasse 4G / 4G vadászkamera
/ Telecamera da caccia 4G / 4G jachtcamera / Kamera
myśliwska 4G / Camera vanatoare 4G

EN User manual ......................................................... 3
BG Ръководство за употреба ............................. 11
DE Benutzerhandbuch .............................................. 19
ES Manual de usuario ............................................... 27
FR Manuel utilisateur ............................................... 35
HU Használati utasítás .............................................. 43
IT Manuale utente .................................................. 51
NL Handleiding ........................................................ 59
PL Instrukcja obsługi ............................................... 67
RO Manual de utilizare ............................................. 75

User manual - 3
Safety warnings
• This hunting camera uses 3 x 18650 batteries. Do not use
other types of batteries or alkaline batteries and do not use
batteries with dierent charging stages. When fully charged,
it is expected to wake up up to 2000 times from the standby
state. When the batteries are discharged, you will be warned in
the mobile application. Change the batteries in time.
• If you do not use the hunting camera for a long period of time,
remove the batteries from the device.
• Install a class 10 micro SD card into the camera. Format the
card before the first use.
• In order not to damage the micro SD card and not to lose the
data stored on it, insert or remove the card from the camera
only when the camera is turned o.
• In order not to trigger false alarms, do not install the camera in
areas with thick vegetation and with strong winds on a regular
basis.
• Do not install the camera in direct sunlight.
• Make sure you have a good GSM signal in the location where
you install the hunting camera. If the signal is weak, we
recommend you to change the location.
Instructions for use
Installation of batteries, micro SD card and SIM
Before using the hunting camera, install the batteries, the micro
SD card and the SIM card.
Open the cover on the battery compartment located at the bottom
of the hunting camera and insert the three 18650 rechargeable
batteries included in the package. In order not to short-circuit the
terminals, observe the polarity indicated on the housing.
User manual - 4
Remove the protective cover located on the side of the camera and
insert a micro SD card and a SIM card into the dedicated slots.
Note: Do not insert or remove the card or SIM card while the
camera is in operation.
Device introduction

User manual - 5
1. Signal indicator
2. Reset button
3. Micro SD card slot
4. SIM card slot
5. Micro USB port
6. On/o button
7. Battery charge indicator
8. Connection status indicator
LED indicators
Battery charging indicator - While the batteries are charging, the
LED is red. When the batteries are fully charged, the LED turns
green.
Connection status indicator:
The blue LED is on - the camera has connected to the GSM network
The blue LED is flashing - the camera has not connected to the
GSM network. Press the Reset button for 5 seconds and wait for
the camera to connect.
The blue and red LEDs flash quickly alternately - the SIM card is
not recognized by the camera or the SIM card is missing.
The blue and red LEDs blink infrequently (at 2 second intervals)
alternately -
The blue and red LEDs flash at the same time (one second apart)
- incorrect APN
The red LED is on - the GSM signal is weak.
The green LED is on - the GSM signal is strong.
The blue LED is on - the GSM signal is normal.
On/o button
When the button is downward, the camera is turned o.
When the button is in the middle position, the camera is in photo
monitoring mode.
When the button is upward, the camera is in video monitoring
mode.

User manual - 6
Camera configuration using UCon app
1. Download the UCon
application from Google Pay
or the App Store or scan the
attached QR code:
2. Open the application, register and log in.
3. In the main interface of the application, click on “Add a device”,
then click on the option “Setup 4G Device” and on “Next”.
Note: to configure the camera, you can also follow the voice
prompts in the application.
4. Scan the QR code on the label stuck on the camera.
5. After connecting the camera, choose a name and a location.
6. You will receive the message “Camera installed successfully.
Fully charge the camera at first use”.
7. If the status of the camera is Online, click on the camera to live
view the images taken by it.

User manual - 7
Settings menu
Press the icon from the top right corner to access the camera
settings menu:

User manual - 8
1. Device name
2. Operating mode:
Options:
• Dual way - see the images taken by the camera directly, but
you can also access video recordings or photos
• One way - you only have access to the recordings on the card
installed in the camera or saved in the Cloud (charged service).
3. Image rotation
Options:
• Normal
• Rotate - the image rotates 180°
• Reflection - the image is reflected vertically
• Reflection and rotation - the image is rotated 180° and
reflected vertically.
4. Storage card:
Options:
• Activate/deactivate the saving of recordings in the Cloud
(paid service)
• View the available space on the micro SD card installed in the
camera.
• Format the micro SD card.
5. Scene mode:

User manual - 9
Options:
• Normal - the image is in color
• Night mode - the IR LEDs light up, the image is in black/white.
6. PIR trigger interval. Select the delay between two motion
detections. Options: No delay, 10 sec., 30 sec., 1 minute, 3
minutes, 5 minutes.
7. Motion detection sensitivity. Options: high, medium and low
sensitivity.
8. Video recording file duration. Options: 5 sec., 10 sec., 20 sec.,
30 sec.
9. Frequency. Options: 50Hz, 60Hz.
10. LED indicators. Activate or deactivate the LED indicators
below the micro SD card slot and the one below the on/o
button.
11. Time synchronization.
12. Retry connection. If it does not detect movement for a long
time, the camera goes into standby. In this state, the camera
status appears Oine. You can set the “wake-up” period, to
reconnect the camera. Options: 1 hour, 2 hours, 4 hours, 8
hours, 16 hours.
13. Device information: Model, firmware version, 4G module
version.
14. Firmware update.
Technical specifications
Photo resolution 5120x2880
Video resolution 2560x1440
Video format MP4
Photo format JPG
Memory card supported Micro SD maximum 128GB
(not included)

User manual - 10
USB port Type C
Power supply 3 x battery type 18650 3.7V
7500mAh
Current consumption In standby 3mA, in alarm
350mA
IR LEDs 4
IR distance up to 20 m
Microphone incorporated
Loudspeaker incorporated
PIR trigger delay 10 sec. - 5 min
PIR sensor sensitivity Hi / Medium / Low
Video file length 5 sec. - 30 sec.
PIR angle 110°
PIR distance up to 10 - 20 m
Field of view (FOV) 120°
Shutter speed 0.5 sec
GSM frequency
4G FDD-LTE B1 B3 B5 B7
B20
3G WCDMA B1 B5 B8
2G GSM
850/900/1800/1900
Operating temperature -26°C ~ +80°C
Dimensions 75 x 135 x 60 mm
Antenna length 135 mm
Weight 349 gr

Ръководство за употреба - 11
Предупреждения за безопасност
• Тази ловна камера използва 3 x 18650 батерии. Не
използвайте други видове батерии или алкални
батерии и не използвайте батерии с различни степени
на зареждане. При пълно зареждане се очаква да се
събуди до 2000 пъти от състояние на готовност. Когато
батериите са изтощени, ще бъдете предупредени в
мобилното приложение. Сменяйте батериите навреме.
• Ако не използвате ловната камера за дълъг период от
време, извадете батериите от уреда.
• Инсталирайте micro SD карта от клас 10 във фотоапарата.
Форматирайте картата преди първата употреба.
• За да не повредите micro SD картата и да не загубите
записаните на нея данни, поставяйте или изваждайте
картата от камерата само когато камерата е изключена.
• За да не задействате фалшиви аларми, не инсталирайте
камерата в райони с гъста растителност и със силен
вятър редовно.
• Не инсталирайте камерата на пряка слънчева светлина.
• Уверете се, че имате добър GSM сигнал на мястото,
където инсталирате ловната камера. Ако сигналът е
слаб, препоръчваме ви да смените местоположението.
Инструкции за употреба
Монтаж на батерии, micro SD карта и SIM
Преди да използвате ловната камера, поставете батериите,
micro SD картата и SIM картата.
Отворете капака на отделението за батерии, разположено
в долната част на ловната камера, и поставете трите
акумулаторни батерии 18650, включени в опаковката. За да
не предизвикате късо съединение на клемите, спазвайте
полярността, указана на корпуса.

Ръководство за употреба - 12
Отстранете защитното покритие, разположено отстрани
на камерата, и поставете micro SD карта и SIM карта в
специалните гнезда.
Забележка: Не поставяйте и не изваждайте картата или SIM
картата, докато камерата работи.
Въвеждане на устройството

Ръководство за употреба - 13
1. Индикатор за сигнал
2. Бутон за нулиране
3. Слот за микро SD карта
4. Слот за SIM карта
5. Micro USB порт
6. Бутон ВКЛ / ИЗКЛ
7. Индикатор за зареждане
на батерията
8. Индикатор за състояние
на връзката
LED индикатори
Индикатор за зареждане на батерията - докато батериите се
зареждат, светодиодът свети в червено. Когато батериите
са напълно заредени, светодиодът светва зелено.
Индикатор за състояние на връзката:
Синият светодиод свети - камерата се е свързала с GSM
мрежата
Синият светодиод мига - камерата не се е свързала с GSM
мрежата. Натиснете бутона Reset за 5 секунди и изчакайте
камерата да се свърже.
Сините и червените светодиоди мигат бързо последователно
- SIM картата не се разпознава от камерата или SIM картата
липсва.
Сините и червените светодиоди мигат рядко (на интервали
от 2 секунди) последователно -
Синият и червеният светодиод мигат едновременно (с
интервал от една секунда) - неправилно APN
Червеният светодиод свети - GSM сигналът е слаб.
Зеленият светодиод свети - GSM сигналът е силен.
Синият светодиод свети - GSM сигналът е нормален.
Бутон ВКЛ / ИЗКЛ
Когато бутонът е надолу, камерата е изключена.
Когато бутонът е в средна позиция, камерата е в режим на
фото наблюдение.
Когато бутонът е нагоре, камерата е в режим на видео
наблюдение.

Ръководство за употреба - 14
Конфигуриране на камера с помощта на UCon
1. Изтеглете приложението
UCon от Google Pay или
App Store или сканирайте
приложения QR код:
2. Отворете приложението, регистрирайте се и влезте.
3. В основния интерфейс на приложението щракнете върху
„Add a device“, след това щракнете върху опцията „Setup 4G
Device“ и върху „Next“.
Забележка: за да конфигурирате камерата, можете също да
следвате гласовите указания в приложението.
4. Сканирайте QR кода върху етикета, залепен на камерата.
5. След като свържете камерата, изберете име и
местоположение.
6. Ще получите съобщение „Camera installed successfully.
Fully charge the camera at rst use”.
7. Ако състоянието на камерата е Онлайн, щракнете върху
камерата, за да прегледате изображенията, направени от
нея.

Ръководство за употреба - 15
Меню с настройки
Натиснете иконата от горния десен ъгъл за достъп до
менюто с настройки на камерата:

Ръководство за употреба - 16
1. Име на устройството
2. Режим на работа:
Настроики:
• Dual way - вижте изображенията, заснети от камерата
директно, но можете също да получите достъп до
видео записи или снимки
• One way - имате достъп само до записите на картата,
инсталирана в камерата или записана в Cloud (услугата
се заплаща).
3. Завъртане на изображението
Настроики:
• нормално
• Завъртане - изображението се завърта на 180°
• Отражение - изображението се отразява вертикално
• Отражение и завъртане - изображението се завърта на
180° и се отразява вертикално..
4. Карта за съхранение:
Настроики:
• Активиране/деактивиране на запазването на записи в
облака (платена услуга)
• Вижте наличното място на микро SD картата,
инсталирана във фотоапарата.
• Форматирайте micro SD картата.

Ръководство за употреба - 17
5. Сценен режим:
Настроики:
• Normal - изображението е цветно
• Нощен режим - IR светодиодите светят, изображението
е черно/бяло.
6. Интервал на задействане на PIR. Изберете закъснението
между две детекции на движение. Опции: Без забавяне,
10 сек., 30 сек., 1 минута, 3 минути, 5 минути.
7. Чувствителност при детекция на движение. Опции:
висока, средна и ниска чувствителност.
8. Продължителност на файла за видеозапис. Опции: 5
сек., 10 сек., 20 сек., 30 сек.
9. Честота. Опции: 50Hz, 60Hz.
10. LED индикатори. Активирайте или деактивирайте LED
индикаторите под слота за micro SD карта и този под
бутона за включване/изключване.
11. Времева синхронизация.
12. Повторен опит за свързване. Ако не засече движение
за дълго време, камерата преминава в режим на
готовност. В това състояние състоянието на камерата
се появява Офлайн. Можете да зададете периода на
„събуждане“, за да свържете отново камерата. Опции:
1 час, 2 часа, 4 часа, 8 часа, 16 часа.
13. Информация за устройството: Модел, версия на
фърмуера, версия на 4G модула.
14. Актуализация на фърмуера.
Технически спецификации
Разделителна способност
на снимката 5120x2880
Видео резолюция 2560x1440
Видео формат MP4

Ръководство за употреба - 18
Формат на снимката JPG
Поддържа се карта с памет Micro SD максимум 128GB
(не е включена)
USB порт Тип C
Захранване 3 x батерия тип 18650 3.7V
7500mAh
Консумация на ток В режим на готовност 3mA,
в аларма 350mA
IR светодиоди 4
IR разстояние до 20м
Микрофон инкорпориран
Високоговорител инкорпориран
Забавяне на задействането
на PIR 10 сек. - 5 минути
Чувствителност на PIR
сензора Голям/Среден/Малък
Дължина на видео файла 5 sec. - 30 sec.
PIR ъгъл 110°
PIR разстояние up to 10 - 20 m
Зрително поле (FOV) 120°
Скорост на затвора 0.5 sec
GSM честота
4G FDD-LTE B1 B3 B5 B7 B20
3G WCDMA B1 B5 B8
2G GSM 850/900/1800/1900
Работна температура -26°C ~ +80°C
Размери 75 x 135 x 60 mm
Дължина на антената 135 mm
Тегло 349 gr

Benutzerhandbuch - 19
Sicherheitswarnungen
• Diese Jagdkamera verwendet 3 x 18650-Batterien.
Verwenden Sie keine anderen Batterietypen oder
Alkalibatterien und keine Batterien mit unterschiedlichen
Ladestufen. Bei voller Aufladung wird es voraussichtlich bis
zu 2000 Mal aus dem Standby-Zustand aufwachen. Wenn
die Batterien entladen sind, werden Sie in der mobilen
Anwendung gewarnt. Wechseln Sie rechtzeitig die Batterien.
• Wenn Sie die Jagdkamera längere Zeit nicht benutzen,
entfernen Sie die Batterien aus dem Gerät.
• Installieren Sie eine Micro-SD-Karte der Klasse 10 in der
Kamera.FormatierenSiedieKartevordererstenVerwendung.
• Um die Micro-SD-Karte nicht zu beschädigen und die darauf
gespeicherten Daten nicht zu verlieren, legen Sie die Karte
nur bei ausgeschalteter Kamera in die Kamera ein oder
entfernen Sie sie.
• Um keine Fehlalarme auszulösen, installieren Sie die Kamera
nicht in Gebieten mit dichter Vegetation und regelmäßig
starkem Wind.
• Installieren Sie die Kamera nicht in direktem Sonnenlicht.
• Stellen Sie sicher, dass an dem Ort, an dem Sie die
Jagdkamera installieren, ein gutes GSM-Signal vorhanden ist.
Bei schwachem Signal empfehlen wir Ihnen, den Standort zu
wechseln.
Gebrauchsanweisung
Installation von Batterien, Micro-SD-Karte und SIM
Bevor Sie die Jagdkamera verwenden, legen Sie die Batterien, die
Micro-SD-Karte und die SIM-Karte ein.
Önen Sie die Abdeckung des Batteriefachs an der Unterseite der
Jagdkamera und legen Sie die drei im Lieferumfang enthaltenen
18650-Akkus ein. Um einen Kurzschluss der Klemmen zu

Benutzerhandbuch - 20
vermeiden, beachten Sie die auf dem Gehäuse angegebene
Polarität.
Entfernen Sie die Schutzabdeckung an der Seite der Kamera und
legen Sie eine Micro-SD-Karte und eine SIM-Karte in die dafür
vorgesehenen Steckplätze ein.
Hinweis: Legen Sie die Karte oder SIM-Karte nicht ein oder
entfernen Sie sie, während die Kamera in Betrieb ist.
Geräteeinführung
Table of contents
Languages:
Other PNI Scouting Camera manuals

PNI
PNI Hunting 400C User manual

PNI
PNI Hunting 400C User manual

PNI
PNI Hunting 550C User manual

PNI
PNI HUNTING 280C User manual

PNI
PNI HUNTING 280C User manual

PNI
PNI Hunting 2C 8MP User manual

PNI
PNI Hunting 350C User manual

PNI
PNI Hunting 3C User manual

PNI
PNI Hunting 3C / 300C User manual

PNI
PNI HUNTING 480C User manual