manuals.online logo
Brands
  1. Home
  2. •
  3. Brands
  4. •
  5. porada
  6. •
  7. Indoor Furnishing
  8. •
  9. porada Odino Oval User manual

porada Odino Oval User manual

ODINO OVALE
Design: Molteni & Baron
Istruzioni di montaggio (APPESO A PARETE)
Assembly-instruction (HUNG ON THE WALL)
1
Rispettare la posizione dei tasselli da fissare alla parete, verificando le misure indicate nel disegno.
In order to fix the dowels in the correct position, make sure that the dimensions correspond to those shown above in the drawing.
FLOOR
15,5 CM 69 CM 15,5 CM
MIN 196 CM
47 KG
PESO SPECCHIO
MIRROR WEIGHT
Segnare e praticare i 2 fori, verificandone l’allineamento orizzontale, in modo da fissare i tasselli in dotazione alla parete. Verificare che i tasselli
in dotazione siano adatti al tipo di parete alla quale verrà fissato il supporto, altrimenti provvedere alla sostituzione con materiale idoneo.
Mark and drill the 2 holes, verifying horizontal alignment to the floor, in order fix the dowels supplied the wall . Please check that the hardware
supplied is suitable for the wall the mirror will be hung on.
2
MIN 196 CM
2x
69 CM
ATTENZIONE: È SCONSIGLIATO APPENDERE LO
SPECCHIO A PARETI IN CARTONGESSO. IN TAL CASO,
È SUGGERITO L’APPOGGIO A PAVIMENTO.
CAUTION: IT IS NOT RECOMMENDED TO HANG THE
MIRROR ON DRYWALL. IN THAT CASE, THE MIRROR
SHOULD PLACED LEANING ON THE WALL
!
3
Agganciare lo specchio alla parete inserendo i ganci precedentemente fissati nelle rispettive sedi poste sul lato posteriore della cornice.
Hang the mirror on the wall by inserting the previously fixed hooks in the respective holes on the back of the wooden frame.
(2x)
PORADA Arredi s.r.l. - 22060 Cabiate - Italia - via Buozzi, 2 - Tel. +39 031 766215 - Fax +39 031 768386 - [email protected] - www.porada.it
ODINO OVALE
Design: Molteni & Baron
Istruzioni di montaggio (APPOGGIO A PAVIMENTO)
Assembly-instruction (LEANED ON THE WALL)
1
Rispettare la posizione dei tasselli da fissare alla parete, verificando le misure indicate nel disegno.
In order to fix the dowels in the correct position, make sure that the dimensions correspond to those shown above in the drawing.
FLOOR
190 CM
20 CM
ESCLUSI EVENTUALI ZOCCOLINI
EXCLUDING SKIRTING (IF PRESENT)
15,5 CM 69 CM 15,5 CM
47 KG
PESO SPECCHIO
MIRROR WEIGHT
2
Segnare e praticare i 2 fori, verificandone l’allineamento orizzontale, in modo da fissare i tasselli in dotazione alla parete. Verificare che i tasselli
in dotazione siano adatti al tipo di parete alla quale verrà fissato il supporto, altrimenti provvedere alla sostituzione con materiale idoneo.
Mark and drill the 2 holes, verifying horizontal alignment to the floor, in order fix the dowels supplied the wall . Please check that the hardware
supplied is suitable for the wall the mirror will be hung on.
190 CM
2x
69 CM
Agganciare lo specchio alla parete inserendo i ganci precedentemente fissati nelle rispettive sedi poste sul lato posteriore della cornice.
Regolare la posizione tramite i livellatori.
Hang the mirror on the wall by inserting the previously fixed hooks in the respective holes on the back of the wooden frame. Adjust the
position with the levelling feet.
3
20 cm
+/- 1,5 cm
(2x)
REGOLAZIONE LIVELLATORI
LEVELLING FEET ADJUSTMENT
LIVELLATORI
LEVELLING FEET
PORADA Arredi s.r.l. - 22060 Cabiate - Italia - via Buozzi, 2 - Tel. +39 031 766215 - Fax +39 031 768386 - [email protected] - www.porada.it
ODINO TONDO
Design: Molteni & Baron
Istruzioni di montaggio (APPESO A PARETE)
Assembly-instruction (HUNG ON THE WALL)
1
Rispettare la posizione dei tasselli da fissare alla parete, verificando le misure indicate nel disegno.
In order to fix the dowels in the correct position, make sure that the dimensions correspond to those shown above in the drawing.
FLOOR
15,5 CM 165 CM 15,5 CM
MIN 196 CM
93 KG
PESO SPECCHIO
MIRROR WEIGHT
Segnare e praticare i 2 fori, verificandone l’allineamento orizzontale, in modo da fissare i tasselli in dotazione alla parete. Verificare che i tasselli
in dotazione siano adatti al tipo di parete alla quale verrà fissato il supporto, altrimenti provvedere alla sostituzione con materiale idoneo.
Mark and drill the 2 holes, verifying horizontal alignment to the floor, in order fix the dowels supplied the wall . Please check that the hardware
supplied is suitable for the wall the mirror will be hung on.
2
MIN 196 CM
2x
ATTENZIONE: È SCONSIGLIATO APPENDERE LO
SPECCHIO A PARETI IN CARTONGESSO. IN TAL CASO,
È SUGGERITO L’APPOGGIO A PAVIMENTO.
CAUTION: IT IS NOT RECOMMENDED TO HANG THE
MIRROR ON DRYWALL. IN THAT CASE, THE MIRROR
SHOULD PLACED LEANING ON THE WALL
!
165 CM
3
Agganciare lo specchio alla parete inserendo i ganci precedentemente fissati nelle rispettive sedi poste sul lato posteriore della cornice.
Hang the mirror on the wall by inserting the previously fixed hooks in the respective holes on the back of the wooden frame.
(2x)
PORADA Arredi s.r.l. - 22060 Cabiate - Italia - via Buozzi, 2 - Tel. +39 031 766215 - Fax +39 031 768386 - [email protected] - www.porada.it
ODINO TONDO
Design: Molteni & Baron
Istruzioni di montaggio (APPOGGIO A PAVIMENTO)
Assembly-instruction (LEANED ON THE WALL)
1
Rispettare la posizione dei tasselli da fissare alla parete, verificando le misure indicate nel disegno.
In order to fix the dowels in the correct position, make sure that the dimensions correspond to those shown above in the drawing.
FLOOR
190 CM
15,5 CM 165 CM 15,5 CM
20 CM
ESCLUSI EVENTUALI ZOCCOLINI
EXCLUDING SKIRTING (IF PRESENT)
93 KG
PESO SPECCHIO
MIRROR WEIGHT
2
Segnare e praticare i 2 fori, verificandone l’allineamento orizzontale, in modo da fissare i tasselli in dotazione alla parete. Verificare che i tasselli
in dotazione siano adatti al tipo di parete alla quale verrà fissato il supporto, altrimenti provvedere alla sostituzione con materiale idoneo.
Mark and drill the 2 holes, verifying horizontal alignment to the floor, in order fix the dowels supplied the wall . Please check that the hardware
supplied is suitable for the wall the mirror will be hung on.
190 CM
2x
165 CM
Agganciare lo specchio alla parete inserendo i ganci precedentemente fissati nelle rispettive sedi poste sul lato posteriore della cornice.
Regolare la posizione tramite i livellatori.
Hang the mirror on the wall by inserting the previously fixed hooks in the respective holes on the back of the wooden frame. Adjust the
position with the levelling feet.
3
20 cm
+/- 1,5 cm
(2x)
REGOLAZIONE LIVELLATORI
LEVELLING FEET ADJUSTMENT
LIVELLATORI
LEVELLING FEET
PORADA Arredi s.r.l. - 22060 Cabiate - Italia - via Buozzi, 2 - Tel. +39 031 766215 - Fax +39 031 768386 - [email protected] - www.porada.it

Other porada Indoor Furnishing manuals
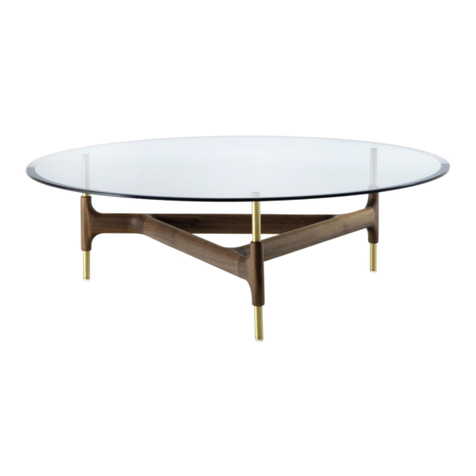
porada ALAN TONDO 3 GAMBE User manual

porada

porada ALAN TONDO 3 GAMBE User manual

porada ZIGGY BED BALDACCHINO User manual

porada

porada ZIGGY BED BALDACCHINO User manual

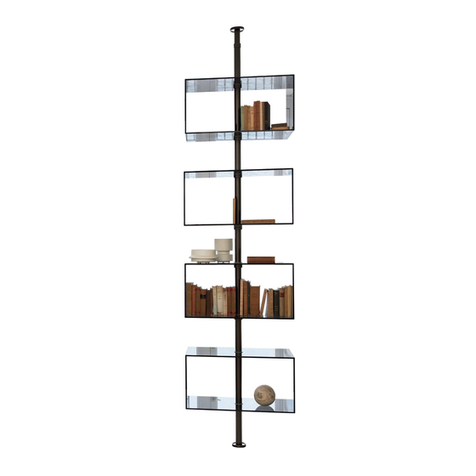
porada MYRIA Myria Bookcase Composition E User manual

porada

porada MYRIA Myria Bookcase Composition E User manual

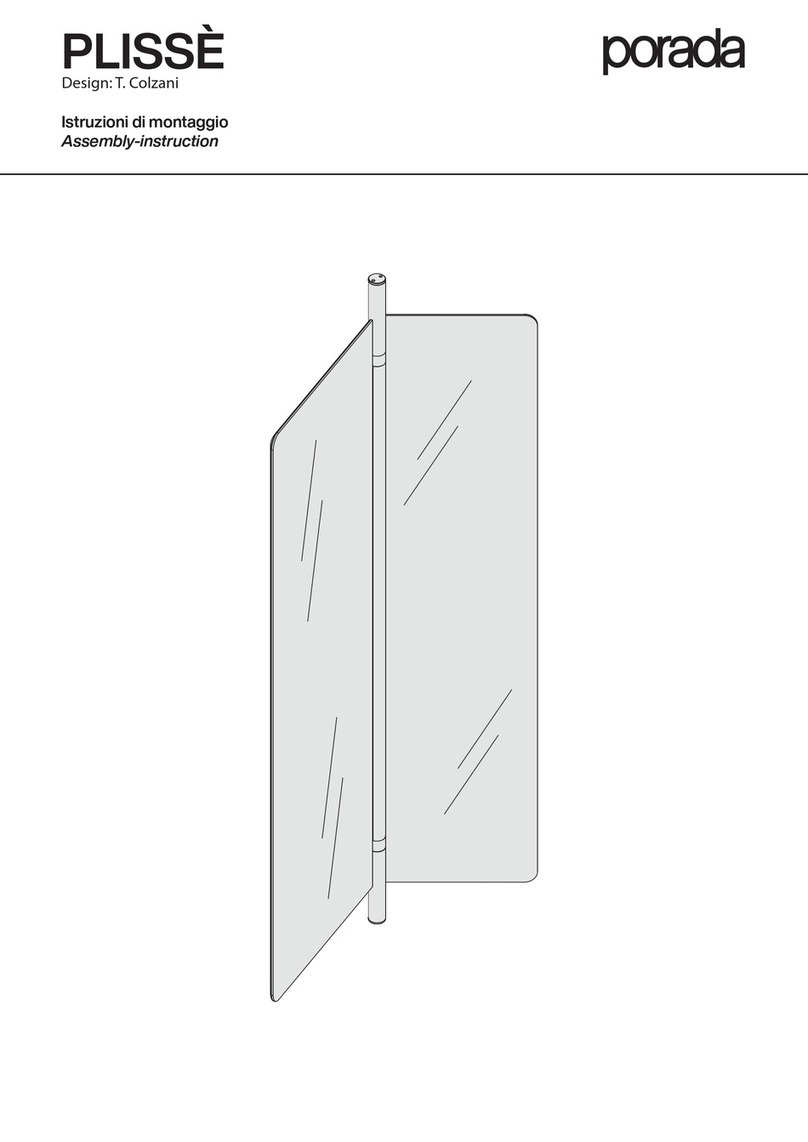
porada PLISSE User manual

porada

porada PLISSE User manual

porada JOINT 120 C User manual

porada

porada JOINT 120 C User manual
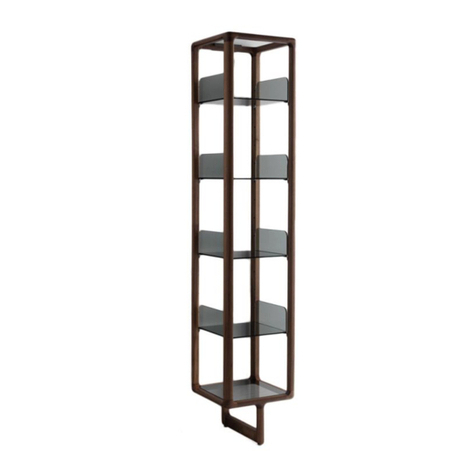
porada MARY User manual

porada

porada MARY User manual

porada NYAN User manual

porada

porada NYAN User manual

porada ABACUS User manual

porada

porada ABACUS User manual

porada BAYUS 5 User manual

porada

porada BAYUS 5 User manual

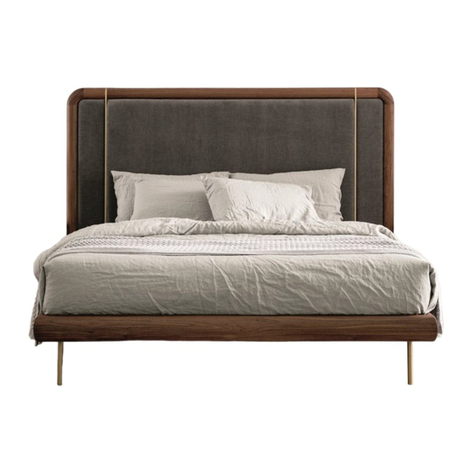
porada KILLIAN 130 User manual

porada

porada KILLIAN 130 User manual

porada GIOLINO User manual

porada

porada GIOLINO User manual

porada FLAVIO Office Desk 16985 User manual
porada

porada FLAVIO Office Desk 16985 User manual

porada ZIGGY 17313 User manual

porada

porada ZIGGY 17313 User manual

porada THAYL 160 User manual

porada

porada THAYL 160 User manual

porada ALAN BOTTE 4 GAMBE User manual

porada

porada ALAN BOTTE 4 GAMBE User manual

porada DOMINO User manual

porada

porada DOMINO User manual

Popular Indoor Furnishing manuals by other brands

Mocka Mikkel Assembly instructions

Mocka

Mocka Mikkel Assembly instructions

Epoch Design Dakota 5104 DA-TT-BB-WH manual

Epoch Design

Epoch Design Dakota 5104 DA-TT-BB-WH manual

fantastic furniture NIVA Desk 1 Drawer manual

fantastic furniture

fantastic furniture NIVA Desk 1 Drawer manual

Steelcase 9000 Series Assembly Directions

Steelcase

Steelcase 9000 Series Assembly Directions

The Galley Ideal Workstation IWS 7S installation guide

The Galley

The Galley Ideal Workstation IWS 7S installation guide

VECELO KHD-XF-NS04 Assembly instructions

VECELO

VECELO KHD-XF-NS04 Assembly instructions

U-Line H-3630 Assembly instructions

U-Line

U-Line H-3630 Assembly instructions

Oka DL1 Q50 Desk Assembly instructions

Oka

Oka DL1 Q50 Desk Assembly instructions

KI Altus Mesh Back Task Chairs Repair & Replacement Instructions

KI

KI Altus Mesh Back Task Chairs Repair & Replacement Instructions

Presto Lifts TT Installation, operation and service manual

Presto Lifts

Presto Lifts TT Installation, operation and service manual

Homelegance Ameillia 586S Assembly instruction

Homelegance

Homelegance Ameillia 586S Assembly instruction

Furniture of America CM7382T Assembly instructions

Furniture of America

Furniture of America CM7382T Assembly instructions

CAR COVERS and SHELTER OZ SHADE STABLE Assembly instructions

CAR COVERS and SHELTER

CAR COVERS and SHELTER OZ SHADE STABLE Assembly instructions

Displays2go LCKDPZTRBK2 Assembly instructions

Displays2go

Displays2go LCKDPZTRBK2 Assembly instructions

Cool Kids Furniture 4210 Assembly instructions

Cool Kids Furniture

Cool Kids Furniture 4210 Assembly instructions

WASHTOWER WSCH207-60 Assembling Instruction

WASHTOWER

WASHTOWER WSCH207-60 Assembling Instruction

American Standard 012087-0070A parts list

American Standard

American Standard 012087-0070A parts list

Lakeland CFU139 Assembly instructions

Lakeland

Lakeland CFU139 Assembly instructions

manuals.online logo
manuals.online logoBrands
  • About & Mission
  • Contact us
  • Privacy Policy
  • Terms and Conditions

Copyright 2025 Manuals.Online. All Rights Reserved.