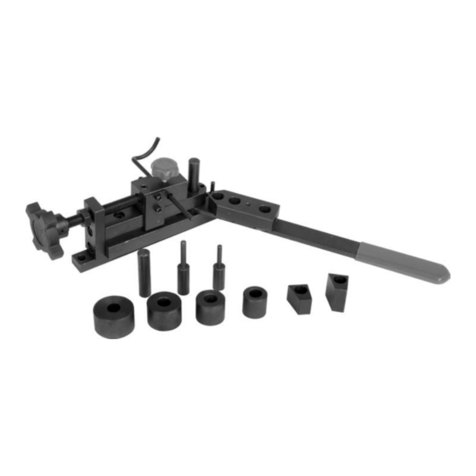
V4.0 Tubing Bender 8536708
Visitwww.princessauto.comfor more information 5
UNPACKING
WARNING! Do not operate the tool if any part is missing. Replace the
missing part before operating. Failureto do so could result in a malfunction
and personal injury.
Remove the parts and accessories from the packaging and inspect for damage.
Make sure that all items in the parts list are included.
ASSEMBLY& INSTALLATION
Numbered references in parenthesis (#1) refer to the included Parts List.
1. Mount the handwheel (#17) onto the driving shaft (#18). Secure the wheel
in place using a bolt (#26). Be sure handwheel and driving shaft turn freely,
then tighten bolt (#26) securely.
2. Before use, the correct size rollers must be installed. Pull the spring clip
(#4) from the shafts (#10, #15 and #18), remove the washers (#2) and pull
the shafts out of the rollers (#10, #15 and #18).
3. Select the correct rollers to match the diameter tubing you will be bending.
If your tubing does not match the exact size of the available rollers, use the
roller size just larger in diameter than the tubing material.
4. Install the rollers by inserting the shafts (#10, #15 and #18), being sure the
washers (#2) are inplace. Refer to the assembly diagramat the end of this
manual for correct assembly. Fix the shafts inplace usingthe spring clips (#4).
MOUNT TOOL ON A WOOD WORKBENCH
The hardware to mount the tool is not included.
1. Clean the work area where the tool will be mounted.
2. Position the tool, check that it will belevel and there are no obstructions around
it that willinterfere with along workpiece.
3. Slide a flat washer over a 1/4 x 1 in. wood screw and secure the grinder in place.
4. Repeat with three more screws. Tighten all screws until the gap between
the grinder base and the bench-top is 1/8 in.
