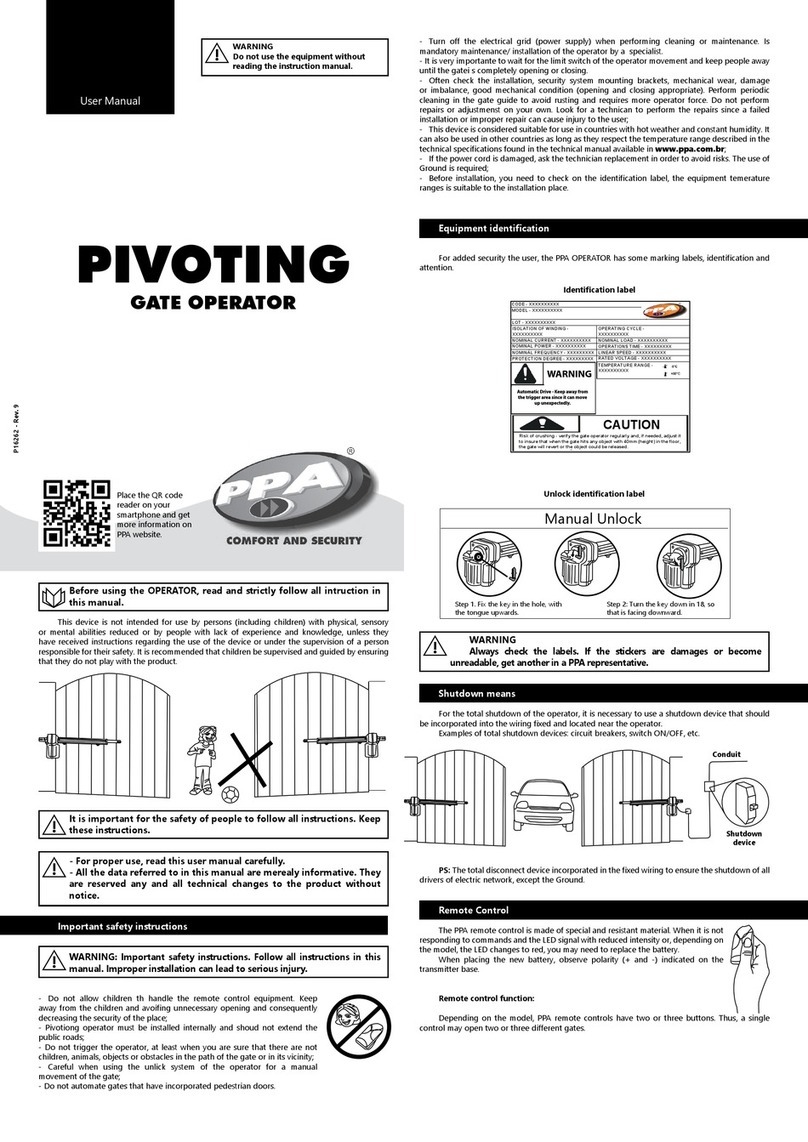
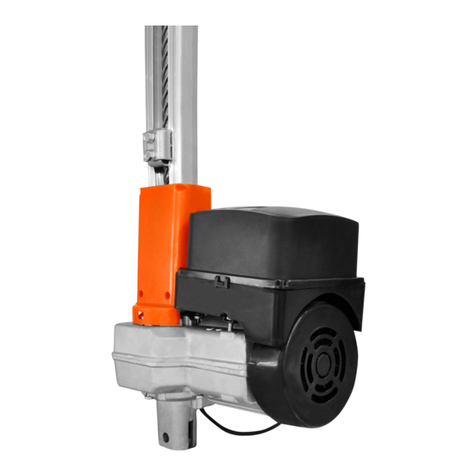
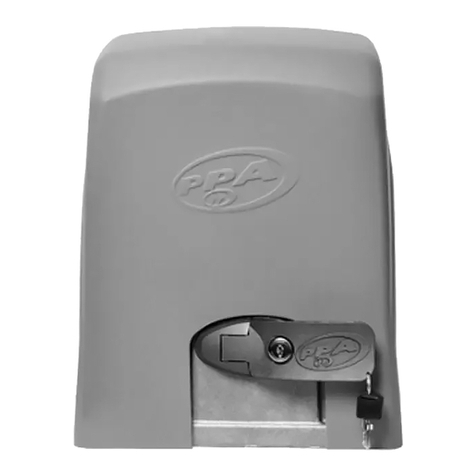
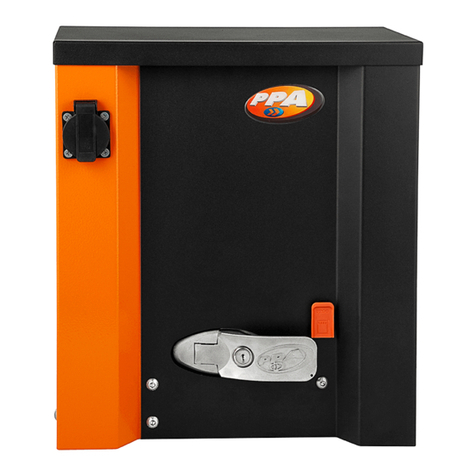
PPA Eurus Custom User manual

COMFORT whit SECURITY COMFORT whit SECURITY
www.ppa.com.br
PPA - Portas e Portões Automáticos Ltda.
Av. Labieno da Costa Machado n-7 3526 - Distrito Industrial
CEP: 17.400-000 - Tel: (0**) 14 3407-1000
Garça/SP - Brasil

COMFORT whit SECURITY COMFORT whit SECURITY
Technician’s Manual
Gate operator with micro-processed digital control for gates up to 300 Kg
Installation Manual
EURUS CUSTOM
Contents
* Installation Procedure .......................................................................... 2
* Tools .................................................................................................... 2
* Preparation of the gate before automation ........................................... 3
* Technical Characteristics .................................................................... 3
* Installing the rack ................................................................................ 4
* Releasing System ............................................................................... 6
* Main Characteristics............................................................................ 6
* Control unit Logical Function ............................................................... 7
* Access Buttons Memorization ............................................................. 7
* Electronic Lock Transmitter Memorization .......................................... 8
* Turning on Electronic Lock .................................................................. 8
* Turning off Electronic Lock .................................................................. 9
* Turning off Buttons............................................................................... 9
* Blow out image .................................................................................... 10 e 11
* Parts List ............................................................................................ 12
* Memorizing Adjustments of Trimpots and Virtual Fuse ........................ 13
* Types of Virtual Fuse Protection.......................................................... 13
* Adjusting Trimpots ............................................................................... 14
* Configuring Jumpers ............................................................................ 15
* Auto light timer (LG) ............................................................................ 16
* Functions of Signaling Led .................................................................. 16
* Smoth Start ......................................................................................... 17
* Photocell ............................................................................................. 17
* Electrical Connections Scheme .......................................................... 18
*Warranty Terms .................................................................................... 19
CÓD. P14433 FORM. 150 REV.: 0
INSTALLATION PROCEDURE
Introduction: The perfect operation of this equipment and warranty depend
on the instructions included in this manual.
Here are some of the necessary tools for the assembly and installation of the
equipment:
TOOLS:
Cannon handle socket
wrench
Hack saw arc
Screwdriver
Setsquare
Sander
Pliers
Double open ended
spanners
Pencil
Welder
Drill
Level
Tape measure
Page 02
Drill

COMFORT whit SECURITY COMFORT whit SECURITY
PREPARATION OF THE GATE BEFORE AUTOMATION
Before installation of the machine, check rolling, following the instructions
below:
1º Step: Move gate leaf manually and see the required
effort. Gate should move with ease.
2º Step: Move leaf back manually and check whether
the effort required was the same as the previous
operation.
Gate should have a strong structure and as
much as possible straight.
Pulleys should be of a diameter according to
gate dimensions. They also should be in rolling
perfect conditions and assembled in a way that the gate leaf has
stability during its trajectory. We recommend pulleys have at least
120mm of diameter.
Figures beside represent two types of tracks and pulleys used.
The system that uses straight section (figure A – angle iron) shows
more resistance, therefore, more wear. On the other hand, the system
that uses round section (figure B) allows a better gate movement
and less resistance to the gate operator.
3º Step: Check if gate leaf does not stop during opening and closing
trajectory.
Gate rolling track should be perfectly straight and
occasionally cleaned from any element or dirt that
complicates pulleys sliding, as it is showed on picture
beside:
Observation: The information above is very important
because it can be prejudicial for gate operator
performance.
TECHNICAL CHARACTERISTICS
Equipment Dimensions
Source: ........................... 110/220V
Frequency: ..................... 50/60Hz
Rotation: ......................... 1450(50Hz)/ 1750(60Hz)
Reduction: ...................... 30:1
Protection: ...................... IP 44
Capacitor: ....................... 8uFx400V/ 20uF x 250V
Isolation: ......................... F
Packing dimensions: ...... 260 x 240 x 317 mm
Gate operator weight: ..... 9Kg
Max. gate weight : .......... 300Kg
INSTALLING THE RACK
1º Step: Set the machine on manual mode (see page 6),
open gate completely, and place rack on gear in a way
that it has 2mm between teeth. Make the fixation on leaf
every 30 or 40 cm using a welder or screw in the entire
extension of the gate leaf.
Observation:
In case the gate leaf is crooked,
provide shimes to assure rack
alignment. In certain cases, the rack will
exceed the leaf length. If that is the case,
provide an L-bracket so it does not jump
the track during the machine start.
2º Step: Feed control unit with 220v,
according to equipment voltage, to
record remote controls as it is
explained in this manual.
-With the gate on manual mode, place leaf in
the middle of course and switch equipment to
automatic mode.
-Turn power off temporarily and turn it on again;
activate remote control and check if gate opens
obeying the command. If gate opens, it will show that
rotation direction is correct. In case situation described
previously is not occurring, switch motor’s Red and
Black wire.
3º Step: Magnets Installation – with the
gate closed, place magnet support
facing the REED, open gate
completely and place the other
magnet facing the REED. Turn mo-
tor on and do the final test,
observing if REEDs are turning off
correctly. If it is necessary switch
plate connector.
After installing magnets
support, do fine adjustments and if
necessary use the opening situated
on magnet support to move the
magnet position, according to
illustration beside.
L-bracket detail
Page 03 Page 04

COMFORT whit SECURITY COMFORT whit SECURITY
RELEASING SYSTEM
In the event of electrical power outage, equipment
has a releasing system that permits gate to be operated
manually. To do this, follow the steps below:
Step 1: Remove releasing system cover;
Step 2: Insert releasing system key in the
Allen screw key hole and turn it clockwise
to release reducer.
Step 3: After that, machine will be released
for opening and closing manual mode
operation.
MAIN CHARACTERISTICS
The micro-processed digital control unit controls single-phase induction
motors 127Vca/220Vca – 50Hz/60Hz for PPA gate operators.
Characteristics included in the micro-processed digital control unit:
*High-Performance Microcontroller
*Receptor Module RF 433,92MHz included in central unit
*Memorizes 63 different transmitters buttons or 31 transmitters
*Memorizes 04 transmitters for electronic lock
*Memorizes trimpots adjustments
*Fuse (Virtual)
*Electronic clutch (Trimpot Force)
*Time Pause (Trimpot Pause)
*Anti-crushing safety system (Trimpot Sensor)
*Slow down mechanism (Trimpot Brake)
*Time O/C of 1 minute (permanent)
*Auto light timer
*Smooth start
*Automatic restart
Page 05
LOGICAL FUNCTION OF CONTROL UNIT
1. When the gate is closed, giving a command, it will open stopping only when it
meets the end of track or at the end of O/C time (set for 1 minute).
2. When the gate is opening and it meets an obstacle, it will stop and wait for a new
command.
3. When the gate is opening, giving a command, it will stop and wait for a new
command.
4. When the gate is open, giving a command, it will close until it meets the end of
track or at the end of O/C time.
5. When the gate is closing and it meets an obstacle:
- Control unit with present course - the gate stops and opens totally.
- Control unit without present course - the gate stops and waits for a new
command.
6. When the gate is closing, giving a command, it will stop and open again until it
meets the end of opening course or at the end of O/C time.
7. Automatic Mode: When the control unit is in automatic mode, gate will open until it
finds the end of opening course or at the end of O/C time. Next, it will run pause
time and it will close automatically.
In case control unit is on semi-automatic mode, gate will close when it receives a
command.
8. In case situations described previously are not occurring, switch motor’s red and
black wires.
MEMORIZING ACCESS BUTTONS
A maximum of 63 different buttons or 31 different transmitters are permited to
be memorized. Steps for memorizing buttons:
Step 1: Keep the jumper HRF closed (jumpers position is shown on
Electrical Connections Squeme, see page 17). Bring transmitter
close to receptor, press and keep pressing button (left or right).
Step 2: Press “Aprender” button (meaning “learn” button) and keep it
pressed. The Led (SN) will start blinking every second (clock mode),
signaling that it received transmitter code.
Step 3: Release transmitter button.
Step 4: Release “Aprender” button before 5 seconds.
Control unit will signal through the led (SN), as described below, if
the button was accepted or not:
* 1 blink, only once ( it memorized button).
* 2 blinks, only once ( button is already recorded).
* 3 blinks, only once (63 buttons are recorded).
To continue memorizing remaining buttons, repeat the procedure.
IMPORTANT:
The Control unit will only permit button memorization if motor and electronic
lock are turned off. Page 07

COMFORT whit SECURITY COMFORT whit SECURITY
Page 08
RECORDING ELECTRONIC LOCK TRANSMITTER
It locks and unlocks all access buttons memorized in control unit and external
command. Only the last 4 electronic lock transmitters will be memorized.
Steps to memorize the transmitters:
Step 1: Keep jumper HRF and jumper HC closed.
Bring transmitter close to receptor, press and keep
one button pressed (left or right).
Step 2: Press “Aprender” button and keep it pressed.
The Led (SN) will start blinking every second (clock
mode), signaling that it received the transmitter code.
Step 3: Release transmitter button.
Step 4: Release “Aprender” button, after 6 to 10 seconds.
The Control unit will signal through the led (SN) with one (01)
blink that it memorized electronic lock transmitter.
To continue memorizing remaining buttons, repeat the
procedure.
Step 5: Jumper HC open.
TURNING ON ELECTRONIC LOCK
Step 1: Keep jumper HRF closed.
Step 2: With gate closed, press and release the right
button of the electronic lock. The control unit will signal
through the led (SN), with 01 blink that it recognized
electronic lock button. Next, the led (SN) will start blinking
once every 2 seconds in the reverse mode (i.e., led stays
on and turns off rapidly).
Step 3: From this moment, all access buttons and external
command will be unlocked.
IMPORTANT:
Even when turning control unit on and off through electric
source, it will go back to the stage of lock on.
In case of electronic lock transmitter is lost and the control
unit has lock on, it will be necessary to call an Authorized Technical.
Service.
TURNING OFF ALL BUTTONS
Steps to turn off all buttons:
Step 1: Keep jumper HRF closed. Press “Aprender” button and
keep it pressed.
Step 2: Bring one of the recorded transmitters to the
receptor, press and release button (left or right). The led
(SN) will start blinking every second (clock mode),
signaling that it received the transmitter code.
Step 3: After 25 seconds, with the “Aprender” button
pressed, the led (SN) will turn off and it will signal as
described below:
* 4 blinks, only once (buttons are off)
* 5 blinks, only once (button used for “turn off” function is invalid.
Therefore, function is canceled).
IMPORTANT:
The central unit will only permit to clear the buttons in its
memory if motor and lock function are turned off.
TURNING OFF ELECTRONIC LOCK
Step 1: Keep jumper HRF closed.
Step 2: Press and release the left button of the
electronic lock. The control unit will signal through the
led (SN) with one blink that it recognized the electronic
lock button. Next, the led (SN) will start blinking once
every 2 seconds in normal mode (i.e., led stays off
and turns on rapidly).
Step 3: From this moment, all access buttons and
external command will be unlocked.
IMPORTANT:
The control unit will only allow the memorization of one
electronic lock transmitter if motor and lock function are turned off.
Only 4 transmitters will be memorized. Consequently, the
most recent lock transmitter memorization will cancel the first.
With the electronic lock turned on, the control unit will cancel
all attempts of trimpots memorization.
Page 09

COMFORT whit SECURITY COMFORT whit SECURITY
Page 08 Page 09
BLOW OUT IMAGE - EURUS CUSTOM

COMFORT whit SECURITY COMFORT whit SECURITY
Page 12 Page 13
MEMORIZING TRIMPOTS AND VIRTUAL FUSE ADJUSTMENTS
The control unit adjustments trimpots are:
*Force
*Pause (not memorized by micro-controller)
*Sensor
*Brake
Steps to memorize the trimpots adjustments:
Step 1: Open jumper HRF.
Step 2: Make adjustments in trimpots.
Step 3: Press and release “Aprender “button. The led
(SN) will blink rapidly for 1 second, meaning that it
registered trimpots adjustments.
Step 4: Close jumper HRF.
Step 5: Turn motor on through transmitter button already
memorized or command.
Step 6: The control unit will turn motor on (opening or
closing), to read the electrical current and after 3 seconds
it will be turned off.
Step 7: The control unit wil memorize trimpots adjustments, the virtual fuse amps
and the electrical current preferable for anti-crushing safety system (opening or
closing).
Step 8: After memorization, the motor will be turned on by the control unit, until
opening or closing operation is done. Repeat the procedure beginning with step
1 to the reverse direction of the gate.
IMPORTANT:
The control unit will only execute trimpots memorization if motor and lock
function are turned off. Only the pause trimpot is not memorized by micro-controller.
TYPES OF VIRTUAL FUSE PROTECTION
-From the start:
When the motor starts, if the virtual fuse is activated, the control unit will
immediately turn motor off and then it will keep waiting for a new command.
-During Opening/Closing:
During opening/closing gate operation, if there is power surge, the control
unit will immediately turn motor off and next, the led (SN) will start blinking rapidly,
signaling power surge alarm. After 10 seconds, the motor will be turned on again,
continuing the previous trajectory.
IMPORTANT:
The automatic restart occurs 3 consecutive times max.
LISTA DE COMPONENTES EURUS CUSTOM
KIT - Sliding Electronic Custom Incorp. Radio Frequency 110vcap 20uf.
KIT - Sliding Electronic Custom incorp. Radio Frequency 220v cap 8uf.
ITEM QT. DESCRIPTION CODE
1 1 END OF COURSE SET EURUS 20 P10526
2 1 GROUNDING CABLE 0,50 MM2 P20631
3 4 SCREW SS M ¼”X 1" C10176
4 2 FOOT OF THE SLIDING MACHINE P10672
5 2 BODY FRAME FIXATION PLATE P10529
6 4 HEXAGON NUT ¼” C10175
7 1 SPROCKET Z30 P10509
8 1 RACK KEY 6X6X50MM R0 C10185
9 1 MAIN AXLE EURUS CUSTOM P14467
10 4 RING ELASTIC E22 C10187
11 1 RELEASING SPRING. SWING ALUMINIUM
AS END OF COURSE P10987
12 1 RELEASING PIN EURUS CUSTOM P14472
13 1 LEFT BODY FRAME EURUS CUSTOM P14474
14 2 BODY FRAME BUSHING P11523
15 1 SCREW BB AM ½”X 3/8" C10265
16 1 RELEASING KEY OF TORSION MACHINE P11535
17 4 SCREW SS S 5/16"X 3" C10179
18 4 BUSHING S12 C10182
19 2 SCREW PP P L M5 X 16MM C10178
20 1 CENTRAL OF COMMAND BASE EURUS 20 P20501
21 1 RADIO FREQUENCY CENTRAL.
INCORP.110V CAP 20UF A20796
21 1 ELECTRONIC CLUTCH RADIO FREQUENCY
MOTOR. INCORP.60HZ 220V CAP 8UF A20687
22 4 SCREW PP M A 3.0 x 6,5mm C20204
23 1 COMMAND CENTRAL COVER P20502
24 2 MINI TRANSMITTER 433,92MHZ CODE LEARNING A20602
25 4 SCREW PP M S 3,9 X 9,5MM C10254
26 1 RIGHT BODY FRAME EURUS CUSTOM P14473
27 1 PLASTIC GEAR Z18 P14468
28 2 RACK BARS 1,5MT LIGHT LINE P11329
29 2 MAGNET 10X20X39 C10083
30 2 END OF COURSE MAGNET SUPPORT P10518
31 1 RELEASING COVER EURUS 20 P10517
32 1 GEAR PROTECTOR P10516
33 1 ROTOR EURUS P14462
34 1 STATOR 30MM SLIDING 110V A11677
35 1 STATOR 30MM SLIDING 220V A11676
36 6 SCREW PP PL M5 X 25MM C10190
37 1 EURUS CUSTOM BODY FRAME WITH LABEL A11679
38 4 SMOOTH WASHER 3/8" C10180
39 4 PRESSURE WASHER M8 C10043
RELEASING SPRING. SWING ALUMINIUM
RADIO FREQUENCY CENTRAL.
ELECTRONIC CLUTCH RADIO FREQUENCY
COMFORT whit SECURITY COMFORT whit SECURITY
Page 14 Page 15
ADJUSTING THE TRIMPOTS
TRIMPOT FORCE
Function: To adjust motor power applied on gate (Electronic clutch).
Opening and Closing: Same adjustment.
‘ + ’ position: More power
‘ - ‘ position: Less power
Steps for motor power adjustments:
1. With motor turned off, adjust the Trimpot Force to position ‘-‘ and the trimpot
Sensor in the position ‘+’ ;
2. Memorize trimpots (see page 17);
3. Activate motor;
4. Check if gate opens and closes completely. If not, adjust trimpot force again,
turning to ‘+’ side. Repeat steps 2, 3, and 4.
TRIMPOT SENSOR
Function: To adjust the anti-crushing security system sensibility.
Opening and Closing: one adjustment for opening and one for closing.
‘ + ’ position = more sensitive
‘ – ‘ position = less sensitive
Steps for adjustments of motor sensor:
1. With motor turned off, adjust the Trimpot Sensor to position ‘ + ‘ ;
2. Memorize trimpots;
3. Activate motor;
4. Check if gate opens and closes completely. If not, adjust the trimpot Sensor again,
turning to ‘ - ’ side. Repeat steps 2, 3, and 4.
5. With the gate in motion, try to stop it and check if the degree of sensitivity is the
desired one. In case of being too sensitive, adjust the trimpot Sensor again,
turning to ‘ – ‘ side and repeat this step.
IMPORTANT:
- Control unit with end of course: anti-crushing security system with auto
reverse sensitivity.
- Control unit without end of course: anti-crushing security system with
immediate shut off system.
TRIMPOT BRAKE
Function: To stop the gate at the moment it reaches the reeds working as a
gate inercia eliminator.
Opening and Closing: same adjustment.
DC Brake: Smoth Instant Brake
TPO Brake: Soft timed Brake
Position ‘ + ’ = Longer Braking time (TPO)
Position ‘ – ‘ = Lesser Braking time (TPO)
CONFIGURING JUMPERS
EXTERNAL RECEPTOR
Function: Hook up for external RF receptor.
1 - 22VCA
2 - 22VCA
3 - GND
4 – CMD
JUMPER A/S
Function: To select control unit mode of working operation: automatic mode
or semi-automatic mode.
Jumper A/S Closed: Semi-automatic mode.
Jumper A/S Open: Automatic mode
JUMPER HC
Function: It allows the recording of the electronic lock transmitter.
Jumper HC Closed: Yes
Jumper HC Open: No
TRIMPOT PAUSE
Function: To adjust control unit pause timing when it is in automatic
mode.
Position ‘ + ’ = Maximum time of 1 minute
Position ‘ – ‘ = Minimum time of 1 second

COMFORT whit SECURITY COMFORT whit SECURITY
Page 16 Page 17
SMOOTH START
It has the purpose of eliminating mechanical jercks on the clutch, sprocket,
rack bar, and on the endless axle (eixo sem fim) during the start, increasing with that,
the mechanical and motor’s life.
The smooth start adjustments parameters are standard inside the micro-
controller.
PHOTOCELL
Photocell Installation
Provide conduit and types of cables (2x2, 5mm PP) for
the passage of electric current and gate stop, from the Eurus
Condominium base to the photocell posts (see example in
figure).
Cables should connect re-
ceptor to the transmitter. From this
cable should come out one link to
the plate, which will make the Electric
Feeding of cables. Still from the
Photocell receptor should come out
another cable for connection with
photo eye controll jumper (see figu-
re beside).
Every time gate is closing and
photocell is activated, gate will stop
and start to open again until the end
of course.
AUTO LIGHT TIMER (LG)
Garage light module. Light is turned on every time gate is in motion. Every
time motor is turned off, the garage light is timed for 2 minutes.
SIGNALING LED FUNCTIONS (SN)
It has the purpose of signaling varied operations, functioning orientations,
and control unit protection.
Control unit waiting for a command or opening/closing trajectory:
LED CONDITION
During transmitter memorization or trimpots memorization:
LED CONDITION
1 fast blink every 2 seconds
2 fast blinks evry 2 seconds
Fast blinks
1 fast flash every 2 seconds
2 fast flashes every 2 seconds
.
60Hz frequency
50 Hz frequency
Motor surge protection activated or
automatic restart mode.
Electronic lock turned on.
Anti-crushing security system detected
Blinks every 1 second (clock mode)
1 blink, only once
2 blinks, only once
3 blinks, only once
4 blinks, only once
5 quick blinks for 1 second
Fast blinks for 1 second
it captured transmitter for memorization.
Valid transmitter button code.
Transmitter button already recorded within
memory.
Button memory registry full.
Buttons memory registry turned off.
Turn off memory of transmitters function ignored.
It memorized trimpots adjustments.

COMFORT whit SECURITY COMFORT whit SECURITY
Página 17
WARRANTY TERMS
ELECTRICAL CONNECTION SCHEME PPA, Portas e Portoes Automaticos Ltda., Located at Avenida Dr. Labieno
da Costa Machado ,nº 3526, Distrito Industrial, Garca/SP, CEP 17400-000,
CNPJ 52,605,821/0001-55, IE 315,011,558,113 guarantees this product against
design manufacturing, assembly defects and/or consequences of material
quality deficiency which turn improper or inadequate to use within the legal
period of 90(ninety) days from time of acquisition, as long as installation
instructions are followed as described in the user’s manual. In case of defect,
within the warranty period, PPA’s responsibilities are restricted to repair or
substitute the product manufactured by PPA.
Because of the credibility and trust put on PPA products, we add to the
period mentioned above more 275 days reaching, therefore, a total of 1 (one)
year, also from the time of acquisition to be shown by consumer through proof
of purchase.
Within the additional period of 275 days, only visits and transportation wil
be charged. In places where authorized technical assistance is not available,
cost of transportation of product and/or technician will be the responsibility of
consumer.
The substitution or repair of equipment does not prolong the warranty.
This warranty will be terminated if:
- Product is damaged by accidents or acts of God, as lightning, floods,
mudslides, etc;
-Product is installed under improper electric current or even if instructions are
not followed according to manual;
- Produt is not used for purpose that is intended;
- Product is not used under normal conditions;
- Product is damaged by acessories or equipment connected to product.
Recommendation:
We recommend the installation by an authorized technical service.
Installation done by a third party will terminate warranty because of
damage caused by inadequate installation. Only a PPA authorized technician is
able to open, remove, and substitute parts or components, as well as repair
defects covered by warranty. Therefore, if guidelines are not followed and use of
non-original parts is detected, the consumer will forfeit his or her rights to this
warranty. In case product shows defect seek and Authorized Technical Service.
Buyer:________________________________________________________
Complete Address:______________________________________________
Distributor:______________________________________________________
Phone: _______________________ Date of sale: ______________________
Product Identification:____________________________________________
Distributor Stamp:
Page 18
Table of contents
Other PPA Gate Opener manuals

PPA
PPA SK User manual

PPA
PPA DZ HUB R User manual

PPA
PPA DZ RIO User manual

PPA
PPA TORE User manual

PPA
PPA DZ BRUTALLE 3.0T JetFlex User manual

PPA
PPA DZ HOME User manual

PPA
PPA DZ HUB User manual

PPA
PPA PIVO CONDOMINIUM INOX User manual

PPA
PPA DZ FORT User manual

PPA
PPA BV POTENZA PREDIAL CUSTOM User manual