manuals.online logo
Brands
  1. Home
  2. •
  3. Brands
  4. •
  5. Precor
  6. •
  7. Fitness Equipment
  8. •
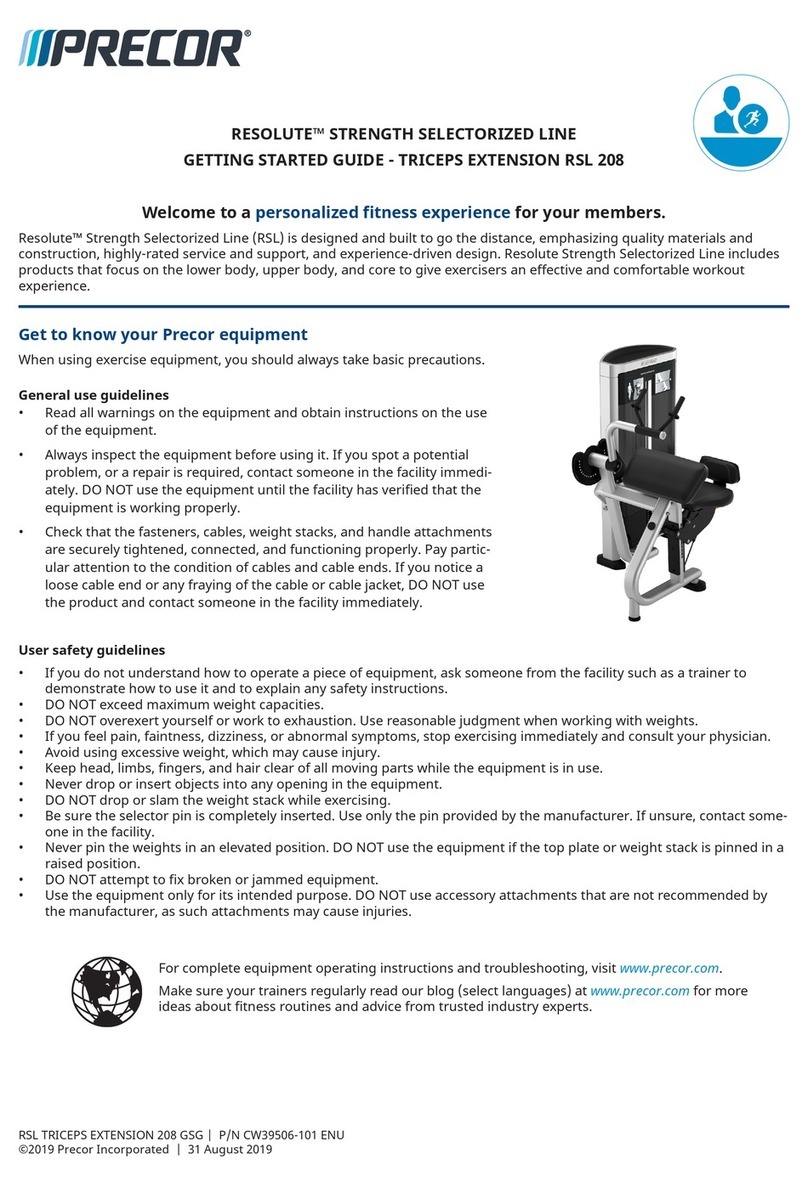
  9. Precor Discovery Series User manual

Precor Discovery Series User manual

Other manuals for Discovery Series

20

This manual suits for next models

1

Other Precor Fitness Equipment manuals

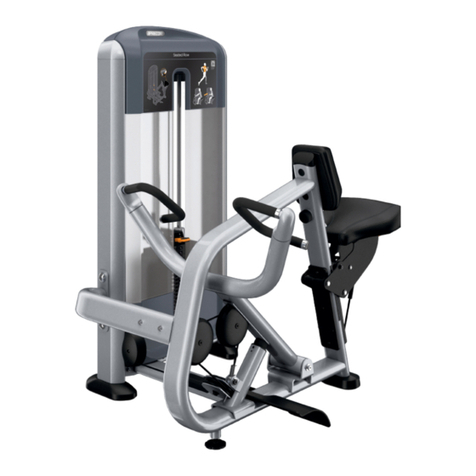
Precor Queenax UFO User manual

Precor

Precor Queenax UFO User manual

Precor C556 User manual

Precor

Precor C556 User manual

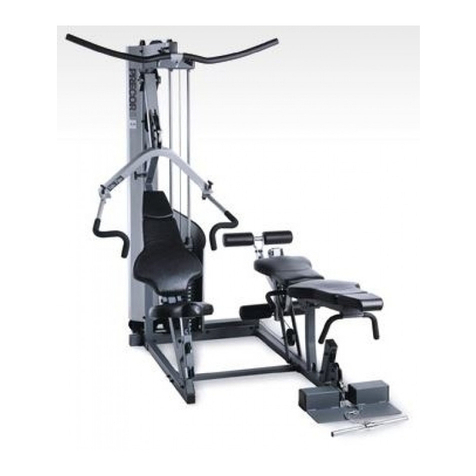
Precor Discovery Series User manual

Precor

Precor Discovery Series User manual

Precor QUEENAX PF175 2D User manual

Precor

Precor QUEENAX PF175 2D User manual

Precor Discovery Selectorized Line User manual

Precor

Precor Discovery Selectorized Line User manual

Precor Experience Series User manual

Precor

Precor Experience Series User manual

Precor Resolute RSL 315 User manual

Precor

Precor Resolute RSL 315 User manual

Precor Vitality Series User manual

Precor

Precor Vitality Series User manual

Precor Vitality Series User manual

Precor

Precor Vitality Series User manual

Precor 946i User manual

Precor

Precor 946i User manual

Precor move beyond S3.45 Quick guide

Precor

Precor move beyond S3.45 Quick guide

Precor Discovery Series User manual

Precor

Precor Discovery Series User manual

Precor P80 Console Assembly Instructions

Precor

Precor P80 Console Assembly Instructions

Precor Discovery Selectorized Line User manual

Precor

Precor Discovery Selectorized Line User manual

Precor Treadmills 954i User manual

Precor

Precor Treadmills 954i User manual

Precor Discovery Series User manual

Precor

Precor Discovery Series User manual

Precor 515e User manual

Precor

Precor 515e User manual

Precor Olympic Discovery Series 507 User manual

Precor

Precor Olympic Discovery Series 507 User manual

Precor Resolute RSL 606 User manual

Precor

Precor Resolute RSL 606 User manual

Precor move beyond S3.23 Quick guide

Precor

Precor move beyond S3.23 Quick guide

Precor Discovery Series 608 User manual

Precor

Precor Discovery Series 608 User manual

Precor Icarian Line User manual

Precor

Precor Icarian Line User manual

Precor Stairclimber 800 User manual

Precor

Precor Stairclimber 800 User manual

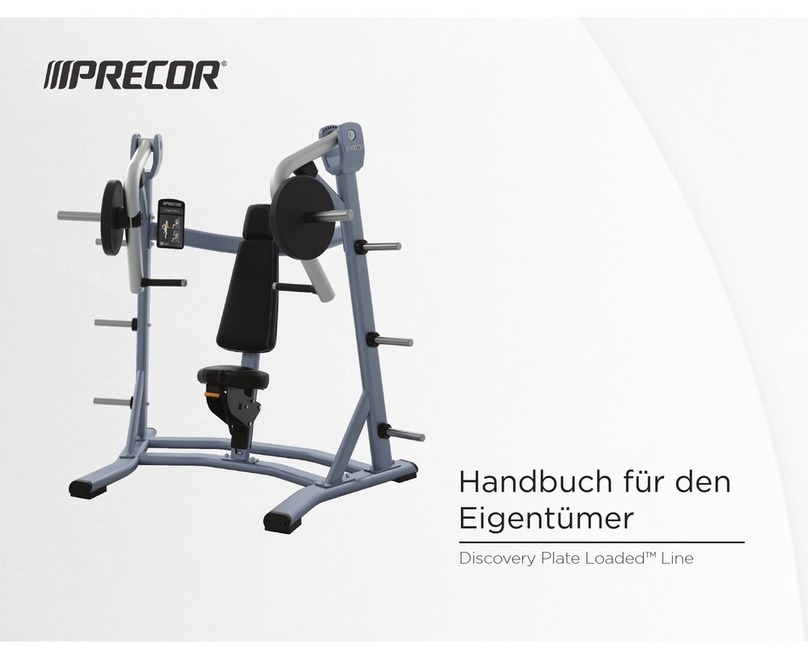
Precor Discovery Plate Loaded Line User manual

Precor

Precor Discovery Plate Loaded Line User manual

Popular Fitness Equipment manuals by other brands

Revitive Arthritis-Knee user manual

Revitive

Revitive Arthritis-Knee user manual

Domyos BM100 operating instructions

Domyos

Domyos BM100 operating instructions

Movement EDGE PUXADA ALTA Assembly manual

Movement

Movement EDGE PUXADA ALTA Assembly manual

Lifeline LLUWB-BLK owner's manual

Lifeline

Lifeline LLUWB-BLK owner's manual

Balanced Body Precision Rotator Discs manual

Balanced Body

Balanced Body Precision Rotator Discs manual

G-FITNESS AIR ROWER user manual

G-FITNESS

G-FITNESS AIR ROWER user manual

CAPITAL SPORTS Dominate Edition 10028796 manual

CAPITAL SPORTS

CAPITAL SPORTS Dominate Edition 10028796 manual

Martin System TT4FK user guide

Martin System

Martin System TT4FK user guide

CIRCLE FITNESS E7 owner's manual

CIRCLE FITNESS

CIRCLE FITNESS E7 owner's manual

G-FITNESS TZ-6017 user manual

G-FITNESS

G-FITNESS TZ-6017 user manual

Accelerated Care Plus OMNISTIM FX2 CYCLE/WALK user manual

Accelerated Care Plus

Accelerated Care Plus OMNISTIM FX2 CYCLE/WALK user manual

pedalo 20230165 manual

pedalo

pedalo 20230165 manual

Saebo SaeboStim Pro Instructions for use

Saebo

Saebo SaeboStim Pro Instructions for use

Performance HyperVibe User instructions

Performance

Performance HyperVibe User instructions

Scalamobil S27 Operator's manual

Scalamobil

Scalamobil S27 Operator's manual

FYTTER RedMIUM BENCH BE-T6R manual

FYTTER

FYTTER RedMIUM BENCH BE-T6R manual

Kegel8 V For Men user guide

Kegel8

Kegel8 V For Men user guide

Taurus TF-RK1312 Assembly and operating instructions

Taurus

Taurus TF-RK1312 Assembly and operating instructions

manuals.online logo
manuals.online logoBrands
  • About & Mission
  • Contact us
  • Privacy Policy
  • Terms and Conditions

Copyright 2025 Manuals.Online. All Rights Reserved.

Discovery™ Series Power Rack (610) Assembly Guide
To assemble your equipment, follow the steps in the order listed in this assembly guide. For more
product information, visit us at www.precor.com.
WARNING
At least two people are required to assemble the equipment.
DO NOT attempt assembly by yourself.
Assembly requirements
When assembling the equipment, we recommend you:
Unpack the box and assemble the equipment close to where you plan to use it.
Locate the equipment at least 79 inches (2 meters) away from walls or furniture on
either side of the equipment, and 79 inches (2 meters) away from objects behind or
in front of the equipment.
Assemble the unit on a solid, flat surface, so that it remains level and stable.
DO NOT move the equipment without assistance.
Required tools Hardware kit

Torque wrench
Rubber mallet
10 mm hex bit
Component
Quantity
Component
Quantity
Socket head cap bolt
(M12 × 35 mm)
26 Flat washer
(13 x 20 mm)
6
Flat washer
(13 x 26)
38 Hex key
(10 mm)
1
Specifications
Socket head cap bolt
(M12 × 105 mm)
10
Storage horn
bumper
10
Equipment
Dimensions:
83" L x 63" W x 98" H (2100 mm L
x 1600 mm W x 2500 mm H)
Socket head cap bolt
(M12 × 115 mm)
2 Weight storage
horn (short)
2
Equipment
Weight:
612 lb (278 kg) Socket head cap bolt
(M12 × 50 mm)
6
Weight storage
horn (long)
4
Begin assembly
If you have the space, Precor recommends that you completely assemble each side (Figure 1) on the floor and then raise
them and attach the crossbars. If your space is limited, assemble the equipment where it will be used.
Important
DO NOT fully tighten the fasteners until instructed to do so.
To begin assembly with limited space:
1. Position the base tubes on the floor (exactly where you plan to use the equipment) with the bolts facing
outward and bar holders where you want the back of the equipment to be.
2. Position the base crossbar between the base tubes and attach it to them using four bolts and four washers .
3. Position the front upright (it has a step attached to it) on the base tube and secure it using
two bolts and two washers .
4. Position a rear upright on the base tube with the warning label facing outward. Secure it using two bolts and
two washers .
5. Position the frame brace with the top hook holes facing outward. Attach the top of the frame to the rear upright using
one bolt and a washer (in the bottom hole) and one bolt and a washer (in the top hole).
Finger tighten the short bolt.
6. Attach the side upper crossbar to the front upright using one bolt and a washer (in the bottom hole) and
one bolt and a washer (in the top hole). First finger tighten the short bolt.
7. Attach the bottom of the frame brace to the base tube using two bolts and two washers .
8. Repeat Steps 3-7 to assemble the opposite side of the power rack.
Figure 1
Figure 2
To attach the two sides of the equipment if assembled separately:
1. Using Figure 1 as a guide, lay the following parts out on the floor: One base tube, one front upright, one
rear upright (with the warning label facing outward), and one frame brace.
2. Place a side upper crossbar between the two uprights and attach all the parts using the hardware described
in Figure 1.
3. Repeat Steps 1-2 to assemble the other side.
4. Attach the base crossbar to the base tube on one of the assembled sides (Figure 2) using
two bolts and two washers .
5. Raise both assembled sides and attach the base crossbar to the base tube of the other side assembly
(Figure 2) using two bolts and two washers .
To complete assembly:
1. Attach a top hook to each frame brace using two bolts and two washers .
2. Position and attach the back upper crossbar to the rear uprights using four bolts and four washers .
3. Position and attach the chin-up crossbar to the front uprights using two bolts and two washers .
4. Fit each bar catch between the front and rear uprights on each side of the equipment (Figure 3).
Figure 3
Tighten the bolts
Tighten the bolts to 65 ft-lb (88 N-m) in the following order: through
Figure 4
To attach a short weight storage horn:
1. Insert the short weight horn into the hole in the equipment frame until it stops
(Figure 5). If needed, use a rubber mallet to tap it gently into place.
Figure 5
2. Secure the weight horn using a bolt and a washer .
3. Push the storage horn bumper onto the horn with its wide side facing outward.
If needed, use a weight plate to push the bumper against the equipment frame.
4. Repeat this procedure to attach the other weight horn.
To attach a long weight storage horn:
1. Insert a long weight horn through the hole in the equipment frame (Figure 6).
Figure 6
2. Secure the weight horn using a bolt and a washer .
3. Push the storage horn bumpers onto the horn with their wide side
facing outward. If needed, use a weight plate to push the bumper against
the equipment frame.
4. Repeat this procedure to attach all long weight horns.
To attach the bar hook:
1. Slide the bar hook into the front upright (Figure 7).
2. Repeat this procedure to attach the other bar hook.
Figure 7
Bolt the equipment to the floor
Precor recommends that the strength equipment be bolted down at all
anchoring points. Bolting is made possible by removing the end caps at the
frame base and exposing the mounting holes that accommodate the bolts (see
the accompanying figure). Replace end caps when bolting is complete.
Important
As floor materials vary, it is important that you consult a licensed
contractor to advise you on proper bolting techniques and appropriate fastener
types.
Standards occasionally change or are updated. Precor recommends that you keep
apprised of your local industry standards. Precor shall not be held liable for failure to
properly bolt the strength equipment to the floor.
Figure 8
Power Rack (610) Assembly Guide | P/N CW39224-102 rev D, ENU
©2016 Precor Incorporated | May 2016