11. Remove the 2 star washers and bolts and the 4
lock washers and bolts from their location in the
base rails (hinged seat bracket mounting location).
See Diagram 1. Be sure to keep the washers on
the bolts. If necessary, use the supplied allen
wrench to loosen the bolts.
12. Position the hinged seat bracket over the base rails
and align the bolt holes. Refer to Diagram 1.
13. Insert the 6 bolts (with the two star washers and
bolts located at the top mounting holes) through the
bracket mounts and finger tighten. This helps align
the base rails and the two upright handlebar
supports. Do not fully tighten these bolts until you
Precor is a registered trademark and “StretchTrainer”
is a trademark of Precor Incorporated.
© 1998 Precor Incorporated.
Precor Incorporated
P.O. Box 3004
Bothell, WA USA 98041-3004
P/N 37713-102
5/98
USA
R
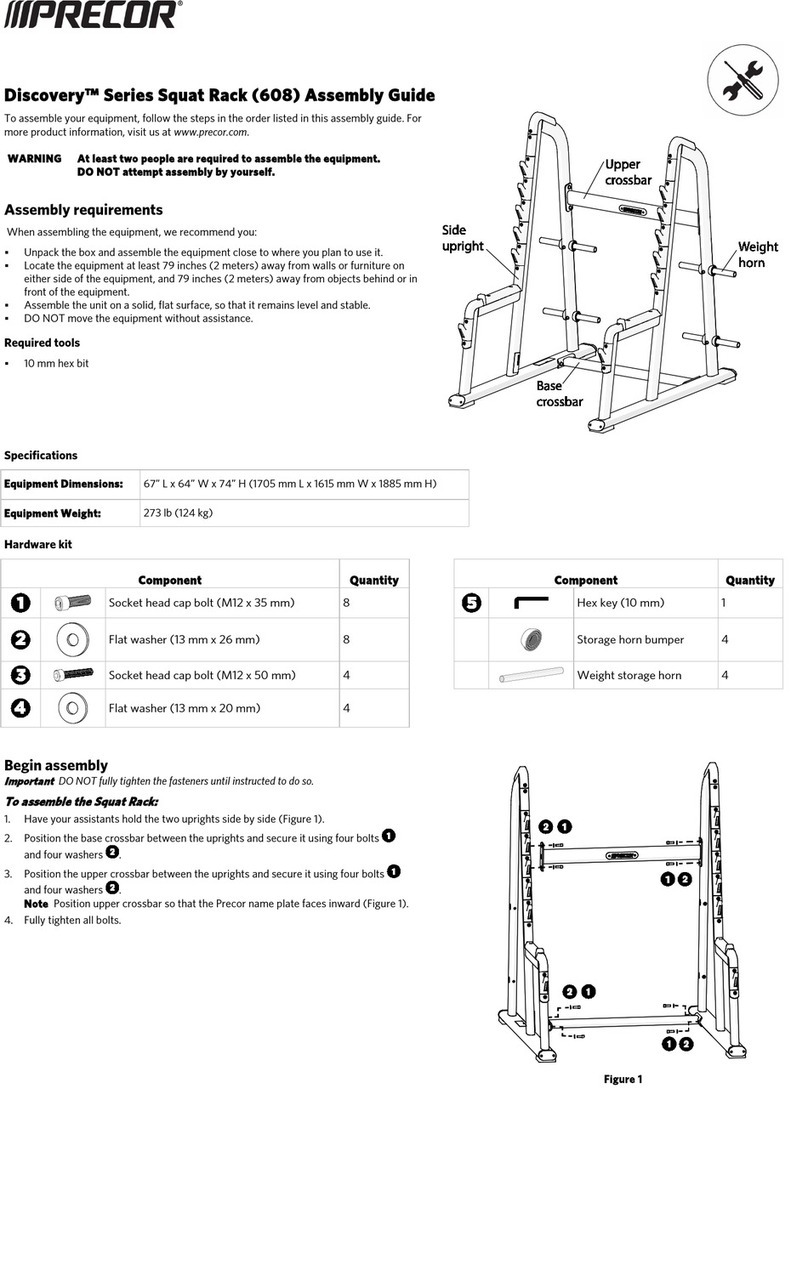
7. To properly align the base rails and make the
installation of the seat assembly easier, have your
assistant hold the left and right upright supports
together. Position the handlebar over the upright
supports. If necessary, refer to Diagram 1.
Diagram 4
Sliding the handlebar caps
into place.
Upright support
Handlebar cap
Wrist strap
Handlebar
Bolt, lock washer, and
flat washer
Upright support
Wrist straps
Bolt, lock washer, and
flat washer
Handlebar cap
Diagram 2
Positioning the handlebar.
8. Slide the handlebar into place and align the bolt
holes. See Diagram 2. Be sure that the wrist straps
hang
over
the handlebar toward the seat.
9. Insert the bolts and washers through the upright
and handlebar supports. (Notice that there are two
bolt holes in front and two in back.) Finger-tighten
each bolt. Do not use the allen wrench at this time.
If the handlebar bolts are too tight, it will make the
seat bracket assembly difficult.
The locking pin can
also be used to limit
how far the seat travels
back, and should be
adjusted to fit your
ability level.
Lock seat into the up-
right position with the
locking pin when
equipment is not in use.
CAUTION
Diagram 3
Securing the seat bracket
with the range-limiting pin.
Range-limiting pin
Hinged bracket
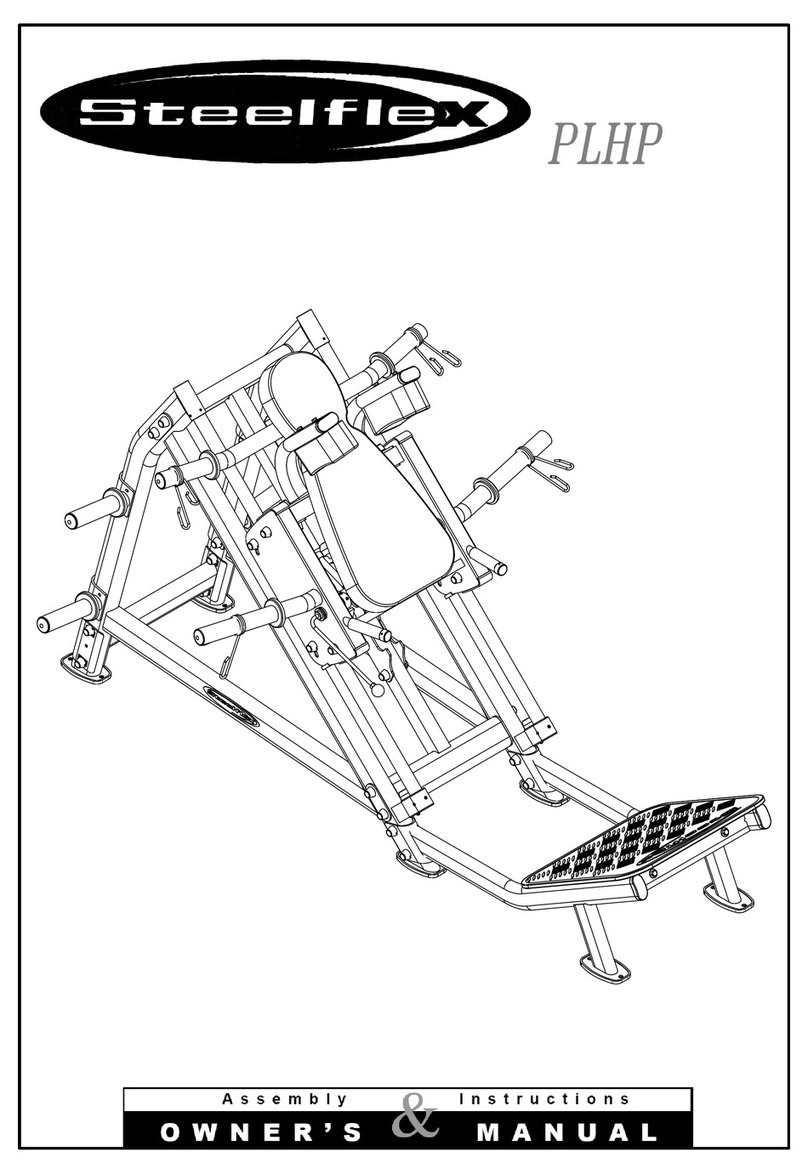
10. The seat assembly has a hinged bracket. This
bracket needs to be locked into the upright position
with the range-limiting pin found in the bracket. See
Diagram 3. Place the seat bracket in the upright
position and insert the range-limiting pin.
have secured the handlebar into position.
14. Prior to tightening the bolts, slide the handlebar
caps into the upright supports as shown in
Diagram 4. Then, securely tighten the bolts using
the allen wrench provided.
15. Return to the seat assembly bolts and use the allen
wrench to tighten the bolts on the side
before
tightening the bolts in the center.
16. You have completed the assembly of the
StretchTrainer. Use a cloth dampened with a
non-abrasive
degreaser to clean any parts of
the unit that may have been blackened by grease
from the bolts.
17. Prior to your workout, refer to the stretching
techniques highlighted in the accompanying
pamphlet.
Note: Do not discard the allen wrench. Maintain the
integrity of your unit by checking the bolts prior to
your stretching routine. Use the allen wrench to
tighten any bolts that may have become loose.
