10
17)PTT
Transmission key, press to transmit a message, is displayed and release
to listen to an incoming communication, disappears.
TOT (Time Out Timer)
If the PTT switch (17) key is pressed for more than 5 minutes, the display starts
blinking and the transmission ends. A beep will sound until the PTT switch
(17) key is released.
18)UP/DN BUTTONS ON MICROPHONE
In normal use, press UP/DN buttons (18) on the microphone to change the
channel. UP to increase and DN to decrease the channel.
See ROTARY “PUSH” KNOB page 7.
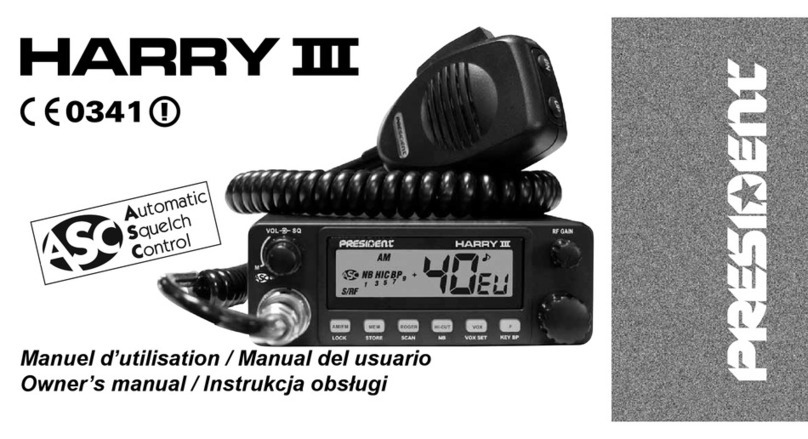
A) DC-POWER TERMINAL (13,8 V)
B) ANTENNA CONNECTOR (SO-239)
C) JACK FOR EXTERNAL OPTIONAL SPEAKER (8 Ω, Ø 3.5 mm)
D) JACK FOR PA OPTIONAL SPEAKER (Public Address) (8 Ω,
Ø 3.5 mm)
E) JACK FOR OPTIONAL VOX MICROPHONE (Ø 2.5 mm)
C) MENU
The order of 13 functions is as described in this manual. However, the func-
tion displayed by entering the MENU will be the last function modified by
user.
The procedure is the same whatever the function is:
Push the rotary PUSH knob (6) for 3 seconds to enter MENU. is displayed.
1. Turn the rotary PUSH knob (6) or use UP/DN buttons (18) on the microphone
to select the menu.
2. Push the rotary PUSH knob (6) to validate. The parameter of the chosen
function blinks on the display.
3. Turn the rotary PUSH knob (6) or use UP/DN buttons (18) on the microphone
to modify the value of the parameter.
4. New Push the rotary PUSH knob (6) to validate the chosen value. The pa-
rameter stops blinking and if the function has more than one parameter,
the next parameter blinks.
5. If no key is pressed, the unit exits MENU after 10 seconds. disappears from
the display.
Note: UP/DN buttons (18) on the microphone have the same effect as the
rotation of the rotary PUSH knob (6). PTT switch (17) validates the last setting
and exists MENU. disappears.
1) COLOR
This function allows to choose the backlight color of the LCD.
Push the rotary PUSH knob (6) for 3 seconds to enter MENU. is displayed.
1. Turn the rotary PUSH knob (6) or use UP/DN buttons (18) on the microphone
to select the COLOR menu.
2. Push the rotary PUSH knob (6) to validate. The current color blinks on LCD.
3. Turn the rotary PUSH knob (6) or use UP/DN buttons (11) on the microphone
to select the color. 7 available colors are displayed over and over :
4. New Push the rotary PUSH knob (6) to validate the chosen color. The color
stops blinking. a) Go back to point 1to adjust another function or b) Press
the PTT switch (17) to validate and exit MENU. disappears in the display.
5. If no key is pressed, the unit exits MENU after 10 seconds, disappears in
the display.
Default COLOR is (Orange).
2) DIMMER
The DIMMER function allows to adjust the brightness (from 1to 9) of the
backlight or to set no backlight (OF).
Push the rotary PUSH knob (6) for 3 seconds to enter MENU. is displayed.
1. Turn the rotary PUSH knob (6) or use UP/DN buttons (18) on the microphone
to select the DIMMER menu.
2. Push the rotary PUSH knob (6) to validate. The value of the dimmer blinks
on the display.
3. Turn the rotary PUSH knob (6) or use UP/DN buttons (18) on the microphone
to select a new value.
4. New Push the rotary PUSHknob (6) to validate. The parameter stops blinking.
a) Go back to point 1to adjust another function or b) Press the PTT switch
(17) to validate and exit MENU. disappears.
5. If no key is pressed, the unit exits MENU after 10 seconds, disappears in
the display.
Default DIMMER value is 9.
3) KEY BEEP
When the function is activated, a beep sounds when a key is pressed, by
changing the channel etc. “BP” appears on the display when the function
is active.
English
