manuals.online logo
Brands
  1. Home
  2. •
  3. Brands
  4. •
  5. Pro-Form
  6. •
  7. Exercise Bike
  8. •
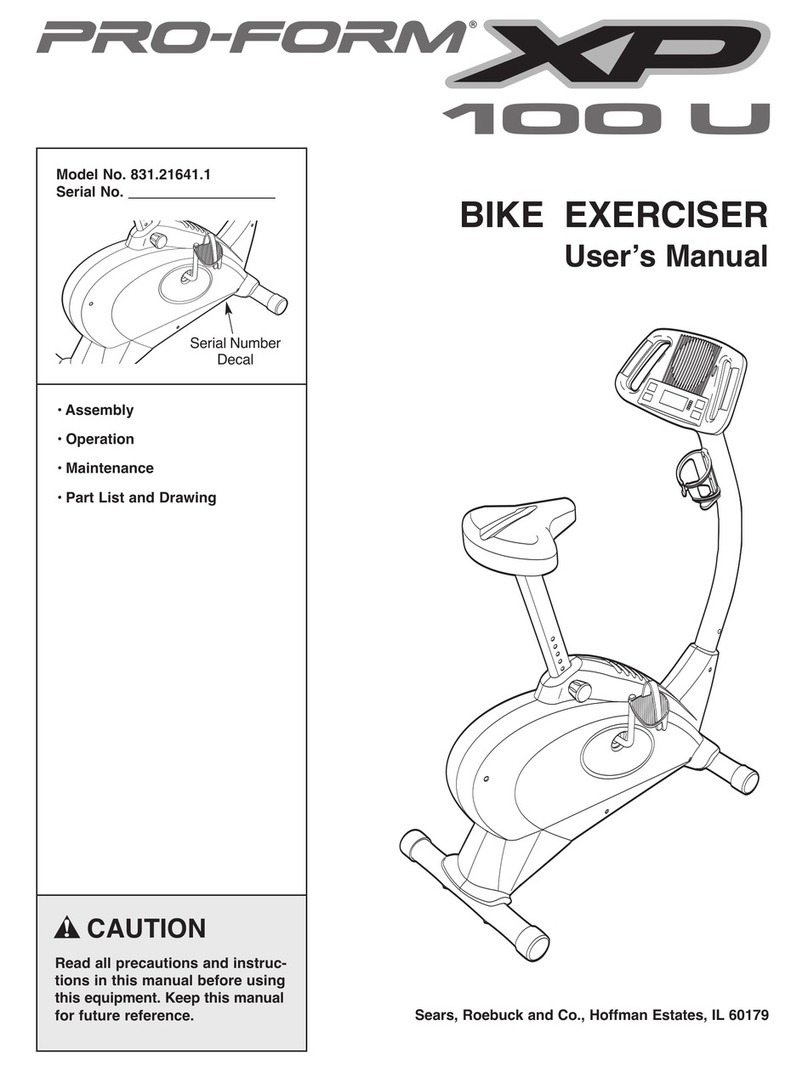
  9. Pro-Form XP 100 U User manual

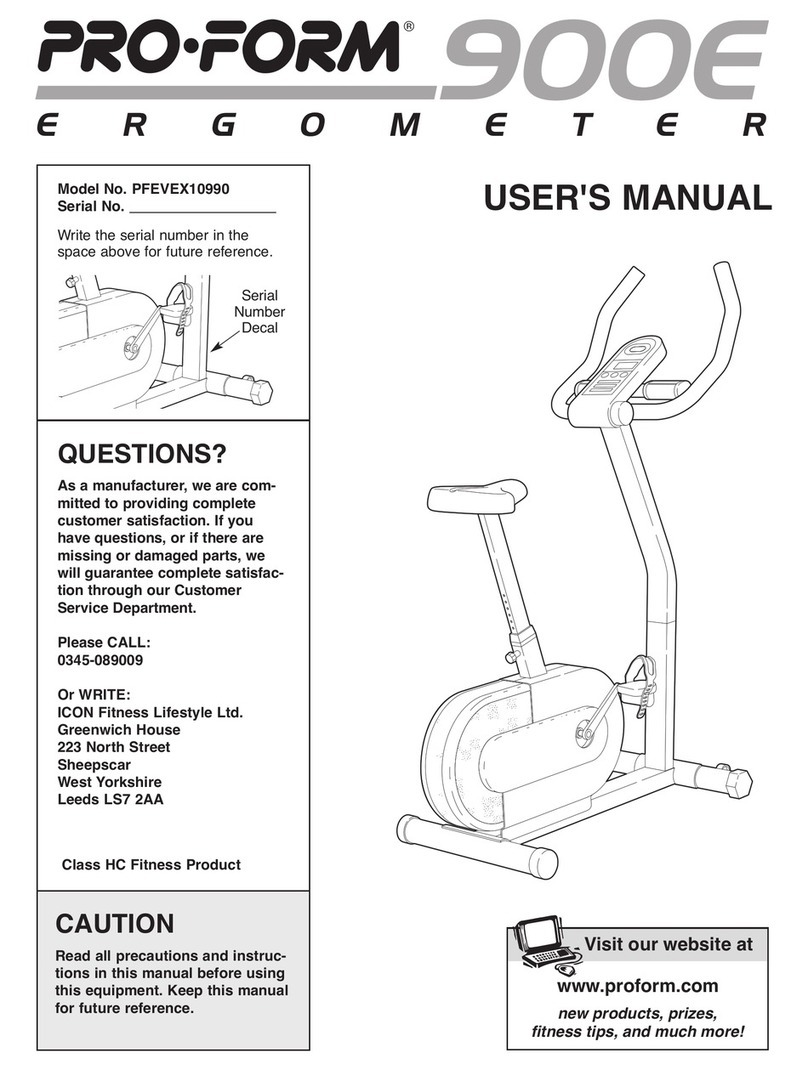
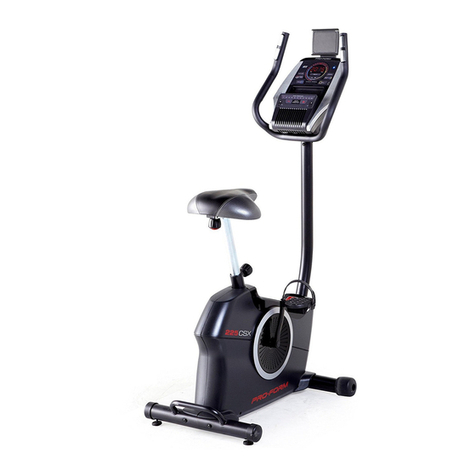
Pro-Form XP 100 U User manual

Other manuals for XP 100 U

3

This manual suits for next models

1

Other Pro-Form Exercise Bike manuals

Pro-Form 870e Operating and maintenance manual

Pro-Form

Pro-Form 870e Operating and maintenance manual

Pro-Form TOUR DE FRANCE CBC User manual

Pro-Form

Pro-Form TOUR DE FRANCE CBC User manual

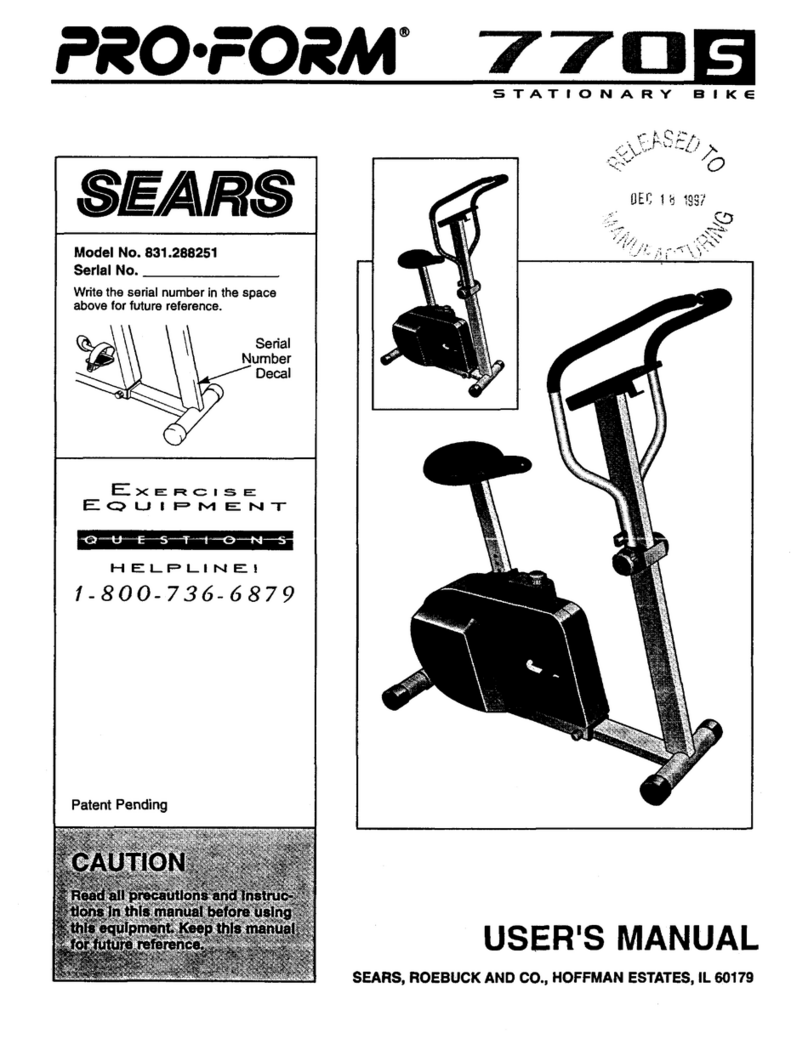
Pro-Form 770s User manual

Pro-Form

Pro-Form 770s User manual

Pro-Form 710 Ekg Exercise Bike Operating and maintenance manual

Pro-Form

Pro-Form 710 Ekg Exercise Bike Operating and maintenance manual

Pro-Form 750 Ekg Bike Operating and maintenance manual

Pro-Form

Pro-Form 750 Ekg Bike Operating and maintenance manual

Pro-Form 225 Zlx Bike User manual

Pro-Form

Pro-Form 225 Zlx Bike User manual

Pro-Form 300 Zlx Bike User manual

Pro-Form

Pro-Form 300 Zlx Bike User manual

Pro-Form Saturn2 PFIVEX73513.0 User manual

Pro-Form

Pro-Form Saturn2 PFIVEX73513.0 User manual

Pro-Form LE TOUR DE FRANCE CLC User manual

Pro-Form

Pro-Form LE TOUR DE FRANCE CLC User manual

Pro-Form 740 Ekg Bike User manual

Pro-Form

Pro-Form 740 Ekg Bike User manual

Pro-Form 225 Zlx Bike User manual

Pro-Form

Pro-Form 225 Zlx Bike User manual

Pro-Form PFEX1995.3 User manual

Pro-Form

Pro-Form PFEX1995.3 User manual

Pro-Form XP WhirlWind 280 User manual

Pro-Form

Pro-Form XP WhirlWind 280 User manual

Pro-Form Airobic Cycle PF310110 User manual

Pro-Form

Pro-Form Airobic Cycle PF310110 User manual

Pro-Form CrossTrainer 56 User manual

Pro-Form

Pro-Form CrossTrainer 56 User manual

Pro-Form 455 Ekg Bike Quick start guide

Pro-Form

Pro-Form 455 Ekg Bike Quick start guide

Pro-Form 590 Spx Bike User manual

Pro-Form

Pro-Form 590 Spx Bike User manual

Pro-Form 280 Csx Bike User manual

Pro-Form

Pro-Form 280 Csx Bike User manual

Pro-Form 715 Smr Bike Quick start guide

Pro-Form

Pro-Form 715 Smr Bike Quick start guide

Pro-Form Airobic Trainer User manual

Pro-Form

Pro-Form Airobic Trainer User manual

Pro-Form PFCCEX34390 User manual

Pro-Form

Pro-Form PFCCEX34390 User manual

Pro-Form 290 Csr Bike User guide

Pro-Form

Pro-Form 290 Csr Bike User guide

Pro-Form 200 Zlx Bike System manual

Pro-Form

Pro-Form 200 Zlx Bike System manual

Pro-Form 780 Ekg Bike Operating and maintenance manual

Pro-Form

Pro-Form 780 Ekg Bike Operating and maintenance manual

Popular Exercise Bike manuals by other brands

BH BLADEZ 200U owner's manual

BH

BH BLADEZ 200U owner's manual

Eco-De ECO-800 Instruction guide

Eco-De

Eco-De ECO-800 Instruction guide

Nautilus Be Strong Commercial Series U916 owner's manual

Nautilus

Nautilus Be Strong Commercial Series U916 owner's manual

NordicTrack Gx 3.1 Bike Manual Del Usuario

NordicTrack

NordicTrack Gx 3.1 Bike Manual Del Usuario

NordicTrack Gx 3.1 Bike Instrukcja obsŁugi

NordicTrack

NordicTrack Gx 3.1 Bike Instrukcja obsŁugi

Tomahawk IC3 manual

Tomahawk

Tomahawk IC3 manual

GPI Sports & Fitness BODYWORX ABX250M manual

GPI Sports & Fitness

GPI Sports & Fitness BODYWORX ABX250M manual

Trixter X-Bike user manual

Trixter

Trixter X-Bike user manual

TOORX BRX85 Instruction

TOORX

TOORX BRX85 Instruction

Matrix KranKcycle user manual

Matrix

Matrix KranKcycle user manual

Weslo Vector 302 Bedienungsanleitung

Weslo

Weslo Vector 302 Bedienungsanleitung

Matrix IC3 manual

Matrix

Matrix IC3 manual

Sunny Health & Fitness SF-B121021 user manual

Sunny Health & Fitness

Sunny Health & Fitness SF-B121021 user manual

Monark 827E instruction manual

Monark

Monark 827E instruction manual

Stamina 1310 owner's manual

Stamina

Stamina 1310 owner's manual

American Fitness SPR-BK1072A owner's manual

American Fitness

American Fitness SPR-BK1072A owner's manual

Cateye CS-1000 (CYCLO SIMULATOR) Service manual

Cateye

Cateye CS-1000 (CYCLO SIMULATOR) Service manual

BH FITNESS H9158H Instructions for assembly and use

BH FITNESS

BH FITNESS H9158H Instructions for assembly and use

manuals.online logo
manuals.online logoBrands
  • About & Mission
  • Contact us
  • Privacy Policy
  • Terms and Conditions

Copyright 2025 Manuals.Online. All Rights Reserved.

CAUTION
Read all precautions and instruc-
tions in this manual before using
this equipment. Keep this manual
for future reference.
Serial Number
Decal
Model No. 831.21641.2
Serial No.
• Assembly
• Operation
• Maintenance
• Part ist and Drawing
Sears, Roebuck and Co., Hoffman Estates, I 60179
BIKE EXERCISER
Userʼs Manual
2
TAB E OF CONTENTS
IMPORTANTPRECAUTIONS ................................................................2
BEFOREYOUBEGIN ......................................................................3
ASSEMBLY ...............................................................................4
HOWTOOPERATETHEEXERCISECYCLE....................................................8
MAINTENANCEANDTROUBLESHOOTING ...................................................16
CONDITIONINGGUIDELINES...............................................................17
PARTLIST ..............................................................................18
EXPLODEDDRAWING ....................................................................19
ORDERINGREPLACEMENTPARTS ..................................................BackCover
90DAYFULLWARRANTY ..........................................................BackCover
1. Read all instructions in this manual and all
warnings on the exercise cycle before using
the exercise cycle. Use the exercise cycle only
as described in this manual.
2. It is the responsibility of the owner to ensure
that all users of the exercise cycle are ade-
quately informed of all precautions.
3. The exercise cycle is intended for home use
only. Do not use the exercise cycle in
a commercial, rental, or institutional setting.
4. Keep the exercise cycle indoors, away from
moisture and dust. Place the exercise cycle
on a level surface, with a mat beneath it to
protect the floor. Make sure that there is
enough clearance around the exercise cycle
to mount, dismount, and use it.
5. Inspect and properly tighten all parts regularly.
Replace any worn parts immediately.
6. Keep children under the age of 12 and pets
away from the exercise cycle at all times.
7. The exercise cycle should not be used by
persons weighing more than 250 lbs. (113 kg).
8. Wear appropriate clothes while exercising;
do not wear loose clothes that could become
caught on the exercise cycle. Always wear
athletic shoes for foot protection.
9. The pulse sensor is not a medical device.
Various factors, including the user's move-
ment, may affect the accuracy of heart rate
readings. The pulse sensor is intended only
as an exercise aid in determining heart rate
trends in general.
10. Always keep your back straight while using
the exercise cycle; do not arch your back.
11. If you feel pain or dizziness while exercising,
stop immediately and cool down.
12. The exercise cycle does not have a freewheel;
the pedals will continue to move until the fly-
wheel stops.
13. The warning decal shown on page 3 has been
placed on the exercise cycle. If the decal is
missing or illegible, call toll-free 1-888-533-
1333 and request a free replacement decal.
Apply the decal in the location shown.
WARNING: Before beginning this or any exercise program, consult your physician. This
is especially important for persons over the age of 35 or persons with pre-existing health problems.
Read all instructions before using. Sears assumes no responsibility for personal injury or property
damage sustained by or through the use of this product.
IMPORTANT PRECAUTIONS
WARNING: To reduce the risk of serious injury, read the following important
precautions before using the exercise cycle.
3
Congratulations for selecting the new PROFORM®XP
100 U exercise cycle. Cycling is one of the most
effective exercises for increasing cardiovascular fit-
ness, building endurance, and toning the entire body.
The XP 100 U exercise cycle offers a selection of fea-
tures designed to let you enjoy this healthful exercise
in the convenience and privacy of your home.
For your benefit, read this manual carefully before
you use the exercise cycle. If you have questions
after reading this manual, call 1-800-4-MY-HOME®
(1-800-469-4663). To help us assist you, please note
the product model number and serial number before
contacting us. The model number is 831.21641.2. The
serial number can be found on a decal attached to the
exercise cycle (see the front cover of this manual for
the location of the decal).
Before reading further, please familiarize yourself with
the parts that are labeled in the drawing below.
BEFORE YOU BEGIN
REAR
Seat
Seat nob
Pedal/Strap
Console
Fan
Seat Post
Pulse Sensor
RIGHT SIDE
Water Bottle Holder*
*No water bottle is included
4
ASSEMB Y
Assembly requires two persons. Place all parts of the exercise cycle in a cleared area and remove the packing
materials. Do not dispose of the packing materials until assembly is completed.
Assembly requires the included tools and your own adjustable wrench and Phillips
screwdriver .
Use the part drawings below to identify the small parts used in assembly. The number in parentheses below
each drawing refers to the key number of the part, from the PART LIST on page 18. The second number refers
to the quantity needed for assembly. Note: Some small parts may have been pre-attached for shipping. If a
part is not in the parts bag, check to see if it has been pre-attached. If a part is missing, call toll-free
1-888-533-1333.
M10 x 20mm Button
Screw (35)–3
M10 x 74mm Button Screw (33)–4
M4 x 16mm
Screw (41)–4
M8 Nylon
Locknut (37)–4
M8 Split
Washer (36)–4
M10 Split
Washer (34)–3
M4 x 22mm
Screw (15)–2
1. Identify the Front Stabilizer (2), which is narrower than
the Rear Stabilizer (not shown). While another person
lifts the front of the Frame (1), attach the Front
Stabilizer to the Frame with two M10 x 74mm Button
Screws (33).
2
33
1
1
5
2. While another person lifts the rear of the Frame (1),
attach the Rear Stabilizer (14) to the Frame with two
M10 x 74mm Button Screws (33).
33
14
1
3
3
35
Be careful to avoid
pinching the Wire
Harnesses (31, 32)
34
34
1
35
3. While another person holds the Upright (3) near the
Frame (1), connect the Upper Wire Harness (32) to the
Lower Wire Harness (31).
Gently pull the upper end of the Upper Wire Harness
(32) to remove the slack, and slide the Upright (3) onto
the Frame (1). Be careful to avoid pinching the Wire
Harnesses. Attach the Upright with three M10 x 20mm
Button Screws (35) and three M10 Split Washers (34).
2
4
4. Attach the Water Bottle Holder (29) to the Upright (3)
with two M4 x 22mm Screws (15).
15
29
3
32
31
6
7. Attach the Seat (12) to the Seat Post (5) with four M8
Nylon Locknuts (37) and four M8 Split Washers (36).
Note: The Nylon ocknuts and Split Washers may
be preattached to the Seat.
6. While another person holds the Console (6) near the
Upright (3), connect the console wire harness to the
Upper Wire Harness (32).
Insert the excess Wire Harness (32) downward into the
Upright (3). Attach the Console (6) to the Upright with
four M4 x 16mm Screws (41). Make sure that the
Wire Harness is not pinched.
3
41 32
6
Console Wire
Harness
41
6
12
5
36
37
7
5. The Console (6) requires four “D” batteries (not
included); alkaline batteries are recommended.
IMPORTANT: If the exercise cycle has been
exposed to cold temperatures, allow it to warm to
room temperature before inserting batteries into
the Console. If you do not do this, the console dis-
plays or other electronic components may become
damaged. Press the tab on the battery cover and
remove the battery cover. Insert four batteries into the
console; make sure that the batteries are oriented
as shown. Then, reattach the battery cover.
6
Batteries
Batteries
Battery
Cover
5
7
10. Make sure that all parts are properly tightened before you use the exercise cycle. Note: After assembly is
completed, some extra parts may be left over. Place a mat beneath the exercise cycle to protect the floor.
9. Identify the Left Pedal (24), which is marked with an
“L.” Using an adjustable wrench, firmly tighten the
Left Pedal counterclockwise into the left arm of the
Crank (13). Tighten the Right Pedal (not shown)
clockwise into the right arm of the Crank. Important:
Tighten both Pedals as firmly as possible. After
using the exercise cycle for one week, retighten
the Pedals. For best performance, keep the Pedals
tightened.
Adjust the left Pedal Strap (25) to the desired position,
and press the end of the Pedal Strap onto the tab on
the side of the Left Pedal (24). Adjust the right Pedal
Strap (not shown) in the same way.
9
24 13
25
8. Remove the packing tube from the Frame (1), and dis-
card the packing tube.
Turn the Seat nob (11) counterclockwise two or three
turns to loosen it (if the Seat nob is not loosened
enough, it may scratch the Seat Post [5]). Next, pull the
Seat nob, insert the Seat Post into the Frame (1), and
then release the Seat nob. Move the Seat Post
upward and downward slightly until the pin on the
Seat Knob snaps into one of the holes in the Seat
Post. Then, turn the Seat nob clockwise until it is
tight.
12
5
11
Packing
Tube
8
1
8
HOW TO OPERATE THE EXERCISE CYC E
HOW TO ADJUST THE SEAT
For effective exer-
cise, the seat
should be at the
proper height. As
you pedal, there
should be a slight
bend in your knees
when the pedals
are in the lowest
position. To adjust
the height of the
seat, first turn the
seat knob counter-
clockwise two or
three turns to
loosen it (if the knob is not loosened enough, it may
scratch the seat post). Next, pull the knob, slide the
seat post to the desired height, and then release the
knob. Move the seat post upward and downward
slightly until the pin on the knob snaps into one of
the holes in the seat post. Then, turn the knob clock-
wise until it is tight.
HOW TO ADJUST THE PEDA STRAPS
To adjust the pedal
straps, first pull the
ends of the pedal
straps off the tabs
on the pedals.
Adjust the pedal
straps to the
desired position,
and then press the
ends of the pedal
straps onto the tabs.
Pedal
Strap
Seat
Post
Seat
nob
Seat
9
FEATURES OF THE CONSO E
The advanced console offers an array of features
designed to make your workouts more effective and
enjoyable.
When you select the manual mode of the console, you
can change the resistance of the pedals with the touch
of a button. As you exercise, the console will display
continuous exercise feedback. You can even measure
your heart rate using the handgrip pulse sensor.
The console offers two trainer programs that automati-
cally change the resistance of the pedals and prompt
you to increase or decrease your pace while guiding
you through an effective workout.
The console also features three interactive cross train-
ing programs designed to help you to burn calories
and enhance your cardiovascular system while toning
and strengthening your muscles. The cross training
programs automatically control the resistance of the
pedals and prompt you to perform a variety of strength
exercises during your workout. Choose an upper body,
lower body, or whole body cross training program for a
focused workout. Note: The strength exercises require
the use of dumbbells and an inflatable exercise ball
(not included). To purchase dumbbells or an exer-
cise ball, call toll-free 1-888-533-1333.
You can also use two calorie goal programs designed
to help you burn 300 calories in 30- or 45-minute work-
outs. The calorie goal programs automatically control
the resistance of the pedals and prompt you to increase
or decrease your pace while counting the calories you
burn.
To use the manual mode of the console, follow the
steps beginning on page 10. To use a trainer pro-
gram, see page 12. To use a cross training pro-
gram, see page 13. To use a calorie goal program,
see page 15.
Note: If there is a sheet of clear plastic on the face
of the console, remove the plastic.
10
HOW TO USE THE MANUA MODE
Press any button or begin pedaling to turn on
the console.
A moment after you turn on the console, the dis-
play will light.
Select the manual mode.
Each time you turn on the console, the manual
mode will be selected automatically. If you have
selected a program, reselect the manual mode by
pressing the Programs button repeatedly until the
words MANUAL MODE appear in the top of the
display.
Begin pedaling and change the resistance of
the pedals as desired.
As you pedal, change the resistance of the ped-
als by pressing the Increase and Decrease but-
tons repeatedly. There are ten resistance levels.
Note: After you press the buttons, it will take a
moment for the pedals to reach the selected
resistance level.
Follow your progress with the display.
The left side of the
display—This side of
the display will show
the elapsed time.
Note: When a pro-
gram is selected, the
display will show the time remaining in the pro-
gram instead of the elapsed time.
The left side of the display will also show your
heart rate when you use the handgrip pulse sen-
sor (see step 5 on page 11).
When a program is selected, the left side of the
display will also show the approximate number of
calories you have burned.
The center of the
display—When you
select the manual
mode, the center of
the display will show a
track that represents
1/4 mile. As you exercise, indicators will appear in
succession around the track until the entire track
appears. The track will then disappear and the
indicators will again begin to appear in succession.
The center of the dis-
play will also show the
resistance setting of
the pedals for a few
seconds each time the
resistance setting
changes.
The right side of the
display—This side of
the display will show
the distance (in miles
or kilometers) you
have pedaled and
your pedaling pace, in miles or kilometers per
hour.
The top of the dis-
play—When you
select the manual
mode, the top of the
display will show the
approximate number
of calories you have burned.
Note: The console
can display speed
and distance in
either miles or kilo-
meters. The letters
MPH or m/H will
appear in the display to indicate the selected unit
of measurement. To change the unit of measure-
ment, first hold down the Program button for sev-
eral seconds. An E (for English) or an M (for met-
ric) will appear in the display. Press the Increase
button to change the unit of measurement. When
the desired unit of measurement is selected, press
the Program button again. Note: When you
replace the batteries, it may be necessary to rese-
lect the unit of measurement.
1
4
3
2