16 Rev. 6 / July 16, 2020
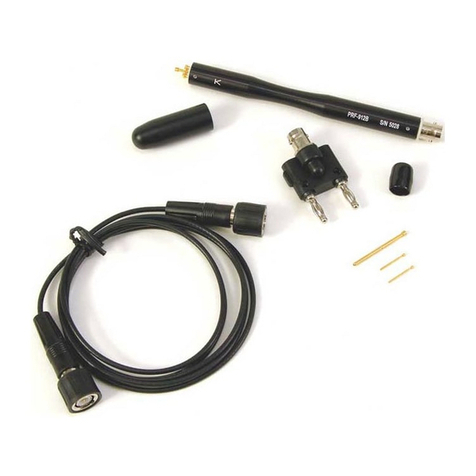
PFM-100 Field Meter Set
4. Select the range you wish to use for audi ng the ionizer’s decay performance. NOTE: Most
accurate decay me measurements are obtained using the analog output connected to a PGA-
710 Autoanalysis System or an X-Y plo er, PDT-740B Timer or digital Mul meter.
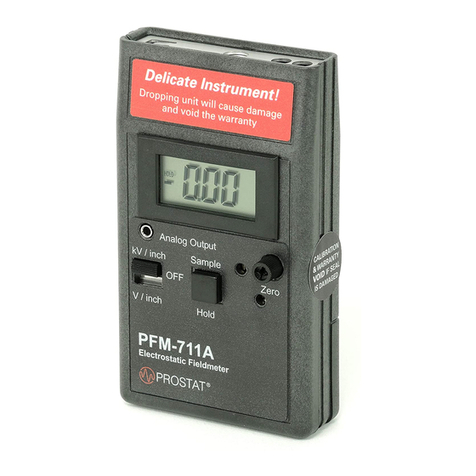
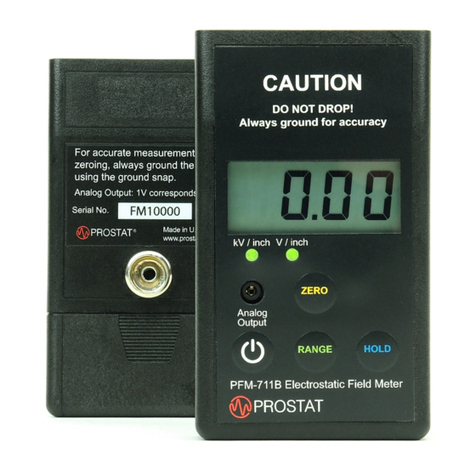
a. Select the V/inch range on the PFM-711A Field Meter and zero the unit, ±2 volts to ground.
This will provide the most precise voltage indica on. However, the instrument meter indi-
ca on is dampened so that me of decay will be slower than actual decay me.
b. Select the kV/inch range on the PFM-711A Field Meter and zero (0) the unit to ground. This
will provide good indica on and result in a faster decay me because the meter dampening
is less pronounced. The instrument meter indica on is dampened in this range so that me
of decay will be slower than actual decay me.
c. For accurate decay mes that are documented, perform this procedure with the analog
output of the PFM-711A Field Meter connected to the input of a PGA-710 Autoanalysis Sys-
tem or an X-Y plo er as described below. A er char ng the charge and decay process, cal-
culate the actual decay me based on the chart speed of the plo er. (See Step 11, below).
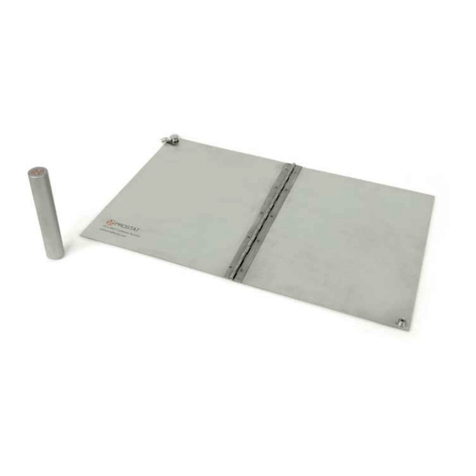
5. Posi on the sensing surface of the CPM-720A Charge Plate perpendicular to the ionizer’s air
fl ow, approximately 12 inches from its front air outlet.
a. Hold the instrument combina on so that the CPM-720A Charge Plate is in the airfl ow;
minimize the airfl ow to the PFM-711A’s meter case.
b. Make sure good contact is made with the PFM-711A’s ground snap.
6. Allow the PFM-711A/CPM-720A combina on to stabilize in the ion air fl ow for a minimum of
30-45 seconds and note the ion off set voltage.
7. Install the Charging Wand in the front of the PCS-730 Charging Source. Ground the PCS-730
Charging Source by making direct contact with the metal snap located on the back of its case.
a. To charge the Wand to >+1.0kV push the three posi on rocker switch toward the front of
the unit.
b. To charge the Wand to >-1.0kV, push the three posi on rocker switch toward the back of
the unit.
8. Touch the wand to the CPM-720A’s sensing (upper) plate and note the voltage indicated on the
PFM-711A meter.
9. Once the desired voltage level is achieved, discon nue
the charging process and remove the PCS-730 Charging
Source from the air path.
10. Observe the voltage drop indicated on the PFM-711A
meter. Voltage should decay over me to the ini al off set
point indicated during the balance test procedure out-
lined above.
11. To obtain an accurate measurement of decay me from
1,000 volts to 100 volts, use the following procedure em-
ploying an X-Y plo er for documenta on and calcula on purposes.


