PST MADGE TECH MicroRHTemp Specification sheet

Product User Guide | 2
MicroRHTemp
PRODUCT USER GUIDE
Product Overview
The MicroRHTemp is a battery powered, stand alone
humidity and temperature recorder that can fit in the
tightest places. It is even small enough to fit into most pill
bottles. It features an LED alarm indicator that alerts when
user-chosen temperature or humidity limits are exceeded.
This all-in-one compact, portable, easy to use device
will measure and record up to 16,383 measurements per
channel. The storage medium is non-volatile solid state
memory, providing maximum data security even if the
battery becomes discharged. Start and stop the device
directly from your computer or with programmable start
time and data retrieval is quick and easy. Simply plug it
into an empty USB port with an interface cable (IFC202)
and our user-friendly software does the rest.
Installation Guide
Installing the Software
The Software can be downloaded from the MadgeTech
website at madgetech.com. Follow the instructions
provided in the Installation Wizard.
Installing the Interface Cable
IFC202 (sold separately) — Connect the device into a USB
port with the interface cable and install the drivers.
Ordering Information
• 900362-00 — MicroRHTemp
• 900309-00 — IFC202
• 901570-00 — SR1154W Replacement battery (2 required)
Device Operation
Connecting and Starting the Data Logger
1. Once the software is installed and running, plug the
interface cable into the data logger.
2. Connect the USB end of the interface cable into an
open USB port on the computer.
3. The data logger will automatically appear under
Connected Devices within the software.
4. For most applications, select Custom Start from
the menu bar and choose the desired start method,
reading rate and other parameters appropriate for the
data logging application and click Start. (Quick Start
applies the most recent custom start options, Batch
Start is used for managing multiple loggers at once,
Real Time Start stores the dataset as it records while
connected to the logger.)
5. The status of the device will change to Running or
Waiting to Start, depending upon your start method.
6. Disconnect the data logger from the interface cable
and place it in the environment to measure.
Note: The device will stop recording data when the end of memory is
reached or the device is stopped, unless user selectable memory wrap
is enabled. At this point the device cannot be restarted until it has been
re-armed by the computer.
Downloading Data from a Data Logger
1. Connect the data logger to the computer with the
interface cable.
2. Highlight the data logger in the Connected Devices
list. Click Stop on the menu bar.
3. Once the data logger is stopped, with the logger
highlighted, click Download.
4. Downloading will offload and save all the recorded
data to the PC.

Product User Guide | 3
MicroRHTemp
PRODUCT USER GUIDE
Device Operation (cont’d)
Alarm Settings
To change the settings for the alarm:
1. In the Connected Devices panel, select the intended
device to change the alarm settings.
2. On the Device tab, in the Information group, click
Properties. Users can also right-click on the device and
select Properties in the context menu.
3. Click Alarm. A window will appear allowing to set the
high and low alarms and warning alarms.
4. Check Enable Alarm Settings to enable the feature
and check each high, low and alarm box to activate it.
The values can be entered in the field manually or by
using the scroll bars.
5. Click Apply to apply the changes to the device. Click
Save to save the changes to a template.
6. To clear an active alarm, press the Clear Alarm button.
7. To set an alarm delay, enter the duration of time into
the Alarm Delay box in which the readings can be
outside of the alarm parameters.
LEDs
Once started, the green LED will flash at the selected
reading rate to indicate that the device is running. The red
LED will flash in one second intervals if there is an alarm
condition.
Device Maintenance
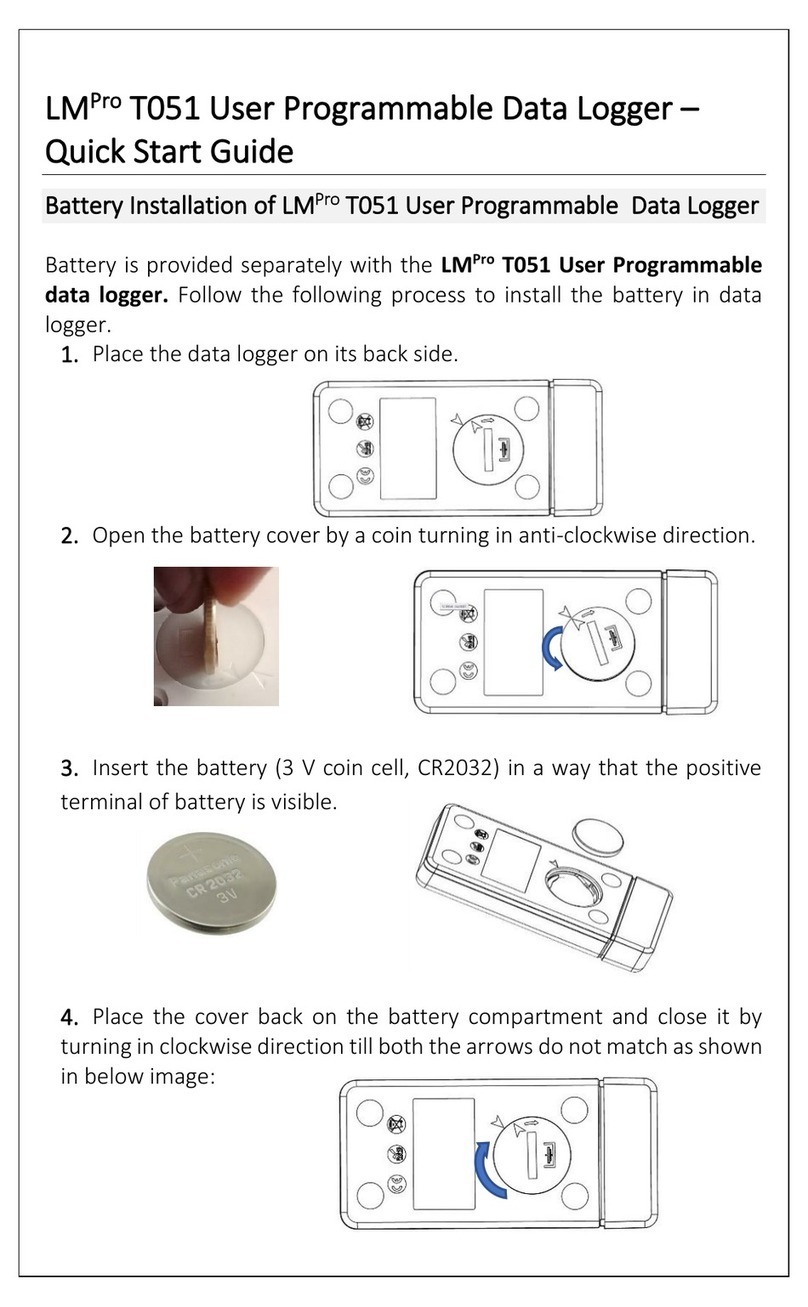
Battery Replacement
Materials: SR1154W Battery (2 required)
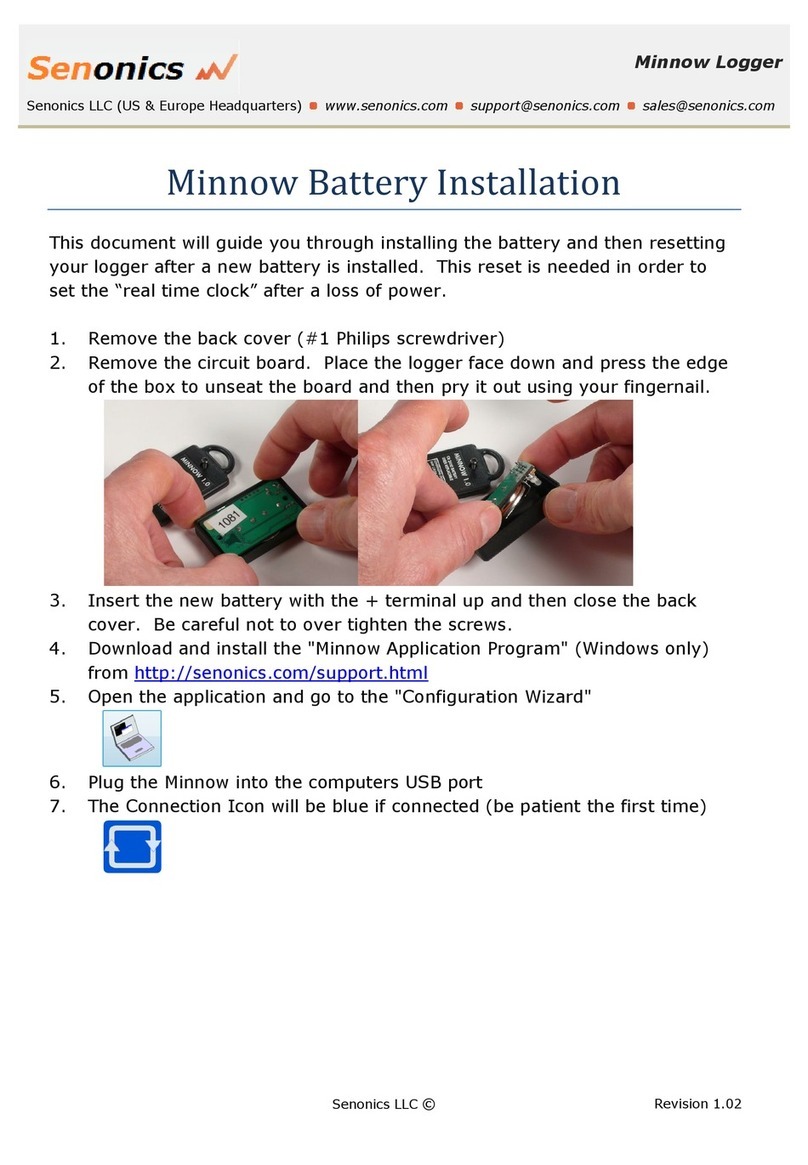
1. Unscrew the knurled end cap.
2. Tip the batteries (enclosed in a plastic sleeve) out of
the enclosure tube.
3. Use a small, dull, non-metallic tool (e.g. pen cap) to
push the batteries out of the sleeve.
4. Press the new batteries into the sleeve negative (-) end
first.
5. Place the sleeved batteries in the enclosure tube
positive (+) end first.
6. Screw the knurled end cap back in place.
Recalibration
MadgeTech recommends annual recalibration. To send
devices back for calibration, visit madgetech.com.
www.pacificsensortech.com.au

MicroRHTemp
NEED HELP?
DOC-1021036-00 | REV 1 2020.09.15
6 Warner Road, Warner, NH 03278
(603) 456-2011
info@madgetech.com
madgetech.com
Product Support & Troubleshooting
• Visit our Resource Library online at madgetech.com/resources.
• Contact our friendly Customer Support Team at (603) 456-2011 or support@madgetech.com.
MadgeTech 4 Software Support
• Refer to the built-in help section of the MadgeTech 4 Software.
• Download the MadgeTech 4 Software Manual at madgetech.com.
• Contact our friendly Customer Support Team at (603) 456-2011 or support@madgetech.com.
www.pacificsensortech.com.au
www.pacificsensortech.com.au/madgetech-4-software
This manual suits for next models
1
Other PST Data Logger manuals

