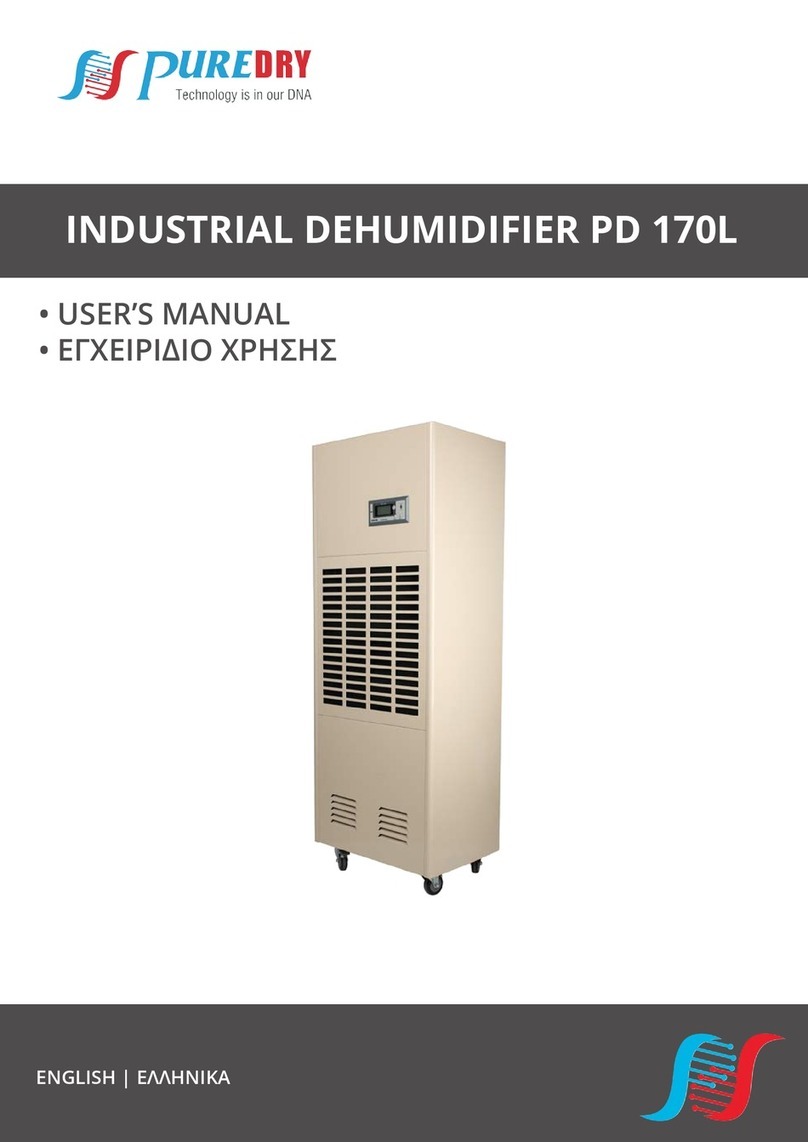
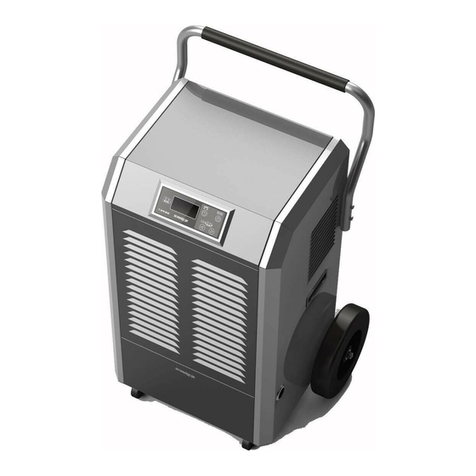
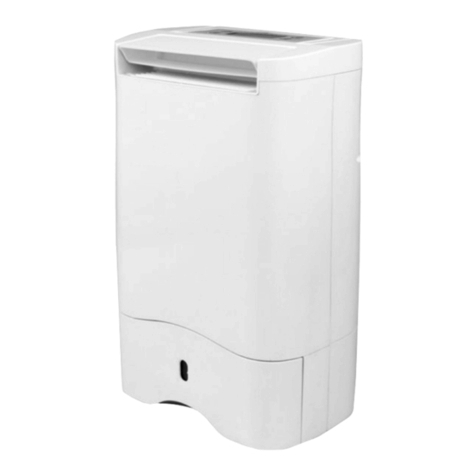
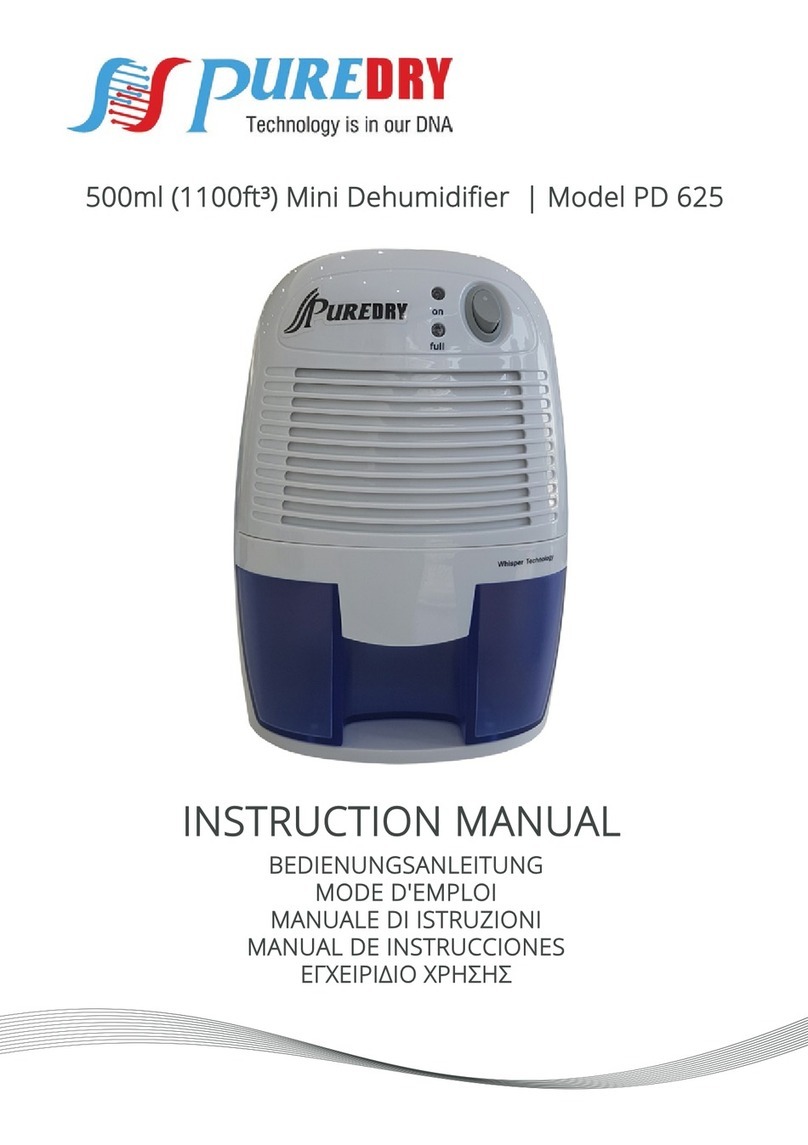
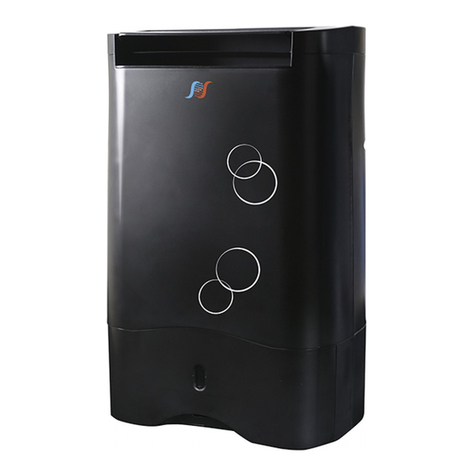
Puredry PDD 200M User manual

• USER’S MANUAL
• ΕΓΧΕΙΡΙΔΙΟ ΧΡΗΣΗΣ
ENGLISH | ΕΛΛΗΝΙΚΑ
Desiccant Dehumidifier PDD 200M

LANGUAGES
ENGLISH .............................................................................................................. 3
ΕΛΛΗΝΙΚΑ ......................................................................................................... 21

EN 3
CONTENTS
1. SAFETY INSTRUTIONS ....................................................................................................4
2. ELECTRICAL INFORMATIONS ....................................................................................... 5
3. SOCIABLE REMARKS - ENVIRONMENTAL PROTECTION ..............................................5
4. STEPS BEFORE USE ........................................................................................................6
6.TECHNICAL DETAILS........... ...........................................................................................9
7.INSTALLATION ............................................................................................................ 10
9.
OPERATION ..................................................................................................................14
10.
MAINTENANCE.............................................................................................................16
FREQUENTLY ASKED QUESTIONS & TROUBLESHOOTING .....................................17
5. PRODUCT FEATURES ......................................................................................................6
8.
Dear Consumer,
Congratulations on your choice!
Puredry's PDD 200M Desiccant lift dehumidifier is
distinguished among its class, by its excellent
performance, quite operation and double air inlets,
which guarantee efficiency regarding humidity
issues.Please refer to this manual, to obtain full
eiffciency of the dehumidiifer, through the guidelines
included in the following pages and make savings via
clever use of this device.
DESIGN PLAN ...........................................................................................................7
5.3 STRUCTURE ..............................................................................................................7
ZEOLITE .....................................................................................................................8
ZEOLITE ROTATION ..................................................................................................8
DIMENSION ..............................................................................................................9
7.1 PLACE OF INSTALLATION ......................................................................................11
7.2 INSTALLATION GUIDE ...........................................................................................12
5.2
5.4
5.5
5.6
11.WARRANTY TERMS ....................................................................................................18

4
1. SAFETY & WARNING INSTRUCTIONS
l No children under the age of 8 should be permitted to operate this electric device. Be certain,
that children, handicapped people, or people with the lack of knowledge and experience,
must be supervised, depending the situation, by persons responsible for their well-being
and do not undertake procedures such as the cleaning or the maintenance of this device.
l It is important that adequate supervision is provided and no minors are left unattended
with this device.
l This dehumidiifer is for domestic and small oiffce use only. Do not use this device for
commercial, industrial or marine use, and in areas with wet surfaces such as restrooms or
shower rooms.
oper!
l This device should always be kept in an upright position to avoid any damage.
l All house exits (windows doors etc) where the
safely be transferred from one area to another.
dehumidiifer is ating, should be s.utif
l If water leakage appears within the unit, turn the unit off and disconnect the power cord.
l Before moving, unplug the device and manage to keep it in a vertical position in order to
l Be sure to empty the water whenever the water tank is full or when the device will not be
used for a prolonged time.
l Always empty the water tank before storing the unit.
l When the unit has been switched off and instantly switched on, keep in mind that,
for operational reasons, there is a 3 minute delay in order to regain normal operation.
l If the unit is misplaced or tipped, unplug the power cord immediately. Make sure the unit
is completely dry before resuming operation.
l Disconnect the device, if abnormal sounds, odors or smoke occur.
l If the supply cord is damaged, it must be replaced by the manufacturer, its service agent or
similarly qualiifed persons to avoid a hazard. Never attempt to dismantle, repair or modify
the device.
l Do not attempt to repair, dismantle or modify this appliance. Contact your authorized
service technician for repair or maintenance of this device.
l Do not operate or stop the unit by unplugging or plugging the device.
l Do not insert any objects in the unit’s air inlet and exhaust as this may cause damage to
the device.
l Do not place heavy objects on the power cord. Make sure that the cord is not compressed.
l Do not place cord under any obstacles (carpets rugs or runners etc). Cord should be
arranged away from areas where accidental tripping may occur.
l Casters should be able to move comfortably over any obstacle. Be extra cautious while
moving over carpets, since any extra force may cause the tipping of the unit, or the spilling
of any water collected in the bucket.
l Do not sit or climb on the device.
l Do not place the unit in direct sunlight or near other heating sources.
l Do not use the unit near chemicals, radiators, flammable materials or fire.
l Do not remove the water tank while the device is in use.
l Do not use the device without the filter. Dirt and lint may clog the unit thus reducing
performance.
l Do not drink or use the collected water of the unit for any purpose.
l Do not use the unit with wet hands.
EN

5
• Upon first use, and for proper calibration, please allow unit to operate
continuously for 24 hours.
2. ELECTRICAL INFORMATION
The nameplate, with all the electrical and technical data of this appliance, is located on the
rear panel.
l The appliance should be installed in accordance with national wiring regulations.
l Be sure the device is grounded properly. Proper grounding is important as it minimizes
the chance of electric shock or fire. The power cord is equipped with a grounding
plug for protection against electric shock hazards.
l The device must be used in a properly grounded wall socket. If the specific socket you
intend to use is not adequately grounded or protected by a time delay fuse or circuit breaker,
have a qualiifed electrician install the proper receptacle.
l Ensure the wall socket is still accessible after the installation of the dehumidifier.
l Do not use extension cords or adapter plugs with this device.
l To avoid personal injury, always disconnect the power supply of the device, before
maintenance.
l The unit’s circuit board (PCB) has an included safety fuse for overcurrent protection. You
may find the speciifcations of the fuse, marked on the circuit board, for example: T 3.15A/250V
(or 350V), etc.
Power off the dehumidifier before removing the plug.
3. SOCIABLE REMARKS
ENVIRONMENTAL PROTECTION
Disposal of equipment no longer used:
Please follow the instructions below, when using this dehumidiifer in European countries.
l This appliance requires special treatment for disposal. In the European Union, electronic
equipment must not be treated as domestic waste, but must be disposed of professionally
in accordance with Directive 2002/96/EC of the European Parliament and Council of 27th
January 2003 concerning old electrical and electronic equipment.
The disposal of this unit should follow all legal requirements and should not be disposed
as unsorted municipal waste.
The hazardous substances can leak into the ground water supply thus entering the food
chain, endangering your health and the environment.
l Fluorinated Greenhouse Gasses are contained in hermetically sealed equipment. For
specific information regarding the type, the amount and the CO2 equivalent in tons,
please refer to the relevant labels of the unit.
l There are several alternative solutions for disposal:
A) Your local municipality has established free collection systems for electronic
waste.
B) Your local retailer upon purchase of a new product.
C) The manufacturer may accept the old appliance for disposal.
D) Old appliances sometimes contain valuable resources for scrap metal dealer.
EN

During the installation and operation of the equipment, everyone shall bear the
liability of the following:
1. Follow the manual's instructions carefully.
2. The installation and the maintenance should be done by qualified professionals.
3. Do not install the dehumidifier around explosive devices.
4. Turn off the power before accessing to the internal compartment of the product.
5. To carry out maintenance service, please allow the machine to stop and cooldown
about 15 minutes.
6. Dehumidifier is limited to atmospheric pressure condition to dehumidify.
7. All of our dehumidifiers come with air filters. Please ensure to check and clean them
once every week.
8. Amend or remove any labels, safety marking or notes on the dehumidfier is
prohibited.
9. Original spare parts should be used for any faulty or replacement by the
manufacturer.
10. The manual should be kept well for reference.
4. STEPS BEFORE USE
EN
6
5.PRODUCT FEATURES
The desiccant dehumidifiers are developed to effectively treat applications that
requiring low air humidity. The desiccant dehumidifier operates based on the
adsorption principal. Treated air is simply passed through a porous wheel of solid
desiccant and its moisture in the air is absorbed and the humidity level is lowered.
After the wheel absorb the moisture, it will become saturates and in order to be used
again it must be ‘recharged’ or also called as ‘regenerated’ by heating it up until the
absorbed moisture is evaporated. The evaporated moisture will be driven off the
desiccant wheel and goes right back to outdoor air or to surrounding ambient, which
is not the treated room. The desiccant dehumidifier is designed so that the treated air
is separated from the incoming air stream to dry the wheel, which will be exhausted
to the outside.
The desiccant wheel is slowly rotating in the system to continuously absorb moisture
to keep the treated air dry and regenerated using heat to help remove the absorbed
moisture from the desiccant. Roughly ¾ of the time the desiccant will be absorbing
moisture out of the treated room air, and the remaining ¼ of the time it will recharge.
The process mentioned above is shown as picture in 1.2 showing below.

EN 7
•Our Desiccant dehumidifier equipment is built with solid steel frame structure of
1.2mm thickness, which is insulated to prevent condensation on machine surface.
It is powder coated painted for better anti-corrosion.
•The rugged steel frame structure, is meant for heavy duty usage, where it can be
move and handle by forklift for transportation and installation purpose.
•The machine is designed for easier maintenance. The machine's panel can be
easily screwed and unscrewed for machine troubleshoot. And the electrical panel
can be easily located and opened, hinge door with clip.
•The desiccant wheel is made of high quality material which can last long under
normal usage with care. It is effective and reliable.
•There are filters for each air inlets. It is easy to remove for cleaning purpose. It is
suggested to clean the filter regularly to maintain the performance of the machine,
once every week.
5.2 DESIGN PLAN
5.3 STRUCTURE

EN
8
The desiccant wheel and the frame part form the core of the dehumidifier,
whose performance characteristics directly influence the dehumidifier
performance and characteristics:
•Both desiccant rotor and sealing strip are imported materials from USA.
•The desiccant rotor is made by special heat resistance composite
materials, which is corrugated structure containing high performance of
moisture absorption, forms lots of tiny air holes, has large air contact area,
improving the dehumidification efficiency.
5.4 ZEOLITE
•Reactivation blower will delay to stop while reactivation temperature up to 60℃,
ensuring that the water vapors and heat can be completely removed.
•Reactivation heater. The controller acquire signals from the heating temperature
transmitter, then PID adjusts internally, adjusts the power of SCR to ensure the
wheel is in constant temperature, to allow better energy saving.
•The processed air outlet can be connected to an other air treatment equipment
according to the user needs.
The slow rotation of wheel is realized through the motor and belt transmission
device. Belt is located at the wheel rim, driven through the drive motor pulley.
Belt tension device can ensure belt in the appropriate firmness, prevents belt
slide and to deal with driving devices are in correct operation. The front panel
can be open to check the wheel rotation direction.
Motor overloaded and short circuit protection: Processing motor, reactivation
motor and the motor of wheel are introduced the overload and short circuit
protection function.
Stop protection:W hen dehumidifier stops normally, reactivation fans (including
wheel) will continue to run until reactivation heater cools down to 60 ℃ below.
5.5 ZEOLITE ROTATION
•The centrifugal fan (or EC Centrifugal fan) is high quality. Τhe rotor blades and
the spiral case are made of steel. They are highly efficient, providing big air
supply and at the same time low noise levels.

5.6 DIMENSION
Model PDD 200M Dessicant
Dehumidification Technology Desiccant Zeolite
Voltage / Frequency (V/Hz) 220~240/ 50
Consumption (KW) Input: 1.2
Current 5.22 Α
Operating Temperature -20°C ~ 60°C
Capacity *0,6 kg/h
Air Inlet 210m3/h (100PA)
Regenerated Air Inlet 60m3/h (50PA)
Dimension ( L x W x H ) 620x404x336mm
Ner Weight 46 Kg
6. TECHNICAL DETAILS
*Note: the capacity data is calculated while the ambient temp. is 20°C and humidity keeps
60%RH.
9
ΕΝ
Max: 1.5
Gross Weight 59 Kg

7.INSTALLATION
Bellow you will find installation instructions of the dehumidifier. Pay attention to make
sure that the product is positioned correctly.
Before the installation, check all the parts of the dehumidifier to make sure that there
isn't aby damage or malfunction caused by the transportation. If you find any damage,
please contact the distributor.
Connect the product to the air ducts. If you have any doubts about the placement if the
dehumidifier or you believe that some parts are missing, please contact the
manufacturer. If there are bad enviromental or installation conditions, please contact
the manufacturer.
ΕΝ
10
The dehumidifier is very heavy, in order to prevent any injury or damage, do nit
move it by yourself. It is designed to be moved by lifting vehicle.
Dehumidifying Capacity kg/H
Air Inlet Temperature C°
Air Inlet RH%
PDD 200M Curve Graph

7.1 PLACE OF INSTALLATION
The dehumidifier is suitable for indoor usage. For the convenience of
maintenance and inspection, some space around the machine should be
retained (800mm gap at least). In order to prevent condensation inside the
machine, the dehumidifier should not be put into the condition in which the air
temperature is below the dew point.
In addition, if the machine is installed outdoors, some protective measures
should be taken to prevent rain, snow and dust etc.
In any case the dehumidifier has to be installed on a horizontal ground or
platform, which has to be able to sustain the weight of it. After the
installation, it would be wise to re-check the ground or the platform on
which the dehumidifier has been placed. In case the dehumidifier has to be
mounted, the retaining base should be from stainless steel.
The dimensions of duct for process air and reactivation air should be in line
with ISO7807 recommended values. Ducting should be connected with
the connection part on flange.
Please pay attention to the following notes about the duct connection.
•In order to reduce loss of static pressure, it is adviced to install with the
shortest length of duct possible.
•In order to ensure the maximum perfomance of the machine, all connctions
have to be done right, without any loss of air.
•The duct should have a good capacity of thermal insulation, to prevent
moisture condensation inside or outside the duct surface.
•To reduce noise and vibration transmitted along the duct, high quality, soft
and strong airtight adapting pieces should be used in the joint parts.
•The air valve can be installed inside the duct of process air and reactivation air
if it is needed.
•If the reactivation air is introduced from outdoor air, the reactivation air duct
should be high enough off the ground to prevent inhale of dust and debris,
meanwhile, it must be far away from some sources of pollution, such as
energy emissions, steam and gases. In order to prevent wet air outlet is
inhaled back into machine, the distance between the regeneration inlet air and
wet air outlet should be at least distant by 1 meter.
If the outlet air contains a high amount of moisture, droplets may form inside
the conduit. In this case, the drain should be positioned vertically so that the
droplets flow smoothly out of it. If installed horizontally, these droplets will
remain in the interior and may cause long-term corrosion of the pipeline.
•
11
ΕΝ

7.2 Installation Instructions
7.2.1 Indoor Installation
Indoors: The regeneration air inlet and outlet have to be connected with ducts
that lead outdoors. The processed air without moisture, can be directed
through a duct to the designated area you desire. Otherwise it will normally
come out of the dehumidifier output.
7.2.2 Outdoor Installation
The processed air inlet and outlet have to be ducted to the treated area. The
regeneration air inlet and outlet can be ducted to outdoor if the machine is
installed outside of the treated room, or it can be allowed to free flow if it is
installed at outdoor.
ΕΝ
12

Puredry's Desiccant Dehumidifier is design for easy ducting connection. For
inspection and maintenance, please ensure there is enough space arround
of the unit. This is to provide clearance for opening the access door and
remove the desiccant wheel.
To load, unload, move or relocate the machine, it is recommended to use
material handling equipment such as Hand Pallet Jack, Forklift and others.
Please do not place the dehumidifier near explosive areas, it is not designed
for explosive environment or with explosive materials. When installing the
ducts, avoid recirculation of outlet air to inlet. For instance, please make sure
the Wet Air outlet is far from Regeneration Air Inlet and the Process Air Inlet
is far from the Dry Air Outlet.
It is also recommended to minimize the length of the duct used. As longer
the ducts are, the performance of the machine will be affected. The Dry Air
outlet of the unit can be fitted with a Volume Control Damper to regulate the
airflow volume when necessary. The damper can also be installed at the wet
air outlet, if you would like to reduce the dehumidification capacity.
7.2.3 Electrical connection
Caution! All electrical connections have to obey local electrical equipment
installation standards, done by qualified professionals.
•It is forbidden to connect the power supply beyond the specified voltage
and frequency. Check the power supply before connecting and turning on
the dehumidifier.
•Unit must be grounded. Setting the power isolation switch to ensure the
machine is totally off power during checking work. The main switch to be
directly connected with the main power devices.
7.2.4 (OHPHQW&RQQHFWLRQ
&DXWLRQTKHIROORZLQJ UHTXLUHPHQWVVKRXOGEHDELGHG for the installation
of temprature and humidity sensors:
•Temperature and humidity sensors should be installed above ground 1 m
to 1.5 meters, making sure the device can detect the representative data
in the dehumidifying area.
•The sensors should be installed away from the entrances and exits of
the dehumidifier.
•Temperature and humidity sensors should not be in direct exposure to
sun and also they should not be near places that produce high or low
temperatures.
•External control system must be compatible with the low voltage control
circuit of dehumidification equipment.
13
ΕΝ

14 ΕΝ
8.OPERATIONS
1. PID HUMIDITY CONTROLLER
PV Screen:measured value.
Under operating status, displays
current humidity.
Under setting status, displays menu code.
SV Screen:set value.
Under operating status,displays set
humidity. Under setting status,displays set
value of each parameter displayed in PV
screen.
OUT(green): When indicates are green, it means that they are in operation.
SET: Press this key for 3 seconds to enter set mode or press it once to check the
SV screen output.
Shift key,press it to change the parameters.
▼Down key in setting mode,press to decrease the value; press for 3 seconds to
enter the setting mode.
▲Up key in setting mode,press to increase the value;press for 3 seconds to enter
the setting mode.

1.2 CODE DESCRIPTION
Set SP
Press ▲ or ▼ for 3 seconds to enter settings menu.
Once PV screen shows the code SP, SV screen shows the value,press 、▼、▲ to set the
value.
Press SET to save the value.
When the room humidity (PV) is more than the user selected (SV), the OUT indicator
lights up, and the dehumidifier starts to operate.
When the room humidity (PV) is less that the user selected (SV), the OUT indicator turns
off and the dehumidifier stops operating.
ΕΝ 15
Code Price Range
SP 0~100%
P0~9999
Hy 0.1~50.0
Sc -50.0~50.0
dp 0~1
LOCK 0~150
Description
Set the required humidity
Set P to 0
Set the hysteresis value
0: without decimal point 1: with demical point
LOCK=0,every value change in each mode allowed
LOCK=1,value change of SP(set point) allowed only
LOCK≠0,1,all value changes prohibited
Default
30
0
2.0
0
0
0
0
0
1.3 SET
2.DEHUMIDIFYING INDICATOR
Indicator lights up when the machine is dehumidifying.
Indicator turns off when the humidity is achieved.
3.POWER ON INDICATOR
Indicator lights up when the machine is powered on.
4.TURN ON/OFF
Press it to turn on/off the machine.
Indicator lights up when the machine is turned on.
Indicator turnss off when the machine is turned off.
Calibrate the reading

The desiccant dehumidifier can operate for a long time without any damage. However,
an essential ellement feature is the maintenance procedure that you have to perform
thorougly to ensure the long life of the dehumidifier and its maximum performance
The frequency of the maintenance depends on the operation conditions and the
conditions of the working environment. If the process air is dusty, more often
maintenance will be required. If the machine is not properly maintained, it will affect
the dehumidification performance while the lifespan of the machine will be shorten as
well.
The Dehumidifier should be shut down 15 minutes before accessing to the panel or
carry out any maintenance procedure, such as removing the filter for cleaning purpose.
Cut off the main power before any maintenance work.
If there is still high temperature (reactivation heating section) in the dehumidification
equipment, it is recommended to allow the machine cool down completely before
carrying out any maintenance.
Air Filter
Our desiccant dehumidifier is equipped with two air filters, one for processing airflow
and the other is for reactivation airflow. The first filter is installed at the inlet of the
airflow and filters the dust and particles before they enter into the desiccant wheel. If
you find the filters covered in dust and dirt, clean or replace them often in order to
provide clean and smooth air flow. Do not operate the dehumidifier without filters,
because dust and airborne particles may enter the machine and damage the desiccant
rotor. It si recommended to clean the filters once every month or at least bi monthly.
Zeolite
The zeolite nearly never needs to be cleaned. However if you observe dust or dirt, you
can clean it only using compressed air. If the dirt on the wheel still doens't come off, it
can be dismantled and washed using only water. However, it is not recommended to
wash the desiccant wheel too frequent.
16 ΕΝ
9.MAINTENANCE
The motor and the heating resistance don't require any maintenance. You may check
their condition every two years.

10.FREQUENTLY ASKED QUESTIONS & TROUBLESHOOTING
17
ΕΝ

11. Warranty Terms
18 EN
Covers all products purchased by Puredry Hellas EU or any of its official resellers in
Greece.
The warranty covers the repair or replacement (spare parts and labor) of components that
the Manufacturer or its Dealer has identified as defective, specifying that this repair or
replacement may be done with new spare parts, new parts or remanufactured parts after
assessment of the Manufacturer. Shipping costs are not covered by the warranty.
The warranty for the duration of its validity covers the cost of supply of any defective spare
part as well as the cost of restoration work of the product. It is clarified that the warranty
does not extend in any way to the obligation to replace the device or refund.
For the correct, efficient and safe operation of electrical appliances, it is recommended as
a good practice to clean and maintain them at regular intervals depending on their use by
specialized and certified technicians.
Does not cover:
Accidental damage, sabotage, defects caused by normal wear and tear, including wear of
consumable parts, ie parts that require periodic replacement during normal use of the
system.
- Fractures, tears, scratches, dents, scratches or discolored covers or plastic parts, broken
plastic parts on the doors or other aesthetic damage. Damage caused by use in
combination with another product.
- Use of the System other than that provided for, including, indicatively, the non-use of the
System according to the accompanying user manual.
- Damage caused by accident, abuse, misuse, contact with liquid, fire, earthquake,
incorrect or inadequate maintenance or calibration, negligence or other external causes.
- Damage caused by connection to a voltage other than that indicated on the nameplate of
the appliance and / or to an unplugged socket.
- Shipping costs arising from the transfer of the product to and from the customer at the
premises of Puredry or its authorized partner.
- Damage and / or damage to the environment caused by smoke, dust, dirt, soot or other
external factors Damage resulting from incorrect transport or packaging when the System
is returned to the Dealership or an authorized center.

- Damages caused by service or repairs or other modifications of the System that
were not performed by the Delegation or an authorized center.
- Damage caused by repairs or parts replacement that should not be done by the
customer, which you have done.
Puredry reserves the right to determine the manner, place and time of repair of
the faults at its absolute discretion, depending on the specific characteristics of
each case. The means and costs of transportation to and from Puredry technical
support points, as well as the possible insurance of the products, are the choice
and responsibility of the customer. The products travel under the responsibility of
the customer, the Puredry Hellas EE Company does not bear any responsibility for
any damages caused during transport.
Products that remain repaired in the service of the stores beyond the fifteen (15)
calendar days from the notification of the customer, in order for him to receive
them, will be charged with storage costs.
EN 19

Activate your Warranty
l Fill all the elds as shown below
þ
Once the warranty submission has been completed a confirmation message will
be sent to your email
l Visit our web site and activate your warranty via the below link .
https://www.puredryhellas.com/egguiseis
Table of contents
Languages:
Other Puredry Dehumidifier manuals

Puredry
Puredry PD 12L Design User manual

Puredry
Puredry PDD 85200 FAMOUS User manual

Puredry
Puredry PD 625 User manual

Puredry
Puredry PD 210L User manual

Puredry
Puredry PD 20L Face Lift User manual

Puredry
Puredry PD 2419 Sofia User manual

Puredry
Puredry Mini-D User manual

Puredry
Puredry PDD 10L Famous User manual

Puredry
Puredry PDDW 10100 Famous User manual

Puredry
Puredry PD 170L User manual