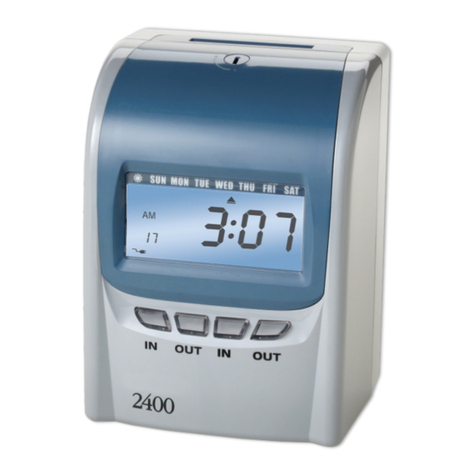
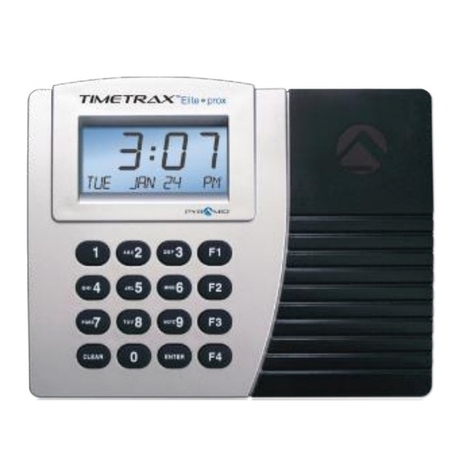
Pyramid 6400 User manual
Other Pyramid Clock manuals

Pyramid
Pyramid 4000HD User manual
Pyramid
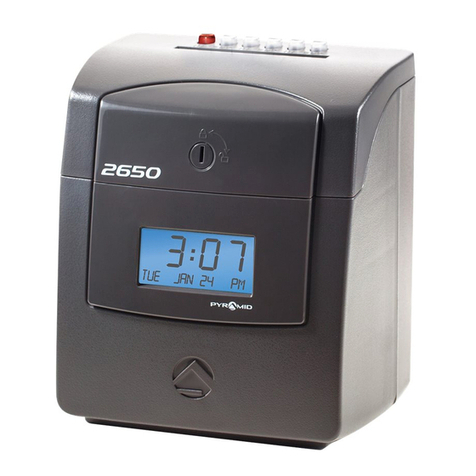
Pyramid 2650 User manual

Pyramid
Pyramid TimeTrax sync User manual
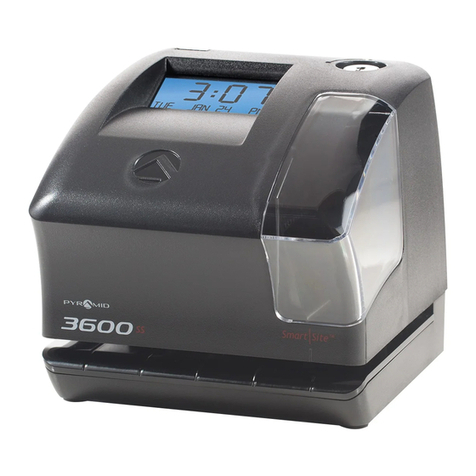
Pyramid
Pyramid SMARTSITE 3550SS User manual

Pyramid
Pyramid TimeTrax Clock User manual
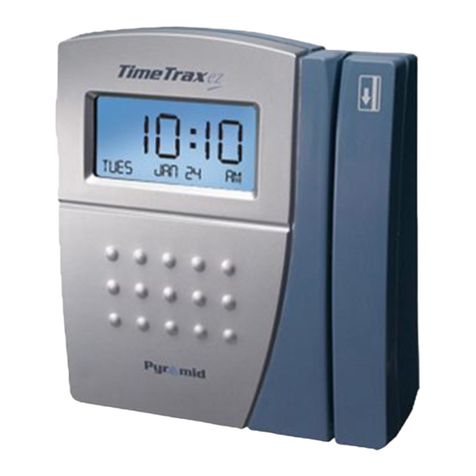
Pyramid
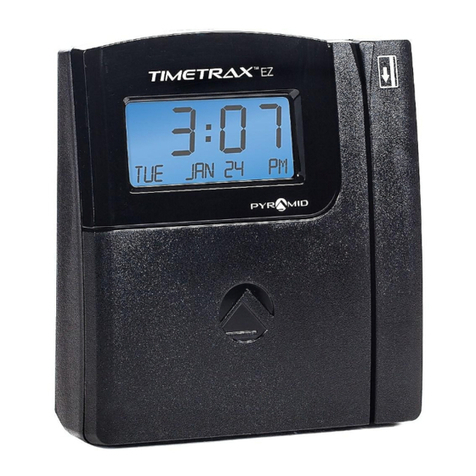
Pyramid TIMETRAX EZ User manual
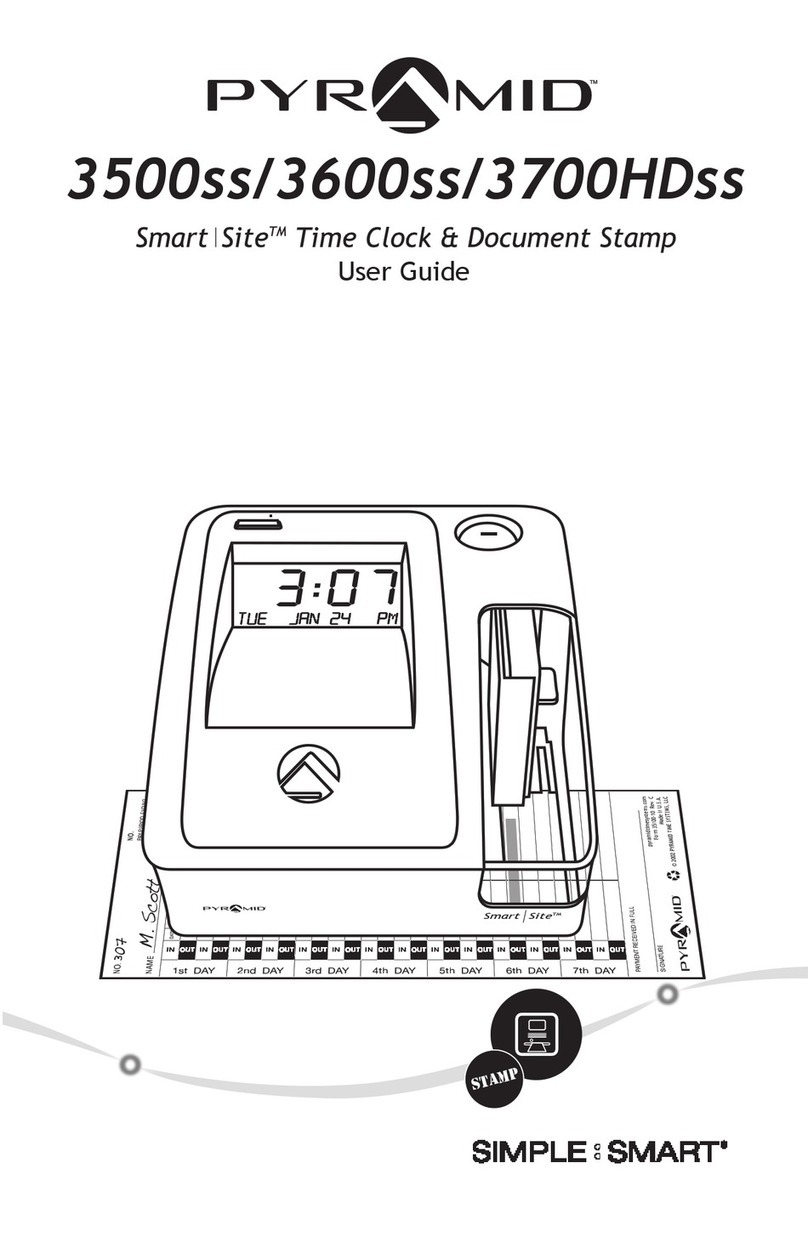
Pyramid
Pyramid Smart Site 3500ss User manual
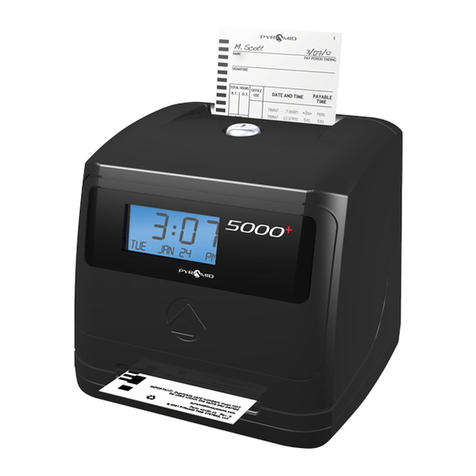
Pyramid
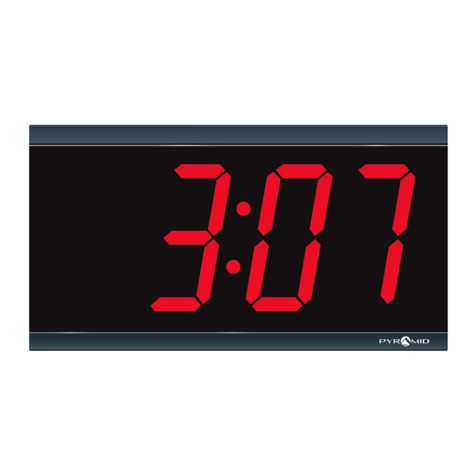
Pyramid 4000Pro User manual
Pyramid
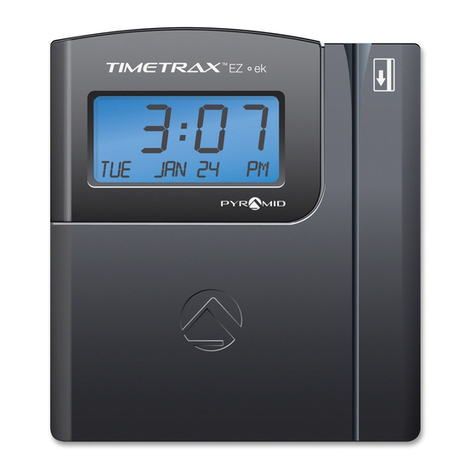
Pyramid TTEZEK TIMETRAX EZ ek User manual
Pyramid
Pyramid Simple & Smart 41357G User manual

Pyramid
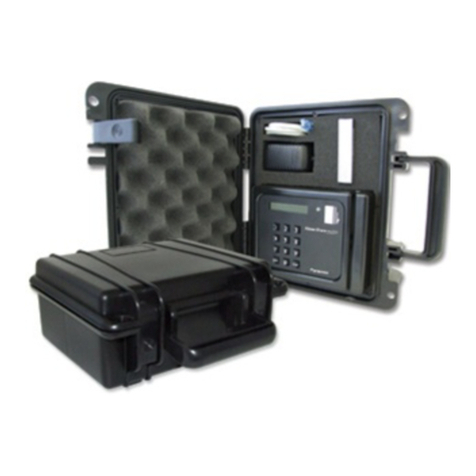
Pyramid TIMETRAX SYNC RF User manual
Pyramid
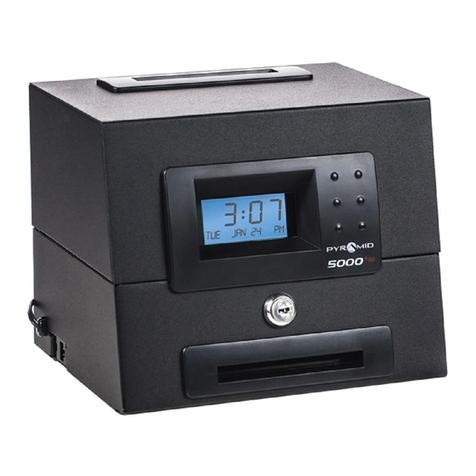
Pyramid 5000+ User manual
Pyramid
Pyramid TimeTrax Clock User manual
Pyramid
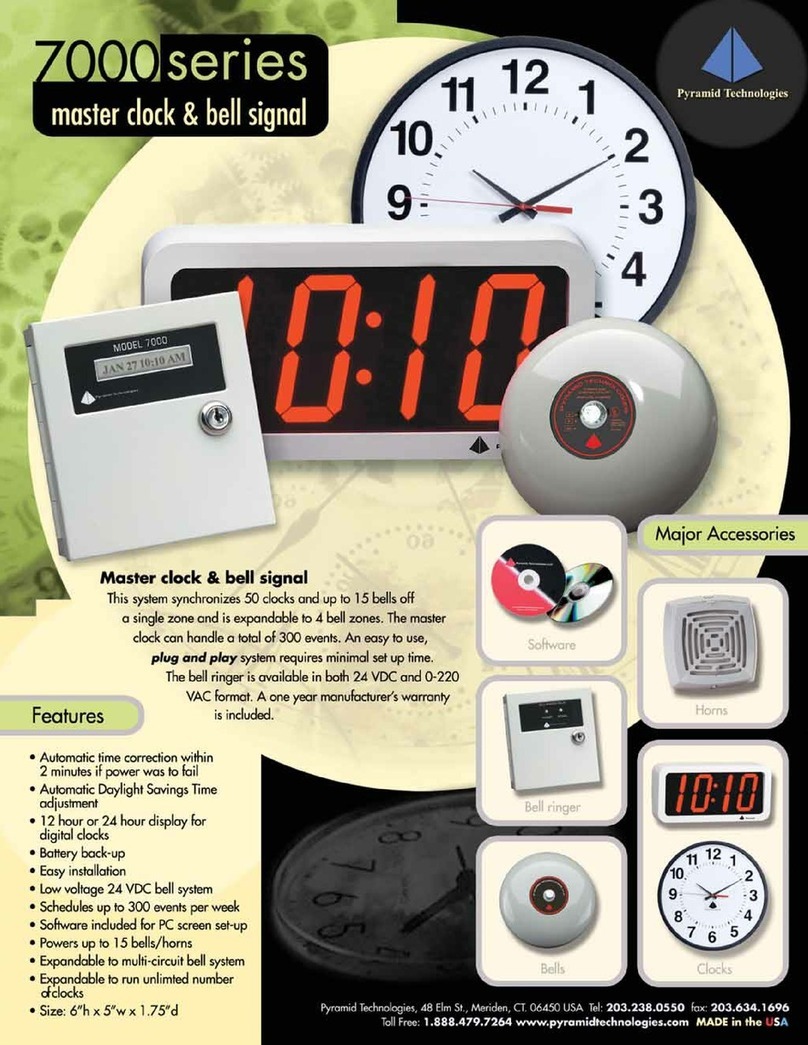
Pyramid 7000 Series User manual
Pyramid
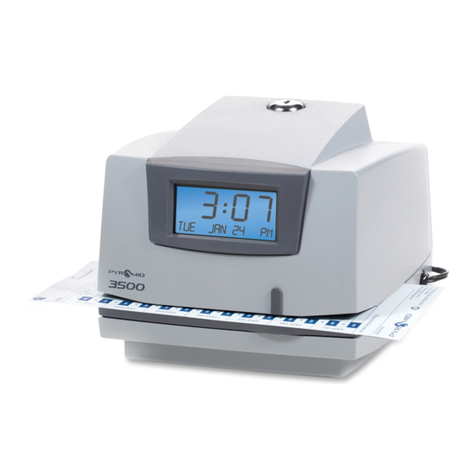
Pyramid 3500 User manual
Pyramid
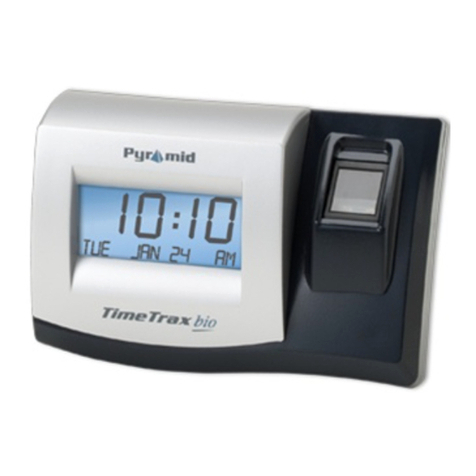
Pyramid TimeTrax Bio Ethernet User manual
Pyramid
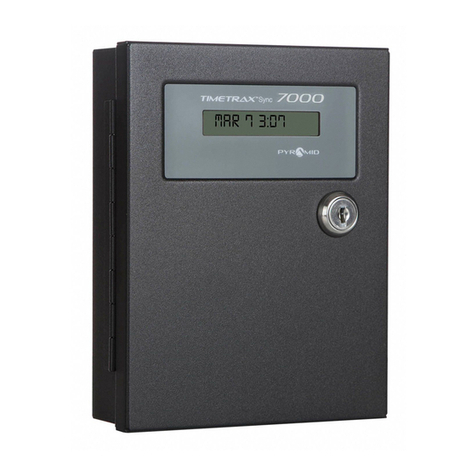
Pyramid TIMETRAX SYNC 7000 User manual
Pyramid
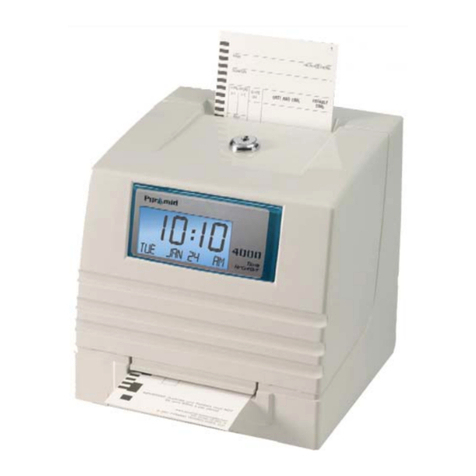
Pyramid 4000 User manual
Pyramid
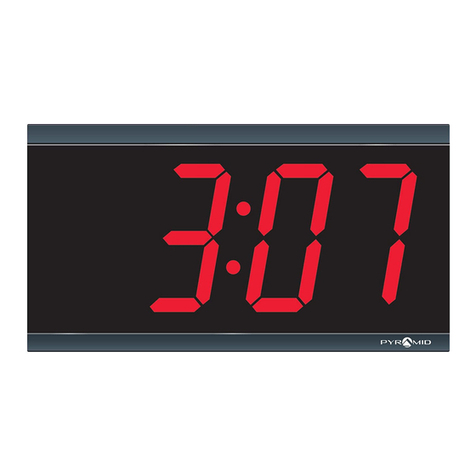
Pyramid 41357G User manual
Pyramid
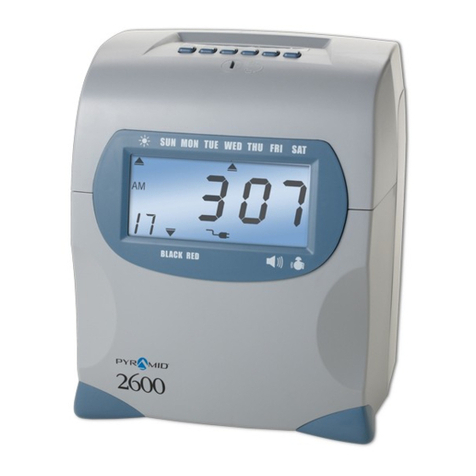
Pyramid 2600 User manual
Popular Clock manuals by other brands

Sapling
Sapling NTP 7000 Series installation manual

Amano
Amano MTX-30F Installation & operation guide

La Crosse Technology
La Crosse Technology BBB86118v3 Setup guide

BEARWARE
BEARWARE 304474 manual

LS & S
LS & S RTC103U instruction manual

BitGen Technologies
BitGen Technologies LED Walk/Don't Walk Clock user manual

Heathkit
Heathkit GC-1005 Assembly manual

Oregon Scientific
Oregon Scientific PRYSMA RMR221P manual

Andrew O'Malley
Andrew O'Malley DOTKLOK Assembly instructions

Nixie Clock
Nixie Clock Divergence Meter user manual

La Crosse Technology
La Crosse Technology WS-8256-AL user manual

Mini Gadgets
Mini Gadgets MCPro user manual
