Pyxis ST-735 User manual

1
ST-735
Inline Turbidity/Sludge
Concentration Sensor
Operation Manual
Version 1.1 December 2018

2
Table of Contents
1. Introduction 3
2. Unpacking the Instrument 3
2.1.Standard Accessories 3
2.2.Optional Accessories 4
3. Specifications 4
4. Installation 4
4.1.Quick 4-20 mA Start 5
4.2.Connect via Wi-Fi/Bluetooth 6
4.3. Connect via USB 6
5. Probe Calibration with uPyxis Mobile App 7
5.1. Download uPyxis Mobile App 7
5.2. Connected to uPyxis Mobile App 7
5.3. Diagnosis Screen 8
5.4. Calibration Screen and Reading 8
5.5. Device Screen 9
6. Probe Calibration with uPyxis Desktop App 9
6.1. Download uPyxis Desktop App 9
6.2. UnZip uPyxis Desktop App 10
6.3. Installing uPyxis Desktop App 11
6.4. Connecting uPyxis Desktop App 12
6.5. Connecting to Device 13
6.6. Diagnosis Screen 13
6.7. Calibrating Device 14
6.8. Zero Calibration 15
6.9. Slope Calibration (Low Range) 16
6.10. Slope Calibration (Mid Range) 17
6.11. Slope Calibration (High Range) 18
6.12. 4-20 mA Span 19
7. Communicating Using Modbus RTU 19
8. Probe Cleaning and Maintenance 20
8.1.ST-735 Inline Probe Cleaning Solution 20
9. Storage 20

3
1. Introduction
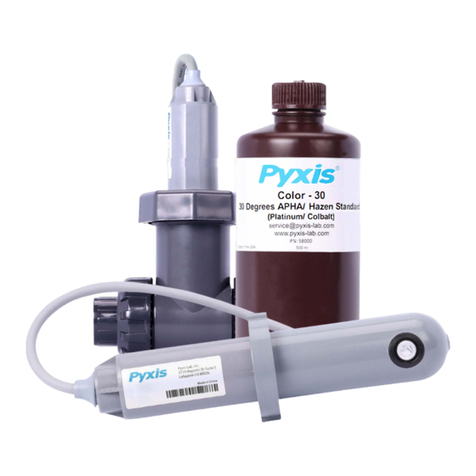
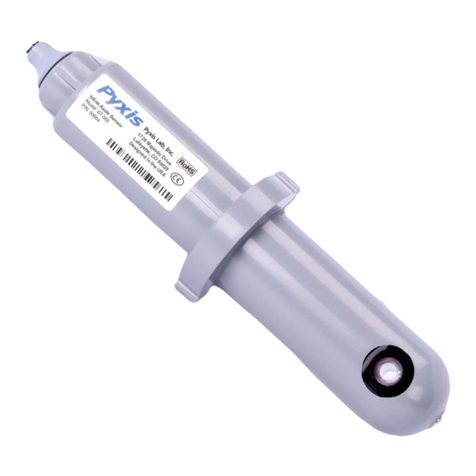
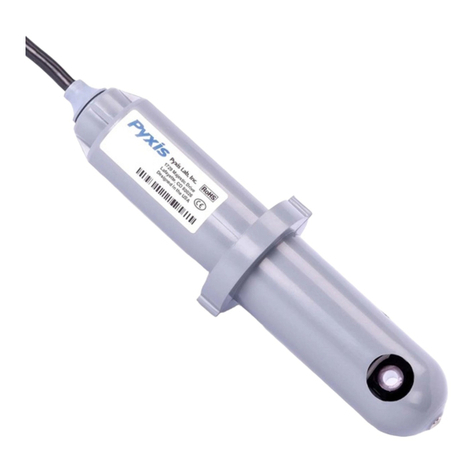
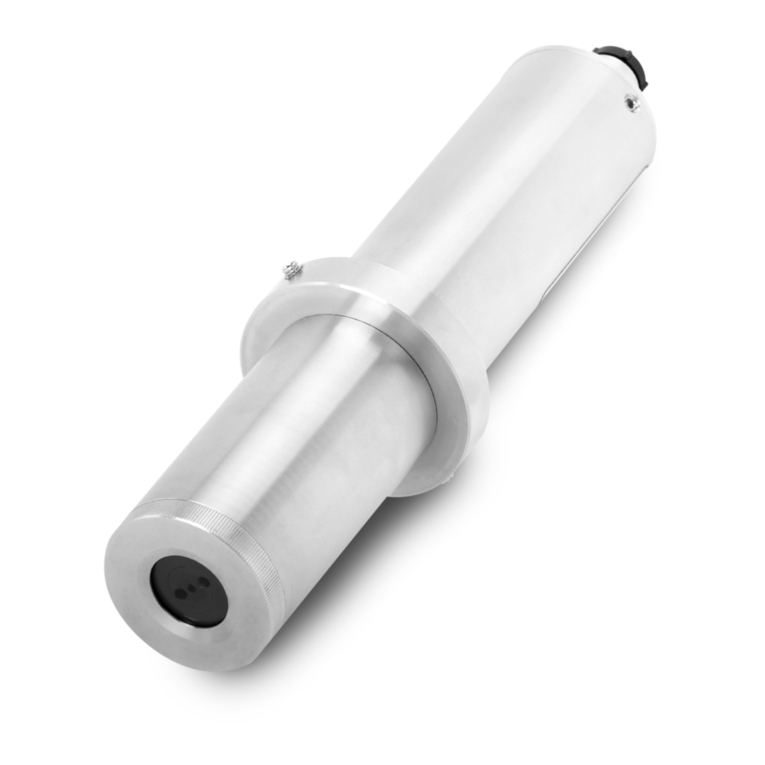
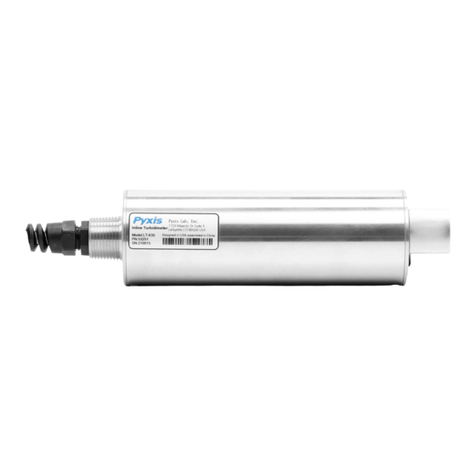
The Pyxis ST-735 inline turbidity sensor can be inserted to the compression fitting port of Pyxis custom-
made ST-001 Tee assembly. The companion tee has two ¾ inch female NPT ports and can be installed to
an existing ¾ inch sample water line. The ST-735 can be also submersed into a vessel with using the
Pyxis MA-102S submersion adapter.
The ST-735 measures light scattering for the 0 –100 NTU range using a white LED as the incident light
source, the 100 –1000 NTU range using a 950 nm LED light source, and the 950 nm absorbance for the
1000 –10,000 NTU range. The ST-735 turbidity sensor automatically selects the measurement method
needed for the sample according to the sample turbidity range detected when inserted inline.
The ST-735 probe can be easily removed from the system without the need of any tools for being
cleaned. The Pyxis ST-735 probe has a short fluidic channel and is be easily cleaned. The fluidic and
optical arrangement of the ST-735 probe are designed to overcome shortcomings associated with other
turbidity meters.
The 4-20mA current output of the ST-735 probe is internally isolated. It can be connected to any
controller that accepts an isolated or non-isolated 4-20mA input.
The Pyxis ST-735 probe uses long life LEDs as light source and will not require replacement in expected
life unlike conventional turbidity probes. This greatly enhances the robustness of the ST-735 probe. It
can be operated under a wide range of ambient conditions without the need for humidity and
temperature regulation. The performance of the ST-735 probe can be stable and consistent for a very
long period time.
2. Unpackaging the Instrument
Remove the instrument and accessories from the shipping container and inspect each item for any
damage that may have occurred during shipping. Verify that all accessory items are included. If any
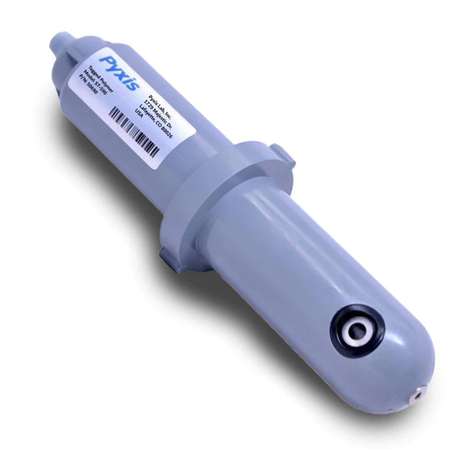
2.1. Standard Accessories Included
•ST-001 Tee Set (tee, O-ring, and nut)
•Standard cable set with water proof connectors
•Instrument Manual, also available from www.pyxis-lab.com
4
2.2. Optional Accessories
•USB-RS485 Adapter (Item Number: MA-485)
•Bluetooth / Wi-Fi Adapter (Item Number: MA-WB)
•inch OD O-ring (Item Number: MA -150)
•Submersible adapter for ST series probes (MA-102S)
3. Specification
•Turbidity Range: 0 to 10,000 NTU (uncertainty ±2 NTU) or 0 to 10000 mg/L (Sludge concentration)
•Power: 22 –26 VDC
•Output: 4-20 mA and RS-485 Modbus RTU
•Temperature, Sample Water: 40 –104 °F (4 –40 °C)
•Temperature, Operation: 40 –120 °F (4 –49 °C)
•Temperature, Storage: 20 –140 °F (-7 –60 °C)
•Sample Pressure: 100 PSI
•Cable Length: 5 feet, terminated with IP67 connectors
•Power consumption: 65 mA at 24 V
•Dimension: Length 6.8 inch (172.7 mm), body diameter 1.44 inch (36.6 mm)
•Weight: 0.37 pounds (170 grams)
•Regulatory: CE Marked
4. Installation
The ST-735 probe comes with a custom-made ST-001 tee with ¾” FNPT inlet and outlet and quick
unions. Place the O-ring to the probe and insert the probe into the tee. Make sure that the fluidic
channel in the probe is aligned with the sample flow direction. Please avoid over tightening the nut and
the pipe when connecting the pipe to the tee.

5
4.1. Quick 4-20mA Start
Note: The negative 24V power terminal (power ground) and the negative 4-20 mA terminal on the ST-
735 probe are internally connected.
If the power ground terminal and the negative 4-20 mA terminal in the controller are internally
connected (non-isolated 4-20mA input), it is unnecessary to connect the 4-20 mA negative wire (blue) to
the 4-20 mA negative terminal in the controller. If a separate DC power supplier other than that from
the controller is used, make sure that the output from the power supply is rated for 22-26 VDC @ 65mA.
Follow the wiring table below to connect the ST-735 probe to a controller.
Wire Color Designation
Red 24 V
Black Power ground
White 4-20 mA +
Green 4-20 mA - Internally connected to the power ground
Blue RS-485 A
Yellow RS-485 B
Clear Shield, solution ground

6
4.2. Connect via Wi-Fi/Bluetooth
Figure 3 shows the connection between a computer and the ST-735 probe via Wi-Fi/Bluetooth adapter
(P/N: MA-WB). A smart phone app is provided to connect the ST-735 probe to your smart phone via Wi-
Fi/Bluetooth interface.
4.3. Connect via USB
Figure 2 shows the connection between a computer and the ST-735 probe via USB-RS485 adapter. Use
the USB-RS485 adapter provided by Pyxis Lab Inc. (Item Number: MA-485). Using other USB-485
adapters may result in permanent damage of the ST-735 probe communication hardware.

7
5. Probe Calibration with uPyxis Mobile App
5.1. Download uPyxis Mobile App
Download uPyxis Mobile App from Apple App Store or Google Play
5.2. Connecting to uPyxis Mobile App
Turn on Bluetooth on your mobile phone (Do not pair the phone Bluetooth to the ST-735). Open uPyxis
Mobile App. uPyxis App connects to the Probe and click on the ST-735 probe.

8
5.3. Diagnosis Screen
From the Diagnosis screen. You can check the diagnosis condition, and Export & Upload.
5.4. Calibration Screen and Reading
When connected, Mobile App will default to the Calibration screen. From the Calibration screen you
can perform calibrations by pressing on Zero Calibration, Low Range Calibration, Mid Range
Calibration, High Range Calibration, and 4-20 mA Span. Follow the screen instructions for each
calibration step.

9
5.5. Device Info Screen
From the Device Info screen. You can name the Device or Product.
6. Probe Calibration with uPyxis Desktop App
6.1. Download uPyxis Desktop App
Download uPyxis Desktop App from https://pyxis-lab.com/support-2/

10
6.2. UnZip uPyxis Desktop App
Find your downloaded uPyxis Setup 1.3.8 file, Right Click on the file, Extract All, and then Extract.

11
6.3. Installing uPyxis Desktop App
Once the uPyxis Desktop App has been extracted. Find the extracted uPyxis Setup file and
left click, click on Run, and then click Install. After install has been clicked the Setup
Progress will continue. Follow the step during installation process.

12
6.4. Connecting to uPyxis Desktop App
Open uPyxis Desktop App on your desktop. When the desktop app opens, to find your
device, click on Device, then Connect via Wi-Fi.

13
6.5. Connecting to Device
When connected via USB-Bluetooth, in the Device List a picture of the probe with the serial
number will appear (If no device is found, remove the USB/Bluetooth dongle and reconnect). If
device shows in the Device List, then the probe is connected. Once connected to the
probe, the default main screen is the Information screen. On the main screen you can set the
information description for Device Name and Product Name, then click Set to save.
6.6. Diagnosis Screen
After the device has been calibrated and installation has been completed. To check
diagnosis, click on Diagnosis. When in the Diagnosis screen you can view the Diagnosis
Condition of the probe.

14
6.7. Calibrating Device
To calibrate the device, click on Calibration. On the Calibration screen there are three calibration tabs,
Zero Calibration, Slope Calibration, and 4-20 mA Span. The screen does also display the reading of the
device. The reading refreshed rate is every 4 seconds.

15
6.8. Zero Calibration
To perform Zero Calibration, click on Zero Calibration. Then follow the instruction on how to calibrate,
then click Ok.

16
6.9. Slope Calibration (Low Range)
To perform Slope Calibration (Low Range), click on Slope Calibration (Low Range). Then follow the
instruction on how to calibrate, then click Slope Calibration.

17
6.10. Slope Calibration (Mid Range)
To perform Slope Calibration (Mid Range), click on Slope Calibration (Mid Range). Then follow the
instruction on how to calibrate, then click Slope Calibration.

18
6.11. Slope Calibration (High Range)
To perform Slope Calibration (High Range), click on Slope Calibration (High Range). Then follow the
instruction on how to calibrate, then click Slope Calibration.

19
6.12. 4-20 mA Span
To perform 4-20 mA Span, click on 4-20 mA Span.Then follow the instruction on how to calibrate,
then click Slope Calibration.
7. Communicating using Modbus RTU
The ST-735 probe is configured as a Modbus slave device. In addition to the NTU value, many
operational parameters, including warning and error messages, are available via a Modbus RTU
connection.
Contact Pyxis Lab Customer Service (service@pyxis-lab.com) for more information.

20
8. Probe Cleaning and Maintenance
The flow channel of the ST-735 should be cleaned once a month using a soft brush. Deposit and debris
should be removed. The probe can be cleaned with our hand held clean solution (https://pyxis-
lab.com/product/st-500-probe-cleaning-kit/). Do not use organic solvents or strong acid base to clean
the probe. If the probe output signal is not stable and fluctuates significantly, check and make sure the
solution ground is properly connected to the brass pipe. Avoid long term storage at temperature over
100 °F. In an outbox installation, properly shield the probe from direct sunlight and precipitation.
8.1. ST-735 Inline Probe Cleaning Solution
Soak the lower half of the ST-735 probe in 100 ml inline probe cleaning solution for 30 minutes. Rinse
the ST-735 probe with distilled water. If the surface is not entirely clean, continue to soak the ST-735
probe for an additional 30 minutes. Pyxis Lab Inline Probe Cleaning Solution can be purchased at our
online Estore/Catalog https://pyxis-lab.com/product-catergory/accessories/page/2/
9. Storage
Avoid long term storage at temperature over 100 °F. In an outdoor installation, properly shield the ST-
735 probe from direct sunlight and precipitation.
Table of contents
Other Pyxis Accessories manuals

Pyxis
Pyxis LS-202 User manual

Pyxis
Pyxis HM-500 Series User manual

Pyxis
Pyxis LT-73 Series User manual

Pyxis
Pyxis ST-772 User manual

Pyxis
Pyxis LT-635 User manual

Pyxis
Pyxis ST-772 User manual

Pyxis
Pyxis ST-590 Series User manual

Pyxis
Pyxis 53626 User manual

Pyxis
Pyxis ST-540 Series User manual

Pyxis
Pyxis ST-700 Series User manual

Pyxis
Pyxis LS-202 User manual

Pyxis
Pyxis LSP Series User manual

Pyxis
Pyxis ST-588 User manual

Pyxis
Pyxis LS-200 User manual

Pyxis
Pyxis LSP-X01 Series User manual

Pyxis
Pyxis ST-765SS Series User manual

Pyxis
Pyxis ST-772 User manual

Pyxis
Pyxis ST-710 User manual

Pyxis
Pyxis ST-565 User manual

Pyxis
Pyxis ST-500 User manual