GearTronic ZERO GT3100-K1 / GT3100-K2 / GT3100-K3
Manuale Utente – v1.0 – 01/12/16
N.B: In tutti i modelli (escluso ZX10R in modalità Default) la marcia viene rilevata calcolando il rapporto tra velocità e giri motore
in quanto non è presente un sensore di posizione sul cambio, il dispositivo quindi non visualizzerà le marce a veicolo fermo ma
solo durante la normale andatura a frizione completamente rilasciata.
N.B: Tutti i prodotti ZRacing sono resistenti all'acqua ma non impermeabili. Non lavare il prodotto con lancia ad acqua in
pressione, il prodotto potrebbe danneggiarsi irreparabilmente.
Installazione
Installazione display
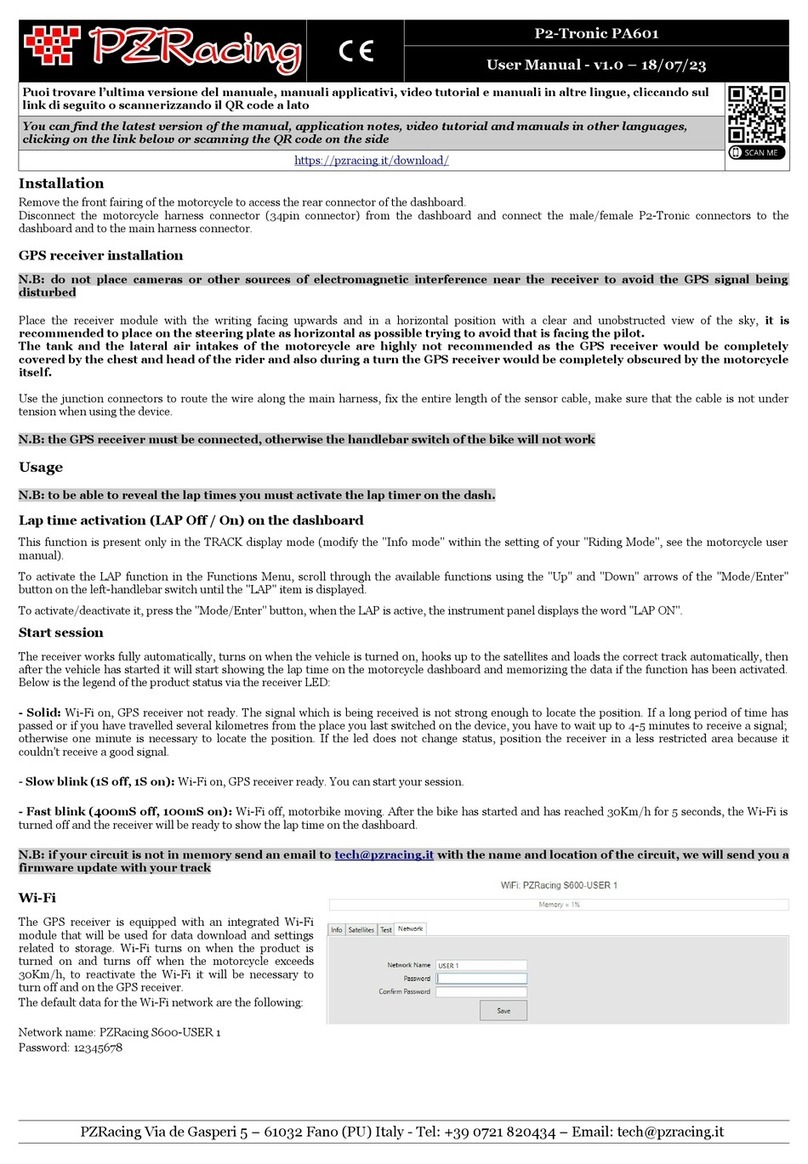
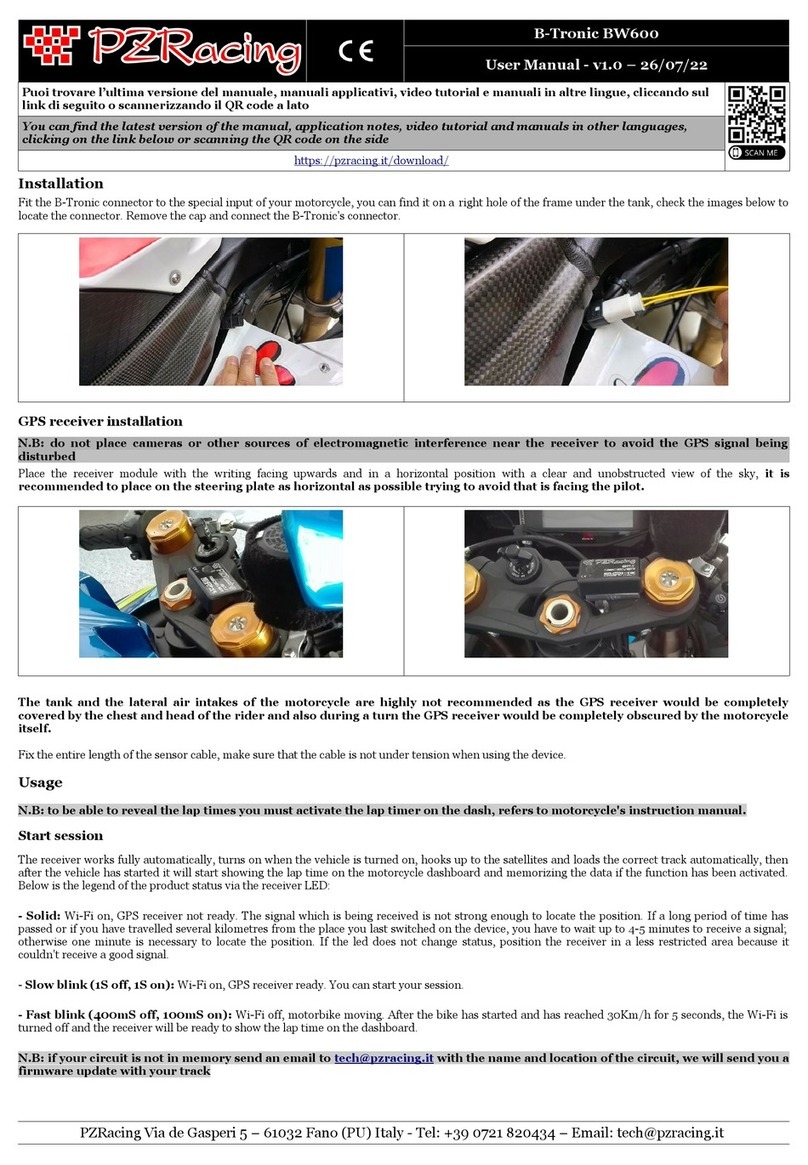
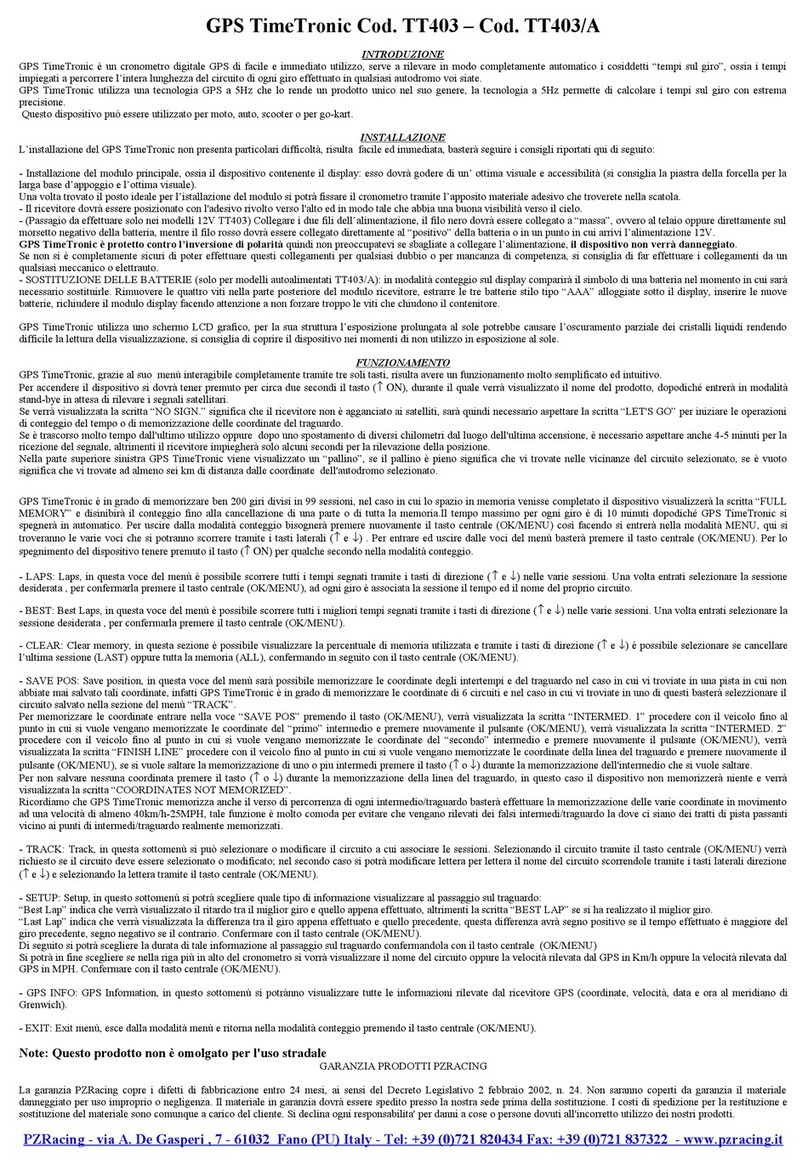
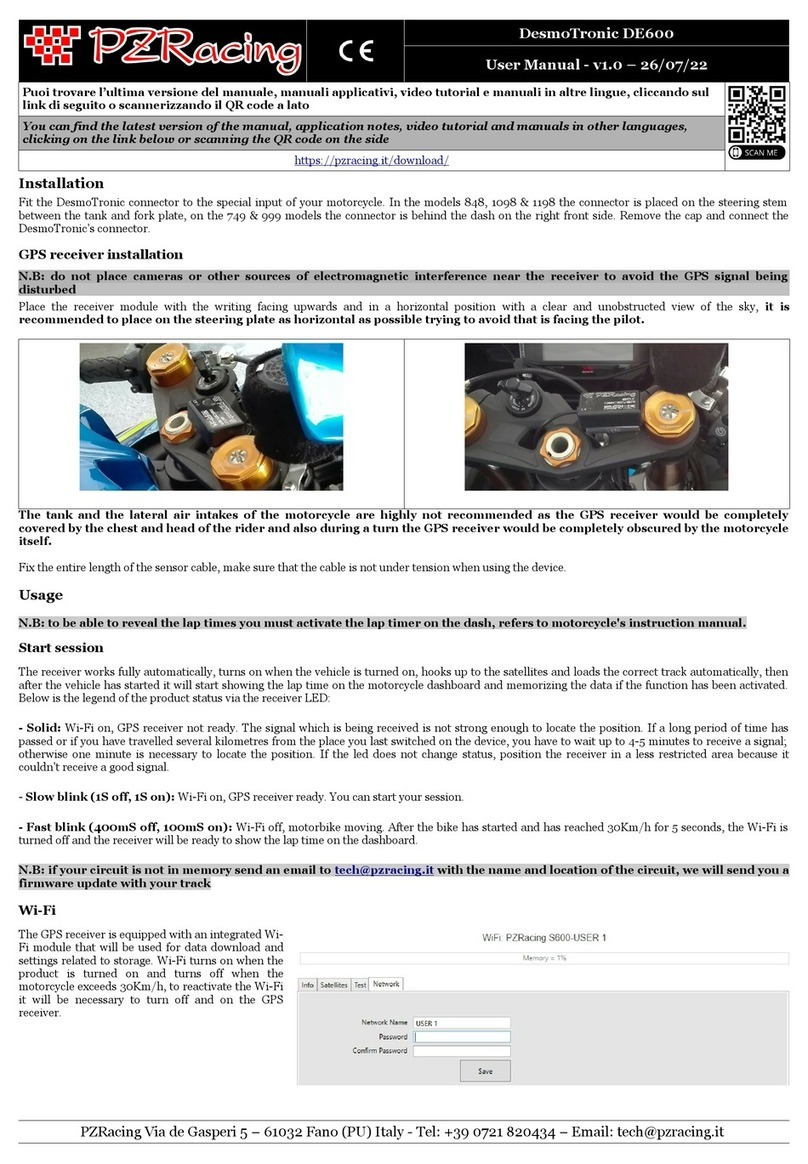
Il modulo principale dovrà essere posizionato in modo da avere un’ottima visuale. Una volta trovata la giusta collocazione potrete fissare l’indicatore
tramite l’apposito materiale adesivo che troverete nella confezione (sgrassare la superficie e lasciare agire l’adesivo per almeno 24 ore) oppure potrete
utilizzare le due viti in dotazione da avvitare nei due fori posteriori dello strumento.
Connessione
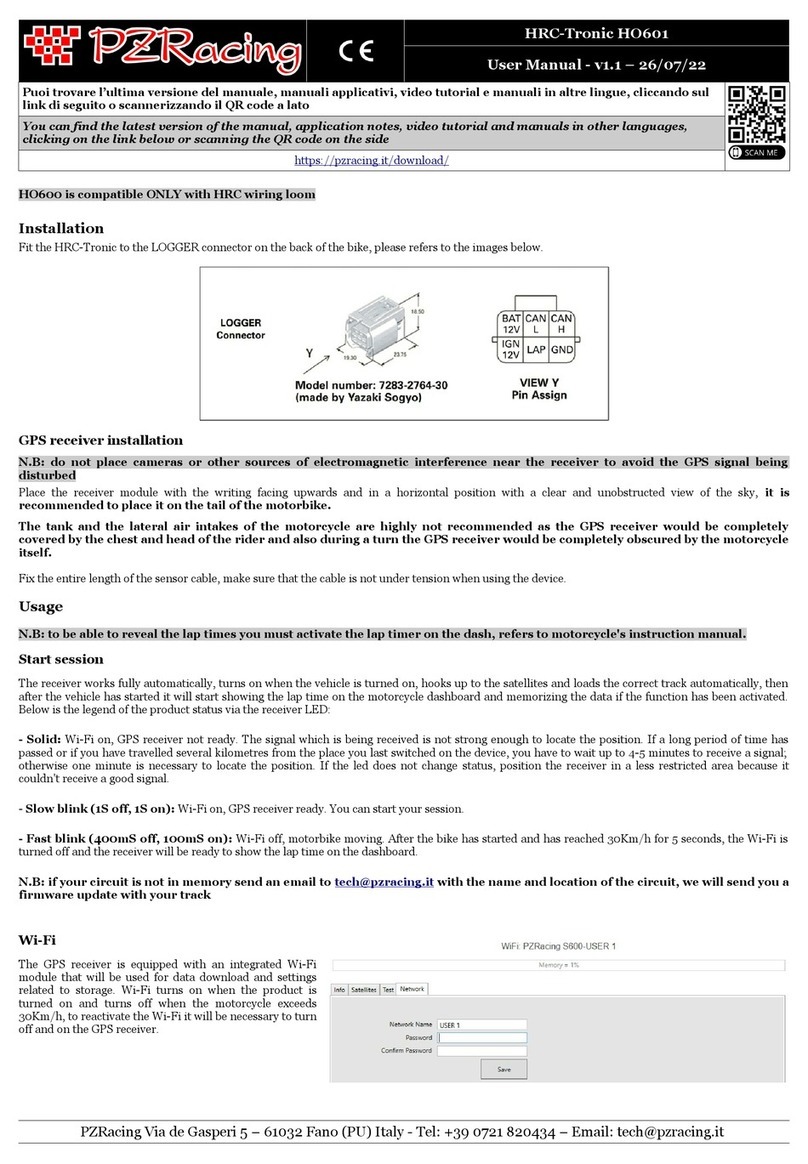
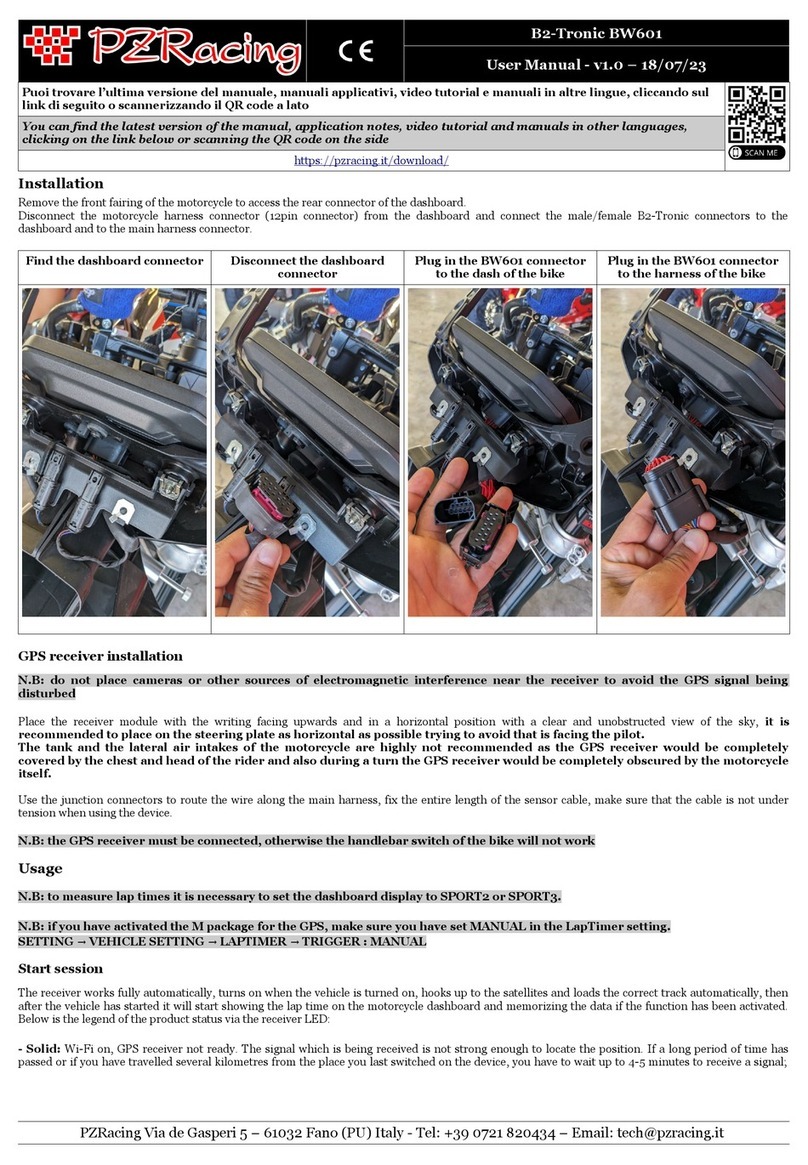
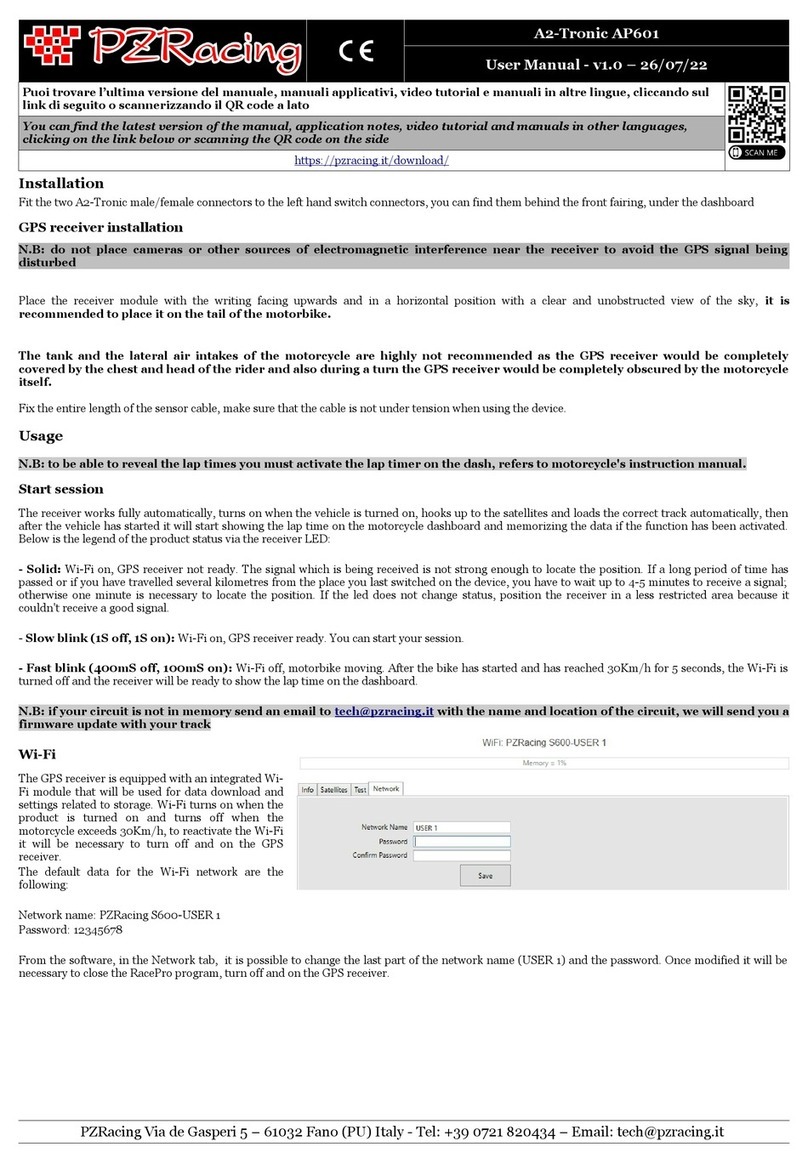
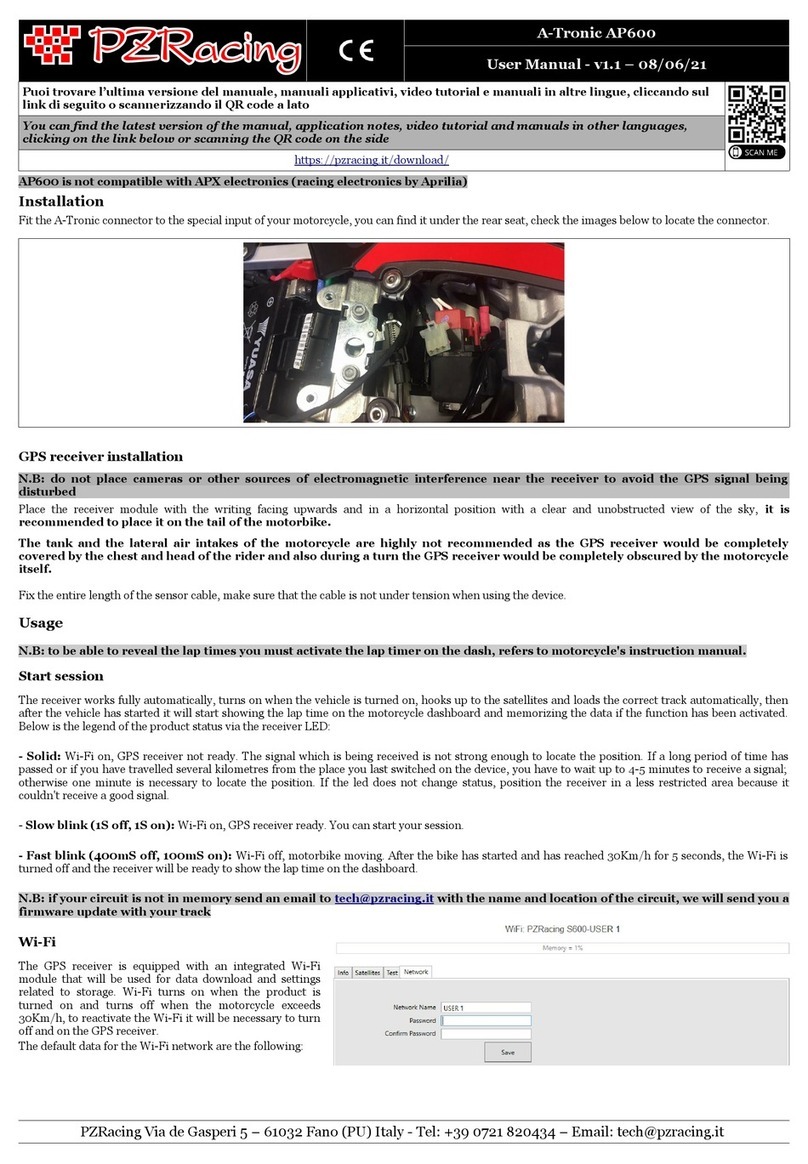
Individuare il corrispondente connettore della diagnosi a 4 poli nella propria moto, normalmente si trova vicina alla centralina ECU sotto la sella.
Rimuovere il cappuccio del connettore e connettere il GearTronic ZERO alla presa diagnosi, fissare il cavo per tutta la sua lunghezza.
Nota per ZX10-R: in questa moto sono presenti due connettori uguali, quello corretto è il connettore con i seguenti cavi:
verde/nero, verde, nero/giallo, marrone/bianco.
Utilizzo
Accensione/spegnimento dell'indicatore
GearTronic ZERO funziona in modo completamente automatico, l'accensione e lo spegnimento avvengono girando la chiave del veicolo.
Calibrazione
GearTronic ZERO non necessita di alcuna calibrazione nei modelli Kawasaki, basta semplicemente collegare lo spinotto (Default Mode);
solo nel caso in cui alcune marce non vengano rilevate in modo corretto procedere alla calibrazione dell'indicatore di marcia (Custom
Mode)
N.B: il touch screen del display è capacitivo quindi è necessario premerlo senza guanti.
“Custom Mode”
1- Accendere il quadro ed il motore in “ olle”.
2- Entrare nella modalità di set up premendo ripetutamente il display per tre volte
3- Il display visualizzerà in sequenza tutti i colori di retroilluminazione disponbili (A:Rosso, B:Verde, C:Blu, D:Arancio, E:Viola, :Azzurro); confermare
la scelta premendo il display durante la visualizzazione del colore desiderato.
4- Il display visualizzerà il numero “1” lampeggiante; inserire la prima marcia, rilasciare la frizione e mantenere un regime di giri motore costante (circa
4/50000 giri)
5- Dopo circa 5 secondi il display visualizzerà il numero “2” lampeggiante; inserire la seconda marcia, rilasciare la frizione e mantenere un regime di giri
motore costante (circa 4/50000 giri)
6- Proseguire in questo modo per tutte le marce del vostro veicolo
7- GearTronic ZERO terminerà automaticamente la procedura di setup visualizzando due cerchi che lampeggeranno in modo alternato nella parte
superiore ed inferiore del display; terminata la procedura tornerà alla visualizzazione predefinita mostrando la marcia inserita corrente.
N.B: GearTronic ZERO termina automaticamente la fase di calibrazione se la velocità diminuisce tra una marcia e l’altra; per
questo motivo consigliamo di scegliere un regime di giri motore ed utilizzarlo per tutte le marce, così facendo la velocità verrà
progressivamente aumentata.
Ripristino “Default Mode”
1- Accendere il quadro strumenti e lasciare il motore spento.
2- Entrare nella modalità di set up premendo ripetutamente il display per tre volte
3- Il display visualizzerà in sequenza tutti i colori di retroilluminazione disponbili (A:Rosso, B:Verde, C:Blu, D:Arancio, E:Viola, :Azzurro); confermare
la scelta premendo il display durante la visualizzazione del colore desiderato.
4- Il display visualizzerà il numero “1” lampeggiante, attendere qualche secondo senza fare nulla.
5- Il display visualizzerà la lettera “D” (Default) sul display ad indicare che la modalità Default è stata ripristinata.
Modificare il colore di retroilluminazione
Per cambiare colore al dispositivo senza dover rifare il set up delle marce, ripetere la procedura “Custom Mode” fino al punto 3 dopodiché spegnere il
dispositivo.
Risoluzione problemi
Nel caso in cui le marce non vengano segnate correttamente ripetere la calibrazione facendo attenzione a rimanere ad un regime di motore costante.
Se dovreste riscontrare problemi nell'installazione o funzionamento del prodotto Vi informiamo che sul nostro sito
www.pzracing.it nella pagina dedicata al prodotto, sono a Vostra completa disposizione tutti i dettagli relativi alla risoluzione delle
principali problematiche. Vi invitiamo a consultarli e nel caso in cui il problema persista potrete inviare una mail al nostro servizio
PZRacing Via de Gasperi 5 – 61032
ano (PU) Italy - Tel: +39 0721 820434 – Email:
[email protected] 