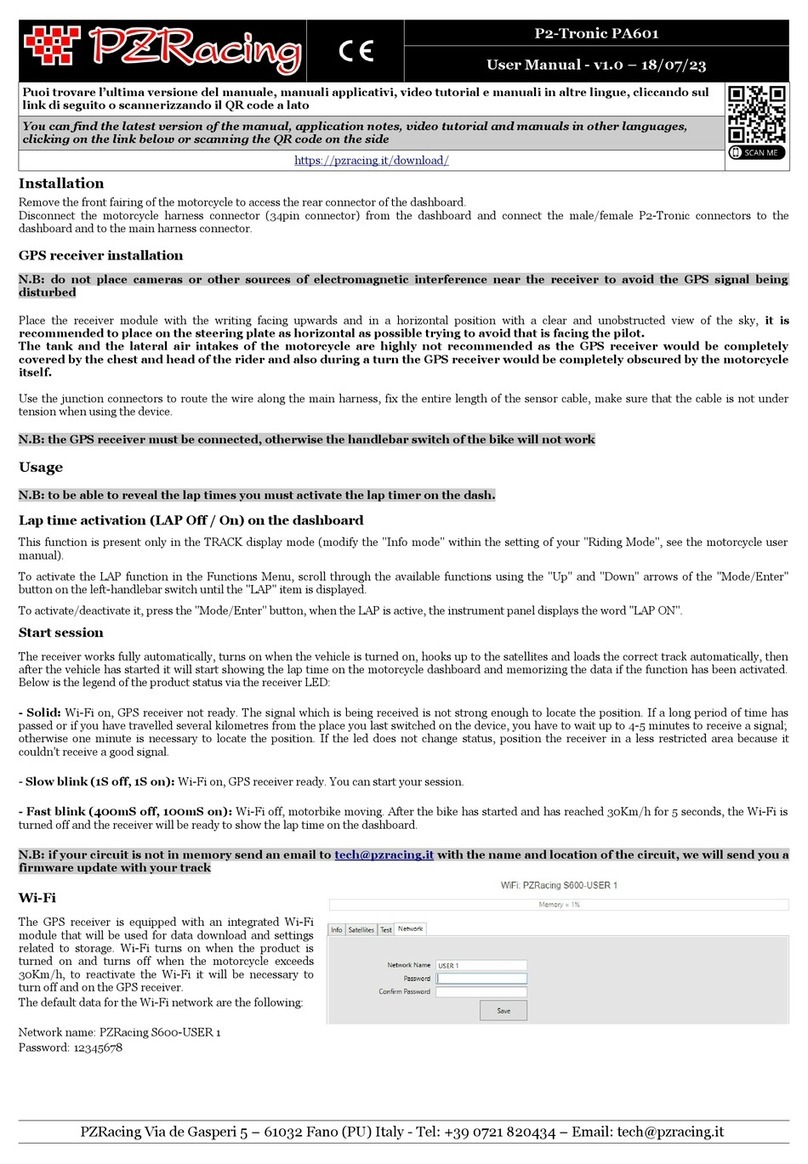
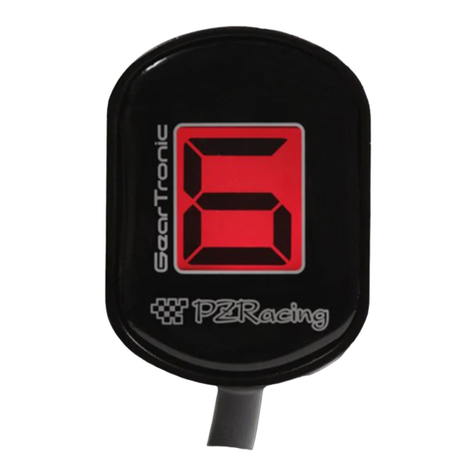
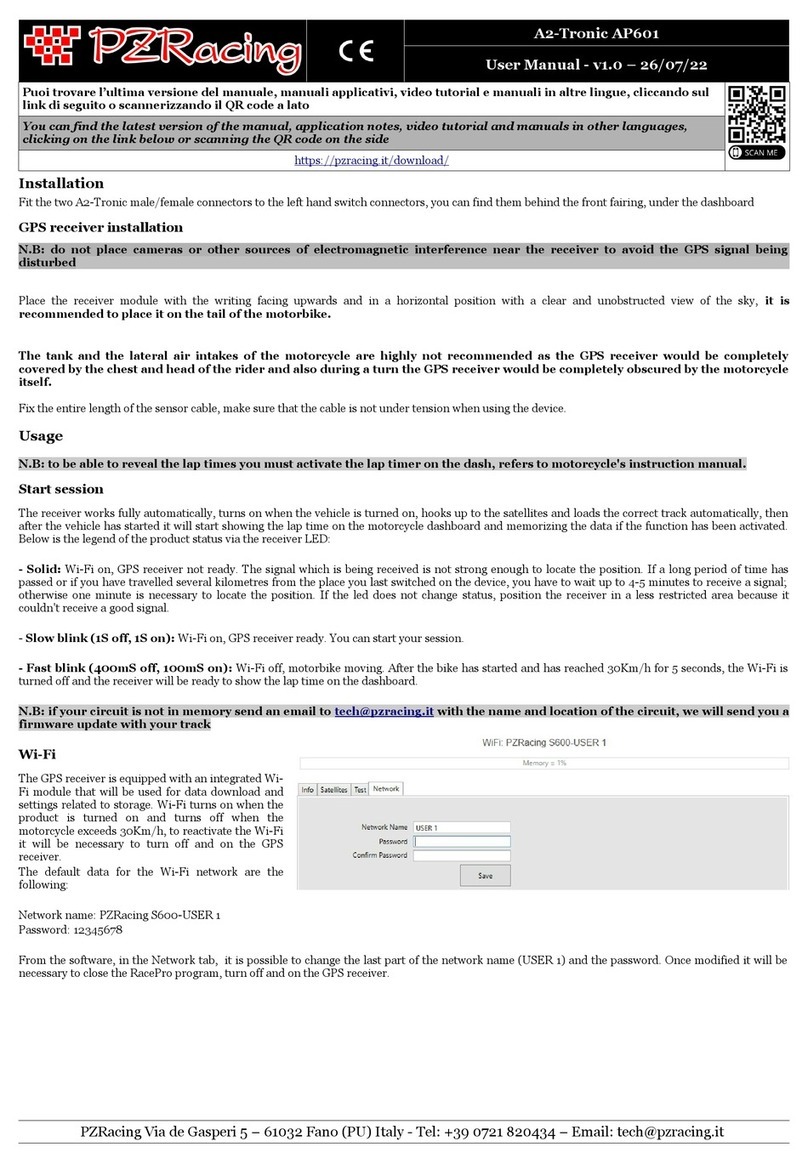
PZRacing GPS TimeTronic TT403 User manual

GPS TimeTronic Cod. TT403 – Cod. TT403/A
INTRODUZIONE
GPS TimeTronic è un cronometro digitale GPS di facile e immediato utilizzo, serve a rilevare in modo completamente automatico i cosiddetti “tempi sul giro”, ossia i tempi
impiegati a percorrere l’intera lunghezza del circuito di ogni giro effettuato in qualsiasi autodromo voi siate.
GPS TimeTronic utilizza una tecnologia GPS a Hz che lo rende un prodotto unico nel suo genere, la tecnologia a Hz permette di calcolare i tempi sul giro con estrema
precisione.
Questo dispositivo può essere utilizzato per moto, auto, scooter o per go-kart.
INSTALLAZIONE
L’installazione del GPS TimeTronic non presenta particolari difficoltà, risulta facile ed immediata, basterà seguire i consigli riportati qui di seguito:
- Installazione del modulo principale, ossia il dispositivo contenente il display: esso dovrà godere di un’ ottima visuale e accessibilità (si consiglia la piastra della forcella per la
larga base d’appoggio e l’ottima visuale).
Una volta trovato il posto ideale per l’istallazione del modulo si potrà fissare il cronometro tramite l’apposito materiale adesivo che troverete nella scatola.
- Il ricevitore dovrà essere posizionato con l'adesivo rivolto verso l'alto ed in modo tale che abbia una buona visibilità verso il cielo.
- (Passagio da effettuare solo nei modelli 12V TT403) Collegare i due fili dell’alimentazione, il filo nero dovrà essere collegato a “massa”, ovvero al telaio oppure direttamente sul
morsetto negativo della batteria, mentre il filo rosso dovrà essere collegato direttamente al “positivo” della batteria o in un punto in cui arrivi l’alimentazione 12V.
GPS TimeTronic è protetto contro l’inversione di polarità quindi non preoccupatevi se sbagliate a collegare l’alimentazione, il dispositivo non verrà danneggiato.
Se non si è completamente sicuri di poter effettuare questi collegamenti per qualsiasi dubbio o per mancanza di competenza, si consiglia di far effettuare i collegamenti da un
qualsiasi meccanico o elettrauto.
- SOSTITUZIONE DELLE BATTERIE (solo per modelli autoalimentati TT403/A): in modalità conteggio sul display comparirà il simbolo di una batteria nel momento in cui sarà
necessario sostituirle. Rimuovere le quattro viti nella parte posteriore del modulo ricevitore, estrarre le tre batterie stilo tipo “AAA” alloggiate sotto il display, inserire le nuove
batterie, richiudere il modulo display facendo attenzione a non forzare troppo le viti che chiudono il contenitore.
GPS TimeTronic utilizza uno schermo LCD grafico, per la sua struttura l’esposizione prolungata al sole potrebbe causare l’oscuramento parziale dei cristalli liquidi rendendo
difficile la lettura della visualizzazione, si consiglia di coprire il dispositivo nei momenti di non utilizzo in esposizione al sole.
FUNZIONAMENTO
GPS TimeTronic, grazie al suo menù interagibile completamente tramite tre soli tasti, risulta avere un funzionamento molto semplificato ed intuitivo.
Per accendere il dispositivo si dovrà tener premuto per circa due secondi il tasto (↑ ΟΝ), durante il quale verrà visualizzato il nome del prodotto, dopodiché entrerà in modalità
stand-bye in attesa di rilevare i segnali satellitari.
Se verrà visualizzata la scritta “NO SIGN.” significa che il ricevitore non è agganciato ai satelliti, sarà quindi necessario aspettare la scritta “LET'S GO” per iniziare le operazioni
di conteggio del tempo o di memorizzazione delle coordinate del traguardo.
Se è trascorso molto tempo dall'ultimo utilizzo oppure dopo uno spostamento di diversi chilometri dal luogo dell'ultima accensione, è necessario aspettare anche 4- minuti per la
ricezione del segnale, altrimenti il ricevitore impiegherà solo alcuni secondi per la rilevazione della posizione.
Nella parte superiore sinistra GPS TimeTronic viene visualizzato un “pallino”, se il pallino è pieno significa che vi trovate nelle vicinanze del circuito selezionato, se è vuoto
significa che vi trovate ad almeno sei km di distanza dalle coordinate dell'autodromo selezionato.
GPS TimeTronic è in grado di memorizzare ben 200 giri divisi in 99 sessioni, nel caso in cui lo spazio in memoria venisse completato il dispositivo visualizzerà la scritta “FULL
MEMORY” e disinibirà il conteggio fino alla cancellazione di una parte o di tutta la memoria.Il tempo massimo per ogni giro è di 10 minuti dopodiché GPS TimeTronic si
spegnerà in automatico. Per uscire dalla modalità conteggio bisognerà premere nuovamente il tasto centrale (OK/MENU) così facendo si entrerà nella modalità MENU, qui si
troveranno le varie voci che si potranno scorrere tramite i tasti laterali (↑ e ↓) . Per entrare ed uscire dalle voci del menù basterà premere il tasto centrale (OK/MENU). Per lo
spegnimento del dispositivo tenere premuto il tasto (↑ ΟΝ) per qualche secondo nella modalità conteggio.
- LAPS: Laps, in questa voce del menù è possibile scorrere tutti i tempi segnati tramite i tasti di direzione ( ↑ e ↓) nelle varie sessioni. Una volta entrati selezionare la sessione
desiderata , per confermarla premere il tasto centrale (OK/MENU), ad ogni giro è associata la sessione il tempo ed il nome del proprio circuito.
- BEST: Best Laps, in questa voce del menù è possibile scorrere tutti i migliori tempi segnati tramite i tasti di direzione (↑ e ↓) nelle varie sessioni. Una volta entrati selezionare la
sessione desiderata , per confermarla premere il tasto centrale (OK/MENU).
- CLEAR: Clear memory, in questa sezione è possibile visualizzare la percentuale di memoria utilizzata e tramite i tasti di direzione (↑ e ↓) è possibile selezionare se cancellare
l’ultima sessione (LAST) oppure tutta la memoria (ALL), confermando in seguito con il tasto centrale (OK/MENU).
- SAVE POS: Save position, in questa voce del menù sarà possibile memorizzare le coordinate degli intertempi e del traguardo nel caso in cui vi troviate in una pista in cui non
abbiate mai salvato tali coordinate, infatti GPS TimeTronic è in grado di memorizzare le coordinate di 6 circuiti e nel caso in cui vi troviate in uno di questi basterà selezzionare il
circuito salvato nella sezione del menù “TRACK”.
Per memorizzare le coordinate entrare nella voce “SAVE POS” premendo il tasto (OK/MENU), verrà visualizzata la scritta “INTERMED. 1” procedere con il veicolo fino al
punto in cui si vuole vengano memorizzate le coordinate del “primo” intermedio e premere nuovamente il pulsante (OK/MENU), verrà visualizzata la scritta “INTERMED. 2”
procedere con il veicolo fino al punto in cui si vuole vengano memorizzate le coordinate del “secondo” intermedio e premere nuovamente il pulsante (OK/MENU), verrà
visualizzata la scritta “FINISH LINE” procedere con il veicolo fino al punto in cui si vuole vengano memorizzate le coordinate della linea del traguardo e premere nuovamente il
pulsante (OK/MENU), se si vuole saltare la memorizzazione di uno o piu intermedi premere il tasto (↑ o ↓) durante la memorizzazione dell'intermedio che si vuole saltare.
Per non salvare nessuna coordinata premere il tasto (↑ o ↓) durante la memorizzazione della linea del traguardo, in questo caso il dispositivo non memorizzerà niente e verrà
visualizzata la scritta “COORDINATES NOT MEMORIZED”.
Ricordiamo che GPS TimeTronic memorizza anche il verso di percorrenza di ogni intermedio/traguardo basterà effettuare la memorizzazione delle varie coordinate in movimento
ad una velocità di almeno 40km/h-2 MPH, tale funzione è molto comoda per evitare che vengano rilevati dei falsi intermedi/traguardo la dove ci siano dei tratti di pista passanti
vicino ai punti di intermedi/traguardo realmente memorizzati.
- TRACK: Track, in questa sottomenù si può selezionare o modificare il circuito a cui associare le sessioni. Selezionando il circuito tramite il tasto centrale (OK/MENU) verrà
richiesto se il circuito deve essere selezionato o modificato; nel secondo caso si potrà modificare lettera per lettera il nome del circuito scorrendole tramite i tasti laterali direzione
(↑ e ↓) e selezionando la lettera tramite il tasto centrale (OK/MENU).
- SETUP: Setup, in questo sottomenù si potrà scegliere quale tipo di informazione visualizzare al passaggio sul traguardo:
“Best Lap” indica che verrà visualizzato il ritardo tra il miglior giro e quello appena effettuato, altrimenti la scritta “BEST LAP” se si ha realizzato il miglior giro.
“Last Lap” indica che verrà visualizzata la differenza tra il giro appena effettuato e quello precedente, questa differenza avrà segno positivo se il tempo effettuato è maggiore del
giro precedente, segno negativo se il contrario. Confermare con il tasto centrale (OK/MENU).
Di seguito si potrà scegliere la durata di tale informazione al passaggio sul traguardo confermandola con il tasto centrale (OK/MENU)
Si potrà in fine scegliere se nella riga più in alto del cronometro si vorrà visualizzare il nome del circuito oppure la velocità rilevata dal GPS in Km/h oppure la velocità rilevata dal
GPS in MPH. Confermare con il tasto centrale (OK/MENU).
- GPS INFO: GPS Information, in questo sottomenù si potrànno visualizzare tutte le informazioni rilevate dal ricevitore GPS (coordinate, velocità, data e ora al meridiano di
Grenwich).
- EXIT: Exit menù, esce dalla modalità menù e ritorna nella modalità conteggio premendo il tasto centrale (OK/MENU).
ote: Questo prodotto non è omolgato per l'uso stradale
GARANZIA PRODOTTI PZRACING
La garanzia PZRacing copre i difetti di fabbricazione entro 24 mesi, ai sensi del Decreto Legislativo 2 febbraio 2002, n. 24. Non saranno coperti da garanzia il materiale
danneggiato per uso improprio o negligenza. Il materiale in garanzia dovrà essere spedito presso la nostra sede prima della sostituzione. I costi di spedizione per la restituzione e
sostituzione del materiale sono comunque a carico del cliente. Si declina ogni responsabilita' per danni a cose o persone dovuti all'incorretto utilizzo dei nostri prodotti.
PZRacing - via A. De Gasperi , 7 - 61032 Fano (PU) Italy - Tel: +39 (0)721 820434 Fax: +39 (0)721 837322 - www.pzracing.it

GPS TimeTronic Cod. TT403 – Cod. TT403/A
INTRODUCTION
The GPS TimeTronic is a GPS digital chronometer which is quick and easy to use, and its function is to automatically record the “time per laps”, in other words how long it takes
to cover the entire distance of each lap on the circuit of whichever racing track you are on.
GPS TimeTronic uses GPS technology at Hz which makes it a unique product; and allows you to measure your time per lap with extreme precision.
This device can be used on motorbikes, cars, scooters and go-karts.
INSTALLATION
Installing the GPS Timetronic is quick and easy and does not present any problems. All you have to do is follow these instructions:
- Installation of the main module which is the device containing the display, will need a good field of vision and accessibility (we suggest the fork plate because of it wide base
and greater field of vision. Once you have found the ideal place to install the module, you can secure the chronometer with the adhesive material found in the box.
- The receiver must be positioned with the adhesive facing upwards so that it has good visibility towards the sky.
- (the following procedure should only be carried out on 12V TT403/12 models). Connect the two wires: the black wire needs to be attached to the "earth", that is to say to the
frame or directly to the negative clip of the battery, while the red wire must be attached directly to the "positive" on the battery or to a point where there is a good 12V supply.
GPS TimeTronic is protected against polarity inversion so do not worry if you connect the wires wrongly: the device will not be damaged.
If you are not completely sure that you are able to carry out the procedure correctly because you do not understand the instructions or because you lack competence, we advise you
to get a mechanic or an auto-electrician to do it for you.
- CHANGING THE BATTERIES (only on the TT403/A power supplied models): when in counting mode, the battery symbol will appear on the display, only when it is necessary
to change them. Remove the screws on the back of the battery module, take out the three AAA batteries positioned under the display and insert the new batteries, close the module
display paying attention not to
over-tighten the screws when closing.
GPS Timetronic has an LCD graphic display and because of its nature, extended exposure to sunlight could cause partial darkening of the liquid crystals, making it difficult to read
the display, therefore we advise you to cover the device when it is not being used.
HOW THE CHRONOMETER WORKS
The GPS Timetronic is very quick and easy to use thanks to its fully interactive menu and through the use of only three keys.
To switch on the device you must press the ON key for about two seconds (↑ ON); the name of the product will appear, after which the device will go into stand-by mode waiting
to receive satellite signals.
If the words “NO SIGN” appear, it means that the receiver is not linked to the satellites; consequently you will have to wait for the words “LET’S GO” to start the time
calculations or to memorize the coordinates of your finishing time.
If it has been a long time since you last used the device or if you have moved several kilometres away from where your last switched on the device, you will have to wait up to 4-
minutes to receive a signal, otherwise the receiver will take only a few seconds to locate your position.
On the top left half side of the GPS TimeTronic you can see a “circle” If the circle is full, it means that you are close to the circuit you have chosen; if it is empty, it means that
you are at least six kilometres away from the coordinates of the racing track you have chosen.
GPS TimeTronic is able to store up to 200 laps divided into 99 sessions. If the memory space is full, the device will display the message “FULL MEMORY” and it will stop
counting until a part of the memory or all of it in deleted. The maximum time for each lap is 10 minutes after which GPS TimeTronic will automatically switch itself off. To exit
from the counting mode you have to press the central (OK/MENU) key again; by doing so, you will enter the MENU mode where you will find various headings which you can
scroll down by using the lateral (↑ and ↓) keys. To enter and exit the headings of the menu, just press the central (OK/MENU) key. To turn off the device, press the ( ON) key
for a few seconds in the counting mode.
- LAPS: Laps, under this heading of the menu you can scroll through all the recorded times of the various sessions by using the (↑ and ↓) direction keys. Once you have entered
and selected the session you want, confirm by pressing the central (OK/MENU) key, the session, the time and the name of the circuit are associated to each lap.
- BEST: Best Laps, under this menu heading you can scroll through all the best times recorded in the various sessions by using the (↑ and ↓) direction keys. Once you have entered
and selected the session you want, confirm by pressing the central (OK/MENU) key.
- CLEAR: Clear memory, in this section you can see the percentage of memory you have used and by using the ( and ) direction keys you can decide whether to delete the
previous session (LAST) or all the memory (ALL); you must then confirm by pressing the central (OK/MENU) key.
- SAVE POS: Save position, under this menu heading you can store the coordinates of your partial lap and finishing line times, in the event that you are on a track where you have
never saved the coordinates remember that the GPS TimeTronic is able to store the coordinates of 6 circuits and if you are on one of these, just select the circuit you have saved
under the menu heading “TRACK”.
To store the coordinates, access the heading “SAVE POS” by pressing the (OK/MENU) key, the message “INTERMED. 1” will appear, proceed with your vehicle up to the point
where you want to store the coordinates of the “first” intermediate stage and press the (OK/MENU) key again, the words “INTERMED. 2” will appear, proceed with your vehicle
up to the point where you want to store the coordinates of the “second” intermediate stage and press the (OK/MENU) again, the words “FINISH LINE” will appear; proceed with
your vehicle up to the point where you want to store the coordinates of the finishing line and press the (OK/MENU) key again, if you want to skip the memorization of one or
more of the intermediate stages press the (↑ and ↓) direction keys during the memorization of the intermediate stage that you want to skip.
If you do not want to save any coordinates press the (↑ and ↓) during the memorization of the
Finishing line, in this case the device will not store anything and the words “COORDINATES NOT MEMORIZED” will appear.
We remind you the GPS TimeTronic also stores the direction of each intermediate finishing line, and you just have to store the coordinates in movement at a speed of at least
40km/h – 2 MPH, such function is very convenient to avoid false intermediate/finishing line stages being registered where there are track segments close to the intermediate
finishing line areas actually stored.
- TRACK: track, under this heading you can choose or change the circuit you want to attach sessions to. When choosing the circuit with the central (OK/MENU) key, you will be
asked if the circuit is to be selected or modified; in the second case, you can change the name of the circuit, letter by letter, by scrolling the letter, using the (↑ and ↓) direction keys
and selecting letters with the central (OK/MENU) key.
- SETUP: Setup, in this under-menu you can choose which kind of information you want to visualize, once you have reached the finishing line:
“Best lap” indicates the time difference between the best lap and the one you have just completed, otherwise “BEST LAP” will appear if your last lap was your best.
“Last lap” means that you will see the difference between the lap you have just finished and the previous one, this difference will have a plus sign if the time is higher than the
previous one or a minus sign if the opposite occurs. Confirm with the central (OK/MENU) key.
Afterwards you will be able to choose how long this information is displayed after having reached the finishing line. Confirm by pressing the central (OK/MENU) key.
Finally you will be able to choose whether you want to see the name of the circuit or the speed recorded by the GPS in km/h or in MPH displayed on the top part of the
chronometer. Confirm by pressing the central (OK/MENU) key.
- GPS INFO: GPS information; under this heading you will be able to see all the information recorded by the GPS receiver (coordinates, speed, Greenwich meantime and date).
- EXIT: Exit menu, exit the menu mode and return to the counting mode by pressing the central (OK/MENU) key.
Attention: This product is not authorized for public road use
PZRACING PRODUCTS GUARANTEE
The PZRacing guarantee covers manufacturing faults within 24 months, in accordance with the legislative decree 2nd February 2002, n.24. The guarantee does not cover damages
caused by improper use or negligence. Goods under guarantee must be sent to our main office before being replaced. In all cases the shipment costs for the replacement and return
of the goods will be charged to the customer. We decline all responsibility for damage to objects or people due to the incorrect use of our products.
PZRacing - via A. De Gasperi , 7 - 61032 Fano (PU) Italy - Tel: +39 (0)721 820434 Fax: +39 (0)721 837322 www.pzracing.it
This manual suits for next models
1
Table of contents
Languages:
Other PZRacing Motorcycle Accessories manuals

PZRacing
PZRacing A2-Tronic AP601 User manual

PZRacing
PZRacing GearTronic ZERO GT3100-K1 User manual

PZRacing
PZRacing DesmoTronic DE600 User manual

PZRacing
PZRacing B-Tronic BW600 User manual

PZRacing
PZRacing B2-Tronic BW601 User manual

PZRacing
PZRacing P2-Tronic PA601 User manual

PZRacing
PZRacing A-Tronic AP600 User manual

PZRacing
PZRacing HRC-Tronic HO601 User manual