manuals.online logo
Brands
  1. Home
  2. •
  3. Brands
  4. •
  5. Rampage
  6. •
  7. Automobile Accessories
  8. •
  9. Rampage 985 Series User manual

Rampage 985 Series User manual

Windshield
Snap
Slip plastic strip into retainer
Rear Bow
View from inside vehicle
Make sure that the straps sewn into the rear of the
top are behind the rear bow.
Getting started:
IMPORTANT: You should first try to pick a warm day above 70 degrees to install the top. Remove it from the box and lay it out in the
sun on a soft surface to allow it to soften up and be more flexible during installation.
RAMPAGE
PRODUCTS
Included:
Replacement top panels 2 x 10-24 screw
Strap set 2 x 10-24 nut
5 x Snaps Hook & loop strips
Tools required:
3/32” drill bit Philips screw driver
7/32” drill bit
Drill body
Step 2
Step 3
Step 1
Lay the main skin out on the vehicle and insert the plastic strip into
the channel over the front windshield. Now snap the front two snaps.
Open the hook and loop flap on the sides over the front doors
Straps behind bow
Installation
985xx Replacement Top with Zip
Out Rear panels for:
86-94 Suzuki Samurai
Page 1
Drape the top over the rear bow and be sure to tuck the
bow up into the rear corners as far as possible.
Rear Bow
View from Inside Top
Wrap flaps around door frames and
attach hook strips to loop strips.
Front
Snap to bow
Step 4
Step 5
Step 6
Step 7
Install the tension strap through the loop on the
strap sewn into the top. Pull tight and secure
with hook and loop.
NOTE: If the straps are damaged or missing
from your vehicle use the included hardware to
replace it.
NOTE: Do not over tighten the strap as it may
damage the loop or the strap.
Snap the top to the bow. Be sure to wrap the
outer flaps around the front of the bow and the
center from the rear.
NOTE: If the studs are missing from the bow
use the included snaps to replace them.
Page 2
Loop straps through and
tighten.
Main skin
A
B
C
A) Fold back the corner of the main skin where the
side window needs to be inserted into the channel.
B) Insert the side window bead into the channel.
NOTE: Be careful not to let the side panel hook on
the sheet metal of the channel, it may rip the top if
forced.
C) Once the side panel is inserted all the way, start
the zipper at the front corner and zip to the rear.
D) Now snap the snaps along the lower edge of the
side panel.
D
Rear Curtain
To roll up the Rear Curtain, start at the bottom and roll it
to the inside. Avoid wrinkles in the fabric and window.
Secure it in place with the curtain straps inside of the top.
Warning: Do not operate the vehicle with the rear
window rolled up unless a side window is open also for
ventilation
Important Care Instructions:
Convertible tops and accessories require special care if you want to get the maximum usage and enjoyment from them. The following
recommendations, if followed carefully, can extend the life of your top or accessory.
Hand wash using a mild non-detergent soap such as ivory. Use a non-abrasive cloth or sponge. Rinse thoroughly.
Do not wash in direct sunlight and avoid automatic car washes
When your top is clean, we recommend using “Ragg Topp” or “303 Protectant” on both the vinyl top and windows. This product
contains a sunscreen that helps protect from the sun’s damaging rays. Stay away from products containing alcohol, as it will cause the
fabric and windows to lose their elasticity, thus reducing the life of your top or accessory. If you are unable to locate “RaggTopp” Please
call 1-800-377-4700 for a distributor near you. For “303 Protectant”, please call 1-800-223-4303 for a distributor near you.
Direct sunlight and heat are the biggest enemies of the windows. Park in the shade whenever possible. If you must park in the sunlight,
rotate the direction that you park every few days so all windows get even exposure.
Our tops are designed so that you may roll up and/or store the rear curtain and side curtains. To prevent scratching of the windows, be
sure that windows are completely clean and free of dust particles. Even a little dirt will badly scratch the windows. You may want to use a
soft cloth when rolling up or storing your windows. Heat may build up on rolled up windows, so be sure to unroll them frequently. If you
roll up the windows at the beginning of summer and leave them, they may be ruined by fall.
Do not open or roll up windows at temperatures below 45 degrees F this could cause them to crack or break.
Warranty Information
Rampage products, Inc. warrants to the original purchaser of any top it manufactures, that the top will be free of defects in material or workmanship for
a period of 1 year from date of purchase. Such obligations under this warranty shall be limited to the repair or replacement, at Rampage products
discretion, of any assembly or parts which, upon examination by Rampage products, Inc. proves to be defective. All defective items must be returned
with proof of purchase to Rampage products, Inc., freight prepaid. This warranty does not cover damage resulting from abuse, misuse, alteration,
accident or damage in transit. Rampage products obligations under this warranty are limited to the aforementioned repair or replacement of warranty
defects for which the return authorization has been received during the warranty period, and Rampage products, Inc. shall not be liable for any incidental
or consequential damages arising from breech of this or any implied warranty.
Rampage Products 22420 Temescal Canyon Rd. “C”, Corona, CA 92883 Phone: (951) 277-4949 Fax: (951) 277-2295
www.rampageproducts.com
Made in China Page 3 12/111 rev 1
Lift-A-Dots
Spare Tire Bumper
Lift-A-Dot
Step 7
A
BC
A) Start with the top zipper on the upper right side of the vehicle
and zip in the rear window.
B) Now start the lower right zipper. Only zip up a short distance
to allow the final zipper more slack to start.
C) Finish with the right side zipper. Now zip up both sides.
D) Now snap the snaps along the bottom of the rear panel and
attach hook and loop.
NOTE: If your vehicle does not have the hook and loop, use the
provided adhesive backed peices to install on the rear door of the
vehicle. Align with the strips on the rear window for placement.
NOTE: It may be necessary to adjust the tension on the rear bow
straps to get proper fit on the top. If the rear panel is too loose,
then loosen the straps slightly. If the top is very difficult to install
try tightening the straps.
D
Hook & loop
Other Rampage Automobile Accessories manuals

Rampage 9930 Series User manual

Rampage

Rampage 9930 Series User manual

Rampage I-TVR-01 User manual

Rampage

Rampage I-TVR-01 User manual

Rampage TRAILGUARD 9950919 User manual

Rampage

Rampage TRAILGUARD 9950919 User manual

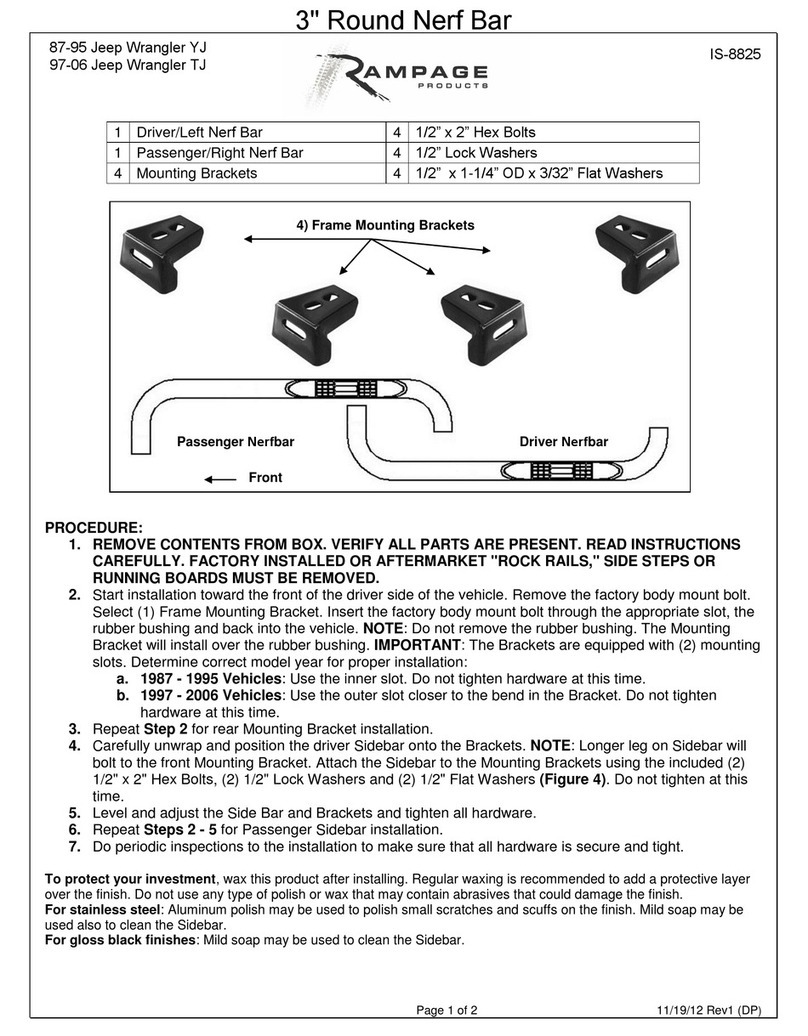
Rampage 8825 User manual

Rampage

Rampage 8825 User manual

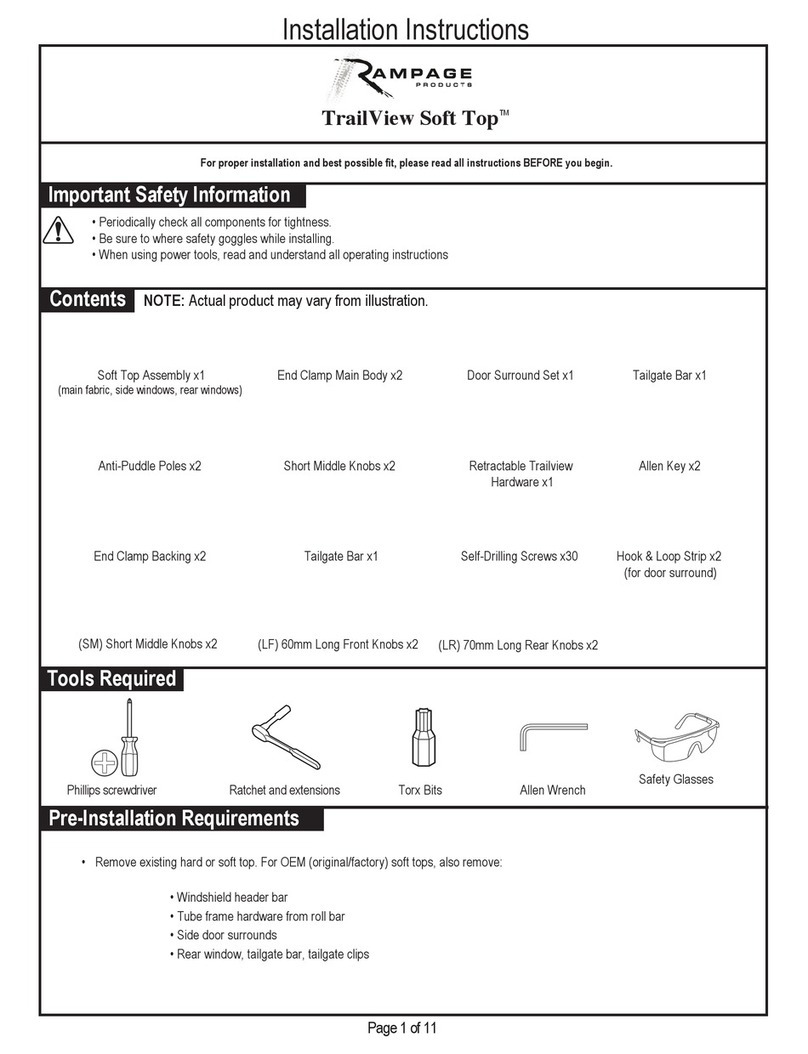
Rampage TrailView Soft Top User manual

Rampage

Rampage TrailView Soft Top User manual

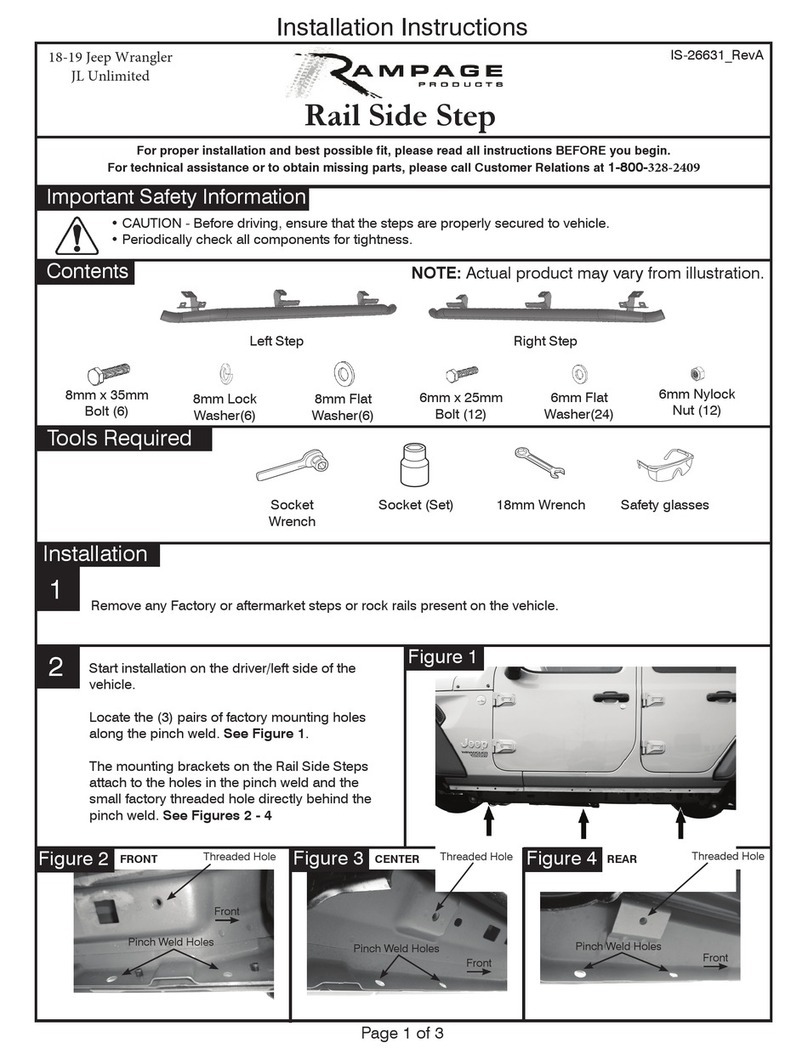
Rampage 26631 User manual

Rampage

Rampage 26631 User manual

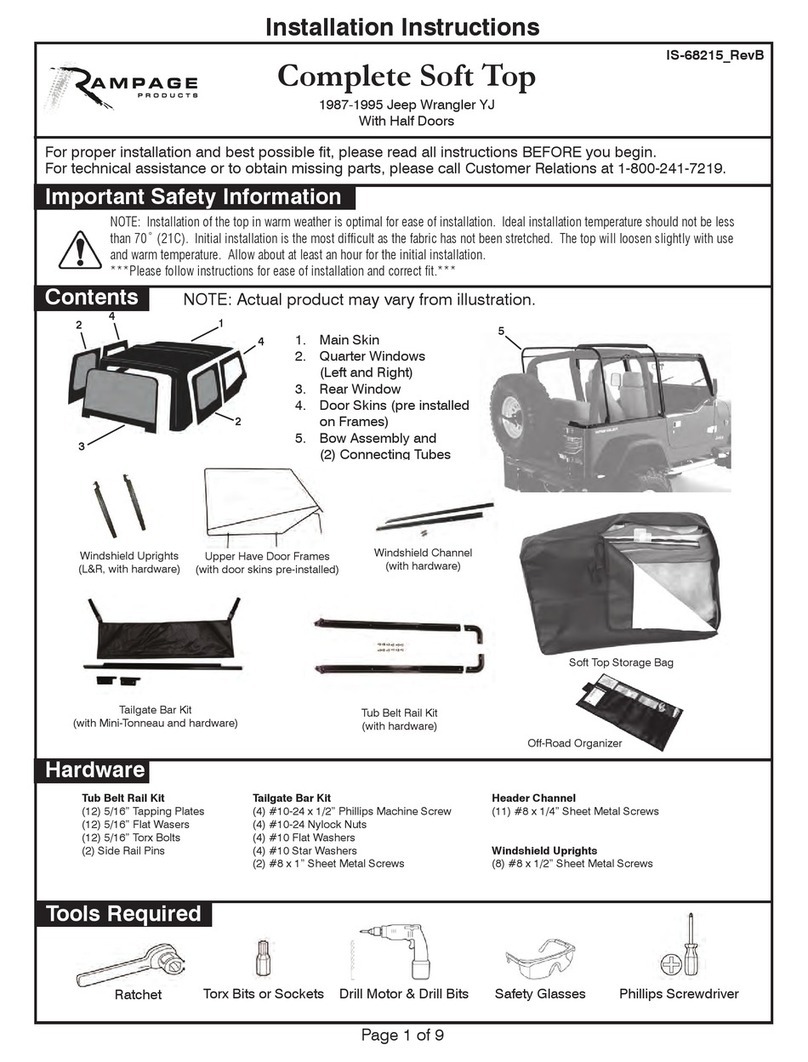
Rampage Complete Soft Top User manual

Rampage

Rampage Complete Soft Top User manual

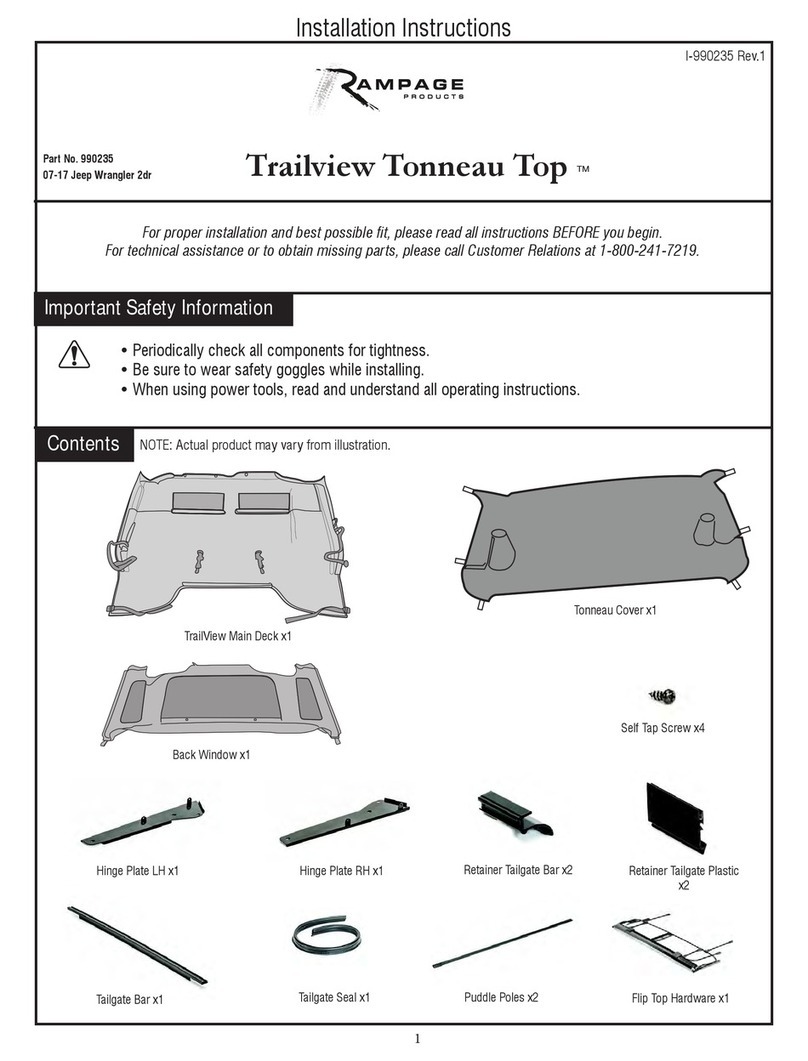
Rampage Trailview Tonneau Top User manual

Rampage

Rampage Trailview Tonneau Top User manual

Rampage 14301 User manual

Rampage

Rampage 14301 User manual

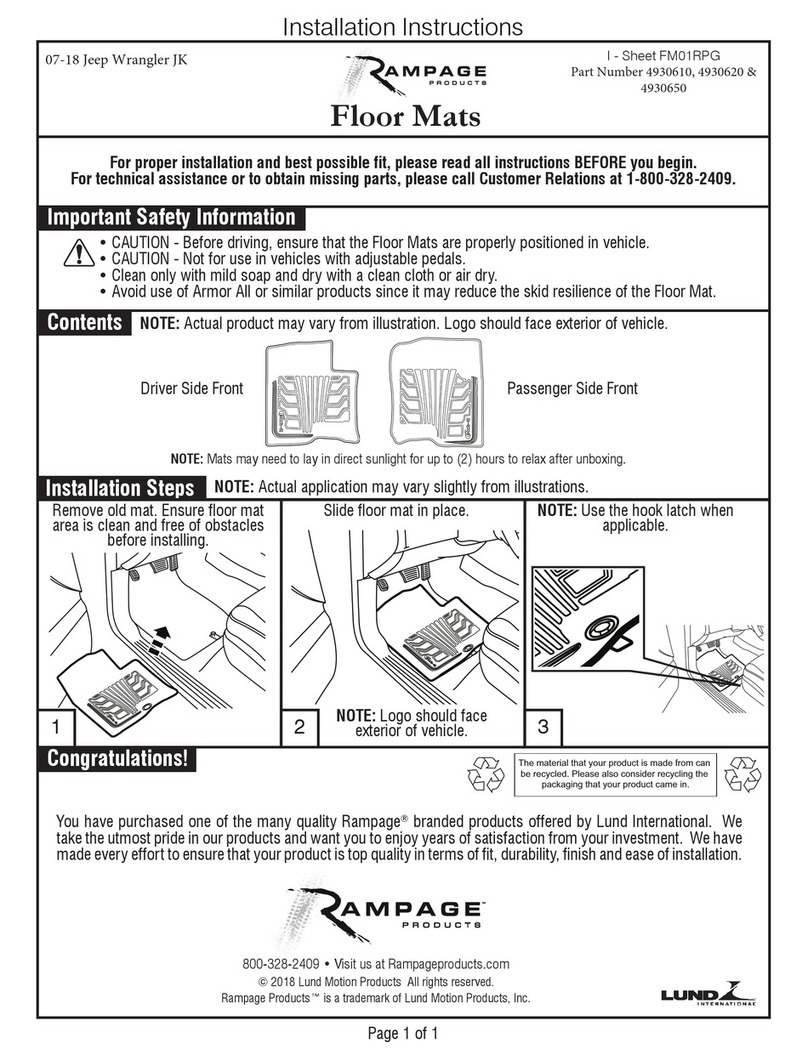
Rampage 4930610 User manual

Rampage

Rampage 4930610 User manual

Popular Automobile Accessories manuals by other brands

Muncie OMNI-SYSTEM PLUS OPERATION AND CONFIGURATION MANUAL

Muncie

Muncie OMNI-SYSTEM PLUS OPERATION AND CONFIGURATION MANUAL

HaWeKo AUR055 installation manual

HaWeKo

HaWeKo AUR055 installation manual

Brink 3615 Fitting instructions

Brink

Brink 3615 Fitting instructions

Circutor Wallbox eNext Series installation guide

Circutor

Circutor Wallbox eNext Series installation guide

Safe Fleet Prime Design FBM-1029 quick start guide

Safe Fleet

Safe Fleet Prime Design FBM-1029 quick start guide

BOSSTOW S0927 quick guide

BOSSTOW

BOSSTOW S0927 quick guide

iDataLink maestro Rr install guide

iDataLink

iDataLink maestro Rr install guide

BMW X5 Wide screen monitor 16:9 retrofit kit installation instructions

BMW

BMW X5 Wide screen monitor 16:9 retrofit kit installation instructions

EMOVE EM303A user manual

EMOVE

EMOVE EM303A user manual

BPW AirSave Operating and installation instructions

BPW

BPW AirSave Operating and installation instructions

network SP25B manual

network

network SP25B manual

VanEssa mobilcamping 00001668 installation guide

VanEssa mobilcamping

VanEssa mobilcamping 00001668 installation guide

Thule Awning 326 Assembling instructions

Thule

Thule Awning 326 Assembling instructions

Thule RAPID SYSTEM 1209 Fitting instructions

Thule

Thule RAPID SYSTEM 1209 Fitting instructions

Link LK-TOY11CL installation manual

Link

Link LK-TOY11CL installation manual

Crux RVCTY-71L manual

Crux

Crux RVCTY-71L manual

Navilock NL-324BTR user manual

Navilock

Navilock NL-324BTR user manual

DFI VC230-AL user manual

DFI

DFI VC230-AL user manual

manuals.online logo
manuals.online logoBrands
  • About & Mission
  • Contact us
  • Privacy Policy
  • Terms and Conditions

Copyright 2025 Manuals.Online. All Rights Reserved.