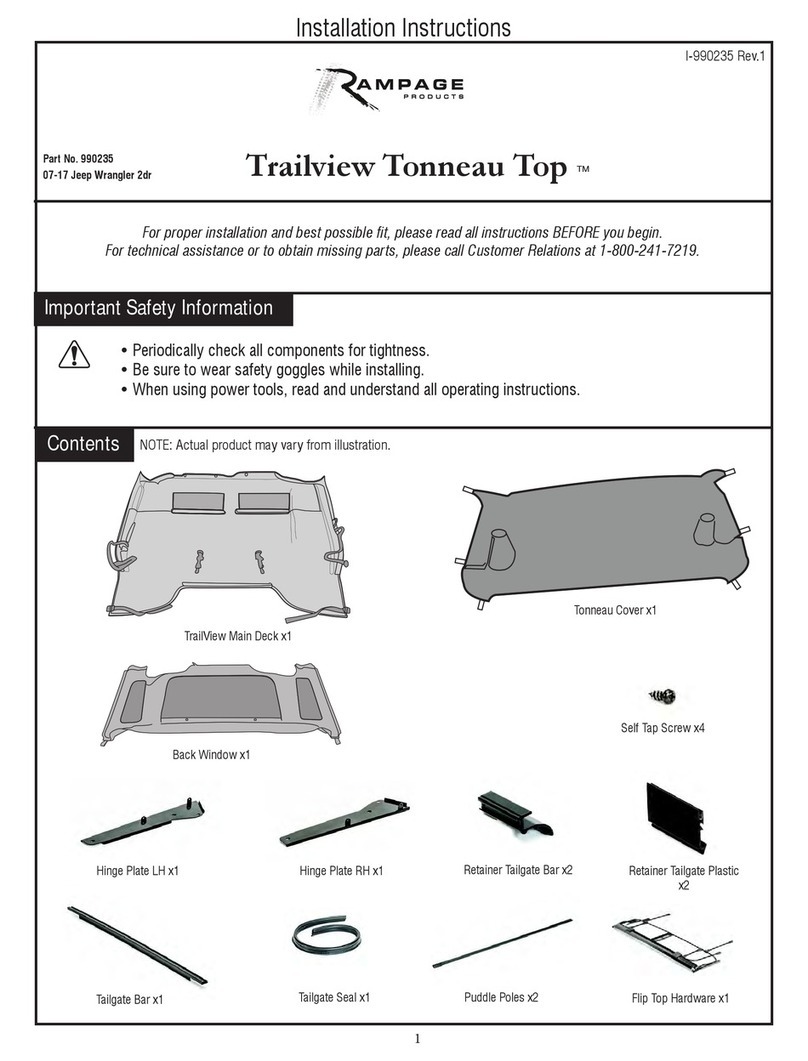
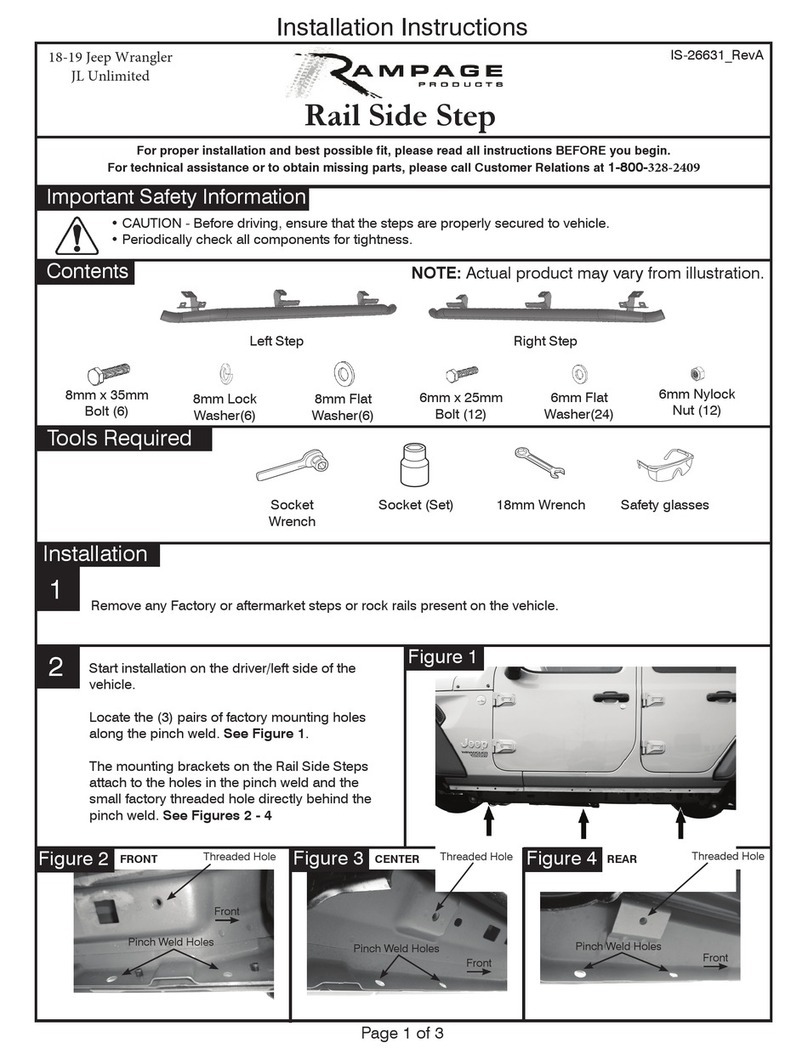
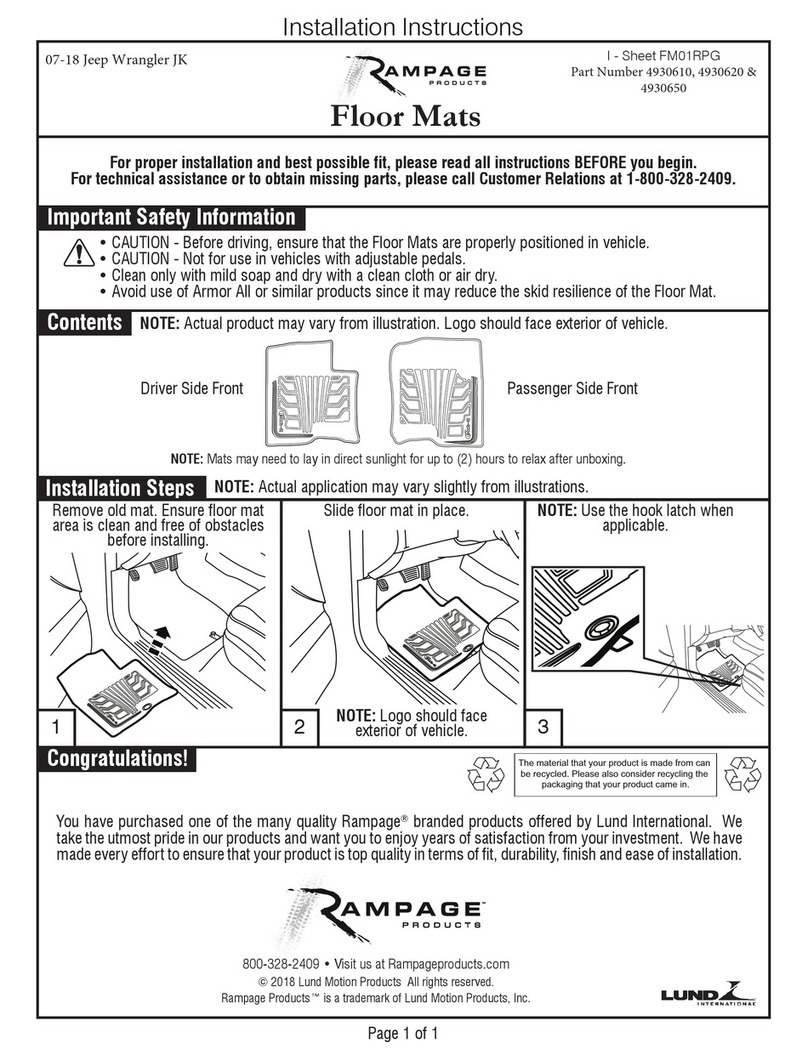
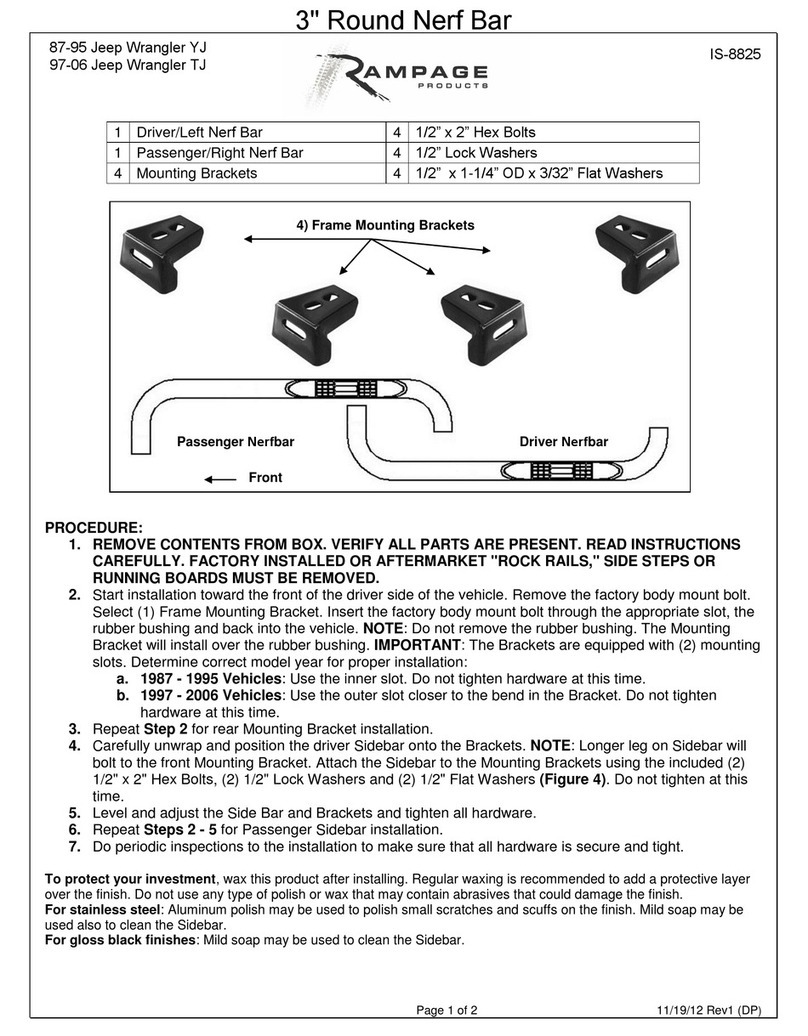
Rampage TrailView Soft Top User manual

Installation Instructions
TrailView Soft Top™
For proper installation and best possible fit, please read all instructions BEFORE you begin.
Important Safety Information
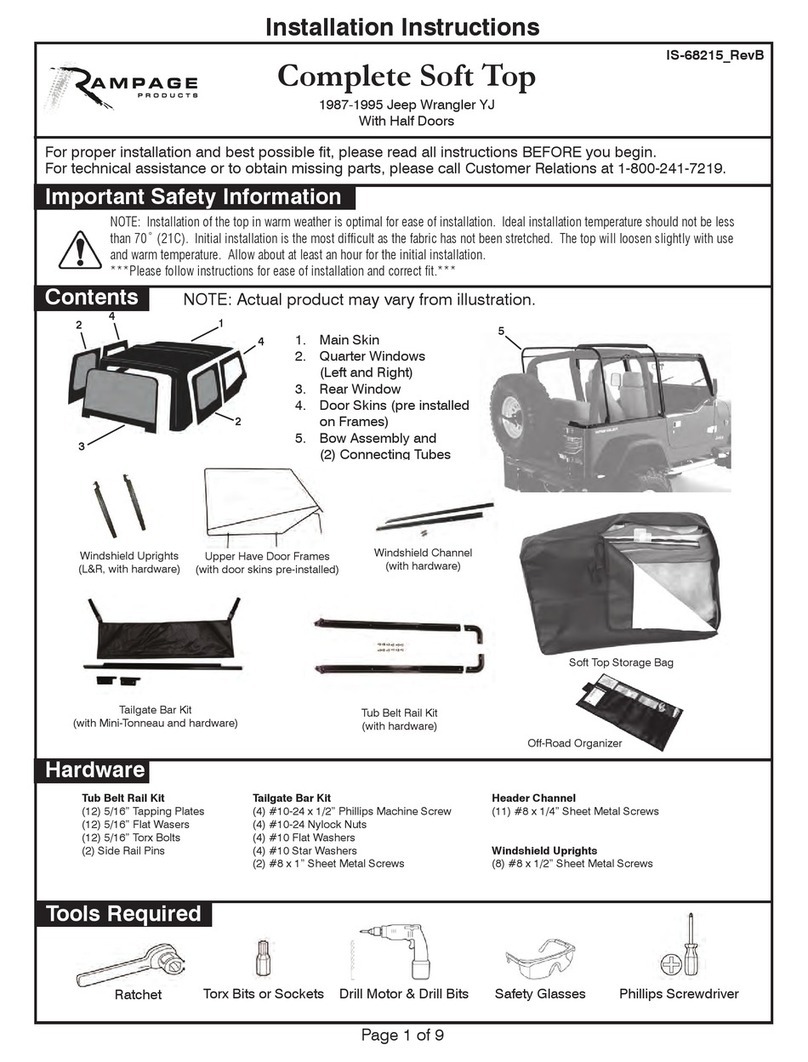
NOTE: Actual product may vary from illustration.Contents
Soft Top Assembly x1
(main fabric, side windows, rear windows)
End Clamp Main Body x2 Door Surround Set x1 Tailgate Bar x1
Allen Key x2
Hook & Loop Strip x2
(for door surround)
(SM) Short Middle Knobs x2 (LF) 60mm Long Front Knobs x2 (LR) 70mm Long Rear Knobs x2
Retractable Trailview
Hardware x1
Self-Drilling Screws x30
Short Middle Knobs x2
Tailgate Bar x1
Anti-Puddle Poles x2
End Clamp Backing x2
Tools Required
Torx Bits Allen Wrench Safety Glasses
Ratchet and extensionsPhillips screwdriver
Pre-Installation Requirements
• Remove existing hard or soft top. For OEM (original/factory) soft tops, also remove:
• Windshield header bar
• Tube frame hardware from roll bar
• Side door surrounds
• Rear window, tailgate bar, tailgate clips
• Periodically check all components for tightness.
• Be sure to where safety goggles while installing.
• When using power tools, read and understand all operating instructions
Page 1 of 11
Installation Steps NOTE: Actual application may vary slightly from illustrations.
Page 2 of 11
Unfold your new TrailView Soft Top™ and separate the packaged pieces.
TIP: Driver’s side pieces are sealed in green plastic
packaging. Passenger’s side pieces are sealed in clear
plastic packaging. Set aside the windows for a later
step and take care not to scratch them.
TIP: The factory door surrounds cannot be used. Use the Rampage door surround kit that has been designed specifically for the TrailView Soft
Top™. This provided kit is a simple and sturdy mount for this top and is designed to reinforce some weak areas around the factory door
surrounds.
Install driver’s door surround base part with a self-drilling screw.
Slide driver’s side front metal bracket onto front section of door surround.Install driver’s side upper corner part with a small turn-knob bolt.
Push front plastic insert into front section of door surround. Secure all pieces with 5 small self-drilling screws.
1
2
3 4
56

Installation Steps NOTE: Actual application may vary slightly from illustrations.
Page 3 of 11
4-Door Model ONLY
Insert middle plastic piece into front door surround
section and secure with a self-drilling screw.
Join front surround section to rear surround
section with a self-drilling screw.
Slide the rear bracket onto the rear surround section. Insert corner piece of vertical upright into
assembled front and rear surround.
Secure all parts with 5 self-drilling screws. Repeat this section (steps 1-11) to assemble
passenger’s side door surround.
Position completed door surround onto the vehicle and fit the bracket over the roll bar.
7 8
9 10
11 12
13

TIP: Make sure the rubber gasket at the top of the windshield is correctly sealed against the front surround section. See photo below
for proper fit:
TIP: Make sure the rubber is correctly wrapped around the plastic center section before tightening with the center knob. See photo
below for proper fit:
Inspect the clearance between top of windshield frame and door surround. Check that the factory foam seal is in place and
refer to your Jeep® owners manual to ensure the door surrounds are properly fitted and tightened.
Installation Steps NOTE: Actual application may vary slightly from illustrations.
Page 4 of 11
Fit door surround mount plate on top of door surrounds. Secure the mount plate to the roll cage using turn-knobs in
the pre-drilled holes.
Insert door surround knobs (SM, 70mm LR, 60mm LF) into door
surround assembly. Position the Long Rear (LR) knob at the rear
of the assembly and tighten. Repeat using the Long Front (LF)
knob at the front of the assembly, and the Small (SM) knob in
the middle.
Use a Torx T25 bit to remove the footman loop from the windshield
on both the driver’s and passenger’s side. See photo below:
Long front
Short middle
Long rear
14
15
16 17
18 19

Installation Steps NOTE: Actual application may vary slightly from illustrations.
Page 5 of 11
Place provided latch as shown and reattach with the Torx T25
bolt from the previous step.
Tuck the plastic strip behind latches and along side rails. See
photo below for proper fit:
Prep the door surrounds by coating the area with the provided Hook & Loop Adhesive Primer stick. Apply to both sides and
LET DRY 5 MINUTES.
TIP: It may be helpful to have a second person for this step.
Place the top face down and re-fold, beginning with the rear
window portion.
Lift the top and header channel assembly onto the windshield
gasket. Fold the top over the frame working toward the windshield.
Remove the backing then press the adhesive Hook & Loop strip onto the door surround. See photos below for proper alignment:
Fold back the hardware tubes of the header channel assembly
then insert into the main fabric. Secure with snaps as shown.
20 21
22
24
23
25

Installation Steps NOTE: Actual application may vary slightly from illustrations.
Page 6 of 11
TIP: Lift up the main fabric for easier access to the brackets. Line up the brackets then secure with the counter-sink Allen
head screw and nylon lock-nut. See photos below for proper fit:
Fold the top toward the windshield to close. Secure using latches.
Unfold the cover fabric then pull over sound bar and roll cage,
working toward the rear of the vehicle.
Wrap the 2 straps attached to the main section of fabric around
the rear-middle of the sound bar. Insert plastic hooks into the holes
on the underside of the sound bar. Tighten the strap until snug.
Attach the latch to the metal flange. Adjust the hook to fit with slight
tension when latch is closed.
28
29
26
27
30

Installation Steps NOTE: Actual application may vary slightly from illustrations.
Page 7 of 11
4-Door Model ONLY Locate the ceiling adjustment straps at the corners of the ceiling panel. Wrap the straps around the roll bar and
seatbelt stud toward the inside of the Jeep, then back up to the strap adjustment buckle.
Tighten and repeat for the passenger side. Adjust each side to position the top evenly. See diagram below:
2-Door Model ONLY Locate the ceiling adjustment straps at the corners of the ceiling panel. Wrap the straps around the roll bar and tub
top rail toward the inside of the Jeep, then hook the strap adjust buckle.
Tighten and repeat for the passenger side. Adjust each side to position the top evenly. See diagram below:
31
32

Installation Steps NOTE: Actual application may vary slightly from illustrations.
Page 8 of 11
Secure the side windows to the main cover fabric by zipping into place. Repeat for the rear window. See the diagram below for the
proper installation sequence:
Insert the side-rear-quarter black plastic piece into the fabric sleeve-pocket located inside your rear window pieces.
33
34

Installation Steps NOTE: Actual application may vary slightly from illustrations.
Page 9 of 11
Assemble the brackets by sliding the plastic backing onto the
metal extrusion.
Secure with two screws in each bracket using pre-drilled holes.
Install the Tailgate Bar brackets by hooking the front edge over
the belt rail sheet metal. Close the clamp with downward pressure
while pulling the backing tight. The clamp will pop and lock onto the
underside of the tube edge.
Slide the tailgate bar onto the bottom of the rear window, using
the built-in C-channel to guide it over the the flap and small tube.
35
36

Installation Steps NOTE: Actual application may vary slightly from illustrations.
Page 10 of 11
Insert the fiberglass anti-puddle poles into the built-in pockets at the rear-ceiling of the top. Flex the poles for a secure fit.
Fit the rubber gasket onto the top of the tailgate. Push the gasket
down over the top edge of the tailgate to seal tightly. See photo
below for proper orientation:
Zip the rear window closed. Insert the Tailgate Bar into the
brackets by pushing the bar against the brackets and rotating
it towards your body.
37
39
38

Care and Cleaning
• Wash only with mild soap & dry with a clean cloth.
• Do not use cleaning solvents of any kind.
Congratulations!
Your new TrailView Soft Top
™
is installed! Now go enjoy the ride.
Thank you for purchasing one of the many quality Rampage® products offered by Lund International, Inc. We take the ultimate pride in our
products and hope you receive years of satisfaction from your investment. We have made every effort to guarantee that your product is
of the highest quality for fit, durability, finish, and ease of installation.
Secure the belt rail plastic of the side windows from front to
back, starting on the back top of the door surrounds. Hook the
belt rail plastic to the back section of the door surround.
Continue fastening the plastic under the belt rail lip of the Jeep
body until the top is fully attached all around the back corners.
Installation Steps NOTE: Actual application may vary slightly from illustrations.
Page 11 of 11
Attach the main deck belt rail plastic into the upper door
surround from front to back. Start at the windshield header.
Tip: Make sure rear panel zippers are lined up on both sides.
40 41
42 43
If you’re looking for quality soft tops and hard tops, visit our website.
Table of contents
Other Rampage Automobile Accessories manuals

Rampage
Rampage 985 Series User manual

Rampage
Rampage 26631 User manual

Rampage
Rampage 8825 User manual

Rampage
Rampage 14301 User manual

Rampage
Rampage I-TVR-01 User manual

Rampage
Rampage Complete Soft Top User manual

Rampage
Rampage 4930610 User manual

Rampage
Rampage TRAILGUARD 9950919 User manual

Rampage
Rampage Trailview Tonneau Top User manual

Rampage
Rampage 9930 Series User manual