5
[DE]
Währungserkennung
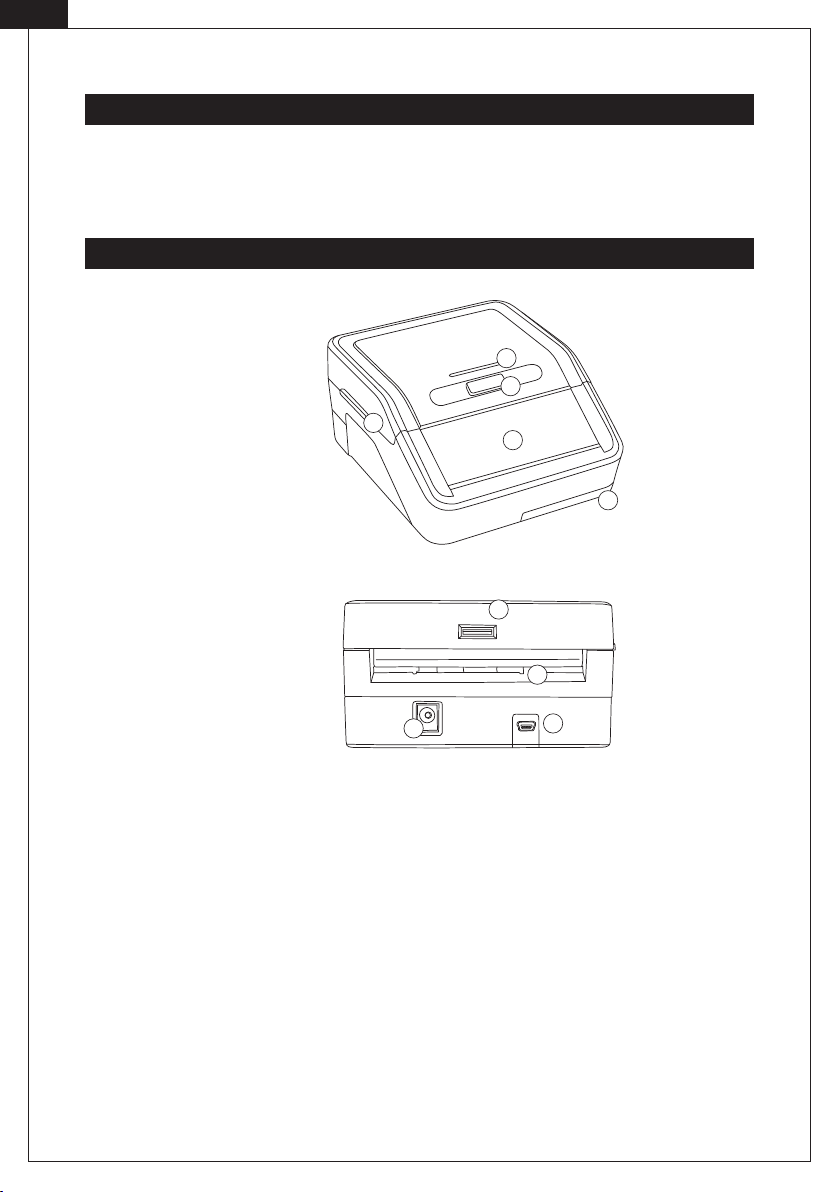
Banknoten einlegen
Falsche oder verdächtigte Banknoten
Berichtserkennung- und Löschung – Nur für den Smart Protect Plus im Additionsmodus
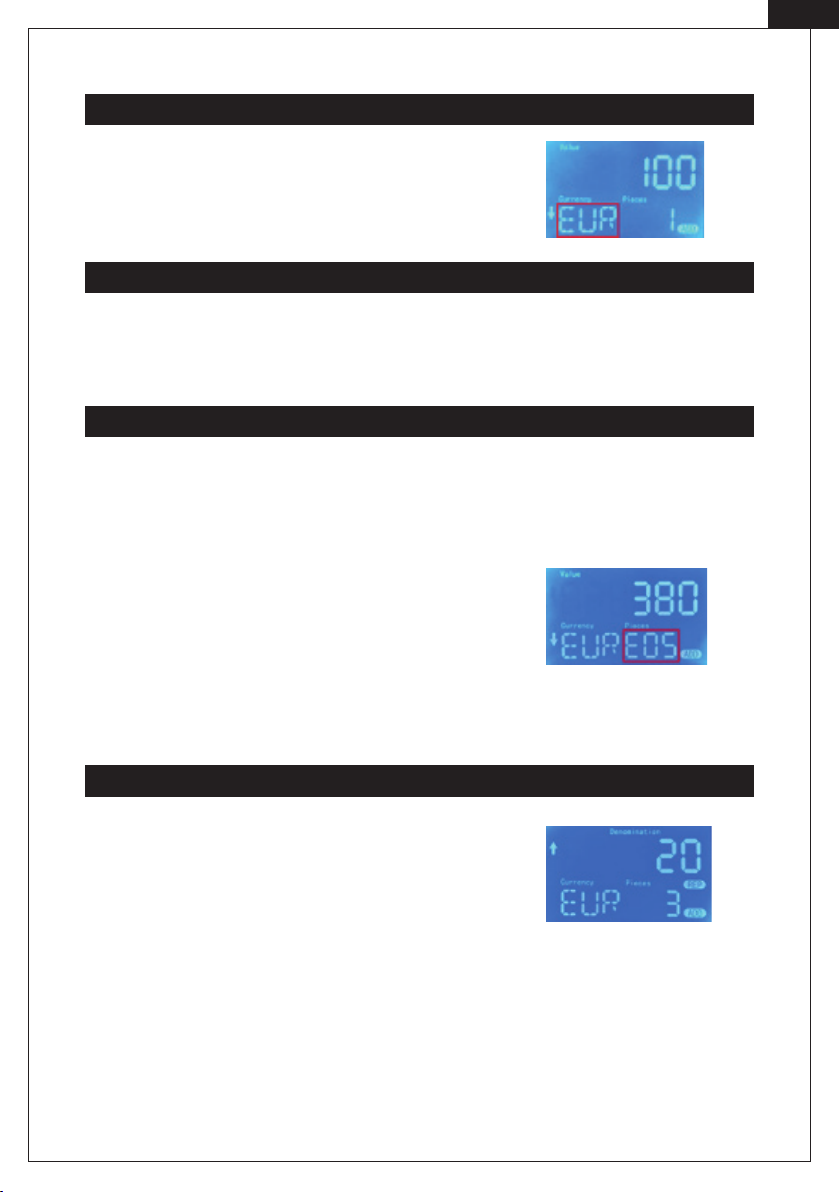
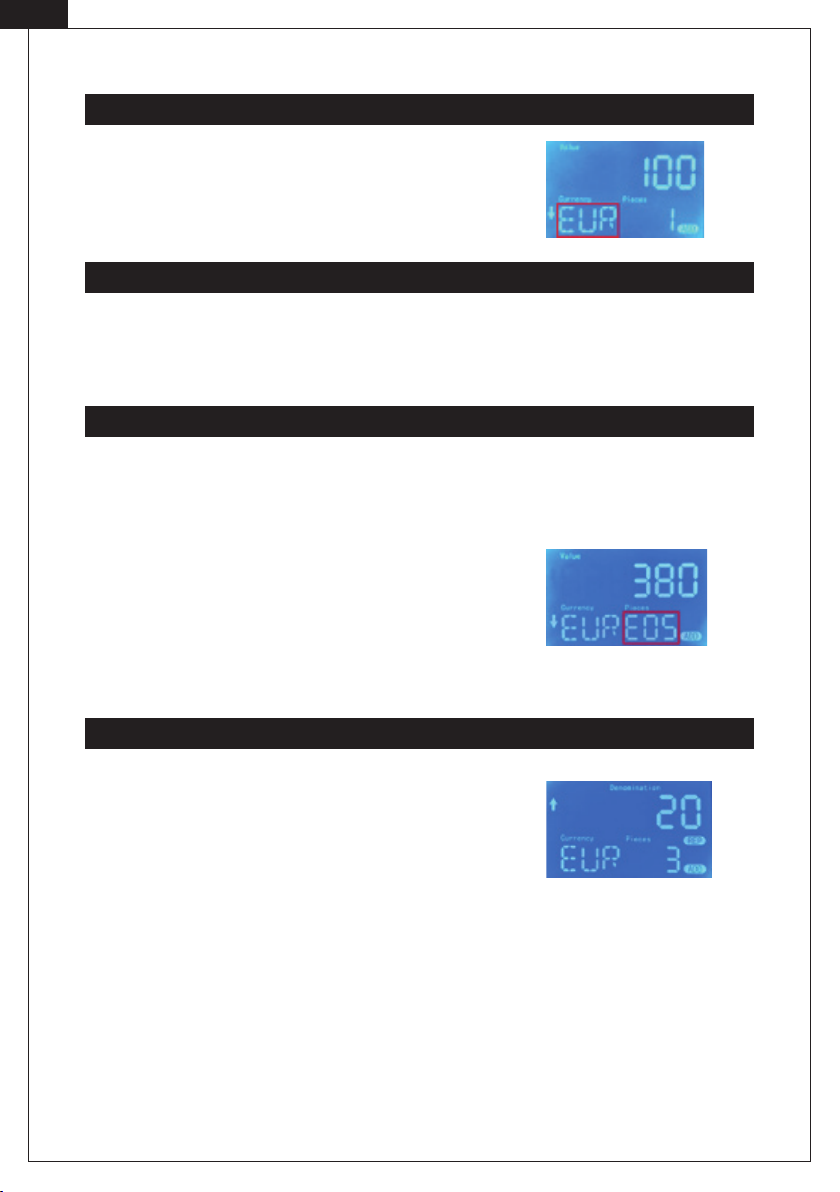
Sie müssen die Währung nicht explizit auswählen, da das Prüfgerät die
Währung automatisch erkennt.
Standardwährungen für beide Modelle: EUR | GBP | CHF
Smart Protect & Smart Protect Plus:
Legen Sie die Banknote in den Einzug. Das Gerät startet automatisch und zieht die Banknote ein. EUR und GBP
können in jede Ausrichtung eingelegt werden. CHF nur rechtsbündig.
Smart Protect:
Eine falsche oder verdächtigte Banknote wird nach hinten ausgeworfen. Es ertönen drei Signaltöne.
Smart Protect Plus:
Handelt es sich um eine falsche oder verdächtigte Banknote wird sie
gemäß der ausgewählten Auswurfrichtung ausgegeben. Es ertönen
drei Signaltöne. Verdächtige oder falsche Banknoten werden durch be-
stimmte Fehlercodes auf dem Bildschirm angezeigt. Die verschiedenen
Fehlercodes setzen sich wie folgt zusammen: E+Zahlenkombination
Hinweis: Ist beim Smart Protect Plus der Ton im Menü ausgeschaltet, wird kein akustisches Signal wiederge-
geben.
Drücken Sie nach Abschluss der Erkennung die Pfeiltaste, um den
Berichtsmodus aufzurufen. Sie können zwischen den Werten durch er-
neutes Betätigen der Pfeiltaste wechseln. Es werden Summe und Anzahl
der Banknoten angegeben. Wenn das Gerät während des Berichtsmodus
eine Banknote einzieht, verlässt er diesen automatisch.
Hinweis: Um beim Smart Protect Plus in den Additionsmodus zu
gelangen, müssen Sie vorab die MODE-Taste betätigen.
Hinweis: Um die Ergebnisse löschen zu können, muss die MODE-Taste
gedrückt und gehalten werden.