RCH @ Home, Royal Children's Hospital.
This document is subject to a disclaimer, see
http://www.rch.org.au/uploadedFiles/Main/Content/hacc/home_care_manuals/RCH@Home%20Disclaime
r.pdf
Page 3 of 4
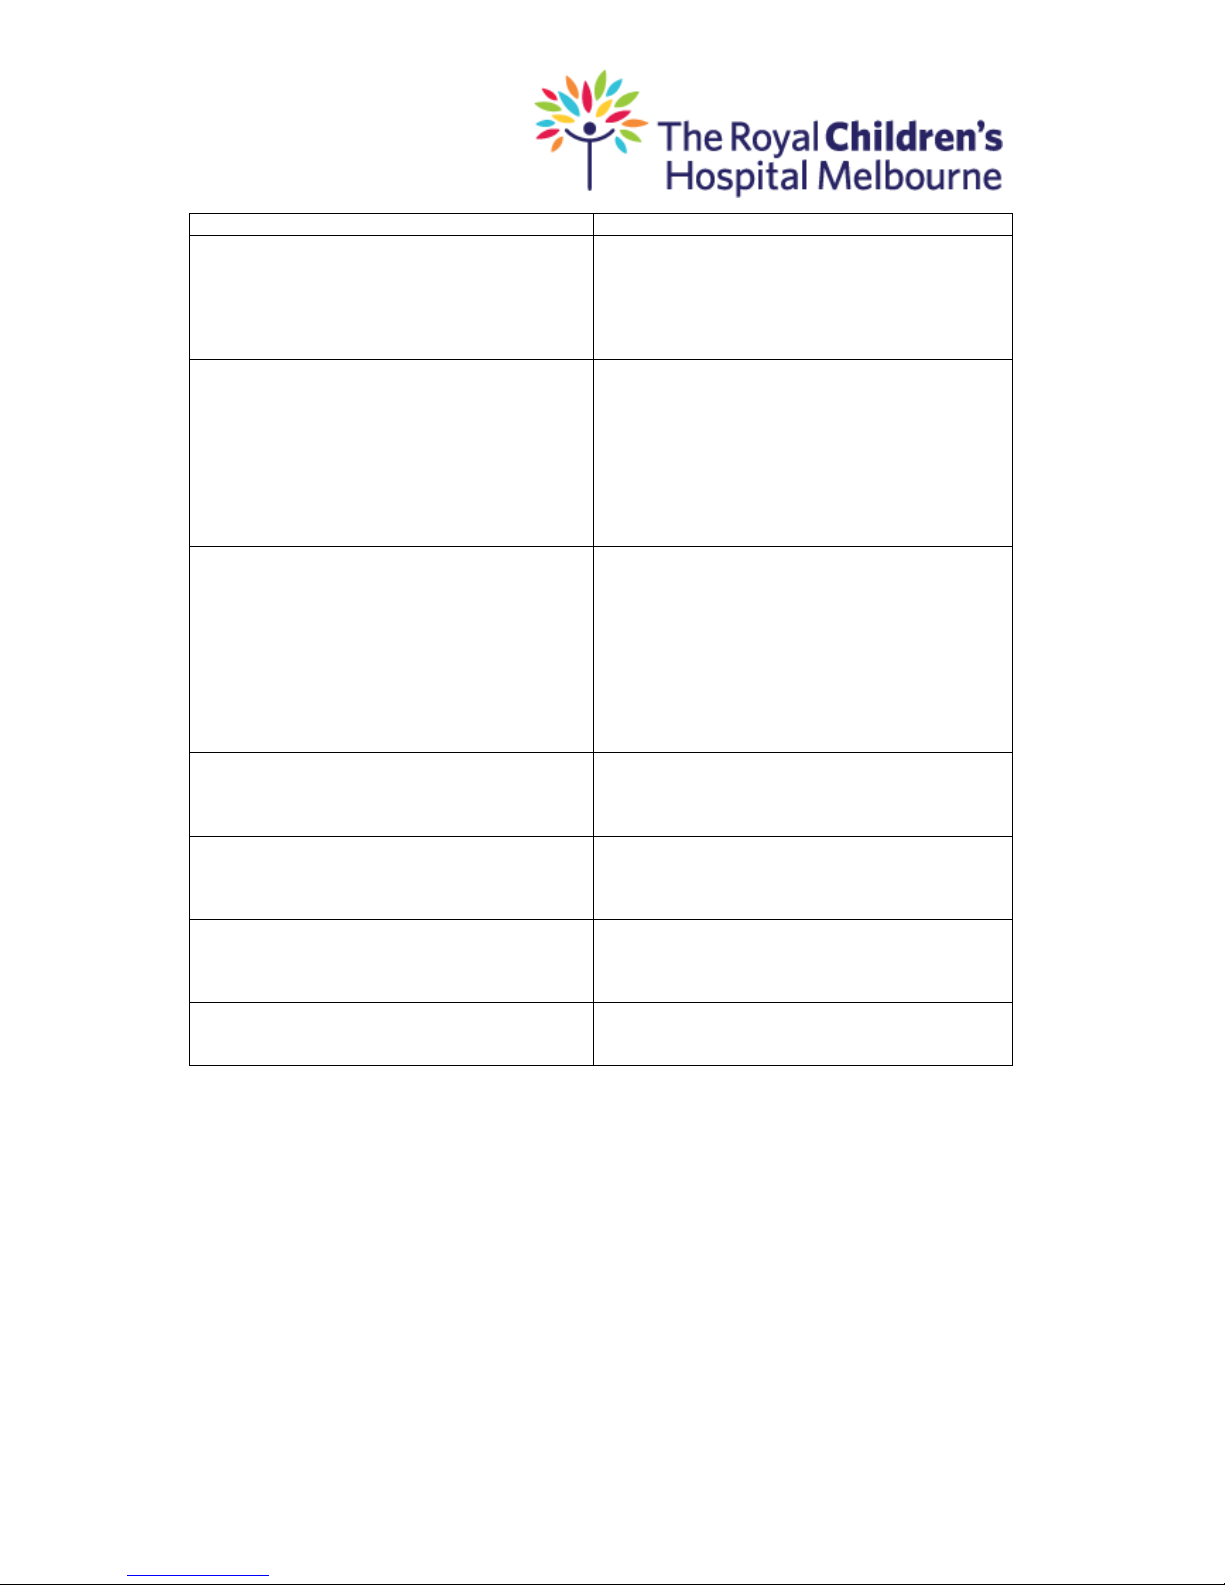
Select this icon by pressing centre of turnstile
Set the high and low oxygen limits as per the child specific oximetry care
page
Set the high and low heart beat limits as per the child specific oximetry care
page
Press the home button (green button) to exit the menu settings and return to
the main monitoring screen.
Press the Alarm Audio (orange button) button for less than 2 seconds to
ensure that alarms are audible for the safety and protection of the child you
are caring for.
To increase volume for alarm settings select settings icon using turnstile knob
Select this icon by pressing centre of turnstile
Apply the probe
Ensure to use the correct Spo2 adhesive sensor, this automatically applies
correct patient mode (i.e. Adult/Paediatric/Neonatal)
Ensure the skin is clean, dry and warm
Apply the probe to the foot, toe or finger
Ensure that the two sides (light and sensing) of the probe are opposite one
another over the site
Do not apply the probe too tightly. Too much pressure will decrease the
blood flow to the site and can cause the readings to be incorrect and may also
cause a pressure area sore
Move the probe 3-4 hourly to a different area on the child’s foot/hand to
prevent pressure areas and burns from the red light
A new probe is used when the old probe no longer works (approx. 5-7 days of
use)
To ensure you have the correct patient mode selected. Move turnstile to the
right selecting the patient mode Icon
Select this icon by pressing centre of turnstile, there will be a red tick beside
selected patient mode
3. Oximeter alarms
Oximeter alarms can go off for different reasons, some of which may not be related to
the child’s medical condition. When an alarm sounds the carer must always look at the
child and check their breathing, colour and level of consciousness before silencing the
alarm and rechecking all of your equipment and connections.