manuals.online logo
Brands
  1. Home
  2. •
  3. Brands
  4. •
  5. RealFlame
  6. •
  7. Indoor Fireplace
  8. •
  9. RealFlame Vektor 1100 User manual

RealFlame Vektor 1100 User manual

VECKTOR CAMPFIRE FLAME
EFFECT SPACE HEATER XLC
FLUE CONFIGURATIONS
POLYPROPYLENE FLUEINSTALLATION
SUPPLEMENT INSTRUCTION MANUAL
The Vektor space heater is suitable to be installed into a frame out
installation. Designed to operate on Natural gas.
Approval no. GMK 10622
VERSION 2
2
WARRANTY INFORMATION
The benefits provided to you under the following warranty are in addition to any other rights and remedies available to
you under the law.
1. Warranty
If:
(a) during the first 15 years from the date of purchase (Firebox Warranty Period), there is a defect in the firebox of the
Gas Burner; or
(b) during the first 2 years from the date of purchase (Parts Warranty Period), there is a defect in the gas valves or
other parts of the Gas Burner,
due to improper workmanship or material, Glen Dimplex will replace or repair the Gas Burner without charge. Any
replacement product is warranted only for the time remaining on the original Firebox Warranty Period or the Parts
Warranty Period as relevant.
2. Registration
You must register to receive the benefit of this warranty by completing the warranty registration on our website
(www.realflame.com.au) or completing and mailing the attached registration card within 30 days of purchase of
your Gas Burner (or, if the Gas Burner is fitted to a new home, within 30 days of the date of settlement of purchase
of such new home).
3. Exclusions
Glen Dimplex is not obliged to replace or repair the Gas Burner under clause 1 if:
(a) it has been improperly stored, installed, connected, used, operated or repaired, or damaged, abused, tampered
with, altered (without our written approval), or not maintained in strict accordance with our installation and
operating instructions; or
(b) it has been installed in an outdoor setting.
4. Limit of Liability
The warranty provided under this warranty is limited to replacement or repair of the Gas Burner only, at our option.
To the extent permitted by law, Glen Dimplex excludes liability for consequential loss or any other loss or damage
caused to property or persons arising from any cause whatsoever, and damage arising from normal wear and tear.
5. Claiming under the Warranty
In order to claim under this warranty you must, within the Firebox Warranty Period or the Parts Warranty Period
(as relevant), contact Glen Dimplex, providing the original proof of purchase and the details below:
Supplier Name
Date Of Purchase / settlement of property if new home
Model / Serial Number
This warranty does not cover the cost of claiming under the warranty or transporting the Glen Dimplex Gas Burner to
and from the supplier.
Our goods come with guarantees that cannot be excluded under the Australian Consumer Law. You are entitled to a
replacement or refund for a major failure and for compensation for any other reasonably foreseeable loss or damage.
You are also entitled to have the goods repaired or replaced if the goods fail to be of acceptable quality and the failure
does not amount to a major failure.
If you would like to speak to someone about your Gas Burner or claiming under this warranty, please contact the
Service Warranty Desk on 1300 554 155.
Glen Dimplex Australia Pty Ltd ACN 69 118 275 460
Head Office: 1340 Ferntree Gully Road, Scoresby 3179
Telephone: (03) 8706 2000 Facsimile: (03) 8706 2001
3
INSTALLATION NOTICE
The installation of this appliance is only to be carried out by an authorized person in accordance
with the Manufacturer’s Instructions, local gas fitting regulations, AS/NZS5601.1-2013 installation
code for gas burning appliances and any other relevant statutory regulations.
In all cases the installation of this appliance shall meet the requirements as set out in
AS/NZS5601.1-2013.
Do not install in a fireplace as a Type 1 installation.
Not intended as a fireplace insert.
NOTE: A slight smell may be apparent for the first few hours of use. This is due to the heat resistant
paint curing. It is recommended to open windows in the room for the first lighting of the fire. In some
instances, a slight discolouration may occur inside the firebox. This is a normal condition and is not
covered by warranty.
WARNING
The Vektor space heater has a secondary safety glass fitted. This safety glass is fitted to this appliance to
reduce the risk of injury from burns and at no time should this glass be permanently removed.
For protection of young children or the infirm, a secondary guard is required.
The appliance is not intended for use by persons (including children) with reduced physical, sensory or mental
capabilities, or lack of experience and knowledge, unless they have been given supervision or instruction
concerning use of the appliance by a person responsible for their safety. Children should be supervised to
ensure that they do not play with the appliance.
WARNING
The glass panel gets extremely hot! Precaution should be taken and young children supervised at
all times when the heater is operating.
IMPORTANT SAFETY NOTICE
DO NOT PLACE ARTICLES ON OR AGAINST THIS APPLIANCE.
DO NOT USE OR STORE FLAMMABLE MATERIALS IN OR NEAR THIS APPLIANCE.
DO NOT SPRAY AEROSOLS IN THE VICINITY OF THIS APPLIANCE WHILST IT IS IN OPERATION.
CARE MUST BE TAKEN TO ENSURE THAT ANY RETURN AIR REGISTER OR EXHAUST SYSTEM
DOES NOT ADVERSLEY AFFECT THE OPERATION OF THE APPLIANCE OR DRAUGHT OF
CHIMNEY OR FLUE.
DO NOT MODIFY THIS APPLIANCE.
APPLIANCE IS DESIGNED TO OPERATE WITH LUMINOUS FLAMES. MAY EXHIBIT SLIGHT CARBON
DEPOSIT.
SERVICING
It is recommended you service your gas fire every 2 years as a minimum.
CORD REPLACEMENT
Electrical cord replacement must be undertaken by qualified and trained personnel only.
4
CONTENTS
Contents..................................................................................................................4
Installation instructions ...........................................................................................5
Poly Pro General Installation Requirements...........................................................5
Vektor Standard 5 -13.5m - Wall Mounted Fan....................................................10
Setup with External Wall Mounted Fan Terminal.....................................................21
Glen Dimplex contact information.........................................................................37
5
INSTALLATION INSTRUCTIONS
THIS INSTRUCTION MANUAL MUST BE READ IN CONJUNCTION WITH THE
VEKTOR XL INSTALLATION AND OPERATING INSTRUCTION MANUAL
INSTALLATION CODES
Note appliance gas type –Natural gas. Should the appliance be the incorrect gas type, please
contact the supplier.
Installers –Please ensure the installation and instruction manuals supplied with this appliance are
supplied to the customer and the customer is trained on how to operate the appliance correctly.
Do not modify the appliance.
Do not exceed maximum rated pressures.
Appliance must be installed with gas installation code (AS/NZS5601.1-2013) and applicable
electrical installation code (AS3000).
Test for gas leaks prior to operating appliance. Check
gas pressures and adjust if incorrect.
FLUE CONFIGURATIONS
For flue configurations 0-5m (aluminium flexible flue only) –Refer to Vektor XL instruction
booklet.
Where lengths greater than 5m are required the inlet is run completely in aluminium flexible flue,
the first 5m of the outlet flue (hot exhaust) is run in flexible aluminium flue, then a poly flue system
is used that requires drainage points to allow for condensation removal. –Note drain fall direction
is different for rooftop flues. –Refer XLC Rooftop instruction.
Aluminium flue connections must be sealed with a suitable sealant.
Recommended Silicon –Non-acetic, neutral cure 150degc or higher temperature rated. Bostik
RTV 926 or similar
Wall mounted fan module –terminal must be installed with clearances as specified byAS5601.1-
2013 Clause 6.9.3
Run air intake flue as required –Maximum run 14m. Flues can be run next to each other. Maintain
clearances to combustibles
6
INSTALLATION INSTRUCTIONS(continued)
FLUE TERMINATION LOCATION
This section is used to determine where your flue termination will be located.
•Flue terminations shall not be recessed in walls or sidings.
•EXTREMELY IMPORTANT: In heavy snow areas take extra care to prevent blocking
flue termination with snow removal equipment.
•Flue gases exiting flue terminals are very hot and must not be restricted to assure fireplace
combustion is not affected.
•Do not place, build any obstruction, plant any bushes or for any reason attempt to conceal
the flue termination. Todo so will affect the operation of the fireplace and may be hazardous.
•This unit must always vent directly to outdoors.
•Some flue configurations may not be suitable for installation in ice / snow environments, please
refer to Glen Dimplex Australia for installation suitability.
•XLC flue configurations are designed to release condensation and may not be suitable for ice /
snow environments.
Condensate disposal
Where possible the condensate drainage pipe should terminate at a suitable foul water discharge
point, eg waste drain point washing machine waste point etc.
The HepVO waterless trap should be installed where access can be maintained.
A P-trap can be used as an option instead of the HepVo waterless trap.
Do not discharge condensate onto walkways, electrical connections, earth stakes, copper pipes,
waterways, ponds etc.
POLY PRO GENERAL INSTALLATION REQUIREMENTS
Refer to specific setups for detailed installation guides.
Poly Pro flue systems meets Flame spread/ Smoke ratings <25/<50 (per UL-723 ASTM E-84 and
ULC-S102) when used in conjunction with the below noted materials.
•3m Fire barrier Plenum wrap 5A+
•Unifrax FyreWrap 0.5 Plenum insulation
•Knauf Insulation –Atmosphere Duct wrap withECOSE
Use soapy water to lubricate gaskets and tubes.
DO NOT USE petroleum-based lubricants.
POLY PRO GENERAL INSTALLATION REQUIREMENTS
(continued)
7
Joint Connections
Verify the gasket is seated evenly inside the
groove in the female end. For PP/Metal pipe with
a locking tab, slide locking band on male pipe
section. Insert locking tab into locking band
recess, rotate button away from locking band
clasp, insert pipe sections, push lock band clamp
downward into socket, disengage socket/tab 1/4˝ -
5/8˝ from socket.
Screws are not allowed for joint connection. Never
penetrate the wall of PolyPro vent pipe.
(Exception - a SS screw may be used outside the
building on exterior termination fittings to orient an
elbow, etc.)
IMPORTANT: Locking bands are mandatory on all exhaust vent joints.
Verify gasket is sitting correctly.
Apply a light soapy water film to the gasket and tube end.
Insert pipe fully into end fitting,
Pipe will push in smoothly and evenly, should this not occur remove pipe and reseat gasket.
Reapply light soapy film to ensure easy fit.
Rotate clip so catch is opposite the location tab
Clip catch into place to prevent flue pipes from separating.
Ensure pipes are clipped adequately.
Ensure a minimum of 3deg fall occurs towards the drain end.
•
Installation
1. Pipe lengths may be cut to length. Use an
alternative clamp (PPS-PAC/PPS-LBC) for
the connection if a locking tab is removed.
•Cut square (not an angle) to the end of
the pipe.
•Remove burrs before assembly.
2. Check with appliance manufacturer for any restrictions or limits on vent length, number of
elbows, etc.
3. The slope of the vent pipe must be at least 3° (50mm per meter) back to the appliance.
4. Every horizontal section must be supported.
POLY PRO GENERAL INSTALLATION REQUIREMENTS
(continued)
8
5. The venting system shall be securely supported using suitable hangers. Duravent hardware
is recommended; field supplied support hardware suitable to the AHJ is acceptable,
hardware must not deform on damage the vent. Make sure the load on the vent system is
not supported by the appliance.
On Duravent and other certain clamp styles, 1/4˝ or greater All-thread may be used as an
extension.
6. Vertical installations must be supported every 3 meters or less.
7. Elbows and tees are sufficiently supported when a bracket is fixed at the female end of the
connected straight section.
Poly Pro to Poly Pro flue connection
SETUP WITH EXTERNAL WALL MOUNTED FAN TERMINAL
10
Maximum 13.5m flue length
Instructions are in 3 sections
3. Intake pipe connection
4. Flue exhaust connections
5. Wall mount controller setup
SETUP WITH EXTERNAL WALL MOUNTED FAN TERMINAL
11
Wall mounted fan terminal
IMPORTANT INSTALLATION NOTES
· Flexi flue must be fully extended to length. 5m for exhaust flue and 2 x 7m for inlet.
· 5m of flexi flue on the exhaust side MUST be fully extended and used before prior to
converting to polypropylene. Failure to do this will result in appliance shutdown.
INSTALLATION INSTRUCTIONS
11
Intake pipe connection to appliance
Flexi flue is provided for air intake. A maximum of 2 x
7m lengths can be used.
Cut tube to length where required.
Ensure ends are burr free and round, test fit flue will
slide over connection.
Recommended Silicon –Non-acetic, neutral cure
150°C or higher temperature rated.
Bostik RTV 926 or similar.
Apply an 8mm thick silicon bead fully around heater
connection approx. 10mm from the top.
Apply an 8mm silicon bead fully around the inside of
the flue end (heater connection end)
Fit flue clamp over flue (loosely).
INSTALLATION INSTRUCTIONS
(continued)
12
Intake pipe joiner connection
Slide flue onto connection spigot fully.
Tighten clamp fully.
Wipe excess silicon, visually check connection to
ensure connection is fully sealed.
Ensure ends are burr free and round, test fit flue will
slide over connection joiner.
Apply an 8mm thick silicon
bead fully around both ends
of connector approx. 10mm
from the ends.
INSTALLATION INSTRUCTIONS
(continued)
13
Intake pipe joiner connection
(continued)
Apply an 8mm silicon bead fully around the inside of
the flue ends.
Fit flue clamp over flue ends (loosely).
Slide each flue halfway onto connection
joiner.
Tighten clamp fully.
Wipe excess silicon, visually check
connection to ensure connection is fully
sealed.
Intake connection to wall mounted fan terminal
Wall mounted fan module –terminal must be installed with clearances as specified
by AS5601.1 Clause 6.9.3
Remove cover from fan terminal
INSTALLATION INSTRUCTIONS
(continued)
14
Remove main assembly from the rear wall mounting
plate assembly.
Remove the 5 screws as shown. (Do not remove fan
plate screws)
Lift off main fan terminal assembly.
Remove wall mount plate from flue
connection plate.
Cut air intake flue to length
(Approximately 70mm through wall exit).
Connection plate will sit against wall.
INSTALLATION INSTRUCTIONS
(continued)
15
Push connection plate into approximate
position. Push flue through intake
socket and fit flue holding screw.
Locate wall mounting bracket into position
and affix to wall.
INSTALLATION INSTRUCTIONS
(continued)
16
Assemble spigot connection plate
assembly to wall mounting bracket.
(4 screws)
Flue exhaust connections - Inlet connection to appliance
Note: The full 5m of flexi flue must be used.
Fully extend the 5m aluminium flexi flue. NOTE FULL
LENGTH MUST BE USED.
Ensure ends are burr free and round, test fit flue will
slide over connection.
Apply an 8mm thick silicon bead fully around heater
connection approx. 10mm from the top.
INSTALLATION INSTRUCTIONS
(continued)
17
Apply an 8mm silicon bead fully around the inside of
the flue ends.
Fit flue clamp over flue ends (loosely).
Slide flue onto connection spigot fully.
Tighten clamp fully.
Wipe excess silicon, visually check connection to
ensure connection is fully sealed.
Aluminium to Poly Pro flue connection
Note: A total of 5m of aluminium flexi flue must be
used prior to the joiner. Failure to do this will result in
appliance shutdown.
Apply sealant to flue inner and connector.
INSTALLATION INSTRUCTIONS
(continued)
18
Fit flue clamp over flue (loosely).
Slide flue onto connection spigot fully.
Tighten clamp fully.
Wipe excess silicon, visually check connection to
ensure connection is fully sealed.
Apply a light soapy water film to the gasket and
the tube end.
Insert pipe fully into end fitting, Pipe will push in
smoothly and evenly
Push clamp over pipe restrain flue in place.
Flue Exhaust Connections - Poly Pro to Poly Pro flue connection
INSTALLATION INSTRUCTIONS
(continued)
19
Poly Pro to wall mounted fan module connection
Ensure mounting plate is affixed to wall bracket.
Verify gasket is sitting correctly in condensate drain
connection.
Apply a light soapy water film to the gasket and the
tube end.
Insert pipe fully into end fitting, Pipe will push in
smoothly and evenly, should this not occur remove
pipe and reseat gasket. Reapply light soapy film to
ensure easy fit.
Tighten hose clamp to restrain flue in place.
Flue must have fall (3deg) towards condensate drain.
Feed power cable through bottom area of
bracket.
Assemble main body assembly onto wall
mounting bracket, feed power cable through
grommet hole prior to fitting. (refit 5 screws
as shown and tighten) Main body assembly
must sit flush up against the mounting
bracket and seal.
INSTALLATION INSTRUCTIONS
(continued)
20
Connect power cable connector.
Fit cable clamp to cable.
Fit front cover.

Other RealFlame Indoor Fireplace manuals

RealFlame VVT75 Installation instructions

RealFlame

RealFlame VVT75 Installation instructions

RealFlame 26100244 User manual

RealFlame

RealFlame 26100244 User manual

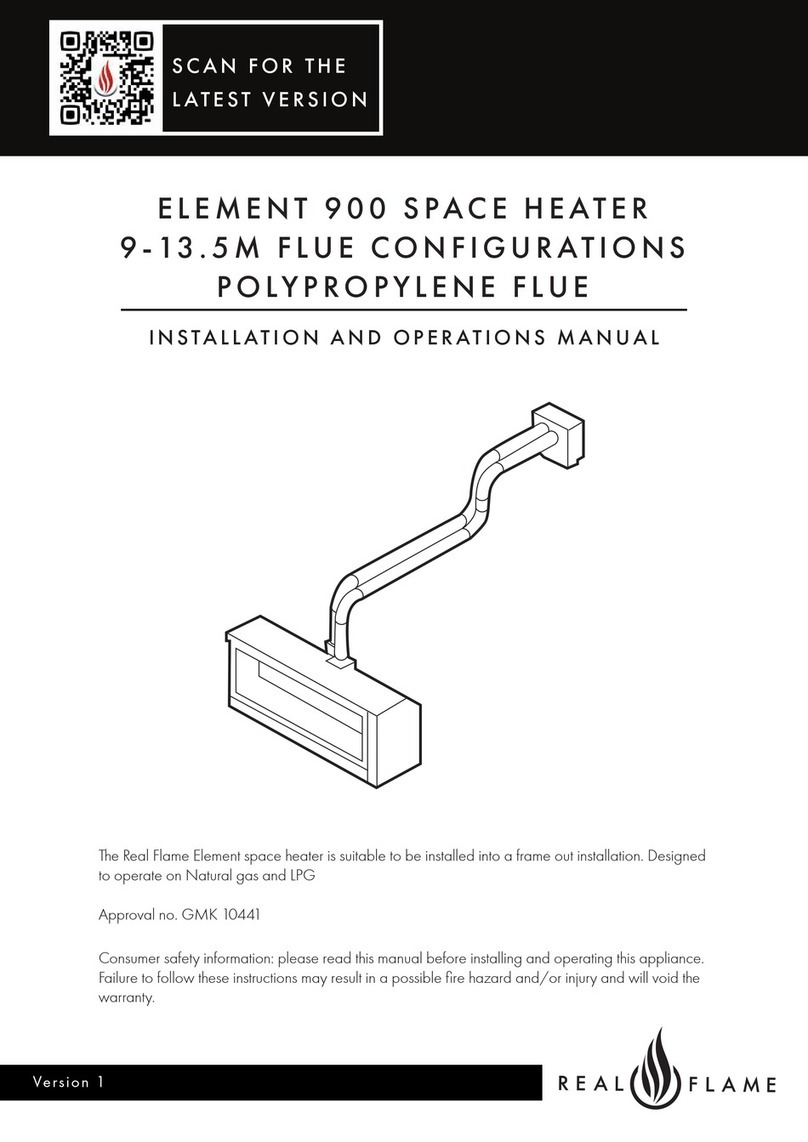
RealFlame ELEMENT 900 User manual

RealFlame

RealFlame ELEMENT 900 User manual

RealFlame RESTORATION HARDWARE Topanga 42100122 User manual

RealFlame

RealFlame RESTORATION HARDWARE Topanga 42100122 User manual

RealFlame 4098 User manual

RealFlame

RealFlame 4098 User manual

RealFlame 9220 User manual

RealFlame

RealFlame 9220 User manual

RealFlame HEATSEEKER 700 Installation instructions

RealFlame

RealFlame HEATSEEKER 700 Installation instructions

RealFlame 5099 User manual

RealFlame

RealFlame 5099 User manual

RealFlame 8000 User manual

RealFlame

RealFlame 8000 User manual

RealFlame RESTORATION HARDWARE Topanga 11504LP User manual

RealFlame

RealFlame RESTORATION HARDWARE Topanga 11504LP User manual

RealFlame 4192 User manual

RealFlame

RealFlame 4192 User manual

RealFlame Alcott 4130E User manual

RealFlame

RealFlame Alcott 4130E User manual

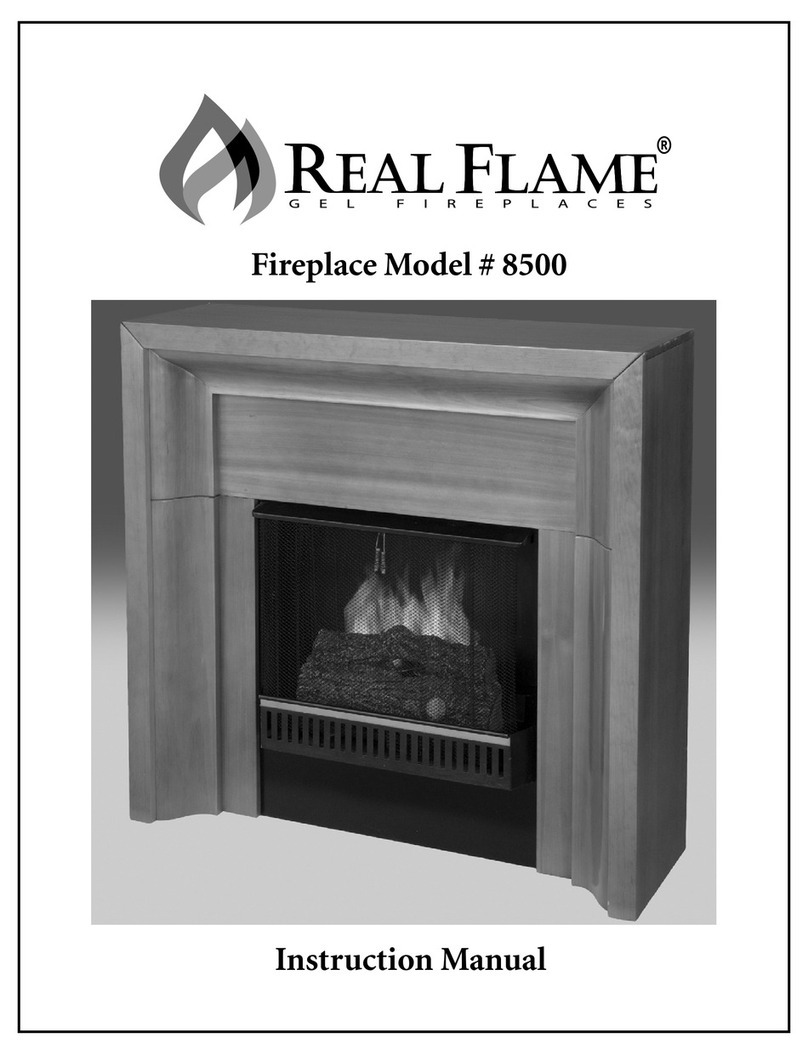
RealFlame 8500 User manual

RealFlame

RealFlame 8500 User manual

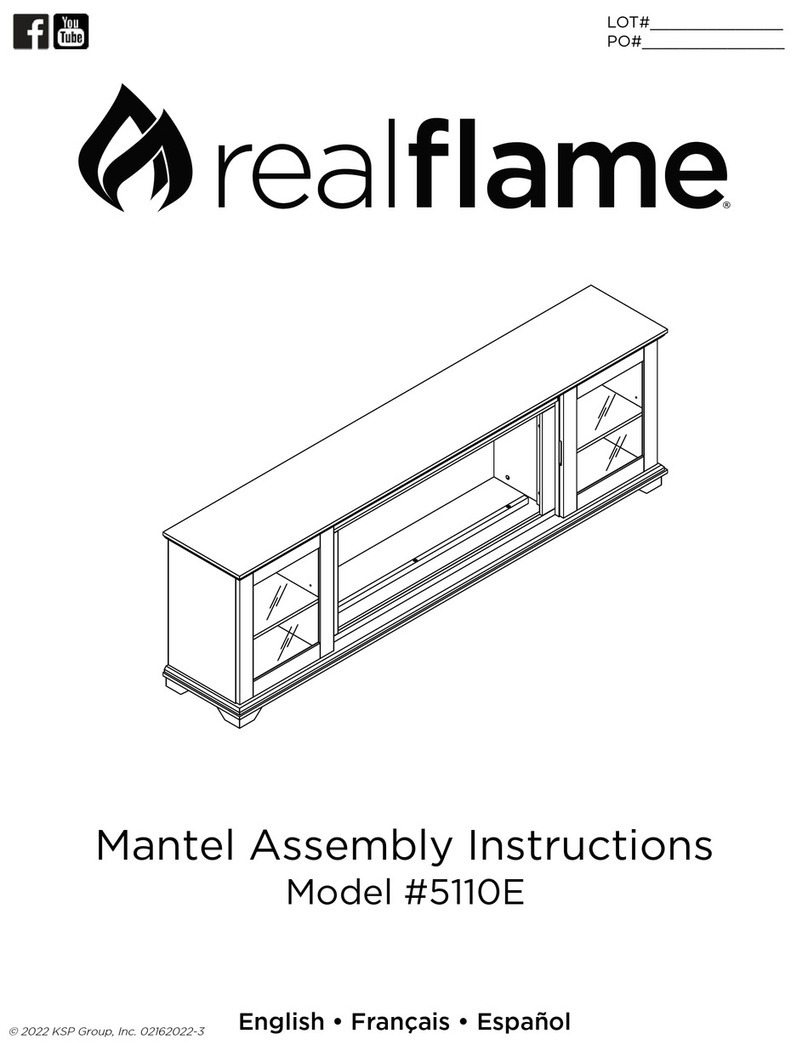
RealFlame Benjamin 5110E User manual

RealFlame

RealFlame Benjamin 5110E User manual

RealFlame Firebox 4099 User manual

RealFlame

RealFlame Firebox 4099 User manual

RealFlame 730 User manual

RealFlame

RealFlame 730 User manual

RealFlame 7800-M - Metal Products Mahogany Finish Carolina Real Flame Gel... User manual

RealFlame

RealFlame 7800-M - Metal Products Mahogany Finish Carolina Real Flame Gel... User manual

RealFlame Barrington 3730 User manual

RealFlame

RealFlame Barrington 3730 User manual

RealFlame 7100 User manual

RealFlame

RealFlame 7100 User manual

RealFlame PYROTECH DELUXE Installation instructions

RealFlame

RealFlame PYROTECH DELUXE Installation instructions

RealFlame 11622LP User manual

RealFlame

RealFlame 11622LP User manual

RealFlame ELEGANCE 850 Installation instructions

RealFlame

RealFlame ELEGANCE 850 Installation instructions

RealFlame Corretto 1340E User manual

RealFlame

RealFlame Corretto 1340E User manual

RealFlame Aspen User manual

RealFlame

RealFlame Aspen User manual

Popular Indoor Fireplace manuals by other brands

Empire Comfort Systems DVL25IN73N-1 owner's manual

Empire Comfort Systems

Empire Comfort Systems DVL25IN73N-1 owner's manual

Kingsman OB24MAN manual

Kingsman

Kingsman OB24MAN manual

Country Living SP6973 user manual

Country Living

Country Living SP6973 user manual

Vermont Castings 2115 installation manual

Vermont Castings

Vermont Castings 2115 installation manual

SEI LINDA FA8514 Assembly instructions

SEI

SEI LINDA FA8514 Assembly instructions

Astria Fireplaces Arcadia18MN Installation and operation instructions

Astria Fireplaces

Astria Fireplaces Arcadia18MN Installation and operation instructions

Lamborghini Caloreclima LMB G 700 Instructions for installation, use and maintenance manual

Lamborghini Caloreclima

Lamborghini Caloreclima LMB G 700 Instructions for installation, use and maintenance manual

Lennox Hearth Products EMDVSTNM installation instructions

Lennox Hearth Products

Lennox Hearth Products EMDVSTNM installation instructions

Twin-Star International 18MM6037 manual

Twin-Star International

Twin-Star International 18MM6037 manual

Quadra-Fire EXPLORER III Series owner's manual

Quadra-Fire

Quadra-Fire EXPLORER III Series owner's manual

Hanover X35WMEF1BLK Installation and operation instruction

Hanover

Hanover X35WMEF1BLK Installation and operation instruction

Lennox CI 30 series Installation and operation manual

Lennox

Lennox CI 30 series Installation and operation manual

Pacific energy BROADWAY Installation and operating instructions

Pacific energy

Pacific energy BROADWAY Installation and operating instructions

EdilKamin IDRO 30 Installation, use and maintenance

EdilKamin

EdilKamin IDRO 30 Installation, use and maintenance

Garden Treasures SRFP153 manual

Garden Treasures

Garden Treasures SRFP153 manual

Woodbridge DV1800 Installation and operating instructions

Woodbridge

Woodbridge DV1800 Installation and operating instructions

Element4 Sky Installation, operation and owner's manual

Element4

Element4 Sky Installation, operation and owner's manual

Hearth and Home Technologies GO24MTCH installation instructions

Hearth and Home Technologies

Hearth and Home Technologies GO24MTCH installation instructions

manuals.online logo
manuals.online logoBrands
  • About & Mission
  • Contact us
  • Privacy Policy
  • Terms and Conditions

Copyright 2025 Manuals.Online. All Rights Reserved.