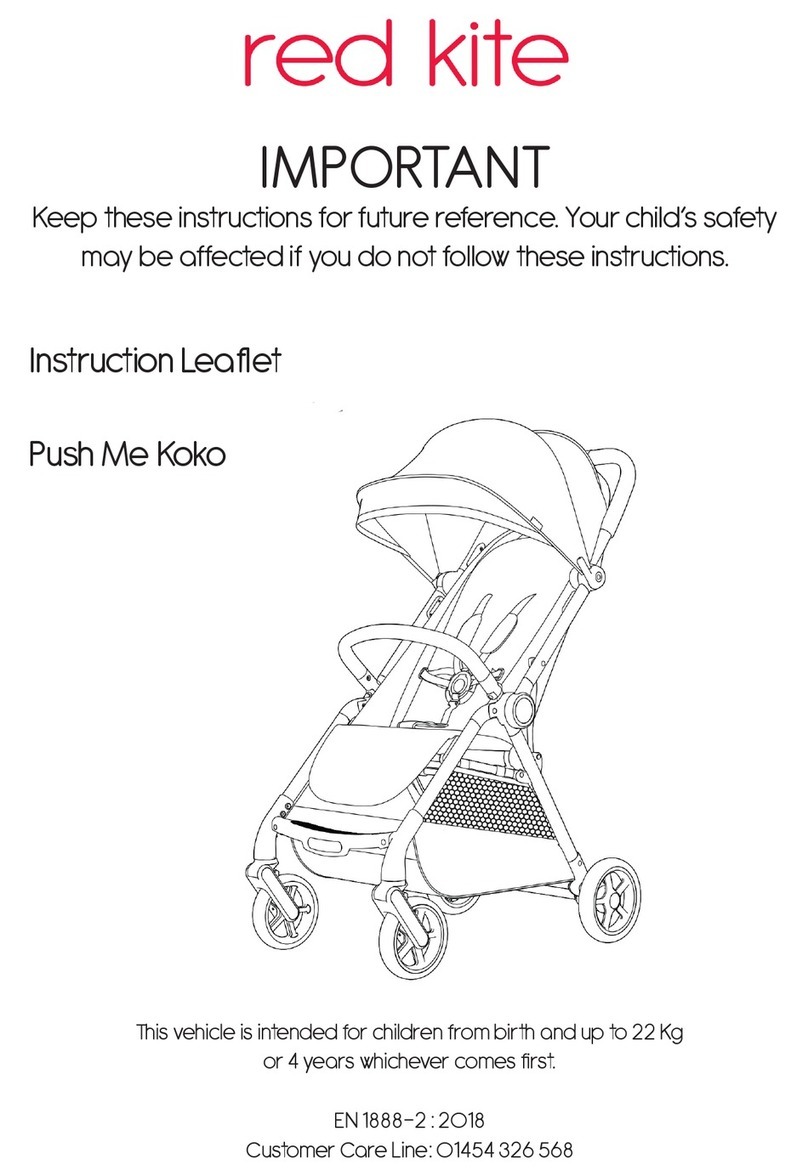
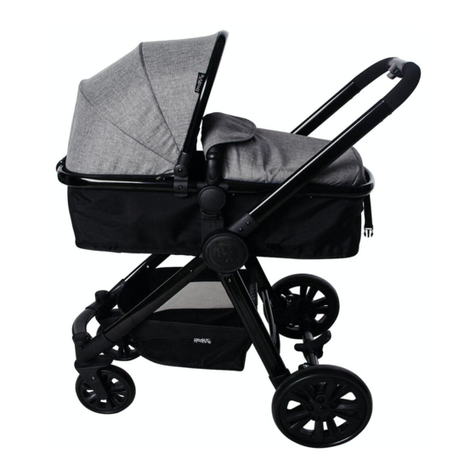
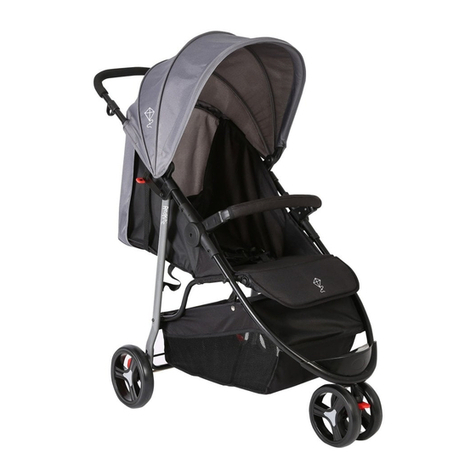
Red Kite Push Me Savanna Manual

IMPORTANT
Keep these instructions for future reference. Your child’s safety
may be affected if you do not follow these instructions.
Instruction Leaet
Push Me Savanna
Stroller: This vehicle is suitable (up to 22 kg or 4 years (whichever comes rst)
Complies with BS EN 1888 - 1 & 2 : 2018
Group 0 Rear Facing Infant Carrier: For infants up to 13kg (Group 0+).
Conforms to ECE R44.04 Universal.
Customer Care Line: 01454 326 568
Pram Mode Stroller Mode Car Seat Mode

Assembly instructions
To open the chassis
1. Pull the locking catch to the side and lift the
handle upwards until it clicks in place. Fig 1
WARNING Ensure that all the locking devices
are engaged before use.
To assemble the front wheels
2. Insert the metal stem of the front wheel unit
in to the wheel holder and push upwards until it
clicks in place. Fig 2
To assemble the rear wheels
3. Insert the metal spindle of the rear wheel in to
the rear axle/brake unit and push inwards until
it clicks in place. Fig 3
To attach the seat unit
4. Insert the brackets on the seat unit in to the
joints on the frame of the pushchair until they
click in place. Fig 4
NOTE. Before rst use, ensure the metal bar
on the back of the seat unit has the ap of
material wrapped around it and is fastened
with the Velcro tabs. Fig 4a
2
3
4
1
Fig 1
Parts list
1. Frame
2. Front wheels x 2
3. Rear wheels x 2
4. Combined seat unit / carry cot
5. Bumper bar
6. Apron
7. Car Seat
8. Car seat adaptors x 2
9. Raincover (not shown) 6
7
5
Lift up
Locking
catch
Fig 3
Fig 2
Metal stem
Metal stem
Front wheel
Reverse side of
seat unit
Push up
Push on
Fig 4 Fig 4a
Material ap
Push down
8

5. Insert the bumper bar in to the joints on top
the seat frame until it clicks in place. Fig 5
6. Attach the apron to the seat with the zip and
wrap the top edge of the apron around the
bumper bar and secure with the Velcro. Fig 6
Usage instructions
To operate the swivel wheels
7.To select swivel front wheels, push the button
on the front of the wheel unit down. For xed
wheels, push the button up. Fig 7
To remove the front wheels
8. Push the button on the back of the front wheel
unit and pull downwards to remove them. Fig 8
To remove the rear wheels
9. To remove the rear wheels, push in the button
and pull the wheel unit out. Fig 9
To operate the brakes
10. Push downwards on the back of the pedal
to engage the brakes. Fig 10
WARNING Apply all the brakes whenever you
park the stroller.
Fig 6
Fig 5
Joints
Bumper bar
Push down
Apron
Fig 8Fig 7
Fig 9
Fig 10
Button
Button
Button
Brake pedal

To adjust the handle height
11. To select a different handle height, push in the
buttons on both sides and adjust as required.
Fig 11
To use in carry cot mode
12. To use in carry cot mode, push in the buttons
of both sides of the unit and swivel the until it lies
horizontal. Fig 12. Ensure all three straps on the
bottom section are undone and the upper seat
recline strap has been lowered by pinching the
clip and pulling downwards. Fig 12
To operate the hood
13. To operate the hood, pull it forward by the
metal bar. There is also a sun visor tucked
inside the front rim of the hood which can be
simply pulled out when needed. Fig 13
To change direction of the seat / carry
cot unit
14. To reverse the direction of the carry cot /
seat unit, push in the small buttons and lift the
unit off the frame, turn and reattach. Fig 14
To use in seat unit mode
15.For toddler mode, press in the buttons on
both sides of the unit and swivel the unit to
the desired position. For different leg
positions, connect the buckles on the bottom
section together. The seat back can
be further adjusted by adjusting the strap on
the top back of the seat unit. To raise the back
of the seat, hold the loose end of the strap and
then pinch the clip and push forward. Fig 15
Fig 11
Fig 14
Fig 12
Fig 13
Fig 15
Buttons
Buttons
Buttons
Pull forward
Lower seat unit
Lower seat unit
Undo all straps
Buttons
Undo all straps
Button

To fold the stroller
16. To fold the stroller, rst remove the seat unit.
Push in the small primary lock button on the right
hand side of the frame and then pull both
secondary levers and lower the handle
towards the ground. Push the handle towards
the rear wheels will engage the locking catch
automatically. Fig 16
To attach the car seat adaptors to the
car seat
Insert the adaptors in to the bottom of the
handle section on the car seat until they click in
place.
NOTE
Pay particular attention to the
direction the buttons are facing. The lower
buttons should be facing towards the BACK of
the car seat.
To remove the adaptors from the car seat,
push in the upper button and pull the adaptors
out. Fig 17
To attach the car seat to the stroller
Slot the adaptors of the car seat in to the
frame of the pushchair until they click in place.
Fig 18
To remove the car seat from the
stroller
To remove the car seat and adaptors from the
frame, push in the lower button and lift the car
seat up. Fig 19
To adjust and secure the harness
Clip the shoulder strap (A) on to the waist
st ra p ( B ) and then pu s h i n to the ce nt ra l buckle
housing (C). The harness can be made looser
or tighter using the sliders on each strap.
To release the buckles simply push the button in
the centre of the buckle housing.
WARNING Always use the crotch strap in
combination with the waist belt.
Fig 17
Fig 18
Fig 19
Secondary
Primary
Fig 16
Stroller handle
Adaptor
Car seat
Upper button
Lower button
Push down
Lower button
Release
button
Slider
A
B
A
B
C
Shoulder
strap
Waist
strap

General care:
• The correct use and maintenance of this stroller
is essential.
•Do not use excessive force when folding the
stroller.
•If you are having problems, fully open the stroller
and repeat the folding procedure.
•Always let wheels down as gently as
possible when mounting and dismounting kerbs.
•Always fold the stroller when going up or down
stairs.
•Never bump the stroller over these or similar
obstacles.
•In some climates mould and mildew can affect
the fabric and rain cover. To avoid this, do not
fold the stroller when it is wet. Leave it open in a
ventilated area until completely dry.
• Always store the stroller in a dry place.
•When storing the stroller in the car, never place
other items on top of it.
•Do not exceed the maximum load of 2 kgs in the
shopping basket. (Where provided).
Cleaning:
•Fabric covers and trims may be spot washed
using mild detergent and warm water. Leave to dry
in a ventilated area away from direct sunlight.
•Avoid leaving your stroller in direct sunlight for
prolonged periods of time as this may cause
fabrics to fade.
•Do not dry clean, machine wash or tumble dry.
•Metal parts may be cleaned with a damp cloth.
•Always wipe dry. Clean plastic parts with a mild
soap and water solution, wipe dry.
Maintenance:
•Maintain your stroller by lubricating all metal
moving parts with a silicone based spray. Do
not use heavy machine oil or grease as this can
attract dirt or grit.
•Check that nothing is loose or broken and that no
sharp edges have been exposed. Inspect all joints
and the harness, replace any damaged parts
immediately.
•Inspect any nuts and bolts regularly to ensure
none have worked loose. Tighten as necessary.
• Only use replacement parts and accessories
that have been approved by the manufacturer.
Failure to do this may invalidate your warranty.
Safety warnings:
WARNING Never leave your child unattended.
WARNING To avoid injury ensure your child is kept away
when unfolding and folding this product.
WARNING Do not let your child play with this product.
WARNING Always use the restraint system.
WARNING This product is not suitable for running or
skating.
WARNING Your child’s safety is your responsibility.
WARNING Any load attached to the handle affects the
stability of the pram / pushchair.
WARNING Check that the pram body or seat unit
attachment devices are correctly engaged before
use.
• WARNING Use a harness as soon as
your child can sit unaided.
• PRAM MODE: WARNING: This product is suitable for
a child who cannot sit up by itself, roll over and cannot
push itself up on its hands and knees. Maximum weight
of the child: 9kg.
• Not intended for children weighing more than 22kgs.
This stroller is designed for one child only.
• The brake must always be engaged when placing
and removing children from the stroller.
• Any load attached to the handle and/or on the
backrest and/or on the sides of the vehicle will affect
the stability of the stroller.
• Lift a child in and out of the stroller. Do not allow a
child to stand on the footrest or seat.
• Do not use accessories that have not been
approved by the manufacturer.
• Never use the stroller to carry a child up and down
stairs or escalators.
• For newborns, it is advisable to use the seat unit in the
fully reclined position.
This product complies with BS EN 1888 - 1 & 2 : 2018
For all technical queries please call: 01454 326 568
Imported by: The Red Kite Baby Co Ltd, 35 Lavenham
Road, Beeches Industrial Estate, Yate, Bristol, BS37 5QX
Stroller / Travel System Important Safety Information:
•The stroller will not fold down with the car seat or seat unit attached.
•For new born babies we recommend using the stroller in Pram mode as this provides the most reclined
seat back position.
•Seat unit intended for children from birth up to 22 kg. Use in pram mode for babies aged 0 - 9 months
and in stroller mode from 6 months until 22kg or 4 years of age (whichever comes rst).
• This product is supplied with one raincover which ts the stroller in stroller, pram and car seat mode.
Place the raincover over the unit and secure with Velcro. We recommend allowing the raincover to dry
before folding and storing in the basket to prevent mould and mildew forming.
• A raincover is not supplied for the car seat.
•Padded liners are supplied with the seat unit and car seat. These can be removed by threading the
harness through the slots in the liner.
•The xed wheel function makes using the stroller on uneven terrain easier. However, the stroller must
never be used on sand as this will severely damage the bearings in the wheels.
•The height of the shoulder straps can be adjusted by feeding the harness through the cut out holes
located on the seat unit.
•WARNING! For babies aged 0 - 6 months the harness must be fed through the retaining holes to prevent
risk of strangulation.
•Never use the detached seat unit (in pram mode) as a carry cot.
•Never change the seat unit into pram mode with your child in the seat unit.
• WARNING! When in pram mode, do not use an additional mattress.
•Take extra care in windy conditions.
•Before folding the stroller check the following:
A Your child is clear of moving parts
B The rear brakes have been applied
C The front wheels are secured in the locked mode
D The seat unit or car seat has been removed
E All items have been removed from the basket
F Never attempt to close or fold the stroller with the child inside
Table of contents
Other Red Kite Stroller manuals

Red Kite
Red Kite Push Me Metro Manual

Red Kite
Red Kite Push Me Twini Manual

Red Kite
Red Kite Push Me Koko Manual

Red Kite
Red Kite push me fusion Manual

Red Kite
Red Kite Push Me Lite Manual

Red Kite
Red Kite Push Me Lite Manual

Red Kite
Red Kite Push Me 2U Manual

Red Kite
Red Kite Push Me Twini User manual

Red Kite
Red Kite Push Me Quatro Manual

Red Kite
Red Kite Push Me Quatro Manual